
 100% Security Verified | No Subscription Required | No Malware


 ChatGPT
 Perplexity
 Gemini
 Claude
 Grok
Grok
Have you ever watched a video and thought, “Wow, that switch between scenes looked so cool?” That smooth, movie-like change is often achieved with matte transitions. They’re a stylish way to move from one scene to another using special mask animations. Instead of a basic fade or slide, matte transitions make your video look more polished and professional.
Fortunately, you don’t need to be an expert editor to use them. With an easy tool like Filmora, you can add this type of transition to your videos in just a few clicks. This guide provides you with cool matte transition styles you can try out and how you can apply them to your videos.
In this article
Part 1: 10 Matte Transition Styles to Try On Filmora
Wondershare Filmora has a great collection of built-in matte transition styles. These transitions help your video flow better while making each switch visually exciting. You can also explore Filmora’s effects online library for free matte transitions.
Here are 10 popular transition styles on Filmora to try out:
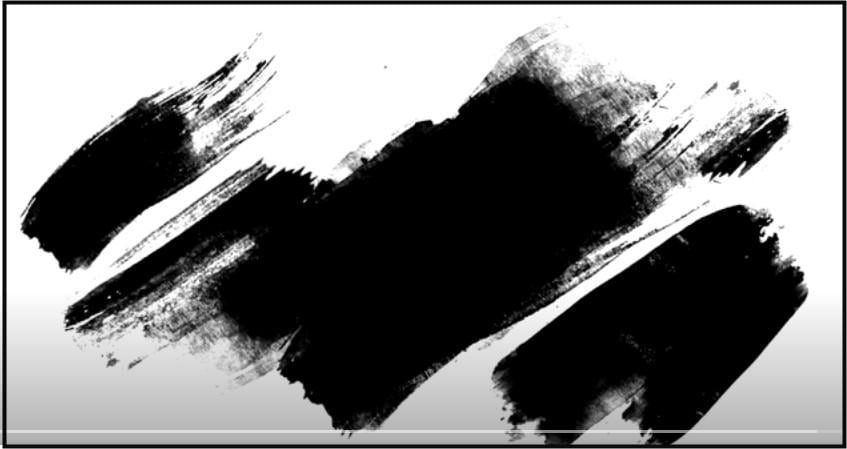
1. Ink Brush Mask Transition
This transition uses the visual effect of ink spreading across the screen, revealing the next scene. It creates a fluid and artistic change, mimicking a hand-painted or organic brush stroke.
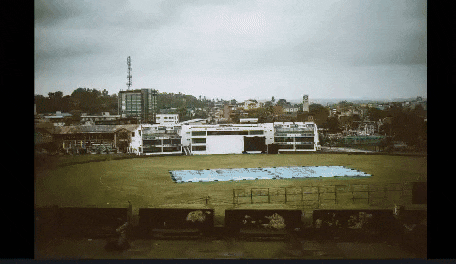
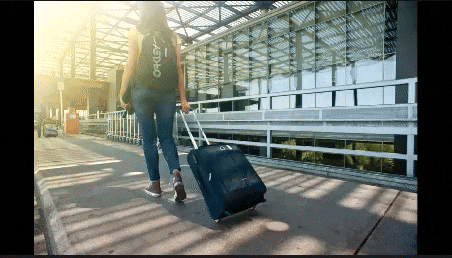
2. Travel Journal
Travel Journal transition if you’re telling a story or showing vacation clips. Gives your video a fun, adventurous feel.
3. Romantic Pack
Now, if you’re going for something soft and emotional, this one’s for you. Romantic Memories 03 looks like ink waves on the screen. It is great for love stories, family moments, or anything sentimental.
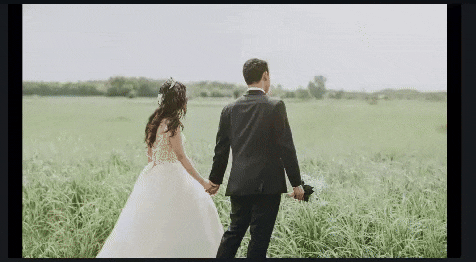
4. Wedding Invitation Template 04
Wedding Invitation Template 04 has a soft melt effect like a design unfolding before your eyes. Perfect for weddings, announcements, or anything elegant.

5. Rustic Transition 4
Looking for something earthy or natural? Try Rustic Transition 4. It’s like the screen is being peeled or torn away. Raw, a little rough, and great for outdoor or vintage videos.

6. Stylish Brush 09
This one uses bold brush strokes that sweep across the screen. It is quick, clean, and gives your edits a modern look.

7. Flora Collage Pack
If you want something delicate and handmade, Flora Collage Pack ight be the one. It moves across the screen with soft diagonal strokes like paper or canvas
8. Beauty Brush 1
Beauty Brush 1 has wide confident strokes that rush in and out. It is dramatic, fast, and perfect for videos that need a little extra dynamism.

9. Shape Transition
For a clean, modern look, you can check out Shape Transition. It uses vertical lines sliding across the screen to reveal the next scene. This matte transition style is simple, sharp, and very satisfying.

10. Basic Mask 05
This one uses a dot pattern that grows and shifts to reveal your next clip. It feels kind of retro, like a comic book or pop art design.

Part 2: How to Add Matte Transitions in Video Editing
Now that you’ve seen some awesome styles, let’s get practical. Interestingly, adding matte transitions in Filmora is very simple, and can be done in two ways: using the built-in transitions or importing your own transition overlay from a matte transitions free download or paid site.
Method 1 - Using Filmora’s Built-In Matte Transitions
This method is quite beginner-friendly and perfect for quick, polished results. Simply follow the following steps:
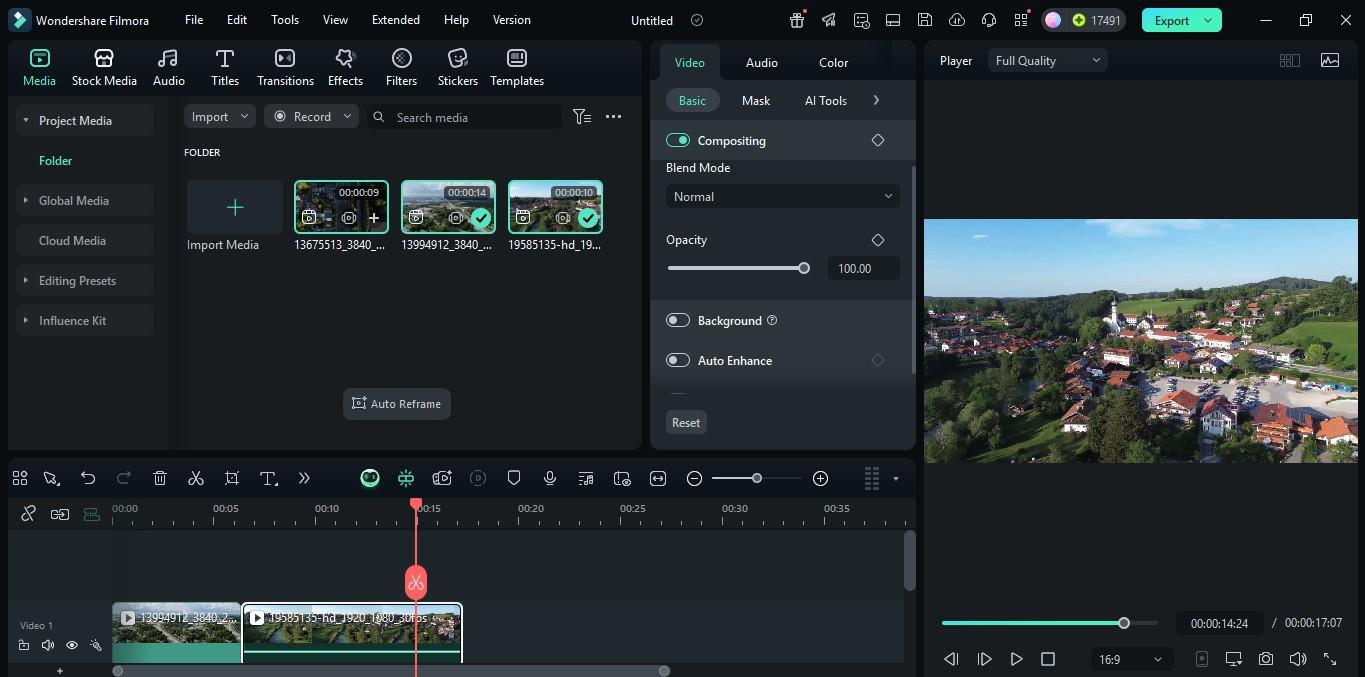
Step1Add Clips to Filmora
Open Filmora on your computer and click on New Project to start editing.
Input your clips and drop them on the timeline.
Arrange them in the order you want them to play. Make sure there are no gaps between each clip.
 secure download

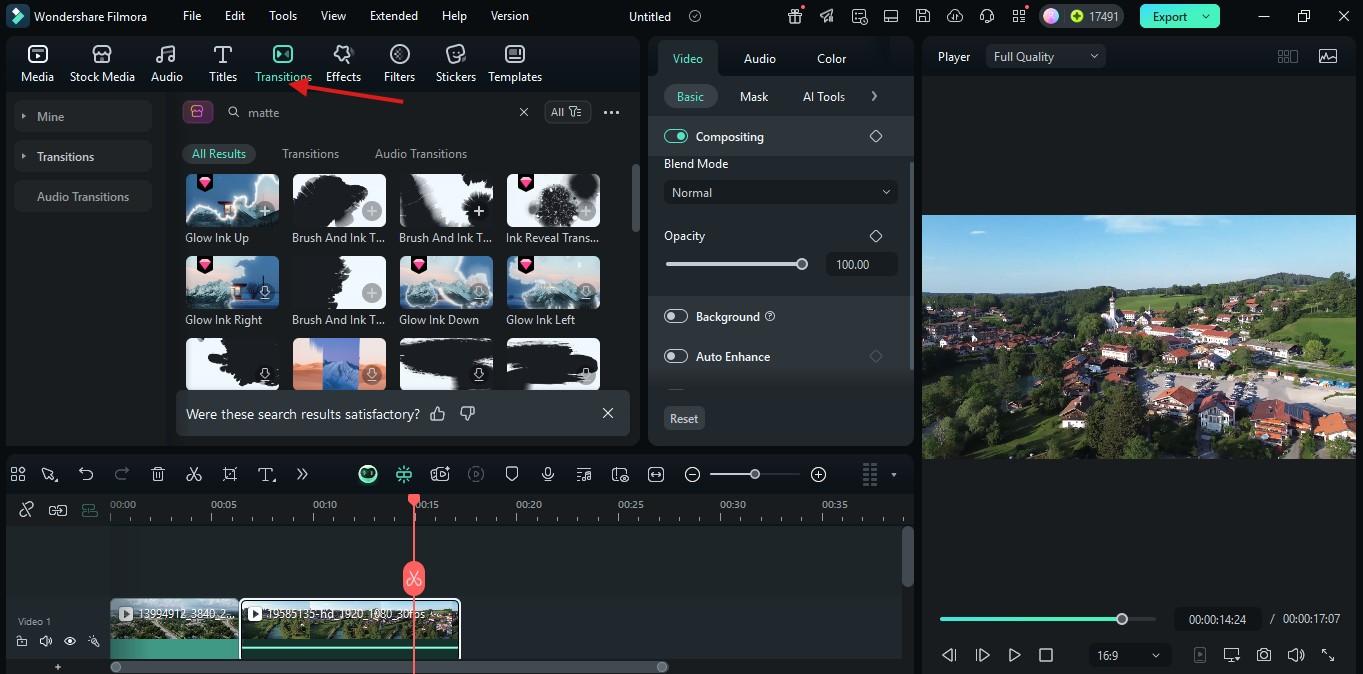
Step2Add a Matte Transition
Click the Transitions tab on the top menu bar.
In the search bar, type “matte” or scroll through to find a matte-style transition.
Drag and drop your chosen transition between the two clips on the timeline.
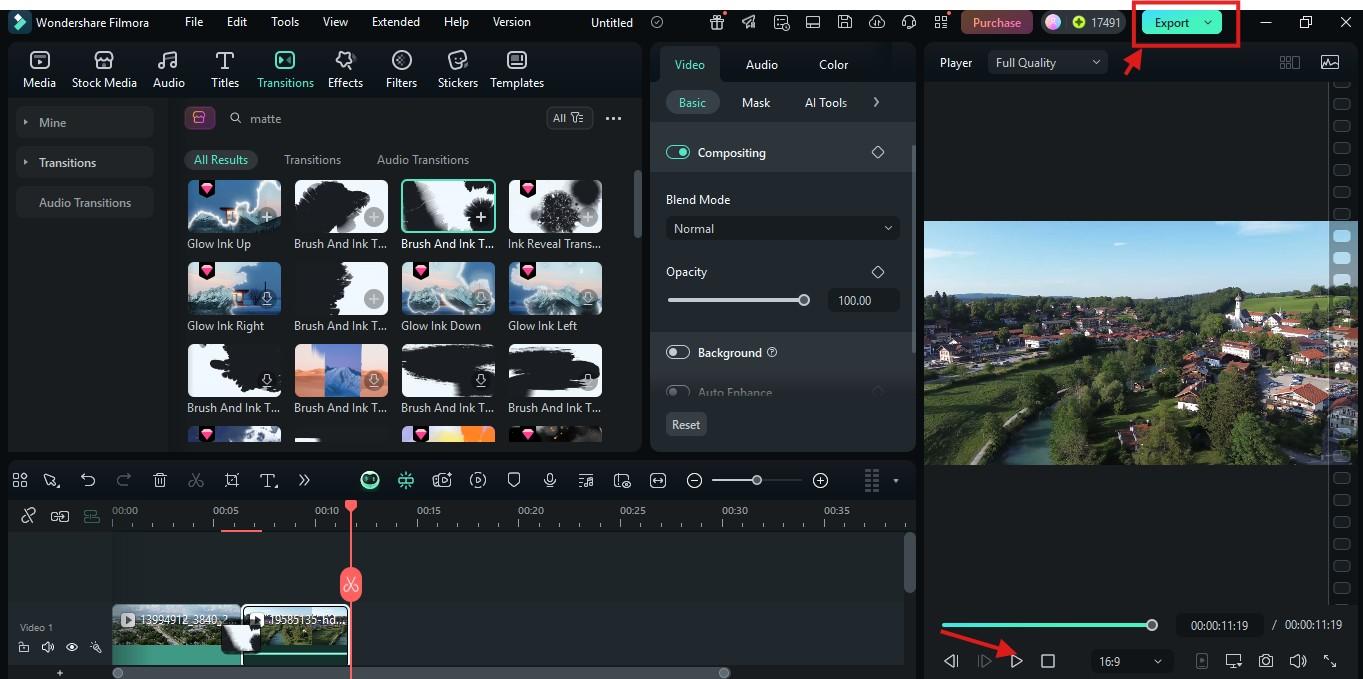
Step3Adjust and Preview
Click and drag the edges of the transition clip(s) on the timeline to adjust the transition duration.
Press Play in the Preview window to watch the effect.
Make any final tweaks if needed. Then, hit Export to save the video to your device once you are done.

Method 2: Import a Custom Matte Transition Overlay
Step 1: Open your Filmora project and import your videos and the matte transition overlay into the Media panel.
secure download
Step 2: Drag your main video clips to the Video Track on the editing timeline and arrange them accordingly. Make sure they are right next to each other on the timeline
Step 3: Now, drag your matte transition overlay onto Track right above the two clips. Make sure the timing lines up perfectly where there is a switch between the main clips.
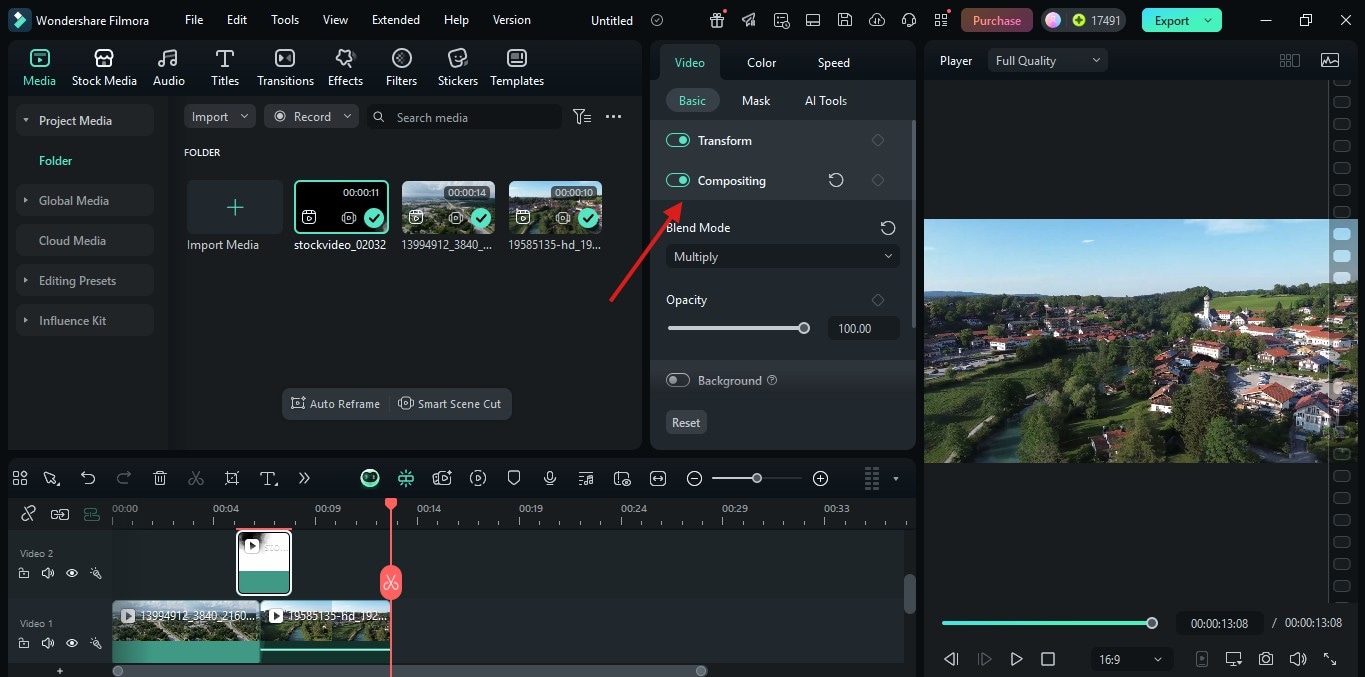
Step 4: Then, click on the overlay, go to the “Video” tab, scroll down to “Compositing”, and set the blending mode to any mode of your choice.
This method gives you more creative control, but it takes a bit more time and effort. If you’re new to editing or prefer a streamlined process, sticking with Method1is your best bet

Conclusion
So, as you can see, adding matte transitions is not that hard. So, whether you go for the built-in transitions or import your own track matte transitions, Filmora makes it easy, even if you are new to video editing.
Ready to level up your videos? Start editing with Filmora today and try out these cool matte styles. And if you find this helpful, share it with fellow video creators.
secure download
