Note: This video tutorial is compatible with Filmora V11, V12 and V13 versions.
Auto ripple and group editing using Filmora
In this video tutorial, I’ll be showing you how to auto ripple editing in Filmora and how to make a video with Filmora using group editing. These two tools are essential when you are using multiple tracks, especially for the time when your timeline is crowded and you want to work efficiently. This is akey topic to be familiar with, especially when you are at an experienced editing level.
The Auto Ripple feature by Filmora will automatically adjust the other videos in the timeline, instead of doing it manually.
Launch Filmora and click on the New Project icon, to create a project using the default settings.
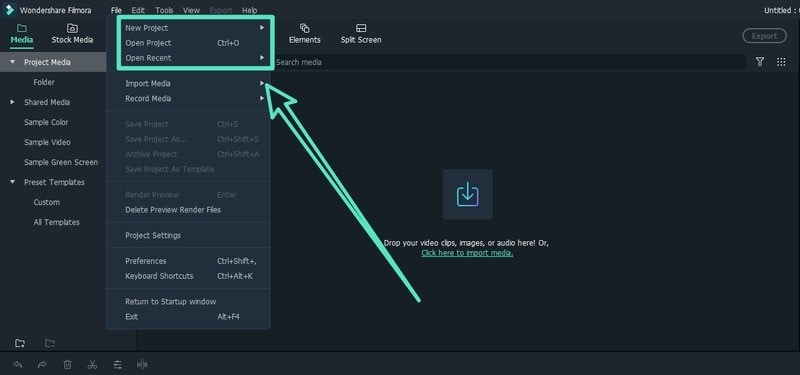 Launch Filmora
Step 1: Import The Media Files
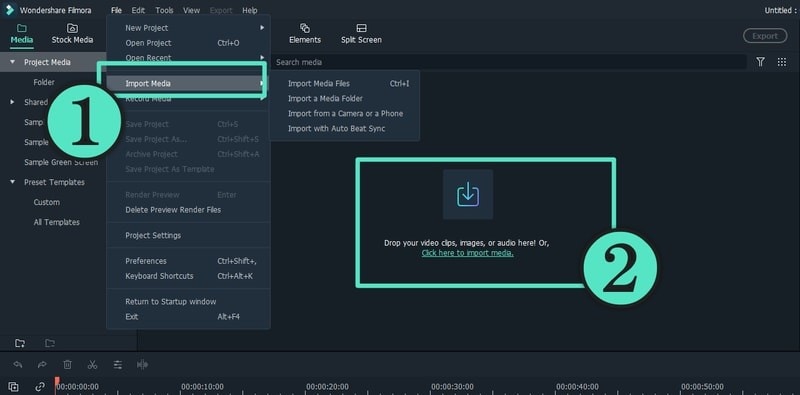 Import The Media Files
Start by importing a few videos to the timeline. You can also use Filmora to create the proxy files automatically if you want it to, by selecting it on your preferences.
Step 2: Stack The Filters & Overlays
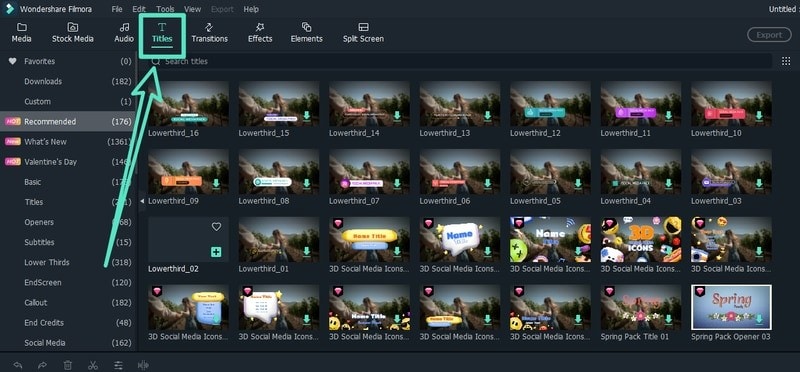 Stack The Filters & Overlays
Next, you can add the required overlays and filters. Drag the filters and overlays in the timeline, up to the videos you want it to be formatted on. You can stack the effects on top of one another, and can adjust the opacity wherever needed. Basically, you would have more than one track in the timeline as you’re putting audios, videos, overlays, filters as well as some elements and screens. Finally, add the title relevant to your video.
Step 3: Edit The Videos
You can then edit the videos with necessary changes. For instance, let’s change the speed. Select the video and click on the speed icon so you can go ahead and increase or decrease the speed. When you do, you cannot see that the other videos align perfectly to give a new duration, based on the speed, due to the auto ripple feature.
In case you want a gap in the middle of your video, while adding music or additional commands in the timeline, you can turn off the ripple feature.
In case you want to move around the videos and elements, it can be a hassle. You would have to select all the elements in the timeline, to move it around and in some cases you can even miss a few. This is why Group Editing comes in handy, when you are working with multiple elements and videos.
 Group Editing
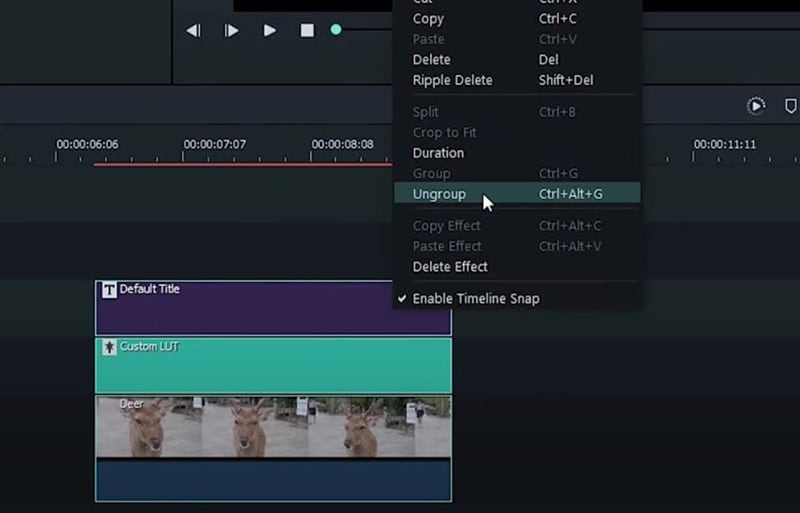
You can start by selecting an individual track or element, and right click to select Keep Group. When you do this, you can move both the elements in just a single click. You can group the related elements together in the same way, be it videos or effects. This feature also allows you to edit the duration, color, filters, speed etc or any other element, for the whole group all at once. Once you’re done with implementing the effects, you can and group the elements again.
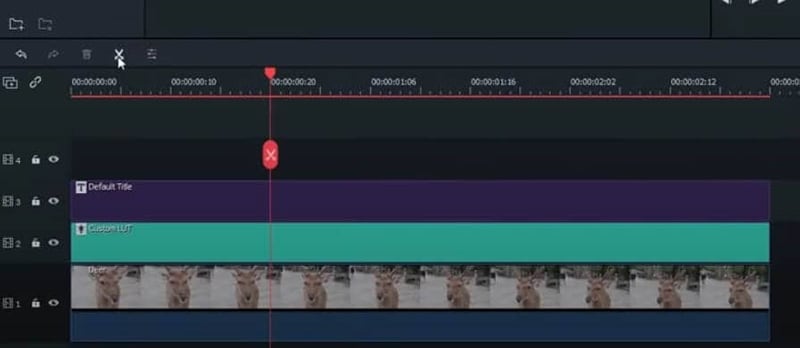 Split the video
If you want to work with a second set of videos, you can group the whole first set, so you can move it aside without disturbing it. You can also copy and paste the same set if you want to compare a specific filter or effect. The group feature also works when you are splitting a video. When you decide to split, an icon pops up to ask if you would want to keep the split clips as a group.
In case you want to delete a particular effect or filter delete it specifically by right clicking on the video as well.
