Note: This video tutorial is compatible with Filmora V11, V12 and V13 versions.
Chroma Key is a powerful feature of Wondershare Filmora and a great technique to swap the background of a particular video with another color or image.
Alternatively, called the Blue Screen or the Green Screen, the functionalities of chroma key are myriad, and each promises plenty of benefits.
To put it simply, a Chroma is a specific color, which can either be blue or green. The latter finds application in many industries.
Use the Chroma Key Tool
Using Chroma key on Filmora9 and converting a Green Screen to an impressive backdrop is a piece of cake. Here’s a concise guide to help you achieve it.
 Chroma Key
The first and foremost step would be to create a New Project and Import the two footages (Background Clip and Green Screen Clip) into your Media Library. Then, Drag and Drop them to the first and second track, respectively.
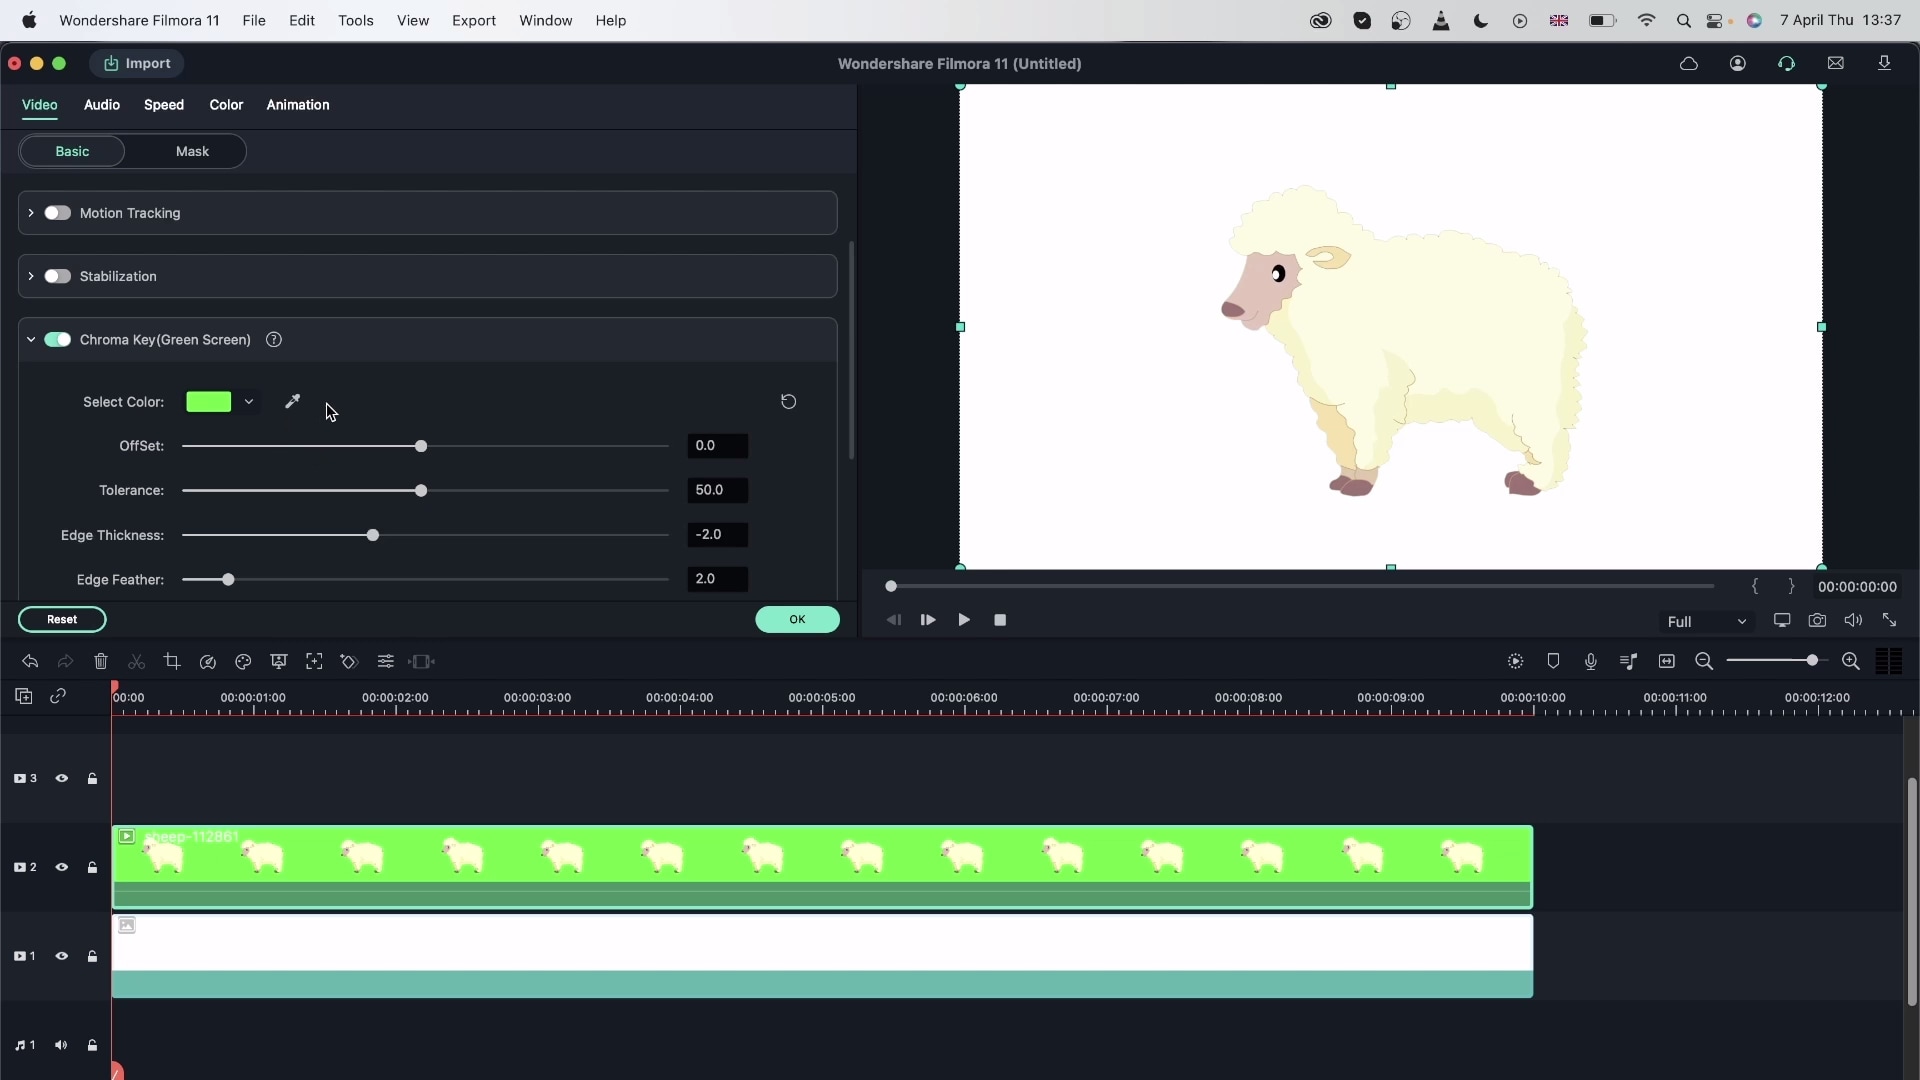
Enter the Edit Panel of the Green Screen Footage by double-clicking on it. You will see a window pop up on the screen. Take your cursor to the Video tab and check on the option Chroma Key to enable it. On successfully doing so, you will spot tools like Offset, Tolerance, Edge Thickness, and Edge Feather to tweak the edges of your subject. These are powered with the following functionalities:
1. Offset adjusts the visibility of the backdrop
2. Edge Feathering softens the subject edges
3. Edge Thickness fixes the edges of the subject
4. Alpha Channel turns the entire clipping to a black and white picture, where the areas successfully keyed out will appear in black whereas the rest of it will appear in white.
This is how you can alter the borders, transparency, and shadows. And, in the end, achieve a good cut-out subject against a backdrop of your choice, by omitting the green screen.
However, if the backdrop is colored in blue, all you have to do is click on the eyedropper, select the brightest portion of the blue screen and click on it to change the backdrop to an engaging one.
What if the green screen partially covers the frame? Then, as an editor, you will have to scroll down to Effects, spot Crop, and apply the effect to your clip. Adjustment of the crop necessitates one to double-click on the clip to disclose the beautiful backdrop. A small word of advice would be to surround your subject with a Green Screen for an optimal result.
If your green screen does not cover the full-frame then you can go to effects, find crop, and add the effect to your clip. Then double click your clip to adjust the crop to reveal your backdrop. Make sure your actor is surrounded by a green screen for a better result.
The process ends with the proper positioning of the chosen background clip on the video timeline. As the footage fills up the transparent portion left by the Green Screen, the two clippings will merge and appear as a unified one. Next, resize the subject to match the video.
Export the processed video into a suitable format like MP4, WMW or MOV and share it on a chosen platform.
Finally, we suggest you check the attached video on our page for clarity and leverage the Chroma Key tool to best replace the background of your video.
