


 100% Security Verified | No Subscription Required | No Malware

Adding keyframes to your video editing experience in After Effects can be crucial. However, this platform has a steep learning curve, and you may need time to adjust to all the keyframing types and options it offers. Thus, we’re here to help you step foot into Adobe After Effects keyframes and start making your visions come true.
Today, we’ll discuss why you should improve your journey and present all types of keyframes in After Effects so you can choose the ones suitable for your needs. If you find this overwhelming, we advise you to stay tuned for an alternative, beginner-friendly keyframing solution.
In this article

Why Do You Need to Improve Your Keyframe Game?
Keyframes are elements that determine specific values and timeframes in a particular video. You can edit your creations within a specific timeframe, add as many details as you want, and focus on delivering the best results. They’re mostly used for creating high-quality animations.
Investing your time and nerves into the keyframe game will surely benefit you on your video editing journey. Here are some of the changes you’ll experience if you decide to step up your keyframe skills:
- Visual appeal — Once you master the art of keyframes, you’ll be able to create high-quality videos and put animations wherever you want. This ultimately means you’ll enhance the visual appeal and attract a larger audience.
- Efficiency — Although learning about keyframes can be time-consuming, once you master your skills, you’ll surely save time during the video editing process and know which elements to use according to your needs.
- Experimenting — Learning everything about After Effects keyframes will give you creative freedom and help you make all of your visions come true. You can experiment with your projects and let your creative side take the wheel.
As you can see, mastering keyframe skills will surely impact your creativity and results in the long run.
Different Types of Keyframes in Adobe After Effects
Below are different types of keyframes in After Effects that you can access to enhance your journey.
Linear
The linear type is the simplest keyframe in After Effects you can access. As the name suggests, it represents a straight uniform between two keyframes and is mostly abrupt. Moreover, not too many professionals in the editing field use this keyframe solution as it doesn’t provide any additional benefits. The linear keyframe is represented by the diamond icon.
Bezier
This keyframe type gives you full manual control over your keyframe experience. You can customize all the elements, such as space and motion paths, which is why most professionals use it. It’s the most unique and detail-friendly keyframe option that will surely help you create breathtaking video results.
Auto Bezier
The auto bezier option will automatically create spatial curves for your frames, allowing you to modify the movements and create smoother results. Adjust the curves according to your preferences and watch the experience transform. The best use for this keyframe is animation, and you’ll create fluid movements.

Continuous
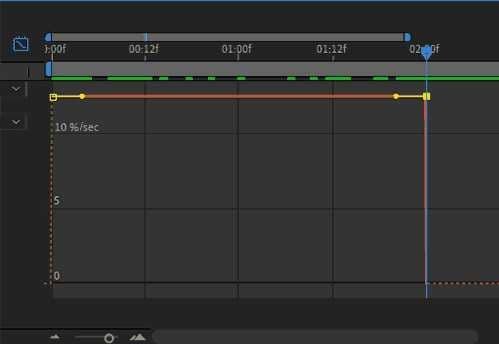
The continuous keyframe is the best for manually setting values and interpolation in your video. As soon as you activate this keyframe type in After Effects, an information box will appear, and you can set your preferences to create professional videos in minutes. You can set values on both sides of the frame, enabling more customization options.

Hold
You can imagine the hold keyframe as an on-and-off switch for your frames. This keyframe type allows you to freeze the frames within your video if needed. Some creators use it to present an image of a specific element within their content, and it’s a temporal interpolation setting that may come in handy in some scenarios.
Hybrid
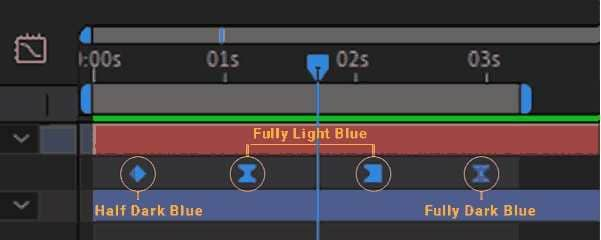
These keyframes have dual functions, allowing you to customize the experience better. For instance, if the first keyframe is linear and the second is hold, you’ll get a hybrid keyframe model with dual settings and missions. You can recognize such keyframes by color; the icon can be partially dark if you’re using hybrid elements.
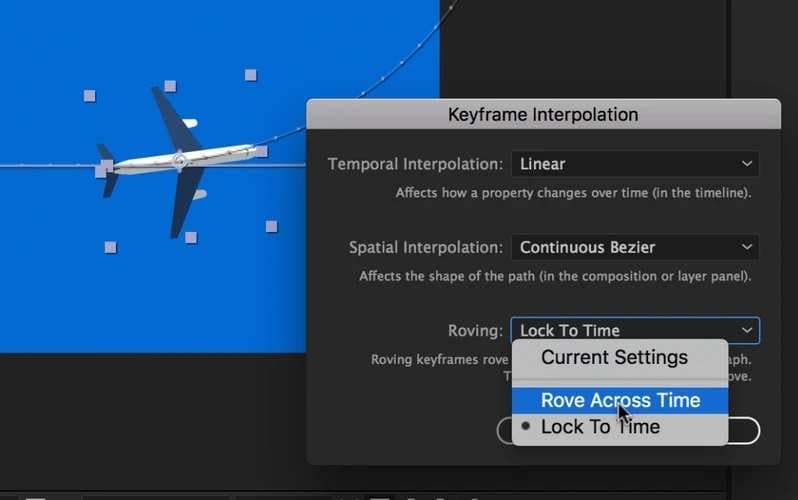
Roving
A roving keyframe is used to smooth the motion within your video. It’s not connected to a specific frame; instead, you can place it anywhere in the video and watch the motion experience transform. Moreover, you can customize the moving experience however you wish, making it excellent for stabilization.
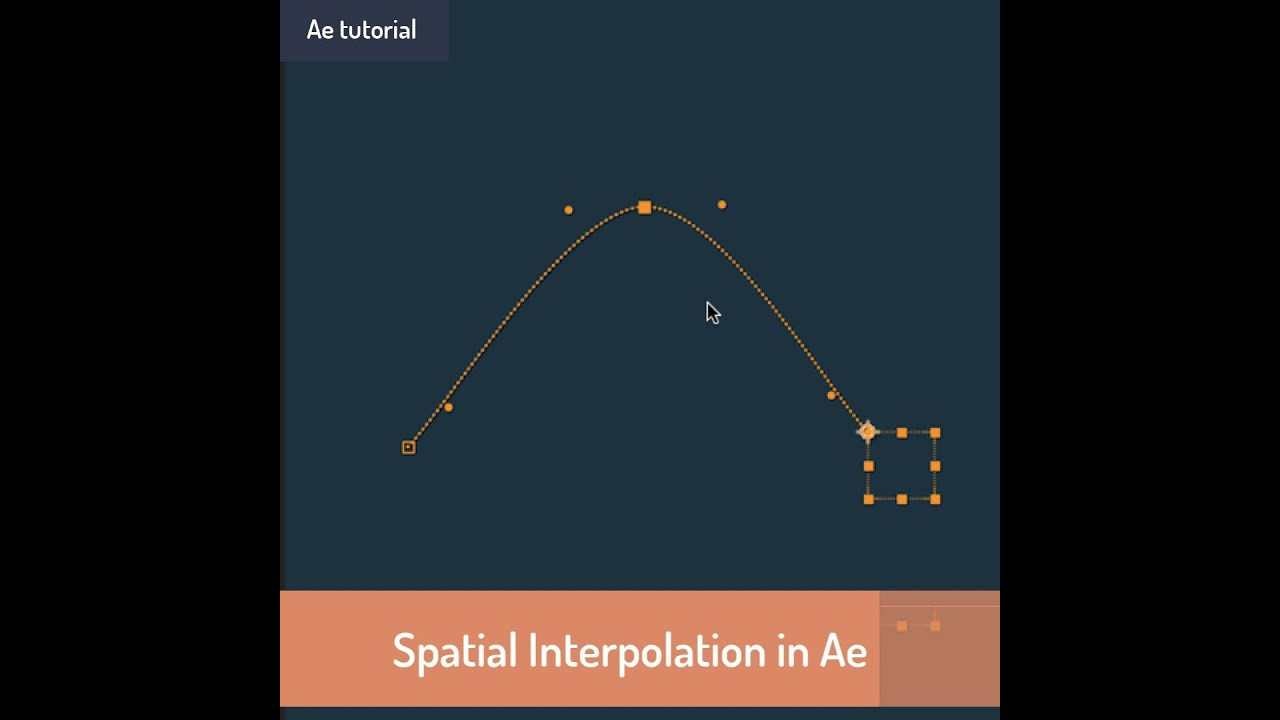
Spatial
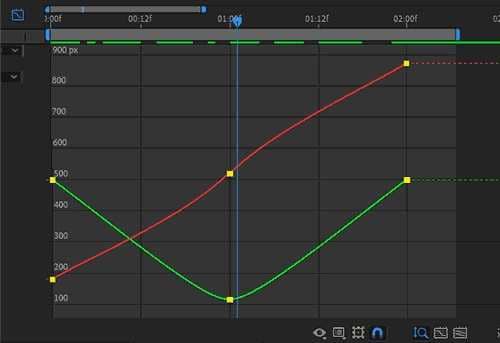
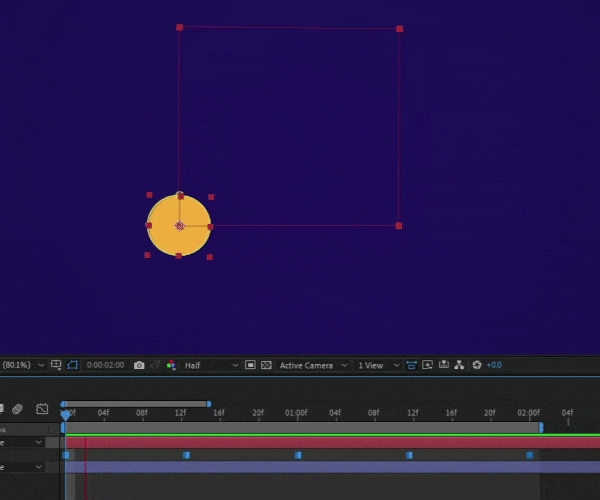
As you can guess from the name, spatial-related keyframes are connected to the placement of elements within your video. You can adjust where each object/subject sits and see how they move during the video to get the best results. Although they may be complex to use, these keyframes will surely help you make your visions come to life.
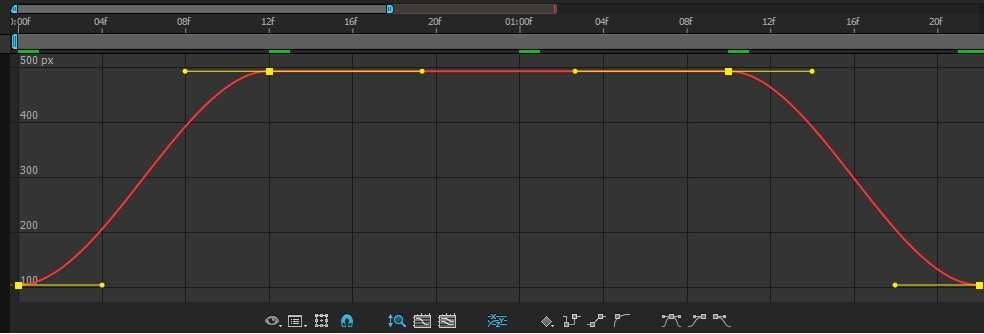
Temporal
Temporal interpolation allows you to adjust the time, speed, and other temporal elements within your video. For instance, you can speed up your animations or create slower instances using temporal keyframes in After Effects. They’re excellent for conveying your message and getting breathtaking results.

Easy Ease and Other Keyframe Presets in After Effects
Although Adobe After Effects provides numerous keyframe types, the process can be a bit less underwhelming with the presets it offers. For instance, you can use the Easy Ease option at the beginning and end of your video to create a smooth transition. It’ll slowly start playing the video and slow down before the ending to provide a professional result.
Aside from this option, you can also access Easy In and Easy Out. The first feature will start your video fast and slow down towards the end, while the second will do the opposite. Instead of battling the keyframes and setting up everything manually, use these features to be more efficient during the editing process.
After Effects Alternative: Wondershare Filmora Keyframes
As you can see above, using keyframes in After Effects can be challenging and overwhelming, especially if you want to produce professional content. It may take you hours to get all the keyframes in order, which is why you may want to consider an alternative, easy-to-use keyframing solution.
For instance, Wondershare Filmora has a much simpler keyframing experience with all the elements and features you need to create the best videos. However, the difference is that it’s much more intuitive to use than Adobe After Effects.
Aside from this, Wondershare Filmora provides advanced editing solutions to elevate your journey. It also comes with AI features that will cut the production time and help you make your visions come true in minutes.
Thus, head to the official Wondershare Filmora website, download the tool to your desktop device, and follow these steps to navigate the keyframing experience:
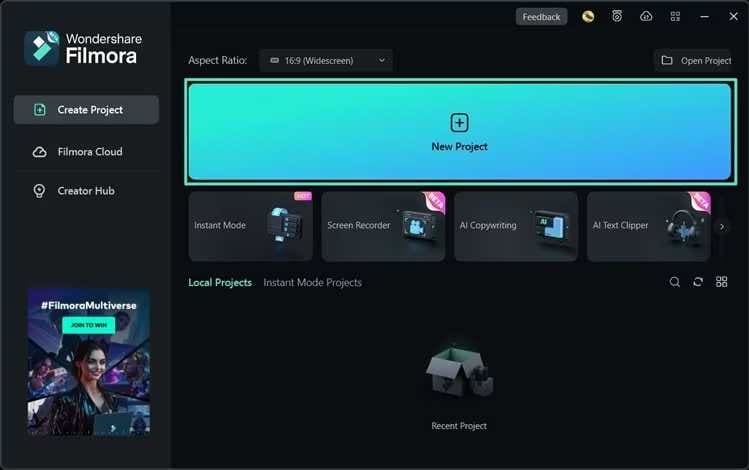
Step 1: Open the Wondershare Filmora platform and click on the New Project option.
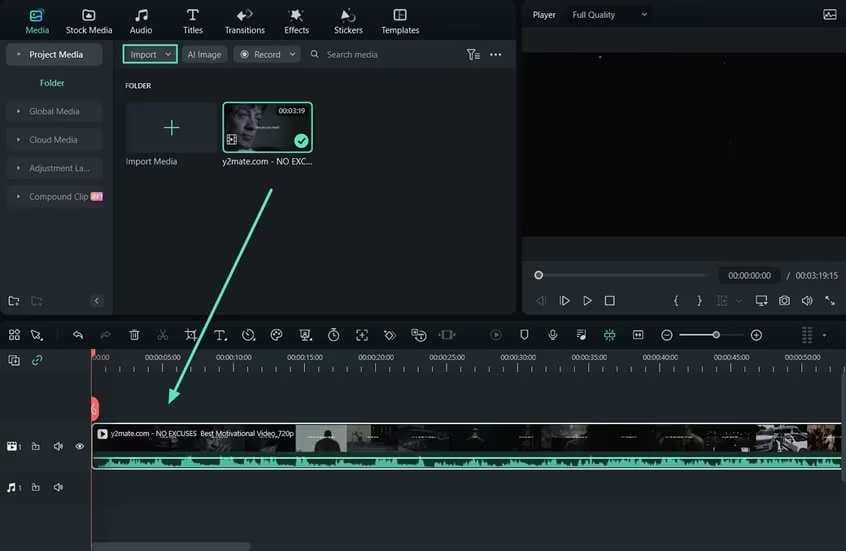
Step 2: Import your video by dragging and dropping it into the platform.
Step 3: Drag the video to the timeline.
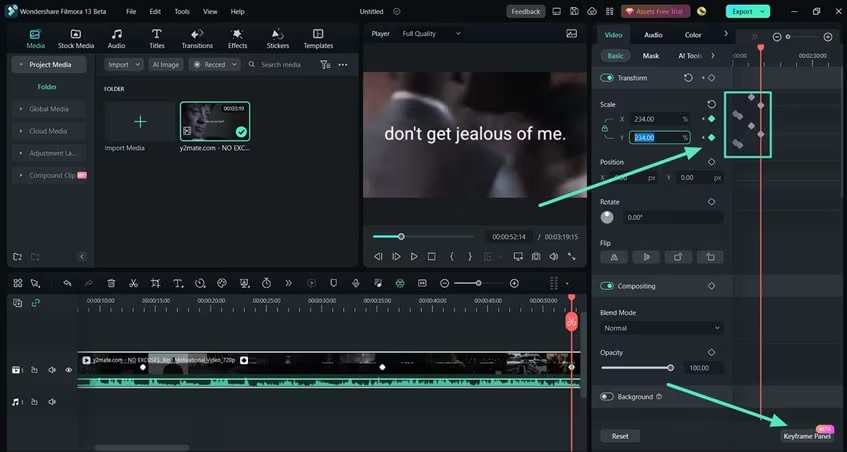
Step 4: Now, head to the Keyframe Panel on the right side.
Step 5: Add keyframes to your video according to your preferences and needs.
And just like that, you’ll have the most seamless and efficient keyframing experience with Filmora.
Conclusion
Adding keyframes to your videos is crucial, and many people use Adobe After Effects for a professional experience. You're in the right place if you’re new to the game. We’ve discussed all the different types of keyframes you can access and use in Adobe After Effects.
However, using this platform for your keyframing experience can be overwhelming, especially if you have no previous experience. Thus, we advise you to try the Wondershare Filmora platform, which will help you set up your keyframes in just a few minutes and continue your professional video editing journey.
FAQ
-
Why should I keyframe my video?
Keyframing your video can help you animate and control your experience better. You can add and manipulate elements in your content to achieve the desired look in no time. -
Is keyframing in After Effects difficult?
Yes, the keyframing experience in After Effects can be overwhelming, especially if you have yet to gain experience in the field. Thus, we advise you to search for alternative, easy-to-use solutions like Wondershare Filmora to reach your goals faster. This platform has an intuitive user interface, and you can complete the entire keyframing process in just a few minutes. Thanks to this tool, there is no need to spend hours or days on the keyframing journey in After Effects. -
What types of keyframes are there in After Effects?
Adobe After Effects has numerous types of keyframes you can use, such as the following: Linear,Bezier, Auto bezier, Continuous, Hold, Spatial, Temporal, Hybrid, Roving. All of them have different purposes and allow you to customize the editing journey completely.
