
 100% Security Verified | No Subscription Required | No Malware


 ChatGPT
 Perplexity
 Gemini
 Claude
 Grok
Grok
The use of green screen in photos and videos is a common phenomenon. Starting from news broadcaster studios to visual effects in action movies, the use of green screen has become a commodity in photo and video shoots. This is because you can add background to green screen video and photo during the post-production phase as per your requirements.
Starting from replacing the green screen with a studio setup like news broadcasting to adding characters visiting an alien planet in movies, everything you can imagine is possible to include in your videos and photos. You will need a professional video editor and the steps on how to put a background on a green screen.
In this article
Part 1. How to put a background on a green screen to video?
The first thing you need to do is shoot your video with a high-quality green screen in the background. Make sure that it is evenly spread and lit up so that there are no light and dark patches. Now that you have green screen video, you will need a professional video editor to replace the green screen with any background as per your requirements. Here are the three ways on how to add background to green screen.
Way 1. Use Filmora
Wondershare Filmora is the easiest video editor to add a background to green screen video instantly. There are loads of tools to add visual effects and perform basic to advanced editing. Filmora is available for Windows, Mac, iPhone and Android users, and you have to transfer your recorded green screen video to your computer. You can replace green screen with a video as well as photo as per your preference. Here are the steps to put a background on green screen video using Filmora.


Put a Background on A Green Screen with Filmora on Win/Mac
Step1 Download and install Filmora on your Win or Mac
Launch the application and click on New Project. You should have the green screen video as well as the background replacement video or photo ready with which you want to replace the green screen background.
Step2 Import your green screen video and the background video or photo
Import your green screen video as well as the background video or photo under the Project Media folder. Drag and drop both of them to Timeline. Make sure the green screen video is on top of the replacement background video or photo.

Step3 Turn on the Chroma Key to replace the background
Double-click on the video clip that you have dropped on Timeline. Go to the Video tab and turn on the Chroma Key option.

Step4 Adjust Chroma Key settings
You will see on the Instant Viewer that the green screen of the recorded video is replaced with the replacement background immediately. You can adjust the parameters under Chroma Key, such as offset, tolerance, and edge thickness, as required.
Step5 Export and save the video
Now, play the video, and if you are satisfied, click on the Export button to save the video in your desired file format.

Put a Background on A Green Screen with Filmora on Mobile
On Windows and Mac, you can leverage the robust features of Filmora to achieve high-quality results with precise adjustments. In contrast, the mobile version offers a more streamlined approach, allowing for quick edits on the go. Follow this easy step-by-step guide to add a background to your green screen video on iPhone or Android:
Step1 Create a project
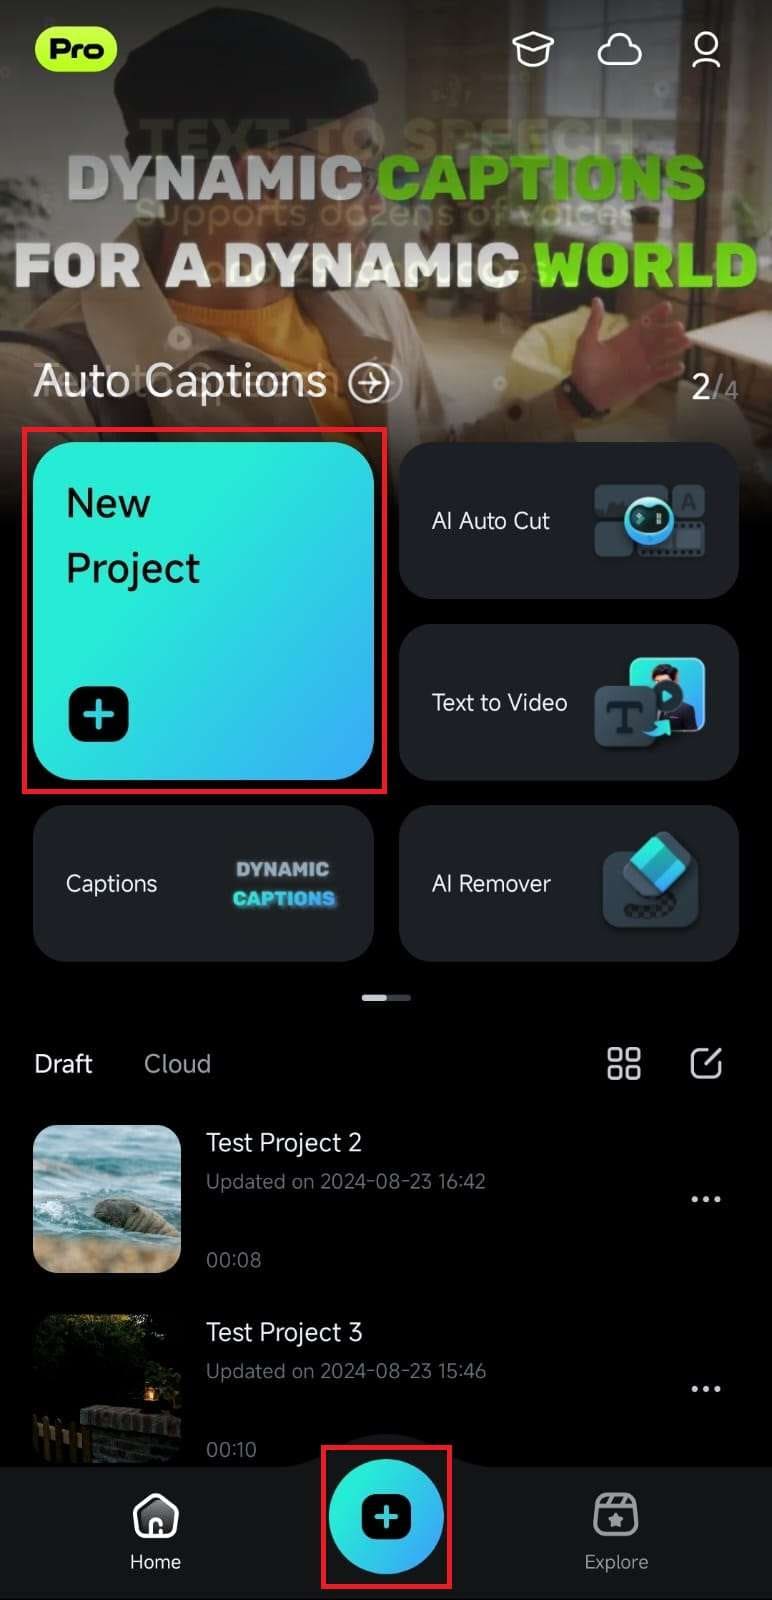
Open Filmora on your mobile phone and tap "New Project" from the Quick Access panel, or hit the blue "Plus (+)" icon to start from scratch.
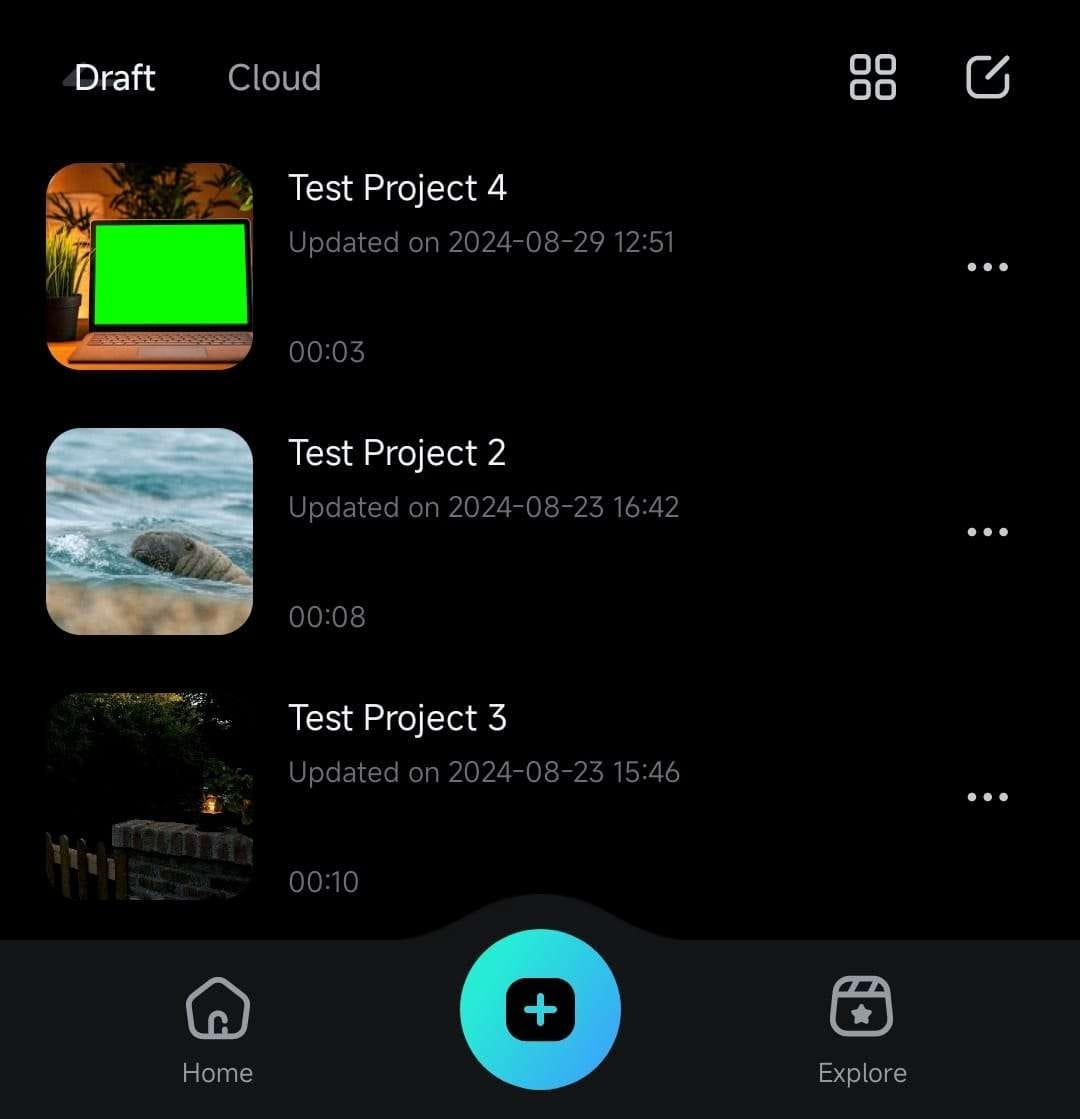
Alternatively, scroll up from the Project Management panel and select an existing draft if your green screen project is already stored locally or in the cloud.
Step2 Import your green screen media
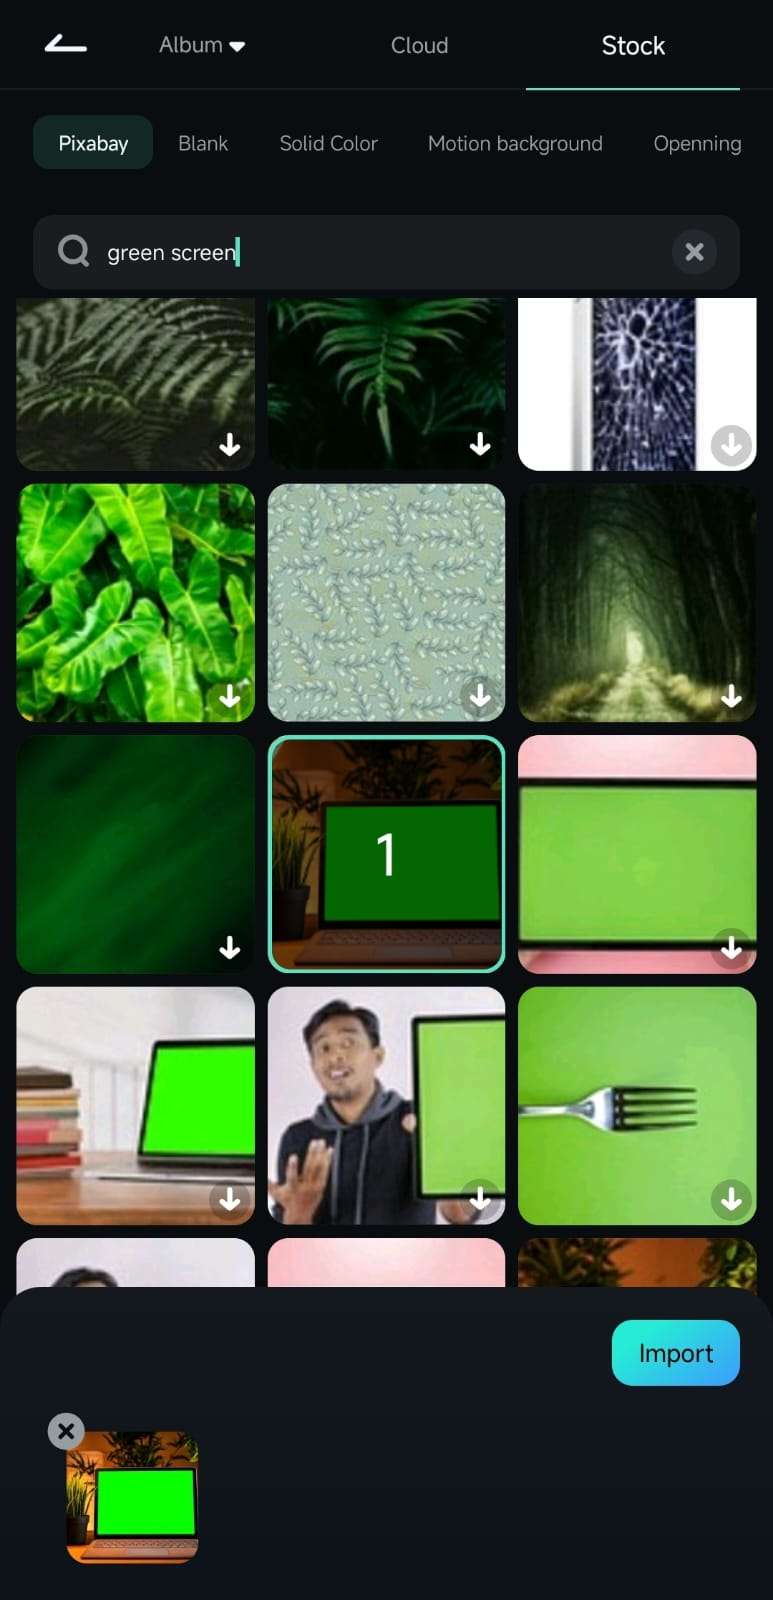
Choose a green-screen video from your phone's gallery or select green screen footage from Filmora's "Stock Media" collection. Tap "Import" to load it into your project.
Step3 Locate the Chroma Key option
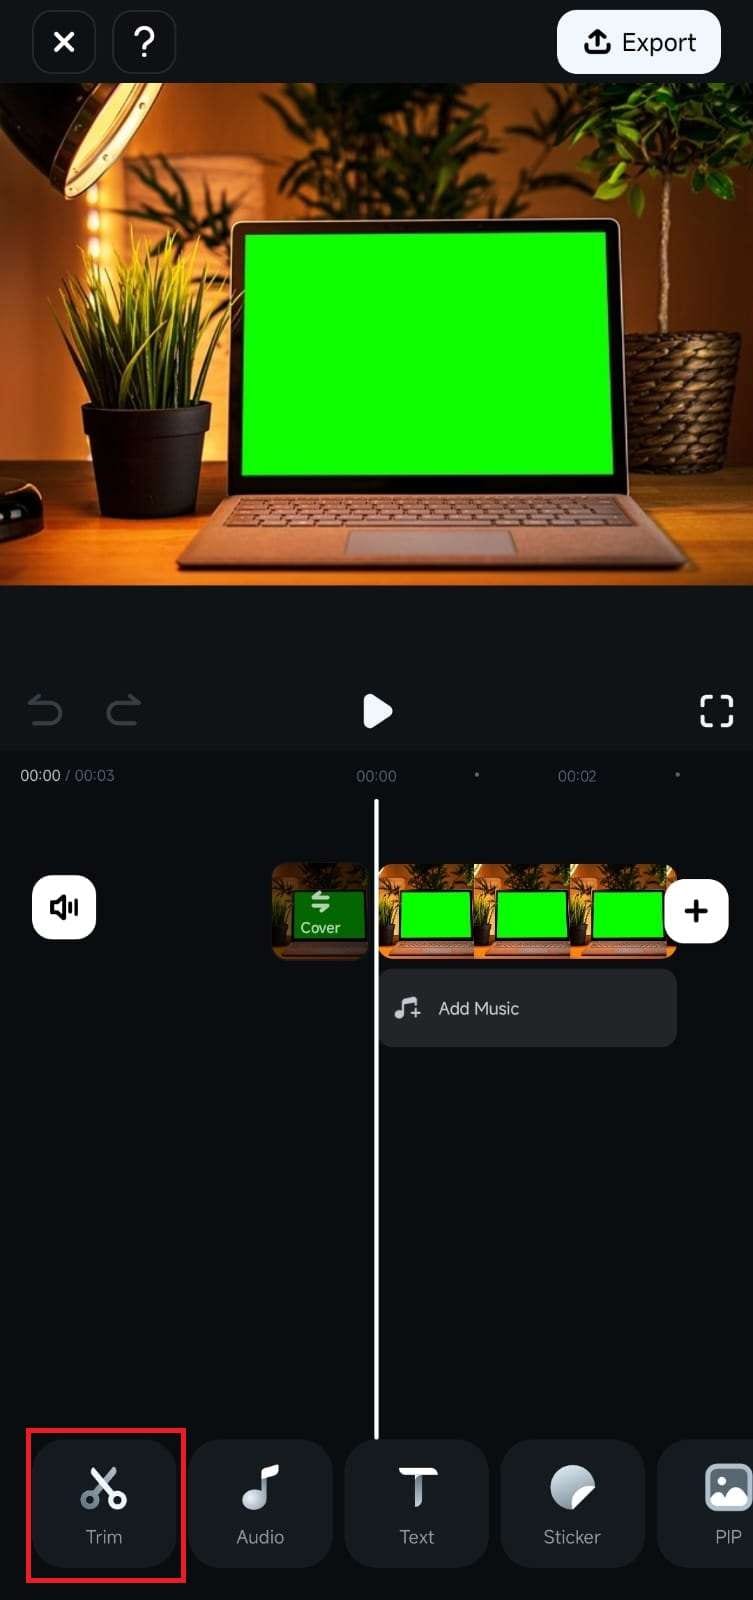
Tap "Trim" in the toolbar at the bottom to access video editing tools. Scroll through the options and select "Smart Cutout" from the menu. Tap the "Chroma Key" button to open its settings.
Step4 Apply and adjust the Chroma Key effect
Use the "Color Picker" tool in the Preview panel to select the green (or any other) background color. The app will instantly remove the chosen color.
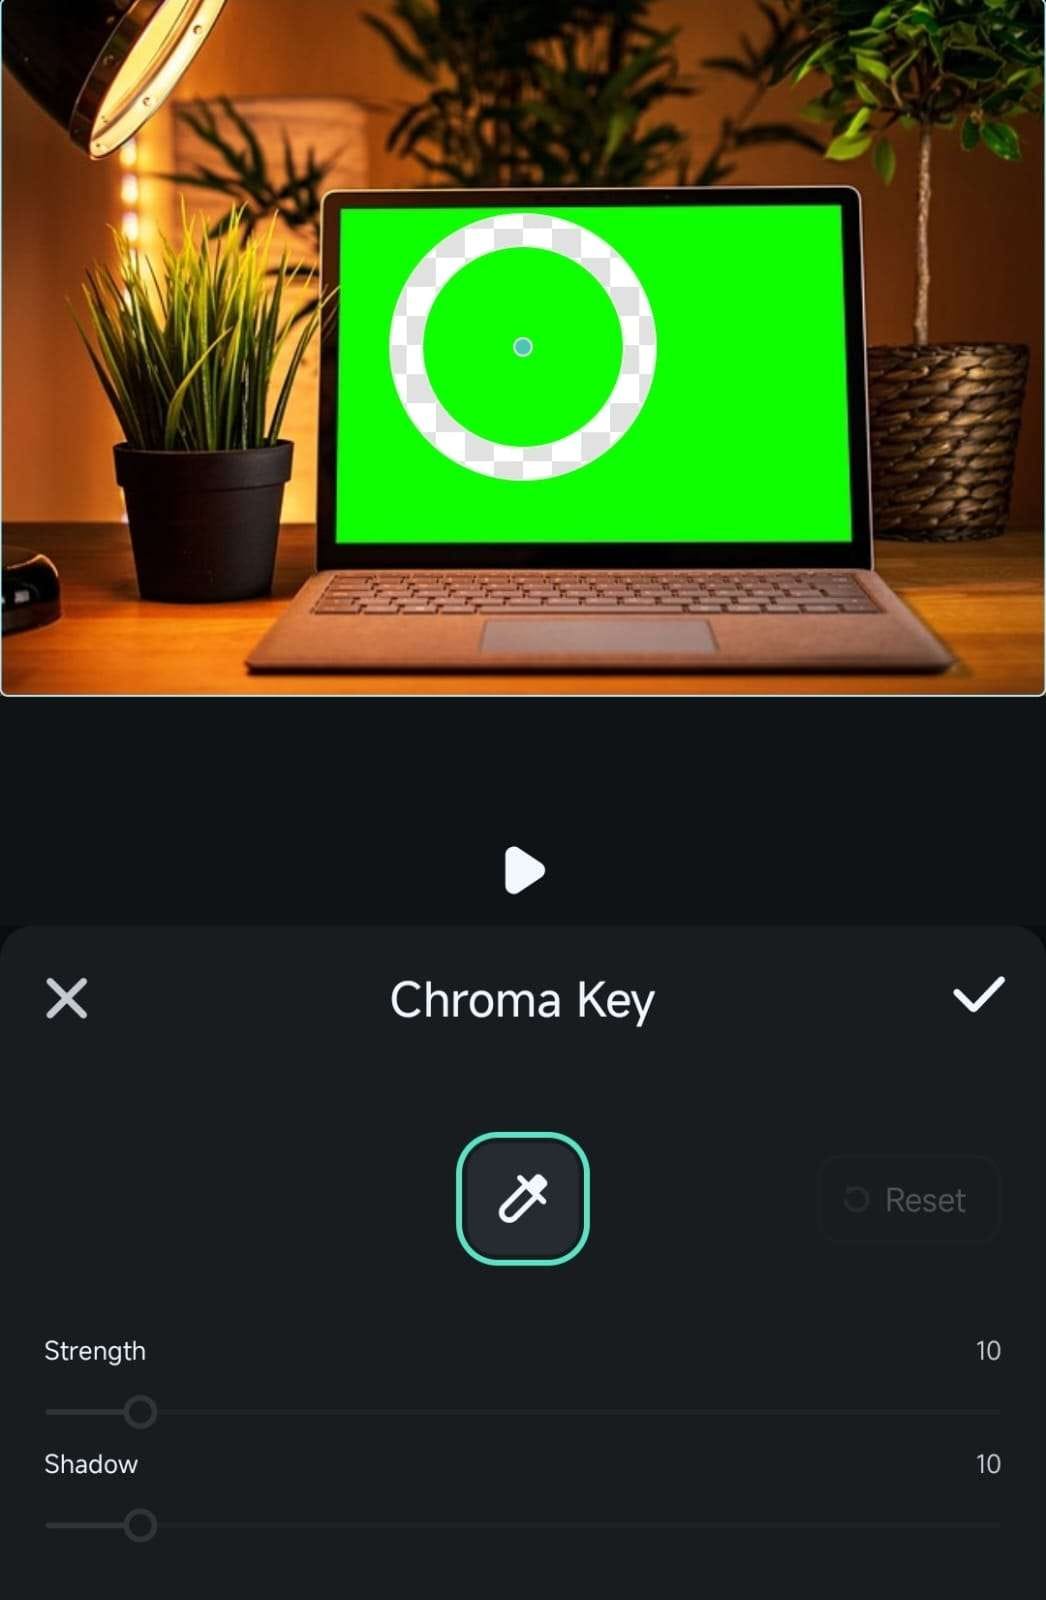
Fine-tune the effect using the "Strength" and "Shadow" sliders to achieve a polished look.
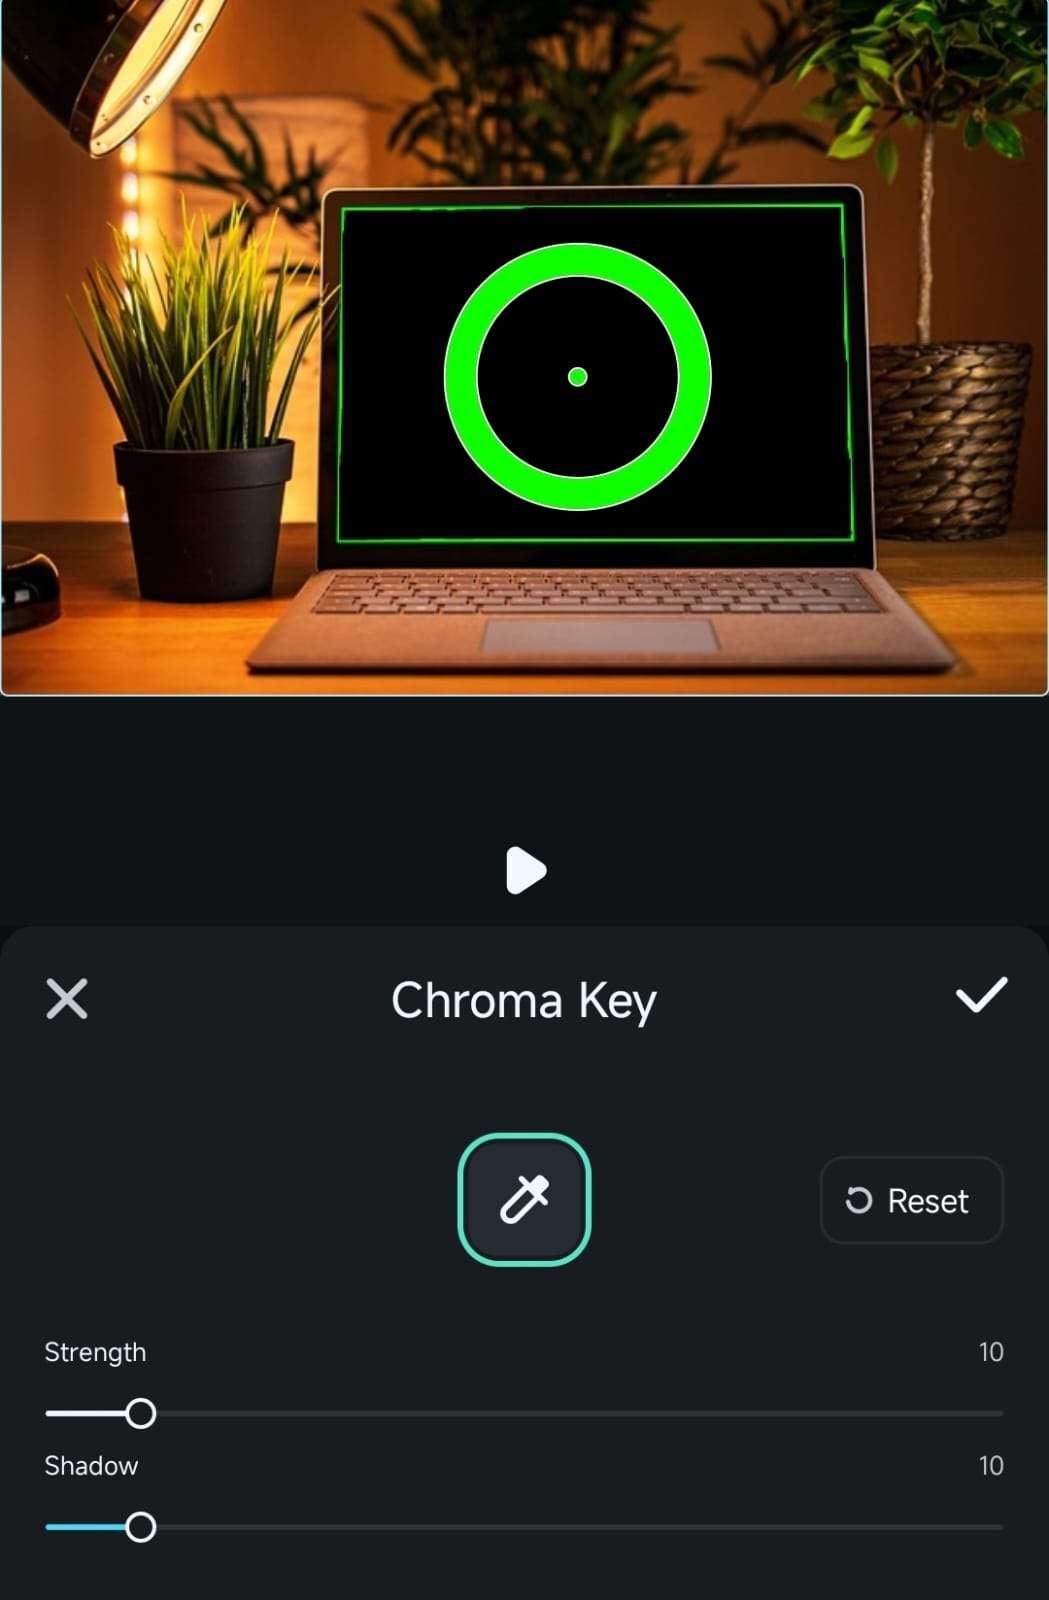
Tap the "Checkmark" button twice—first in the Chroma Key menu and then in Smart Cutout—to finalize your edits.
Now, you should remove the background of your video, and you can put it into another background that you want.
Way 2. Use iMovie
iMovie is one of the most preferred video editors among Mac and iPhone users. This is because the app comes from Apple, and there are ample features to enhance your video content and quality with effects. Adding a background to a green screen video using iMovie is quite easy. But replacing the background of a video without a green screen is rather tough.
Step1 Launch iMovie from the Applications folder on your Mac as it comes pre-installed.
Step2 Import your green screen video as well as replacement background video or photo to the Project Media folder.
Step3 Drag and drop them into Timeline and place the green screen video above the replacement background video/photo. Make sure that the duration of both videos is the same.

Step4 Click on the green screen video, click on Video Overlay Settings, and select the Green/Blue Screen option from the drop-down menu.

Step5 You can adjust the Softness as well as the Clean-up option so that the green screen effect is perfect.

Way 3. Use Premiere Pro
When it comes to professional video editing, Premiere Pro is undoubtedly one of the most widely used video editors. The learning curve is steep for amateurs, but professionals love to edit videos in Premiere Pro. You can edit 4K videos, 3D videos, multi-cam videos, and it supports cross-platform project workflow. You can replace green screen background with any desired background video or image. Here are the steps on how to add background to green screen in Premiere Pro.
Step1 Launch Adobe Premiere Pro and go to File> Import option. Select the green screen video clip as well as the replacement background video and click on the Open button.

Step2 Drag the video clips from the Project panel and place them to Timeline so that the green screen video stays at the top.
Step3 Go to the Effects tab and click on Effects> Keying> Ultra Key.

Step4 Click on the eyedropper tool under Ultra Key and use the tool to select the green screen background color.

Step5 Go to Ultra Key> Output> and select the Alpha Channel option. Set Setting located under Output to Aggressive.

Step6 Go to Matte Generation and adjust Transparency using the slider available.

Step7 You will see the green screen get replaced by the video or photo you have placed below the green screen video in Timeline.

Part 2. How to change the background of green screen image?
Adobe Photoshop is one of the best photo editors that professionals use to edit photos as per requirements. You can change the background of green screen image and replace the green screen with any image of your liking. You should have a green screen image as well as a replacement image. Here are the steps how to change green screen image on Photoshop.
Step1 Launch Adobe Photoshop and import the green screen image as well as the replacement background image.
Step2 Copy the replacement image and paste it on the green screen image. Make sure you move the layer of the replacement image is placed below the green screen image so that it stays hidden.

Step3 Now select the green screen image layer, go to the Select menu, and click on Color Range. You will get an eyedropper tool. Press the Shift key and click the areas where the green screen background is there so that you can remove it. Click on the OK button when done.

Step4 Go to the Select menu and click on the Inverse option. Go to the Select menu and click on the Refine Edge option. This is to smoothen the edges so that no green screen is visible. Click on the Ok button.

Step5 Go to the Select menu and click on Inverse option. Press the Delete key, and the green screen background will disappear, and the replacement image will appear in the background.

The Bottom Line
We have illustrated how you can add a background to your green screen video on your computer and also explained how you can replace green screen background in your photo with any image. However, for the best results, you need to use a green screen and use Filmora to add a background instantly.
