Sound is just as important as visuals when creating videos. Clear audio enhances the viewing experience, making it easier for the audience to understand and connect with the content. However, even well-produced videos can suffer from bad sound due to poor recording conditions or faulty equipment.
When that happens, the overall quality of the video takes a hit. Fortunately, improving the audio quality in videos is possible. This article will guide video producers through practical methods on how to enhance the audio in videos to ensure your content sounds as professional as it looks.

In this article
Part 1. What Should You Look for in Audio Quality?
Before improving video audio quality, know what defines good audio. Understanding the key elements of high-quality sound will help you identify and correct issues in your recordings. Good audio ensures that the message is communicated in any video, enhances the viewing experience, and maintains a professional standard.
What Is Good Audio Quality?
The following features characterize good audio quality:
- Clarity. Clear audio means the speech or sound is easily understood without unnecessary noise or interference.
- Balance. Properly balanced sound ensures that no one element overpowers the other. For example, background music should complement, not drown out, spoken dialogue.
- Lack of distortion. Distortion occurs when sound levels are too high or when recording equipment is overloaded. Clean audio has no distortion and sounds natural to the ear.
- Consistent volume levels. Consistency in volume ensures that the audio doesn’t suddenly get too loud or soft. All elements in the video should be heard at an appropriate, even level.
Common Audio Problems in Videos
Many videos suffer from common audio issues that reduce overall quality. Here are some of the most frequent problems:
- Background noise. Sounds like wind, traffic, or people talking can easily creep into recordings and distract from the main audio.
- Echo. Recording in large, empty rooms or areas with hard surfaces can cause unwanted echo, making speech difficult to understand.
- Hisses and hum. Low-frequency hum or high-pitched hissing sounds can be caused by poor microphone quality or faulty equipment.
- Inconsistent audio levels. Sometimes, certain video parts are too quiet, while others are too loud, which can frustrate viewers.
- Distortion. When the audio is too loud during recording, it can lead to distortion, resulting in harsh, unpleasant sound quality.
By understanding these core aspects and identifying common problems, you can begin to address any audio issues in your videos and improve overall sound quality.
Part 2. How To Improve Audio Quality in a Video With Filmora
Learning how to improve the audio quality of a recorded video is a helpful skill, especially for editors. These days, you no longer need to have a dedicated audio editor. Most video editors worth their salt lets you manage and enhance visual and audio elements in one application. This approach not only saves time but also provides a smooth editing experience.
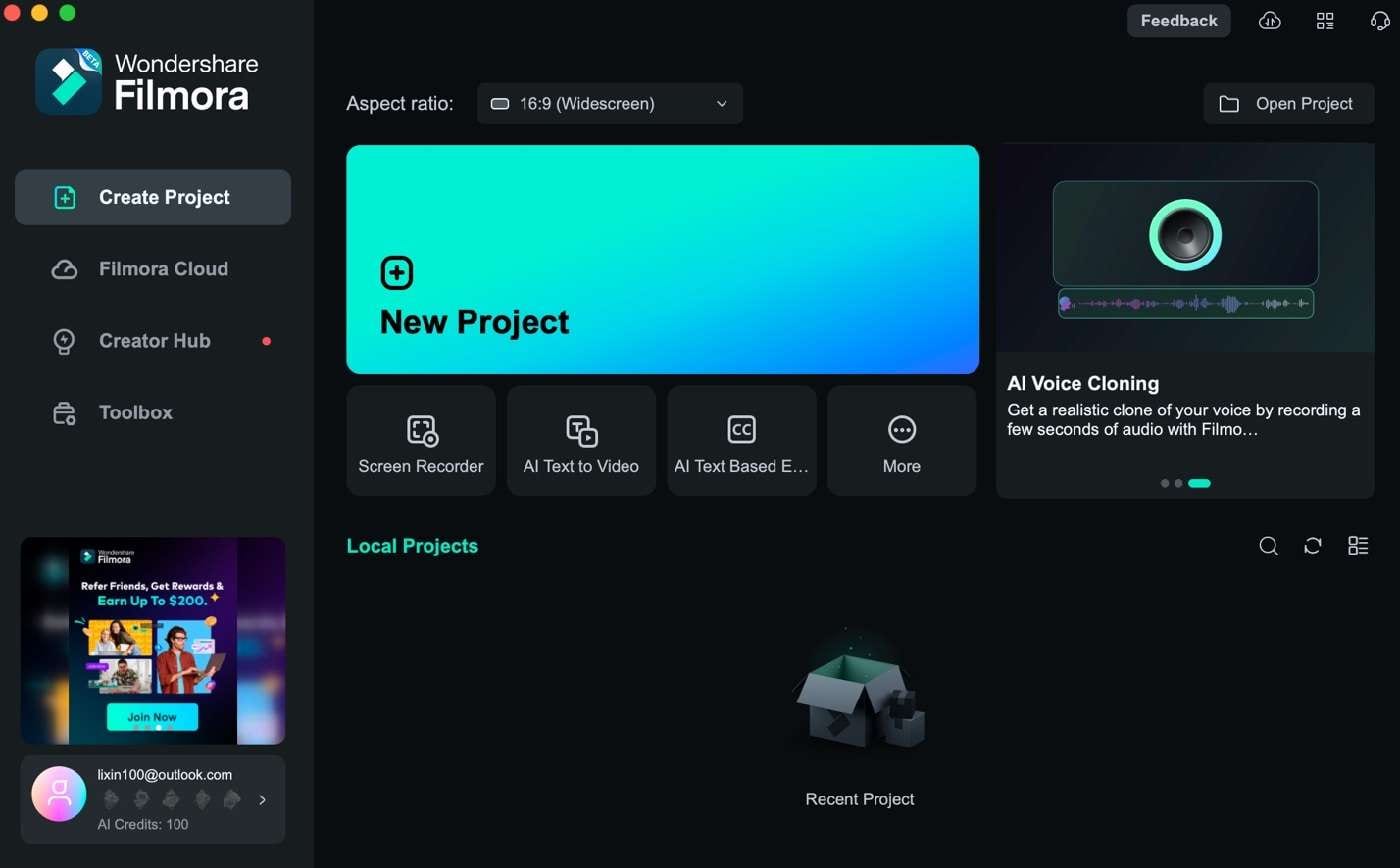
Wondershare Filmora is a great choice for video editing. It offers powerful tools designed to enhance audio quality effortlessly. Filmora is known for its robust features catering to beginners and experienced editors. Here’s how Filmora can help you achieve professional-sounding audio in your videos:
- Audio denoise. Filmora’s Audio Denoise feature effectively removes background noise, such as static or hum, that can detract from the clarity of your sound.
- Equalizer (EQ). The built-in Equalizer allows you to adjust specific frequency ranges, enhancing or reducing bass, treble, and midrange sounds.
- Audio mixer. Filmora’s Audio Mixer controls multiple audio tracks, allowing you to adjust volume levels and balance audio elements such as dialogue, music, and sound effects.
- Audio fade. The Audio Fade feature achieves smooth transitions between audio clips or between audio and video.
- Audio effects. Filmora includes a variety of audio effects, such as reverb and echo, which can be used to add a certain sound to your videos.
Introducing Wondershare Filmora’s AI Voice Enhancer
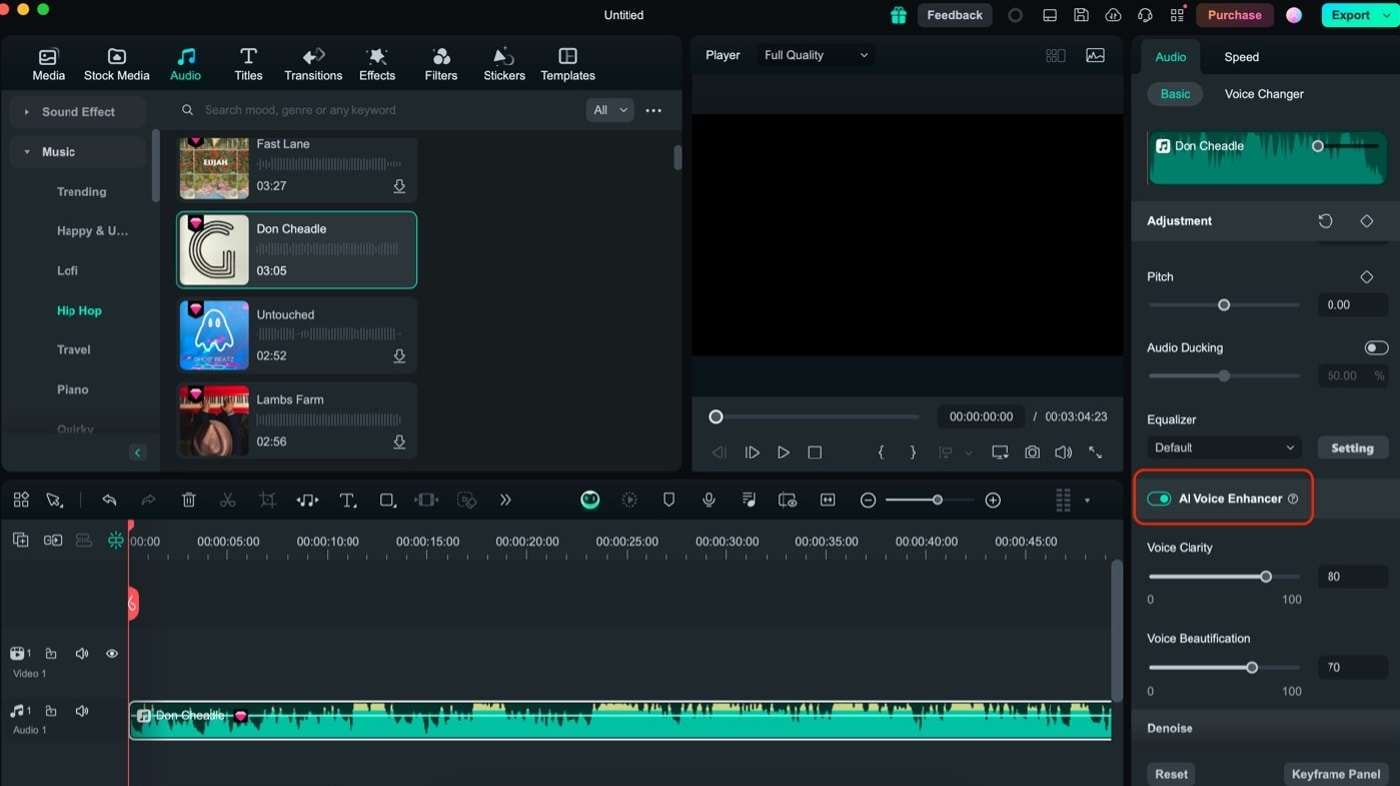
One of the standout features of Filmora is its AI Voice Enhancer. It uses advanced artificial intelligence to analyze and improve the quality of voice recordings. The AI Voice Enhancer starts with detecting issues like noise and distortion. Then, the feature applies corrections to enhance them. This way, you won’t have to manually adjust the audio of your videos.
How To Use Filmora’s AI Voice Enhancer
After learning about Filmora, it’s time to learn how to improve video audio quality using this powerful tool.
Step 1: Download, install, and launch Wondershare Filmora. Log in or sign up with a Wondershare, X, Facebook, Apple, or Google account.
Step 2: Start a New Project.
Step 3: Under Project Media, Import the video that needs to be enhanced.
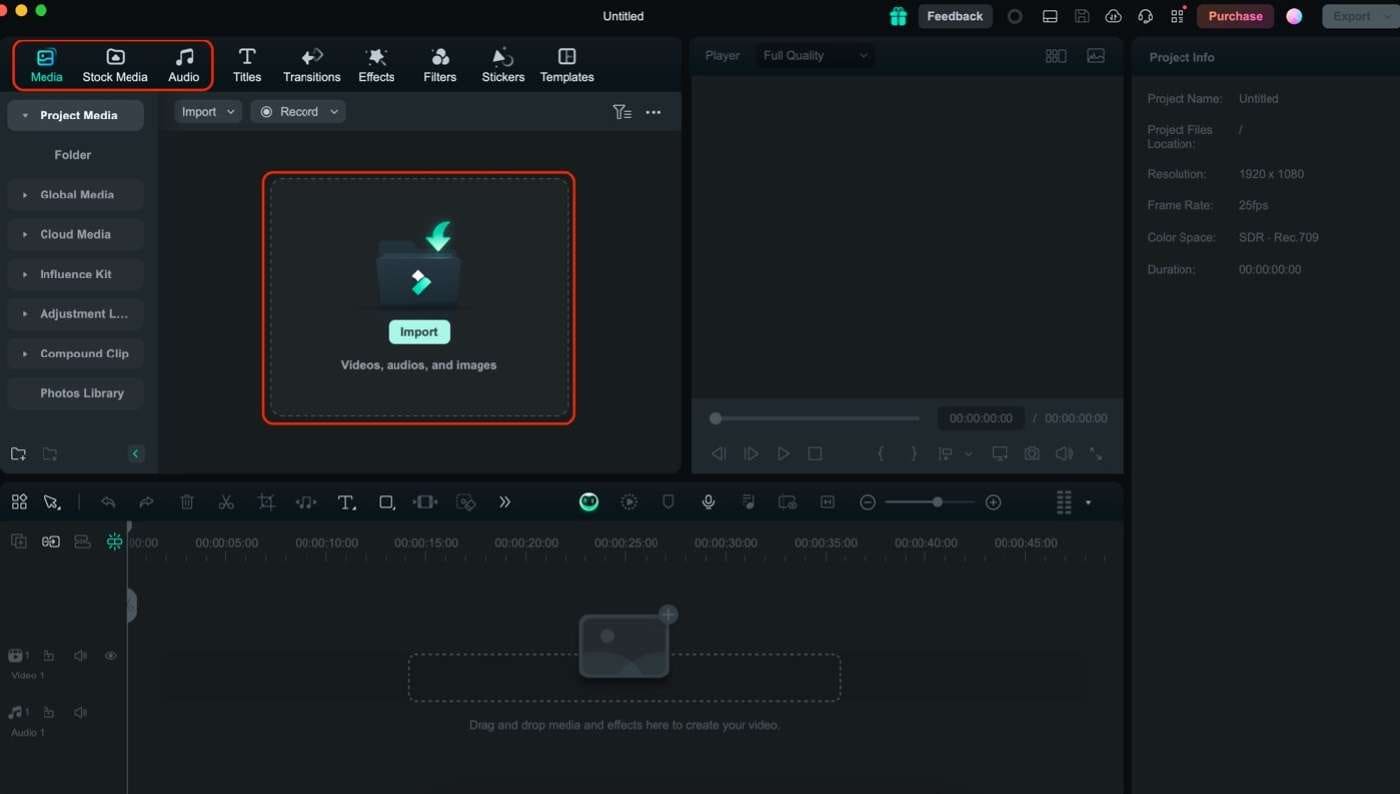
Step 4: Select the audio clip of your video. Then, under the Audio panel, look for AI Voice Enhancer and toggle it.
Part 3. Tips To Enhance Audio Recording Quality for Videos
Improving video audio recording quality is crucial, especially when dealing with multiple audio sources. High-quality audio recordings contribute significantly to your videos’ overall impact and professionalism. Here’s how to ensure that each audio element in your video is recorded optimally:
Use the Right Microphone
Choosing the appropriate microphone for your recording needs can make a significant difference in audio quality:
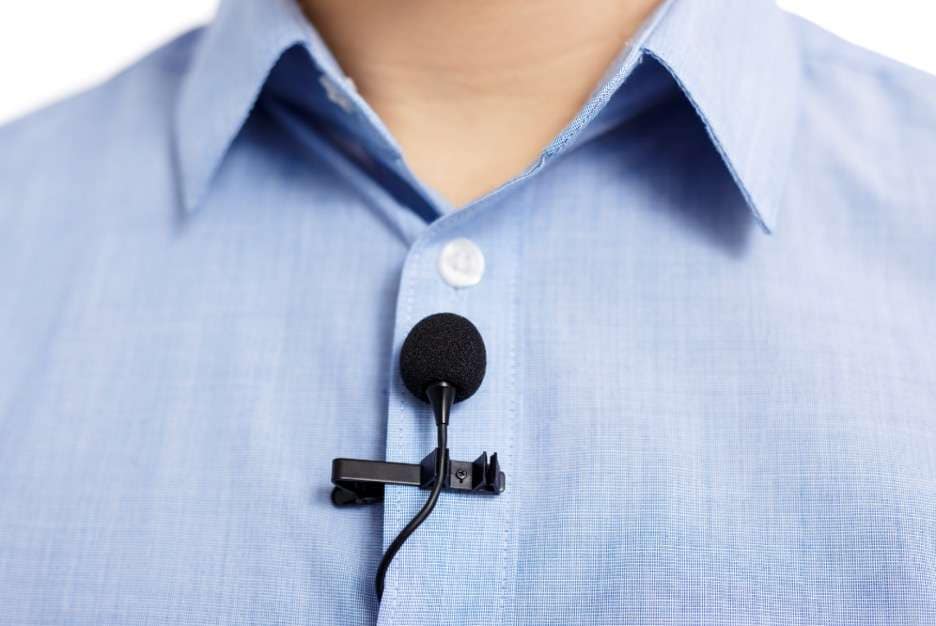
- Clip-on microphones. These mics are ideal for an interview or presentation settings where the speaker needs a hands-free operation. These lavalier mics are designed to capture clear, direct audio from the speaker’s voice. They are usually placed on the upper torso of the speaker.
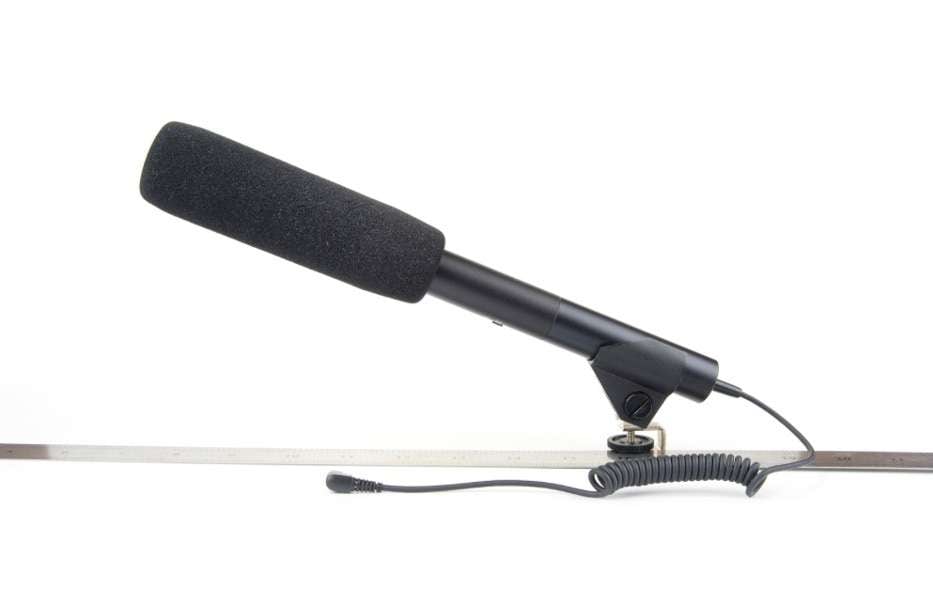
- Shotgun microphones. Best for capturing directional sound from a specific source while minimizing background noise. These can be great for directional sound or in larger spaces.
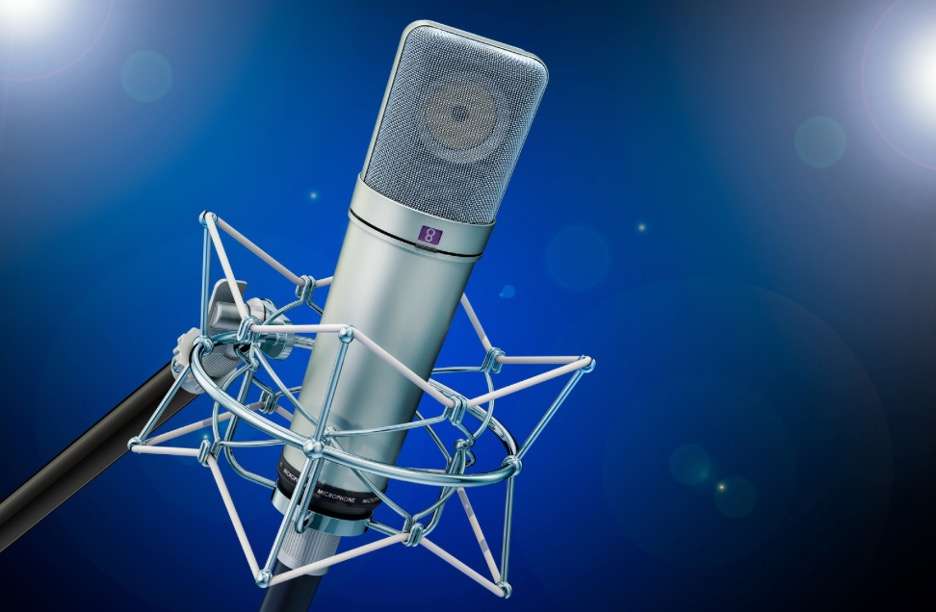
- Condenser microphones. Suitable for studio-quality recordings where capturing rich and detailed sound is essential. They are great for voiceovers or any situation where high fidelity is required.
Positioning the Mic Correctly
Proper microphone placement is critical to capturing the best sound. Keep the mic at an appropriate distance from the sound source. For speech, a distance of 6 to 12 inches is usually okay. Too close can cause distortion, while too far can result in a weak signal.
Especially for condenser mics, position them to face the sound source directly to minimize unwanted noise and ensure precise recording. Learn to experiment with angles to find the optimal position for clear audio capture.
Controlling the Environment
The recording environment or ambiance can greatly affect recording quality. So, you’ll have to reduce echo, reverberation, and background noise. If recording in a room with hard surfaces, use sound-absorbing materials like cloth or foam panels to reduce echo and reverb. This helps in achieving a cleaner and more focused sound.
Also, ensure that you’re recording in a quiet environment to avoid capturing background noise. If this isn’t possible, just use noise-reducing techniques like wrapping your microphone with a cloth.
Setting Appropriate Levels for Recording
Proper audio levels are crucial for clear recordings. So, set the recording levels higher for dialogue or speaking parts, but ensure it’s balanced to avoid peaking or distortion. Levels should be high enough to be heard without overloading the audio.
It’s also good to use headphones to monitor audio levels during recording. This lets you catch and address real-time issues. This way, you won’t have to waste energy finishing the whole recording only to find yourself with poorly recorded audio.
Record Separate Audio Files
For the best post-production results, separate tracks. Record separate audio files for different elements, such as dialogue, sound effects, and music, if possible. This allows for greater flexibility during editing, enabling precise adjustments and balancing in post-production.
Part 4. Editing Tips To Improve Audio Quality in Videos
Enhancing video audio quality doesn’t end with recording; editing is crucial in refining and perfecting your sound. While Filmora’s AI Voice Enhancer provides powerful automatic enhancements, it offers other tools to help you learn how to enhance audio quality in videos.
Maintain Consistent Volume Levels
Use Filmora’s Audio Mixer to balance and control the volume of different audio tracks. This tool allows you to adjust the volume levels of various audio elements. This includes audio elements like dialogue, music, and sound effects. Maintaining volume levels prevents the situation where a single audio track overpowers the others.
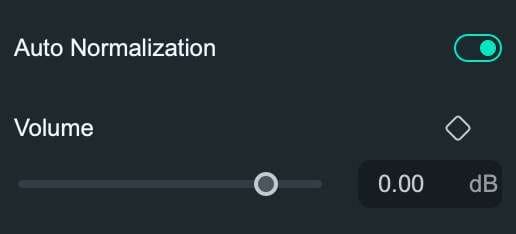
Auto Normalization
Auto Normalization is a feature that automatically adjusts the volume of your audio tracks to a consistent level. This process ensures that all audio elements are balanced and at an optimal volume, making the overall sound more uniform. You can avoid situations where the audio is too loud or too soft.
Adjusting Sound Characteristics
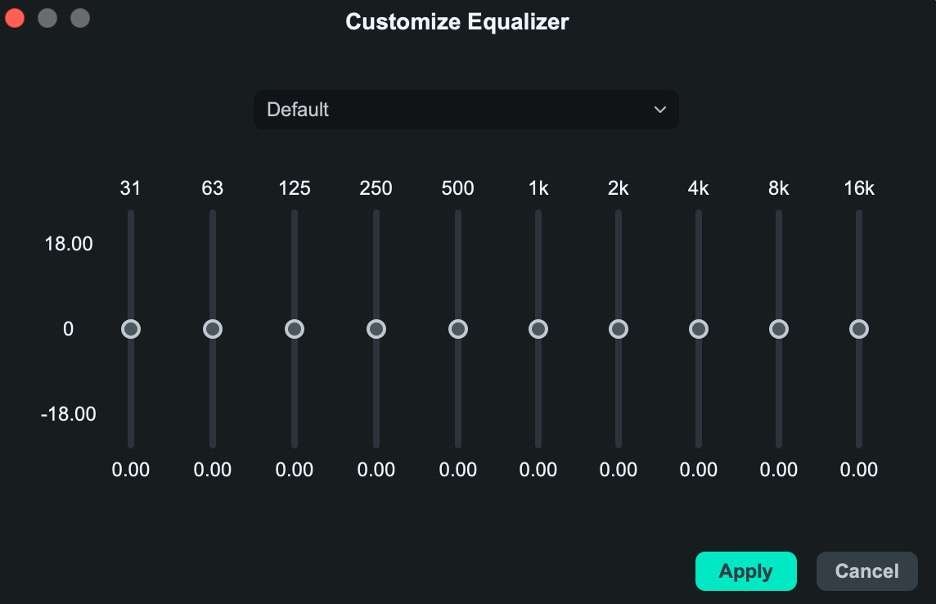
Filmora’s Audio Equalizer allows you to fine-tune the sound characteristics of your audio. You can adjust various frequencies, such as bass, midrange, and treble, to enhance or reduce specific aspects of your sound. For example, boosting the bass can add warmth to your audio, while cutting excessive treble can minimize harshness.
Conclusion
To make your video audio sound great, start with good recording practices and use effective editing techniques. Choose the right microphone, position it well, control your recording environment, and set proper audio levels. Keep volume levels consistent in editing, use auto normalization, and tweak the sound with an equalizer.
Wondershare Filmora is an excellent tool for these tasks. Its features make editing easy, helping you achieve clear and professional video audio. This will definitely help you learn how to improve the audio quality of videos.


 100% Security Verified | No Subscription Required | No Malware

