


Have you ever wondered how those amazing animation previews come to life? The secret to this process lies in image sequences, a series of still images that, when played back rapidly, create the illusion of movement.
But how do you take these individual frames and turn them into a smooth MP4 video? There are several ways to achieve this conversion! In this guide, we'll explore several different methods, each with its own set of steps, to help you convert JPG sequence to MP4 videos.
But first…
In this article
Why Do We Need to Convert EXR, Tiff, PNG, or JPG Sequence to MP4?
There are several reasons why you might need to convert EXR, Tiff, PNG, or JPG sequence to video:
- Wider Compatibility
MP4 is a popular video format that can be played on most devices and media players. Converting your PNG, JPG, or EXR sequence to MP4 makes it easier to share and play compared to individual image formats.
- Efficiency and Storage
MP4 video files are a lot smaller than image files, especially for high-resolution sequences like EXR. This means using MP4s is much better for saving and sharing files.
- Preview and Review
Converting PNG, JPG, or Tiff sequence to video results in a smoother and more realistic preview of your animation or visual effects project.
- Post-Processing
Some video editing software work better with MP4 files than with individual image sequences. Converting your files to MP4 will help you take full advantage of the software's features and effectively refine your videos.
With that sorted, let’s see how to convert an EXR, TIFF, or JPG Sequence to MP4.
Convert an EXR, TIFF, PNG, or JPG Sequence to MP4 Video Using Professional Video Editing Software
If you want to convert an EXR, TIFF, or PNG image sequence to an MP4 video, you can use a professional video editing software like Adobe Premiere Pro or Adobe Media Encoder.
In this section, we will discuss the steps to convert JPG sequence to video using both methods.
Method 1: Use Filmora Video Editor to Convert JPG Sequence to MP4
If you’re looking for a user-friendly and reliable tool to convert JPG to video, we suggest going for Wondershare Filmora. You can import a series of sequentially named image files, which are then automatically assembled into a video clip, enabling the creation of animations or time-lapses.
It is a popular video editing software known for its ease-of-use and powerful features. Whether you're a seasoned editor or just starting out, Filmora makes it easy to create stunning videos for various platforms.
The Image Sequence Feature of Filmora
- A cloud integrated image to sequence video software: Filmora offers multiple cloud integrations, allowing you to import images directly from your Google Photos, Google Drive, Dropbox or OneDrive in seconds, without having to transfer them to your computer beforehand.
- Creative effects: The ability to adjust duration, position, rotation, opacity, and apply effects, can be used to enhance and manipulate imported image sequences.
- Export flexibility: Filmora supports saving your final video as your need, no matter an MP4 or a GIF ensuring compatibility with as many platforms as possible.
Steps to Convert JPG to Video via Filmora
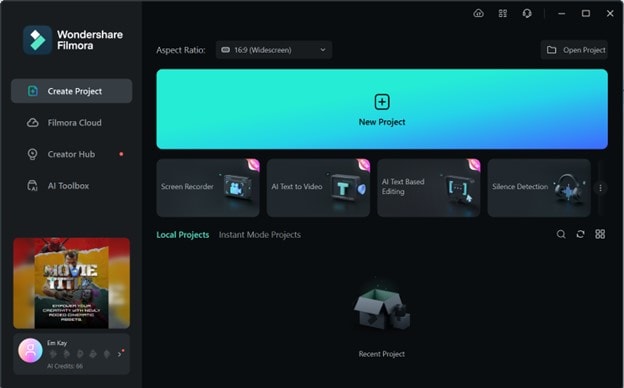
Step 1. Download and launch Filmora on your device, and select “New Project” from the interface.
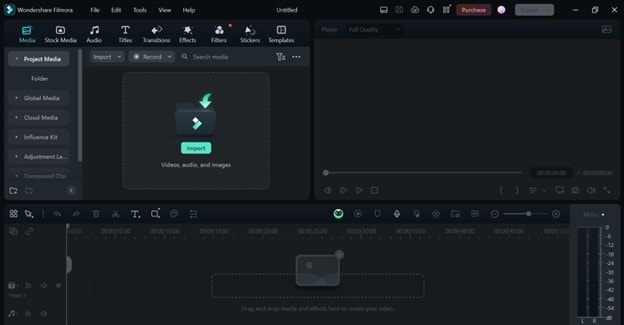
Step 2. Click on “Import” to add your JPG sequence to Filmora, and drag it to the timeline to start working on it.
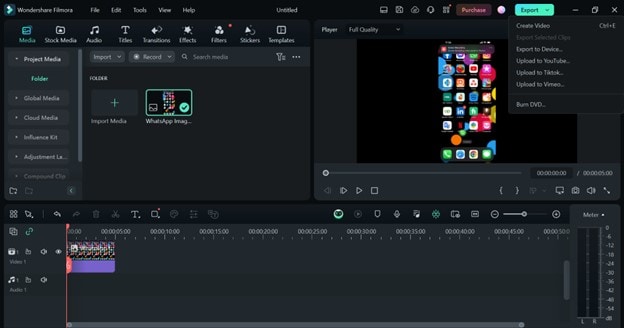
Step 3. You can edit the images as per your requirement, after which click on “Export > Create Video.”
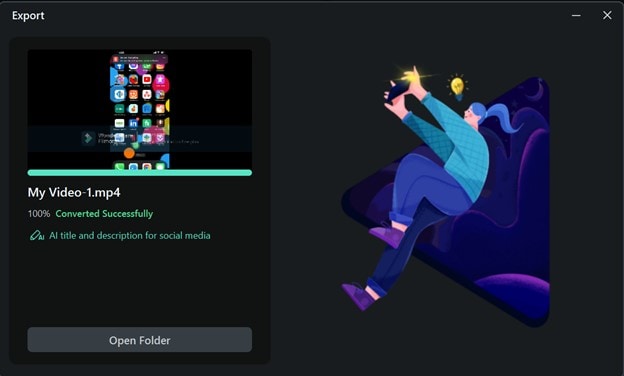
Step 4. Set the name, location, quality, resolution, frame rate, and other adjustments before clicking “Export.”

Step 5. It will take a few moments, and then Filmora will convert your JPG sequence to MP4.
Method 2: Use Adobe Premiere Pro to convert EXR, Tiff, PNG to MP4
The first method to convert EXR, PNG, or Tiff sequence to video is by using Adobe Premiere Pro. It is a powerful video editing software that can handle a wide range of file formats, including image sequences. Its user-friendly interface and advanced tools for video editing make it a good choice for converting image sequences to MP4.
Here are the steps for it:
Step 1. Launch Adobe Premiere Pro, go to “File > Import,” and select your image sequence.

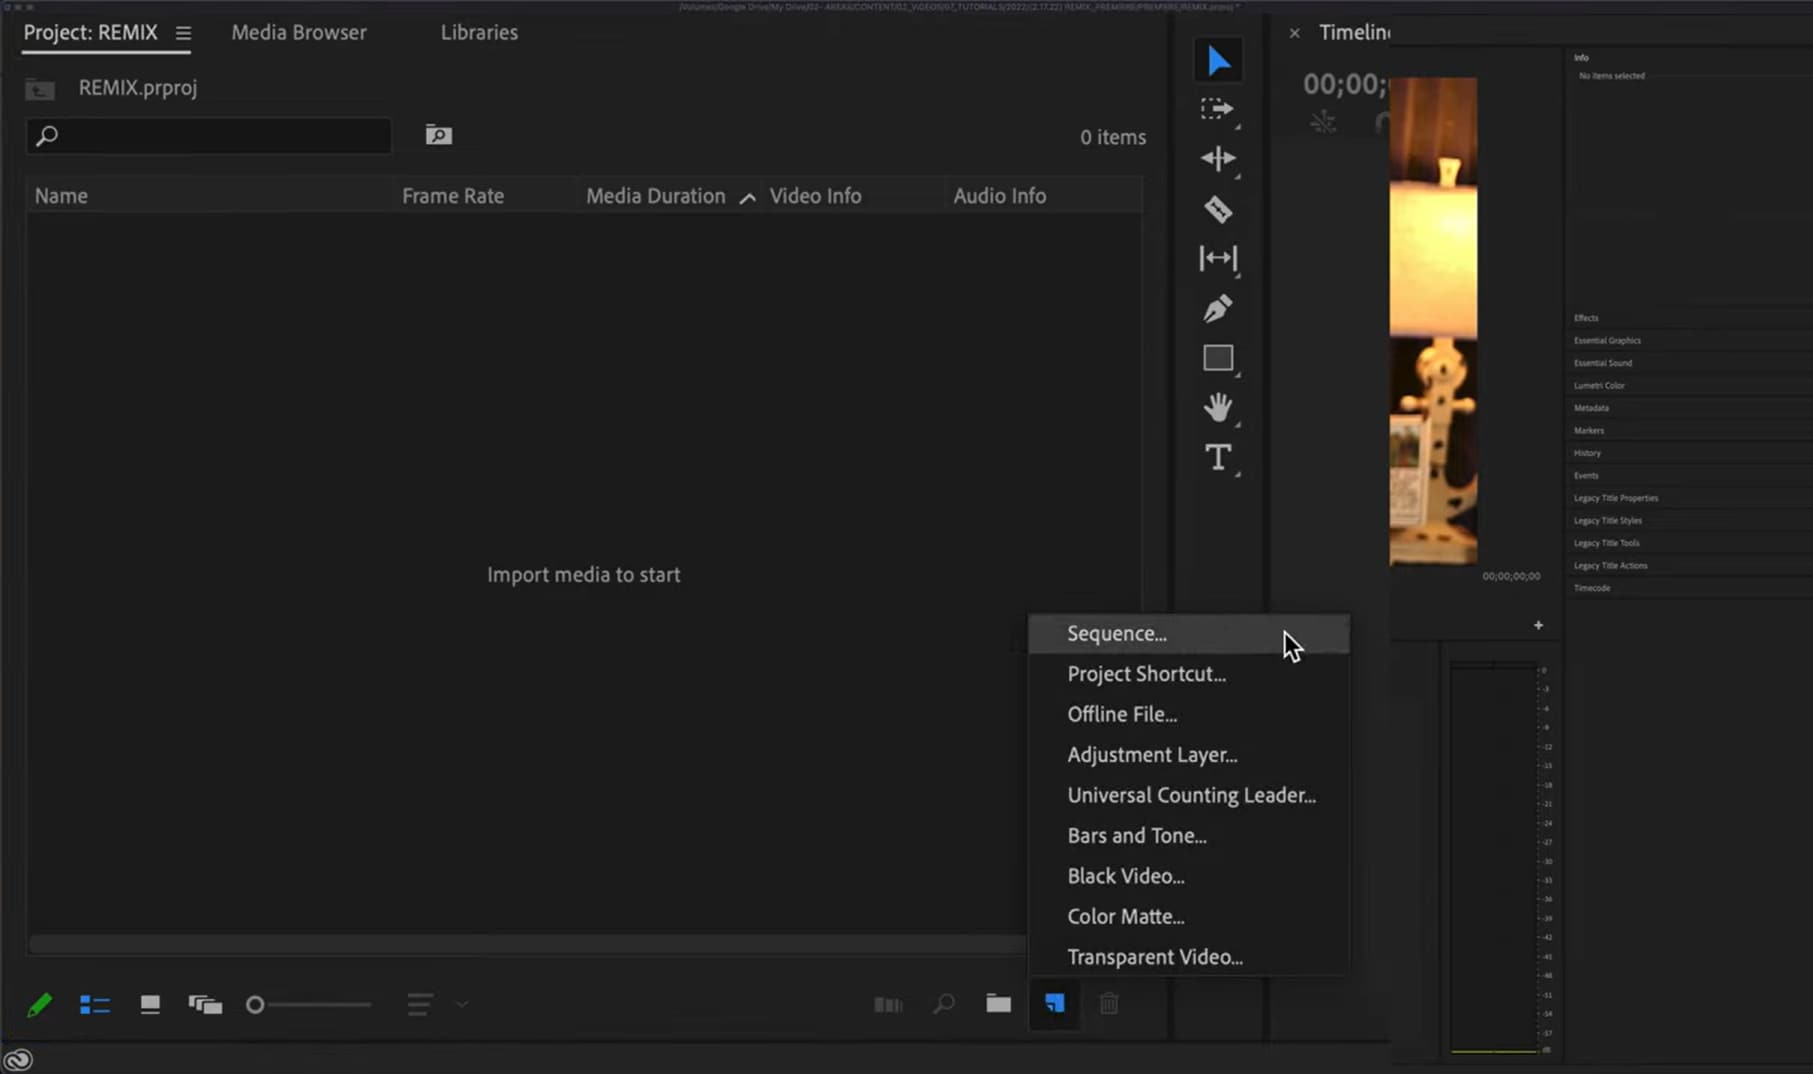
Step 2. Click on the “New Item” icon at the bottom and select “Sequence.”
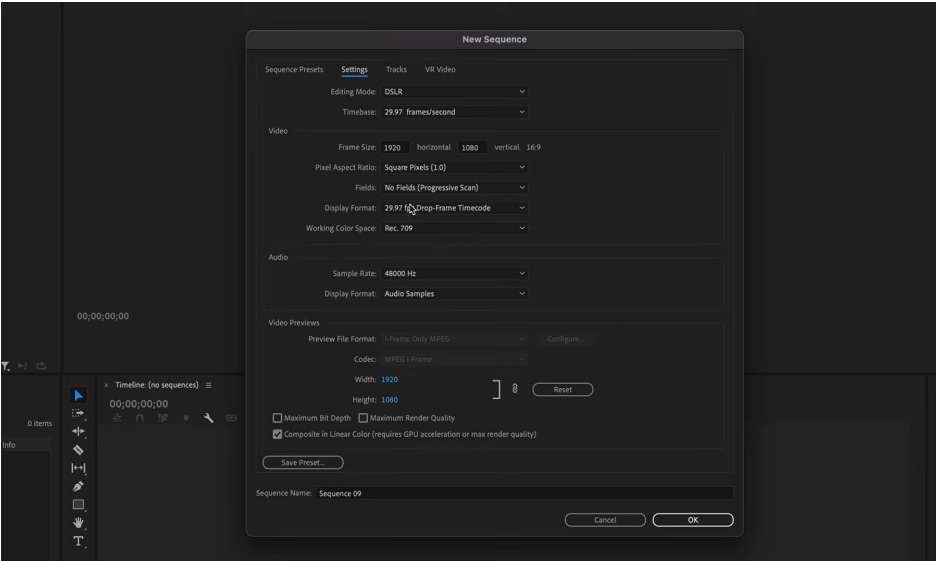
Step 3. Match the sequence settings, like frame rate, resolution, etc, to your image sequence, by clicking on “Settings.”
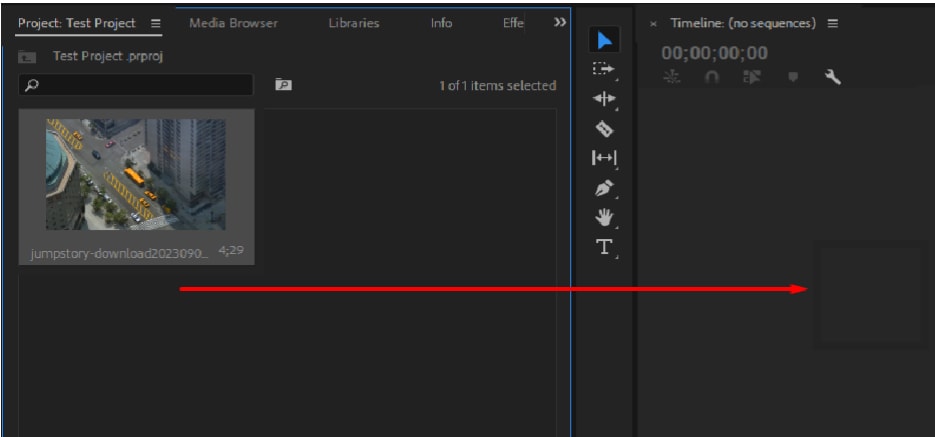
Step 4. Now, drag the image sequence to the timeline.
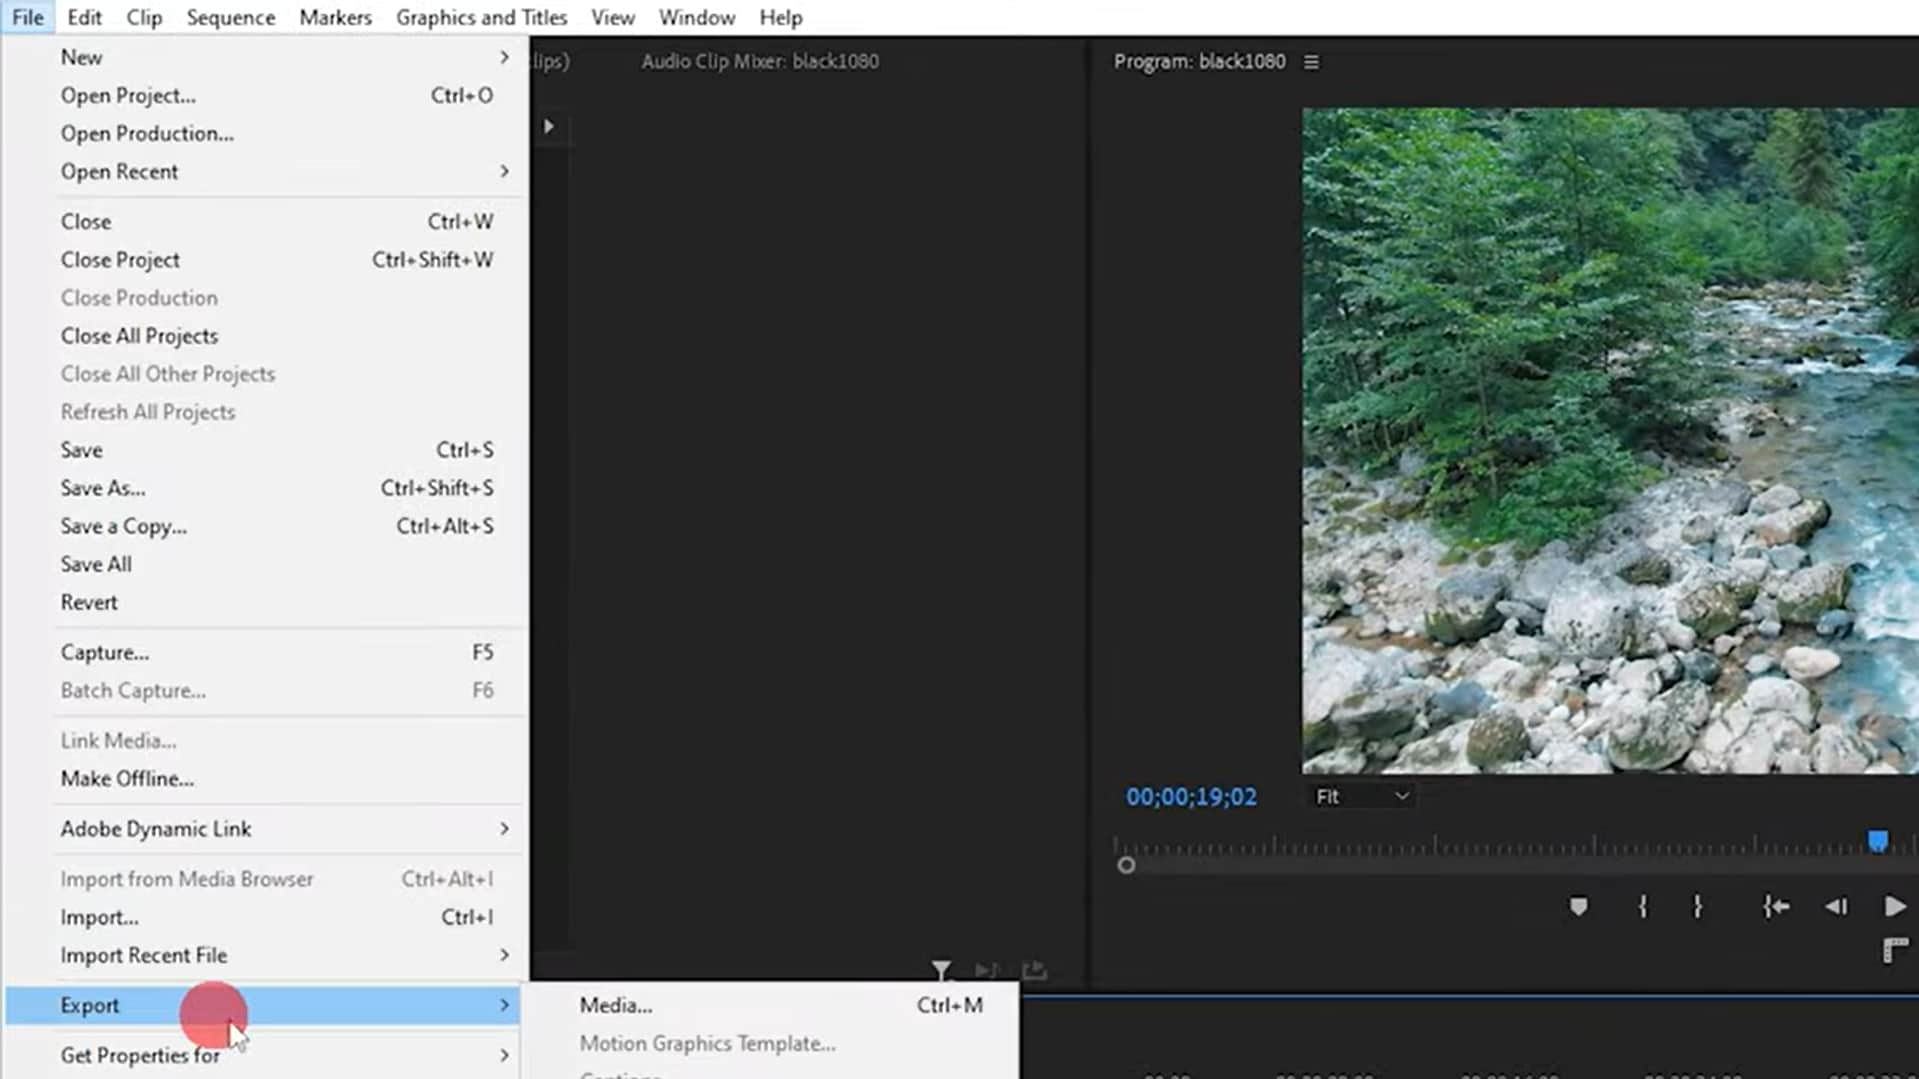
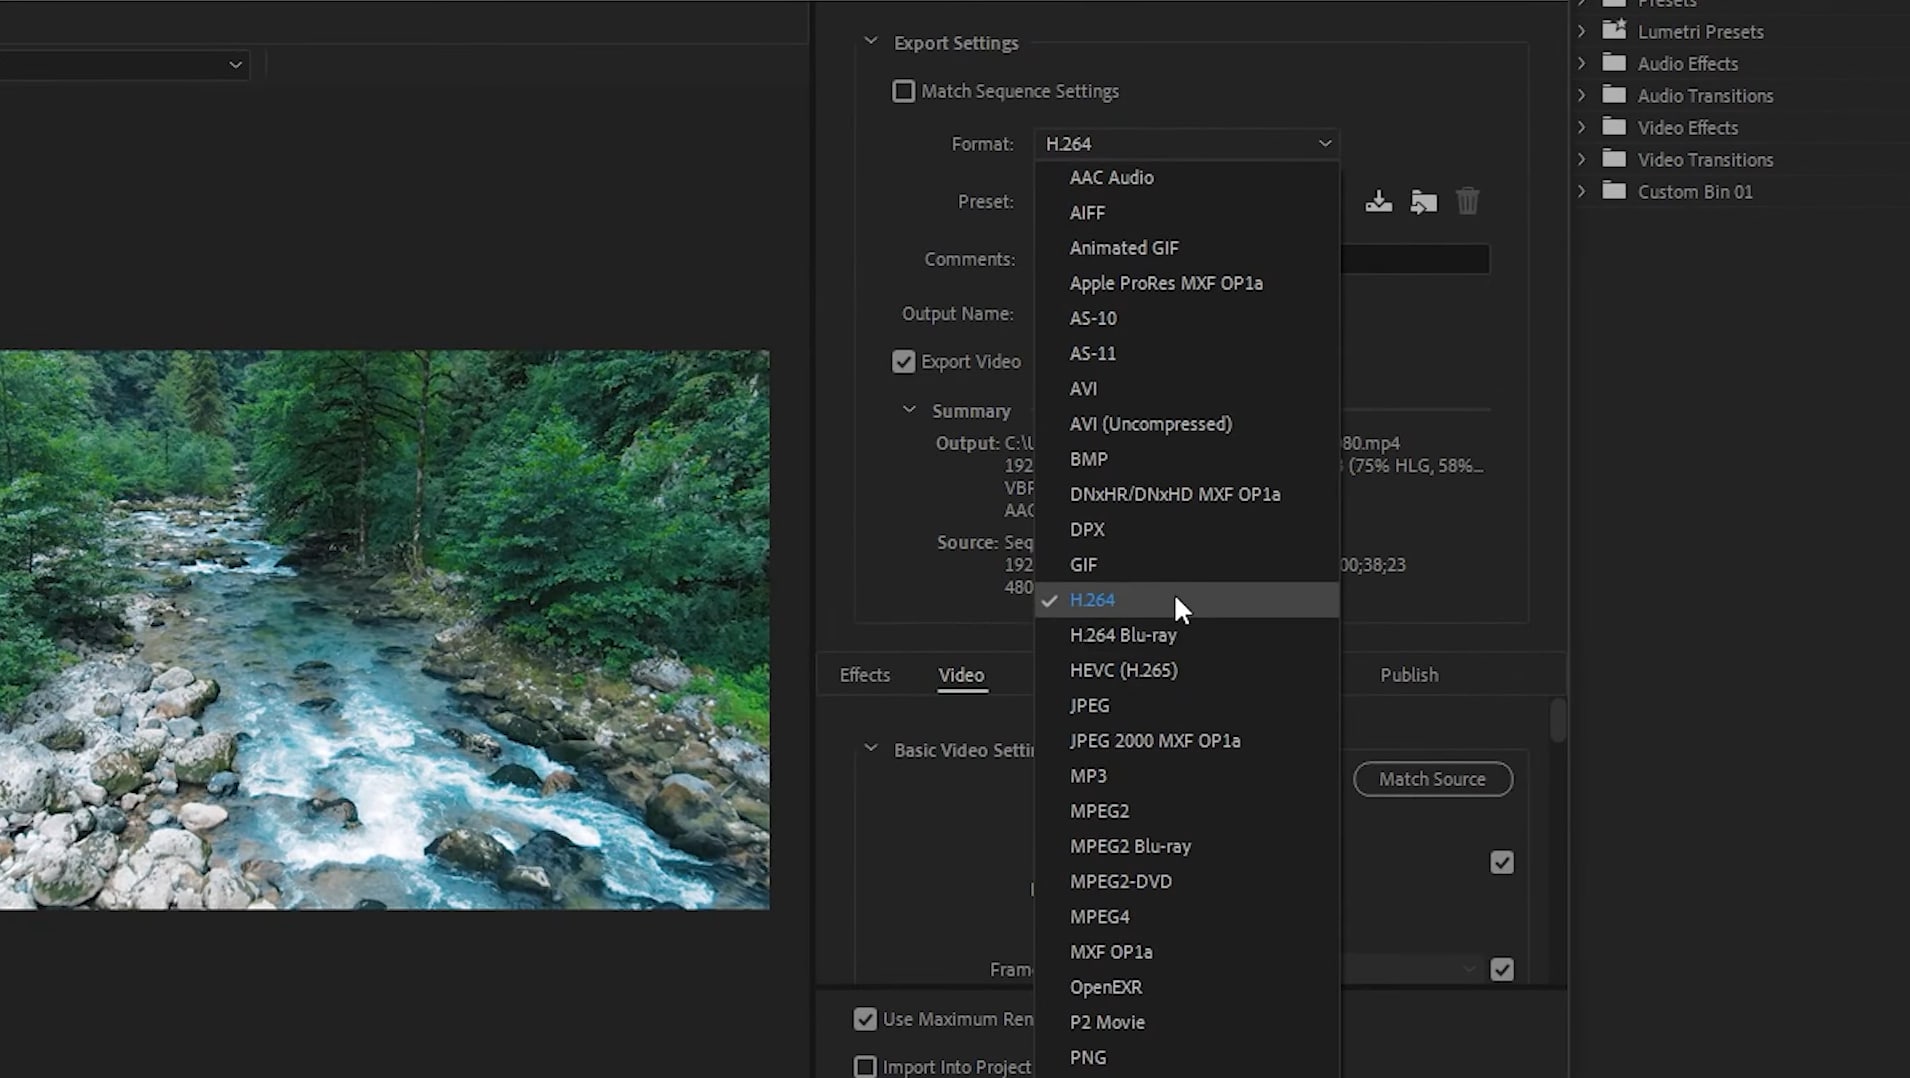
Step 5. Go to “File > Export > Media.”
Step 6. Select “H264” from the format drop-down menu and click “Export” to save your file as MP4.
That’s how to convert a JPG, PNG, Tiff, or EXR sequence to MP4 in Adobe Premiere Pro.
Method 3: Use Adobe Media Encoder to convert EXR, Tiff, and PNG to MP4
Another way to convert JPG sequence to MP4 is via Adobe Media Encoder. It's a media conversion and encoding tool that works well with other Adobe Creative Cloud applications. It's great for converting image sequences to MP4 format quickly and efficiently.
Here’s how:
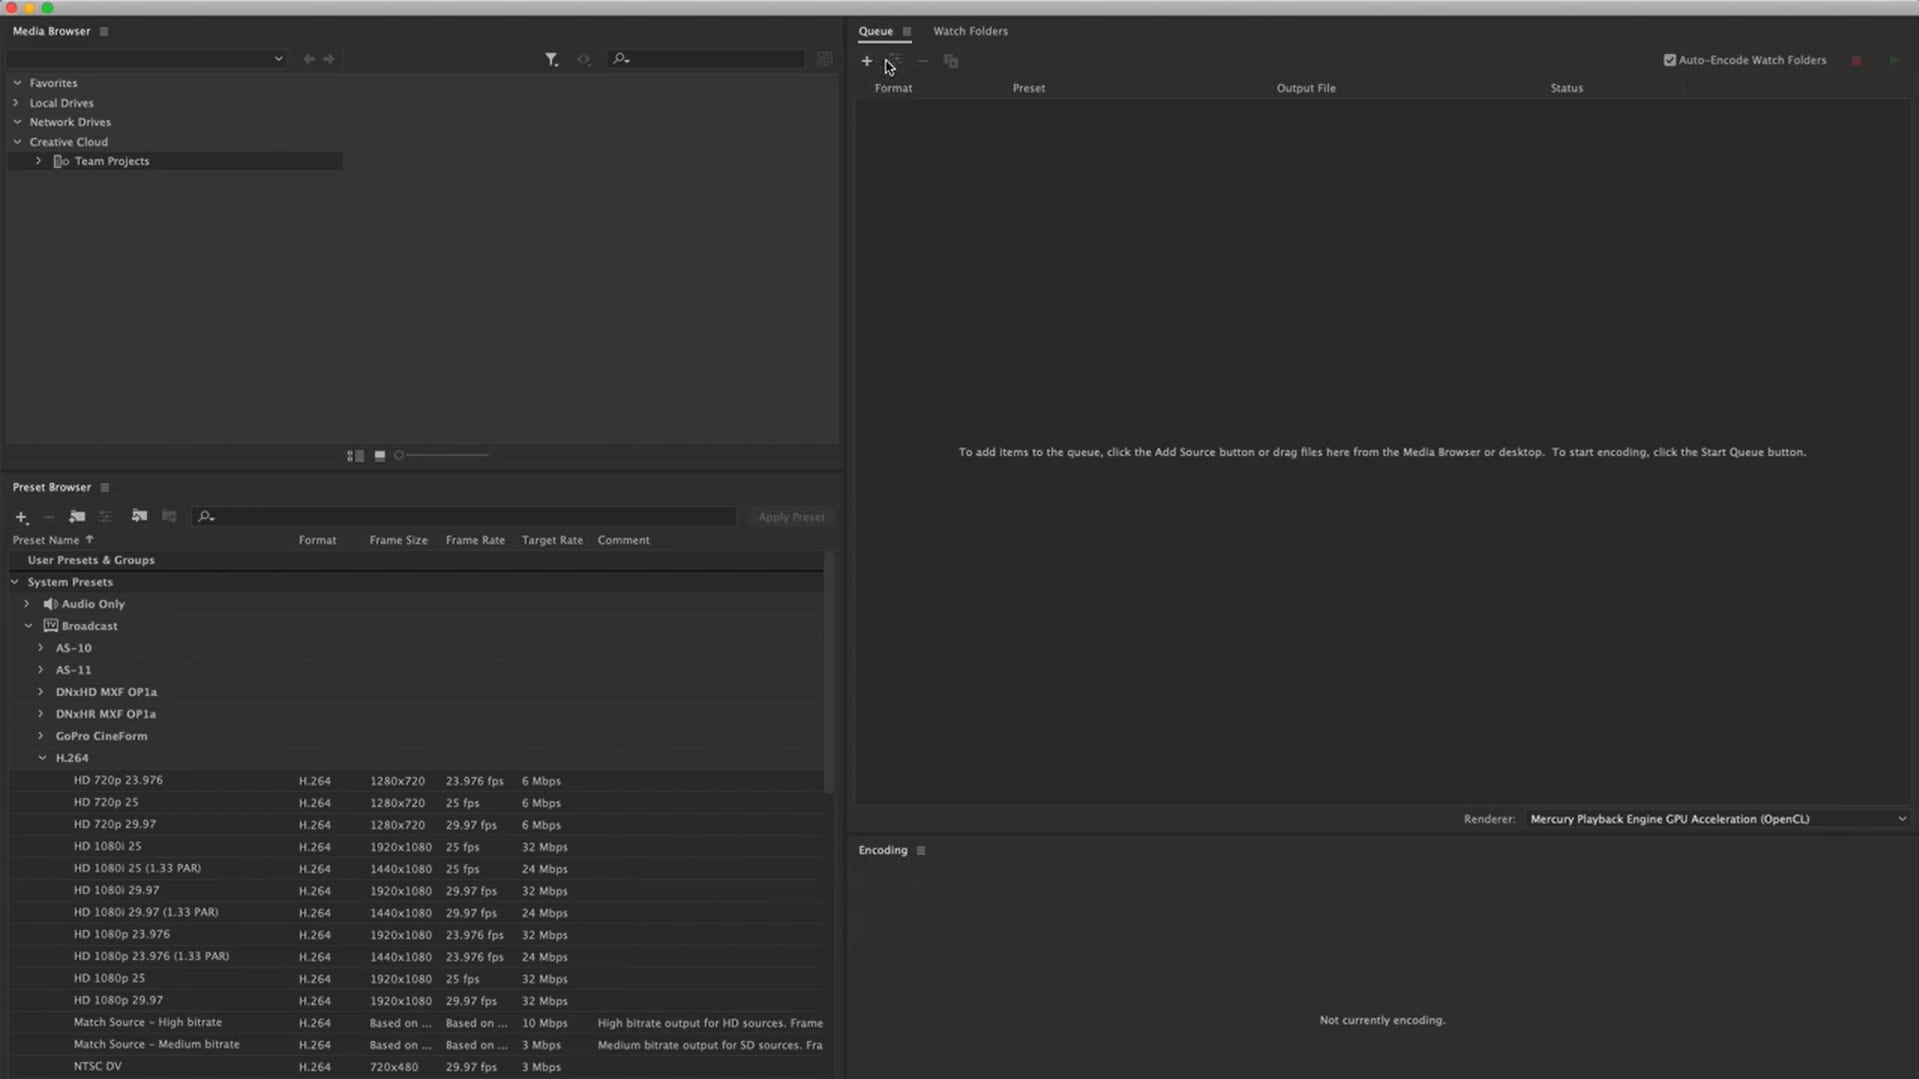
Step 1. Launch Adobe Media Encoder and click on the “+” sign at the top-left corner of the cue to add your image sequence to it.
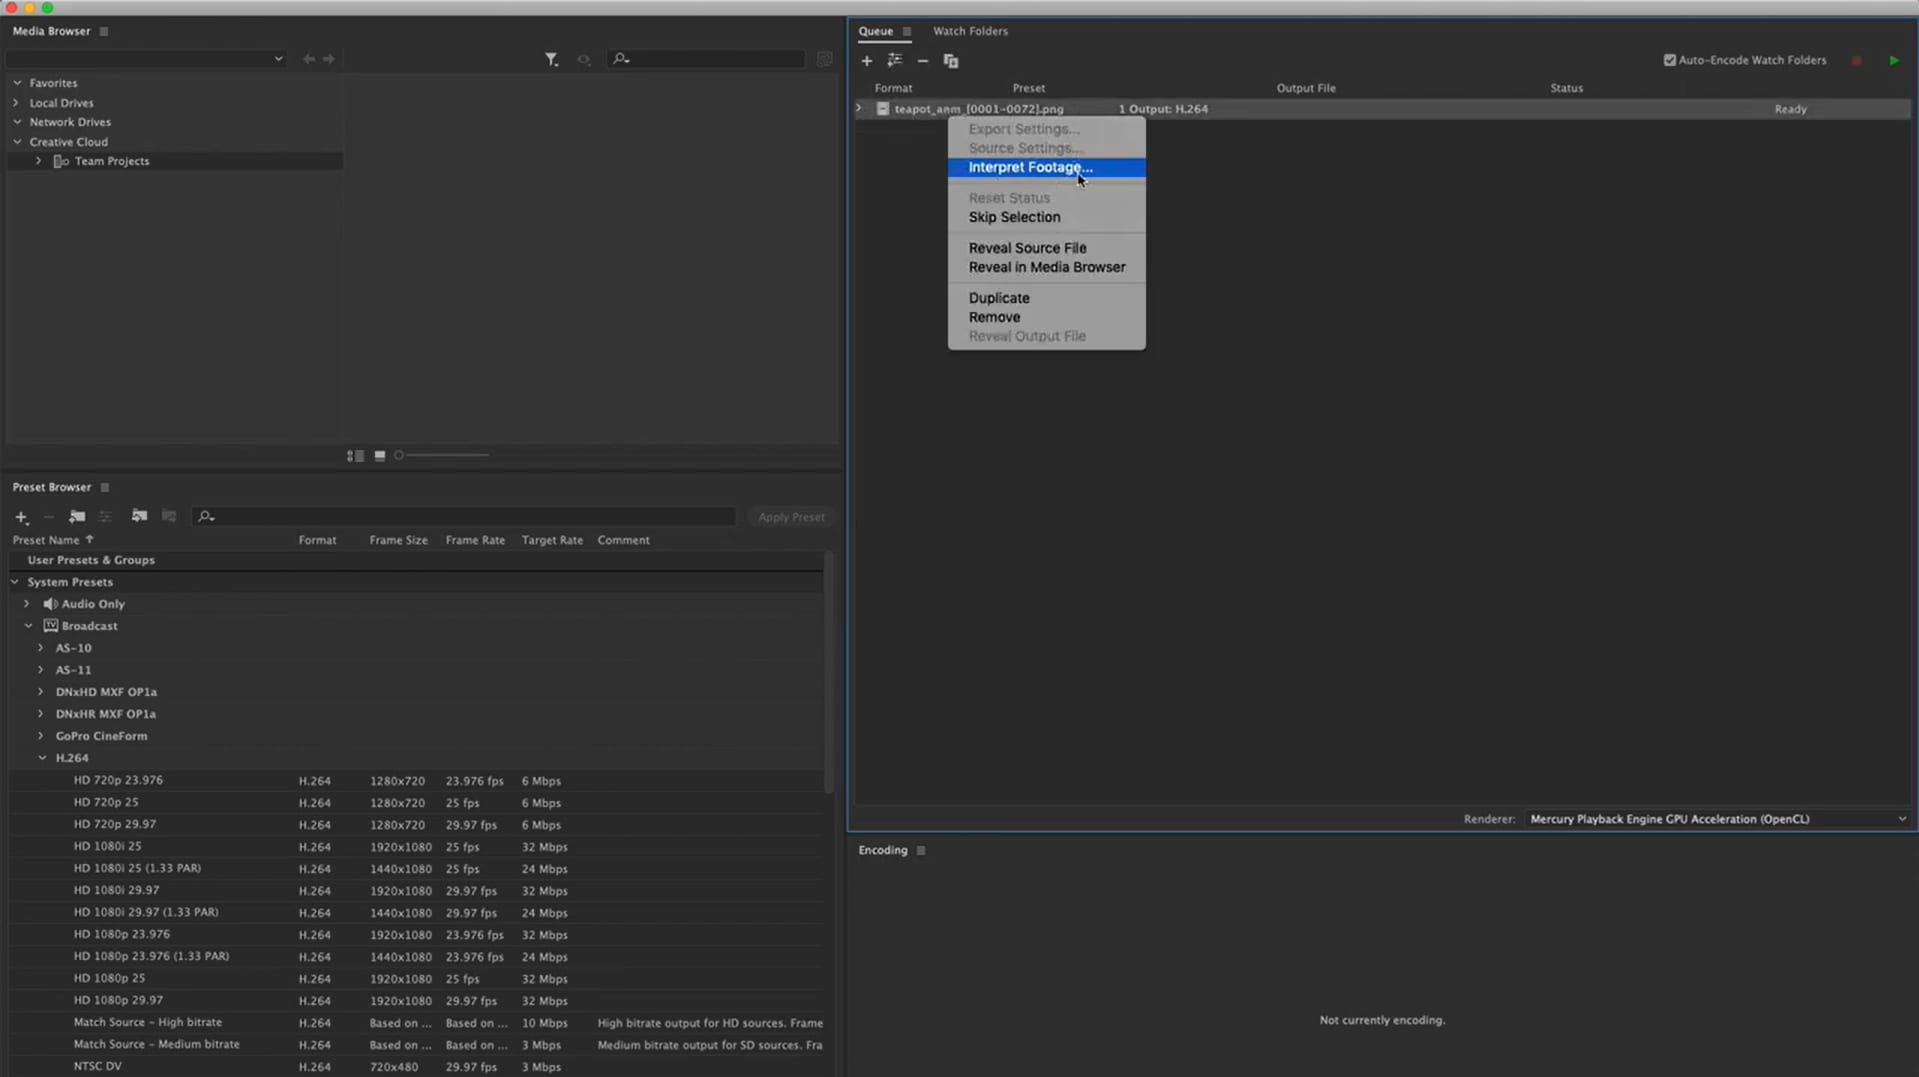
Step 2. Right-click on the Image name and select “Interpret Footage” to set the format to MP4 and adjust frame rate settings.
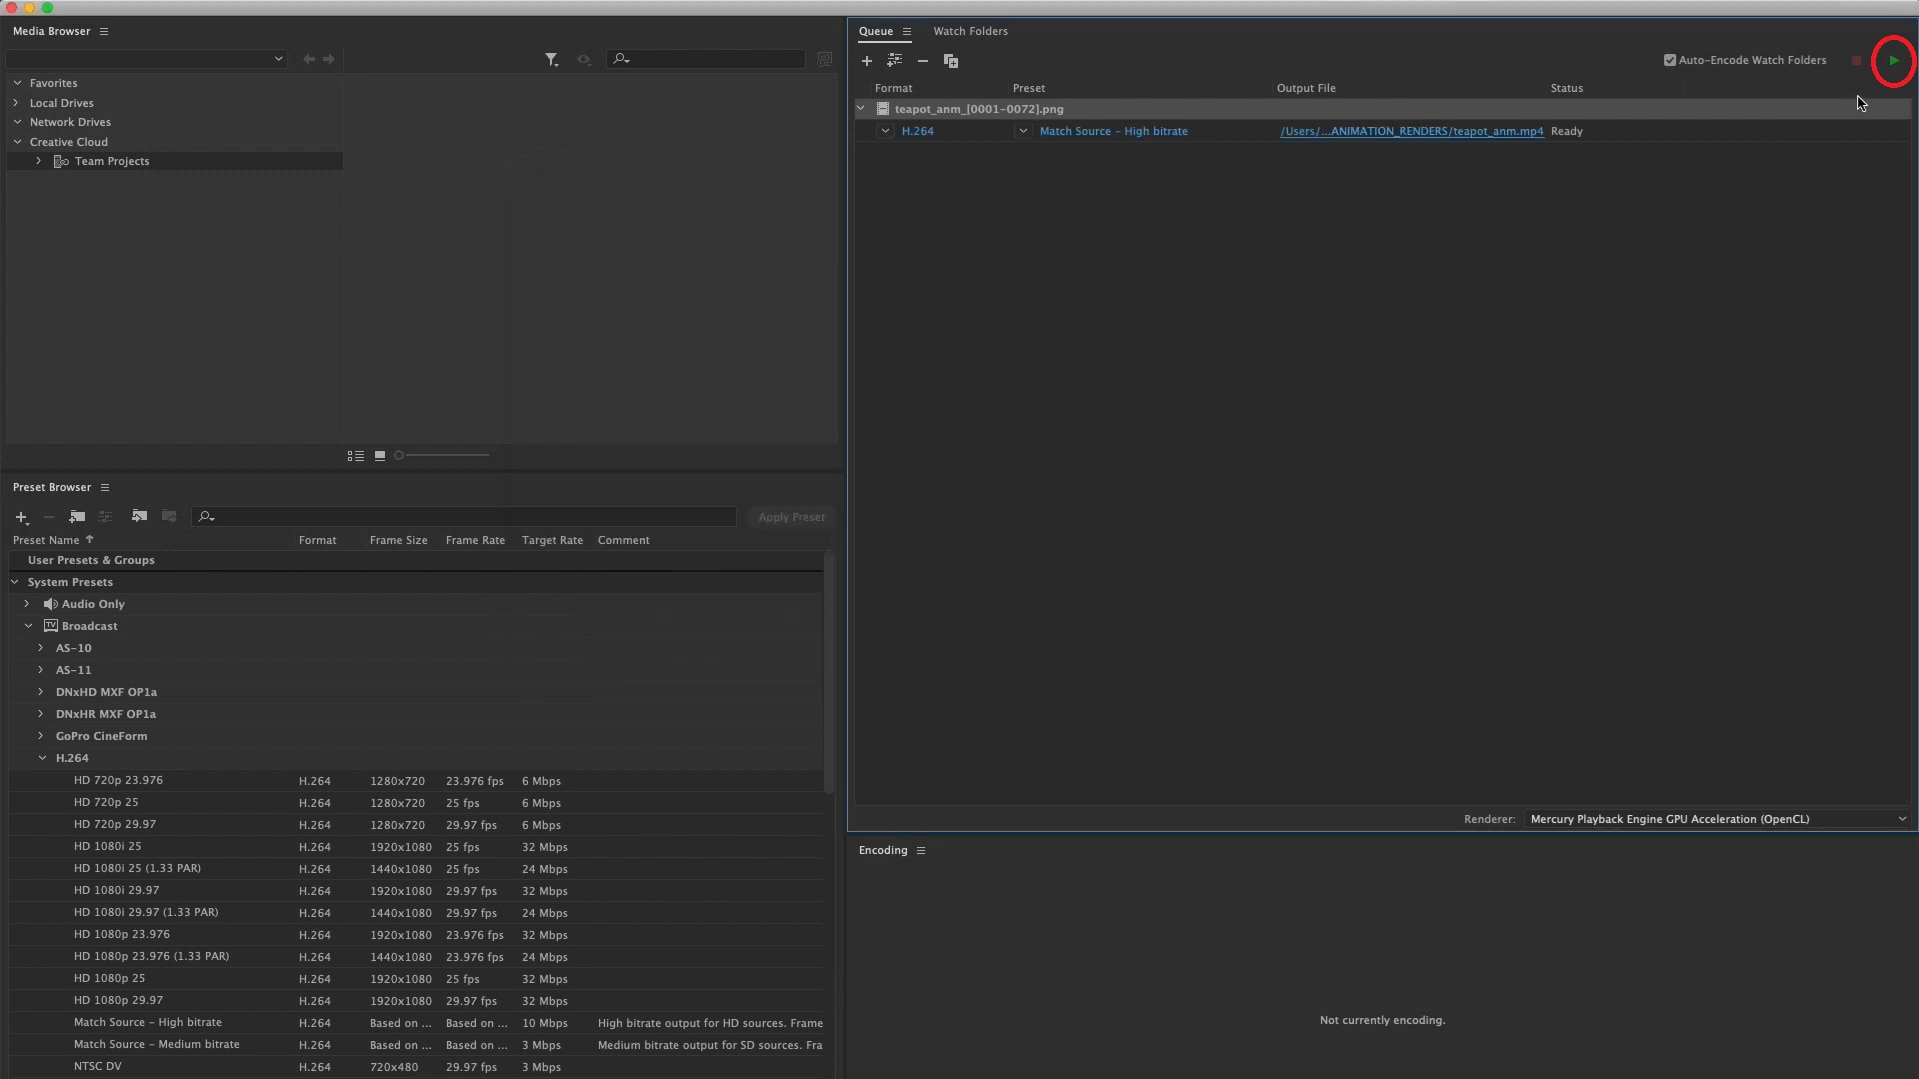
Step 3. Click on the green play button at the top-right corner of the queue to start encoding.
These were the 2 methods to convert PNG, Tiff, EXR, or JPG sequence to MP4 using Adobe Premiere Pro and Media Encoder.
Convert an EXR, TIFF, or PNG image sequence to an MP4 video Without Professional Software
Professional tools like Adobe Premiere Pro are ideal for converting JPG, PNG, TIFF, or EXR sequence to MP4; however, they are paid and require some expertise before usage.
Therefore, if you’re looking for free and easy tools for this purpose, we recommend going for some online tools and free software to convert JPG sequence to video.
In this section, we will teach you how to convert EXR, PNG, JPG, or Tiff sequence to video using:
- FFmpeg (free, command-line tool)
- Blender (free, open-source 3D creation suite with video editing capabilities)
- Online converters (though these may not handle large image sequences well)
- Filmora (user-friendly software)
So, let’s see how these tools work.
Method 1: How to Convert Image Sequences (EXR, Tiff, and PNG) to MP4 with FFmpeg
FFmpeg is a powerful, open-source command-line tool capable of handling a wide range of video and audio conversions. Therefore, it can come in handy in converting JPG sequence to MP4 using the correct commands.
Let’s see how it works:
Step 1. Download FFmpeg from this link on your PC.
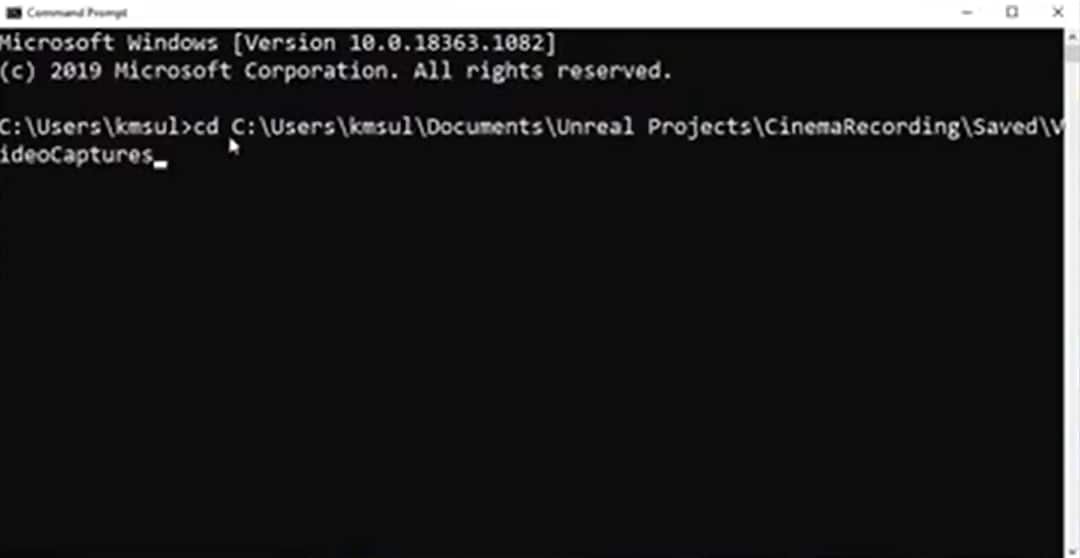
Step 2. Now, open the Command Prompt on your PC and type in the location of your image sequence files.
Step 3. Next, enter the command for conversion as shown in the image:
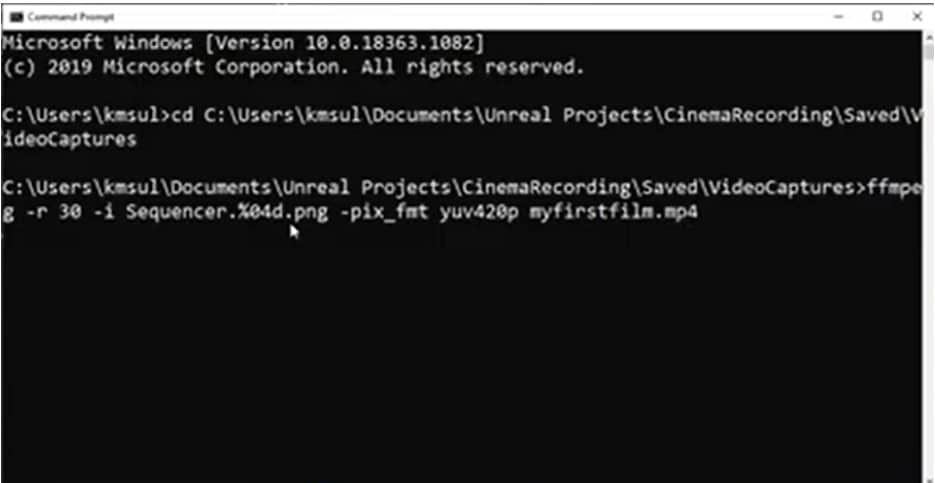
In this command:
- FFmpeg stands for the tool we’re using.
- r stands for the frame rate, which is 30.
- i is the input.
Next, we have the name of the image file, i.e., sequencer, the format, and the output Image name (myfirstfilm.mp4).
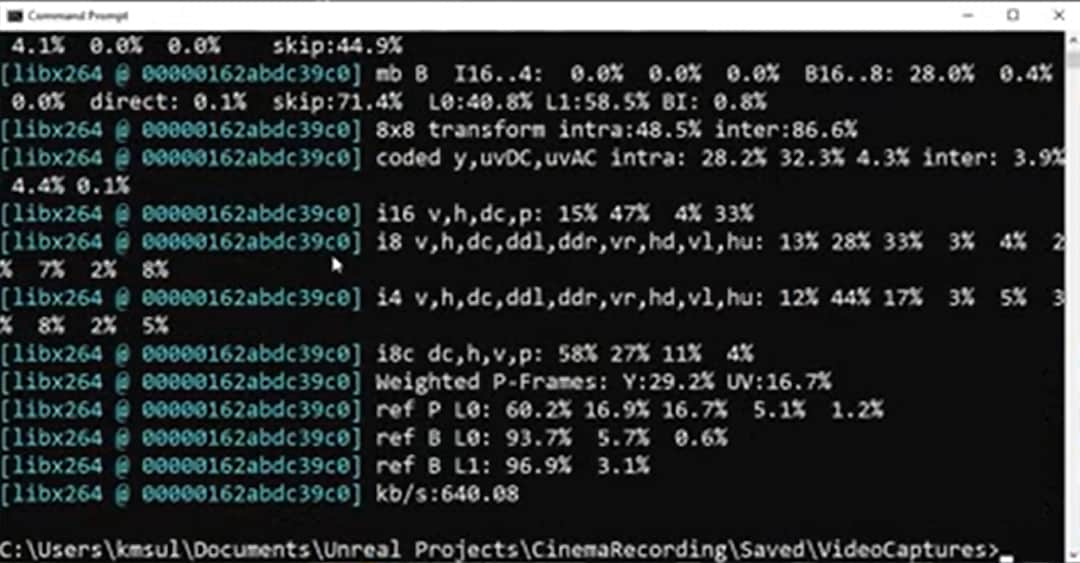
Step 4. Press “Enter” after entering all the details. FFmpeg will run the command and convert your image sequence files into a video.
Method 2. How to Convert Image Sequences (EXR, Tiff, and PNG) to MP4 with Blender
Another free tool for converting image sequence files into a video is Blender.
Here's a step-by-step guide to convert your image sequences to MP4 format using Blender:
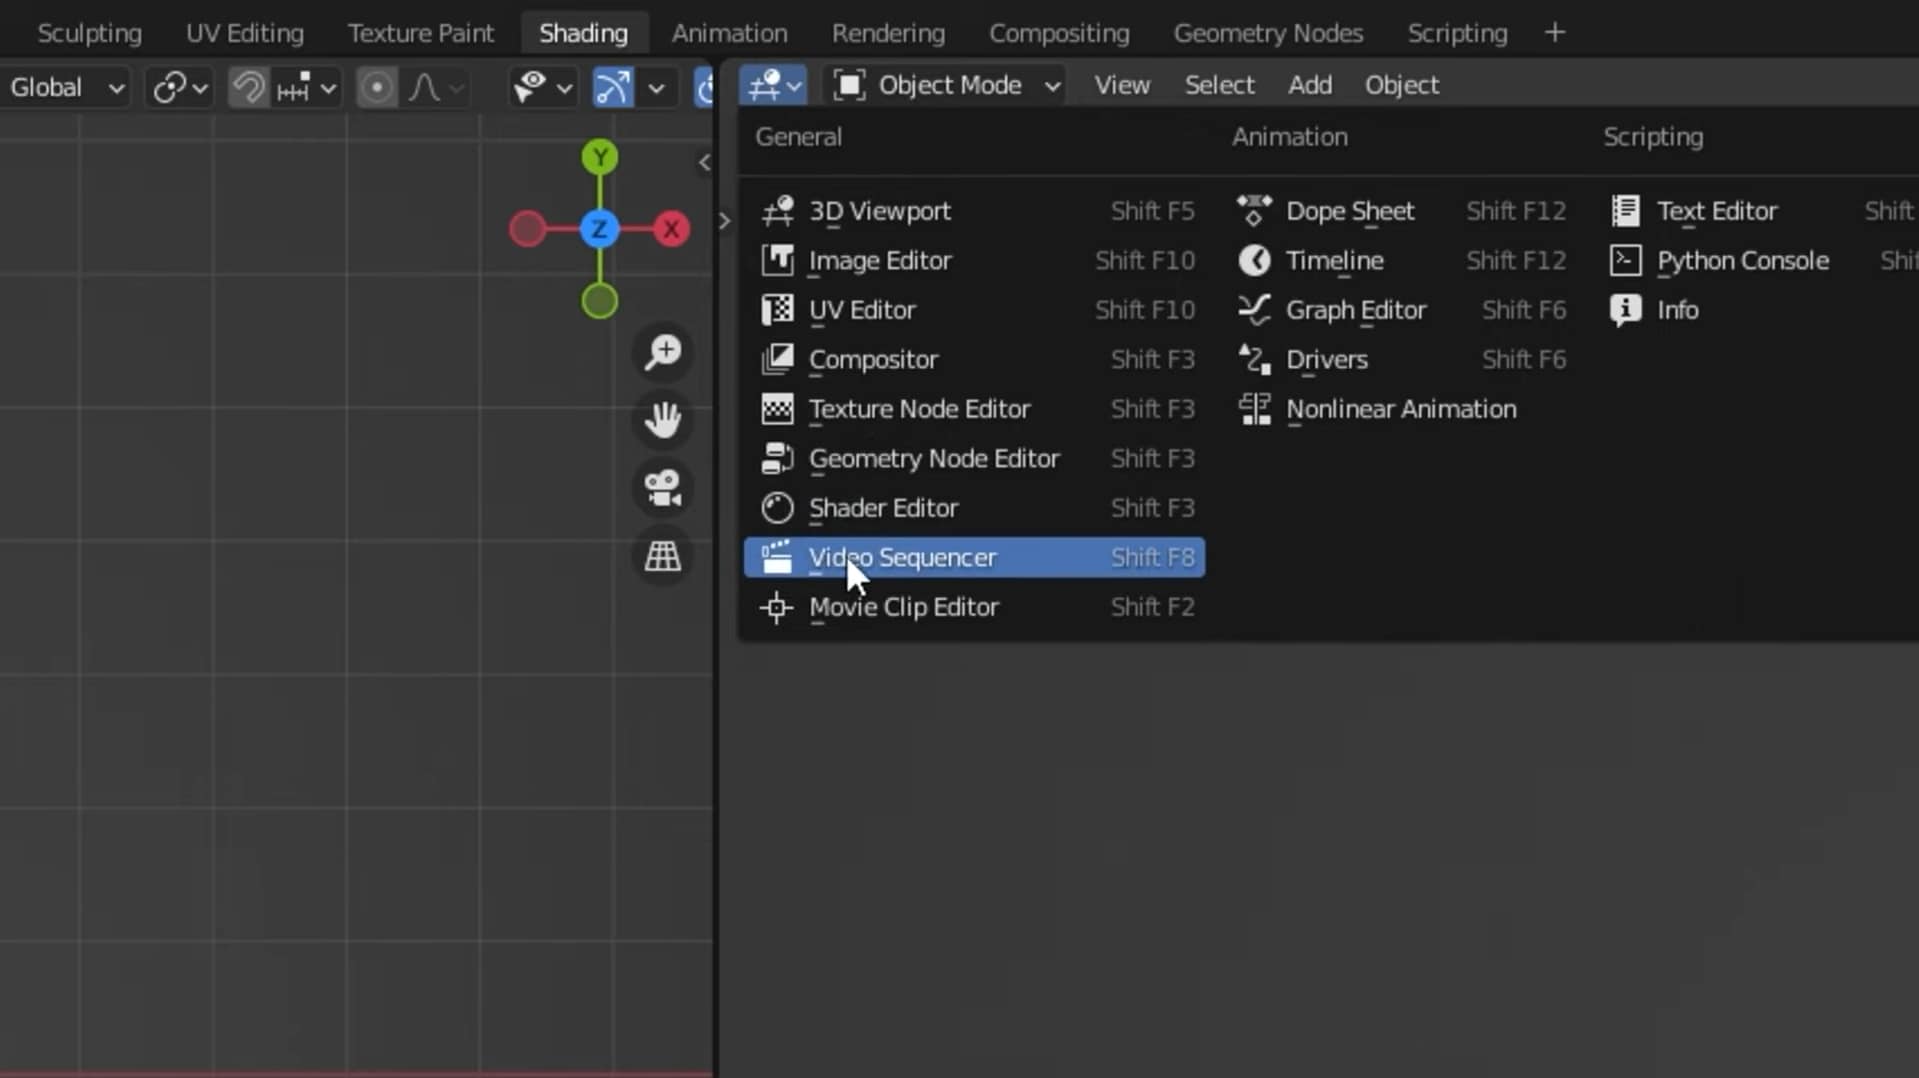
Step 1. Launch Blender, open a new workspace and select “Video Sequencer” by clicking on any of the downward arrows.
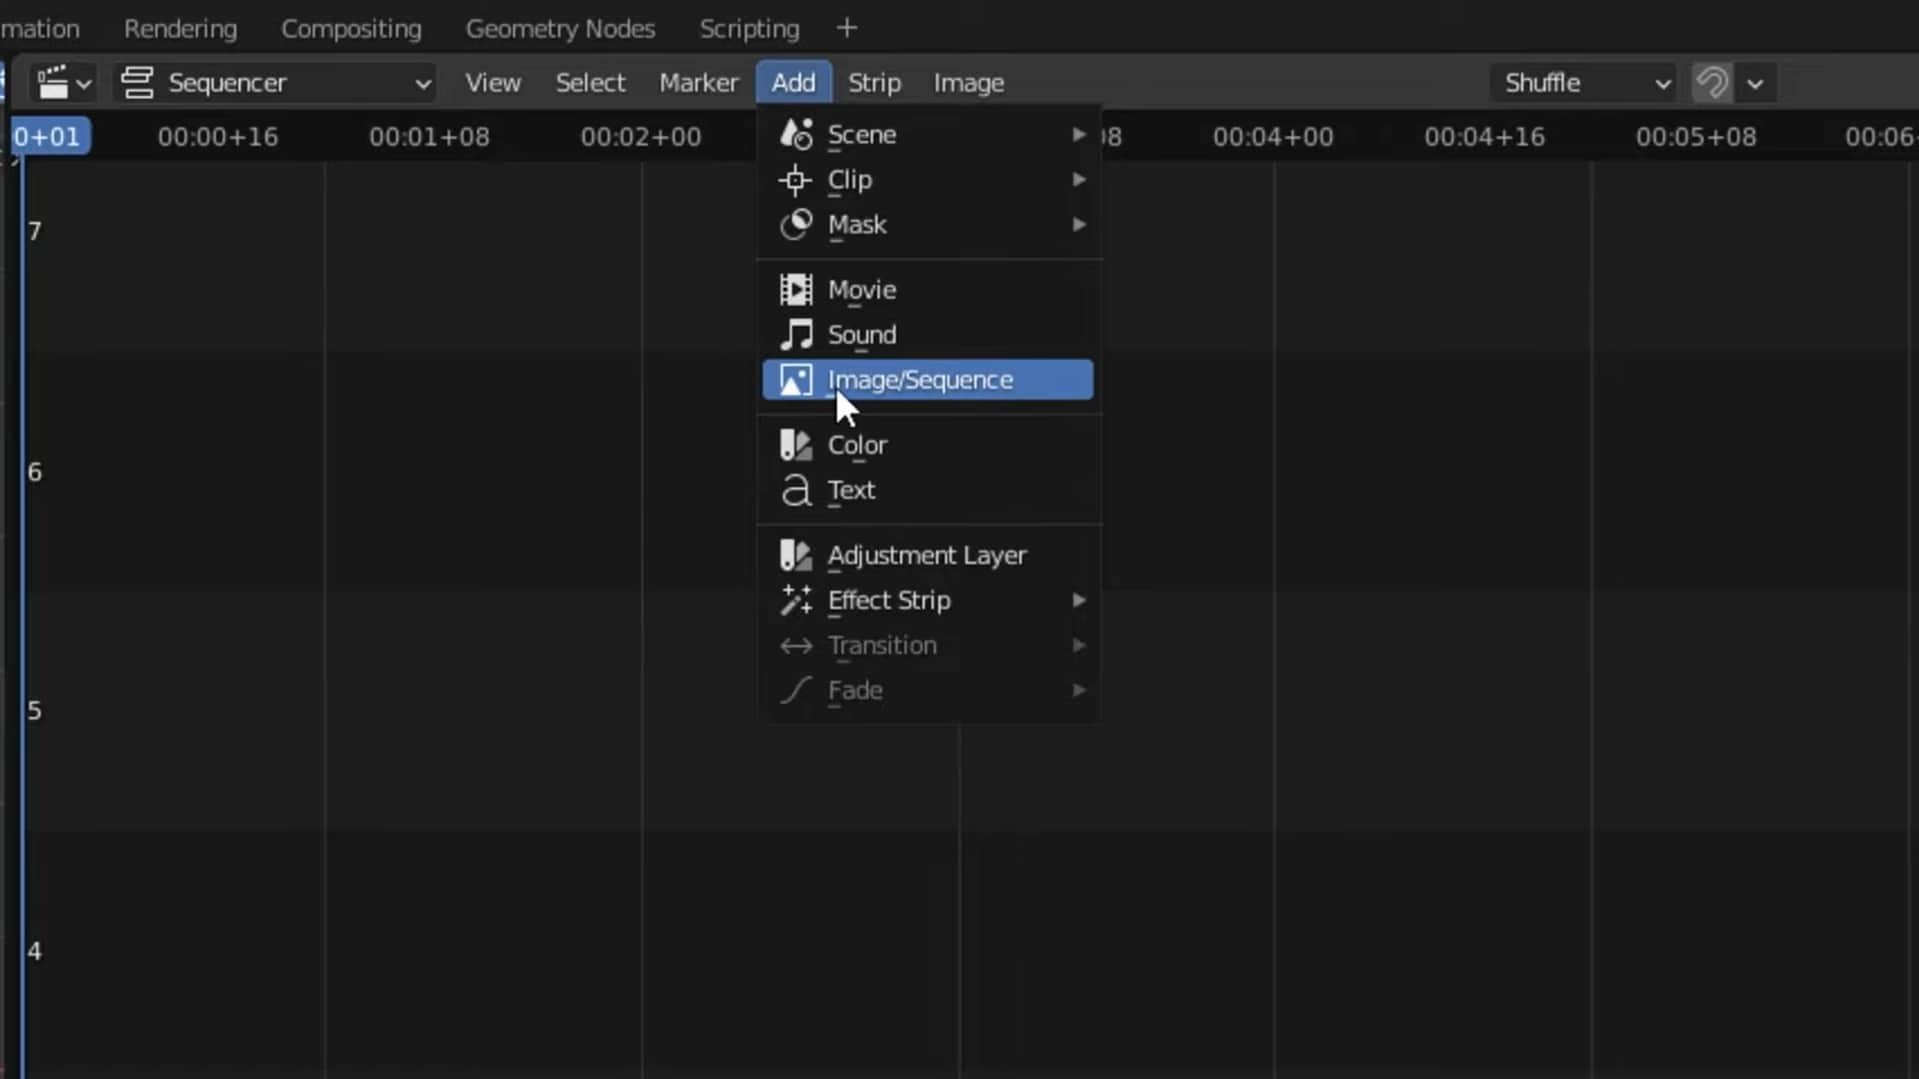
Step 2. From the menu at the top, go to “Add > Image/Sequence” and select all the files that you want to convert to video.
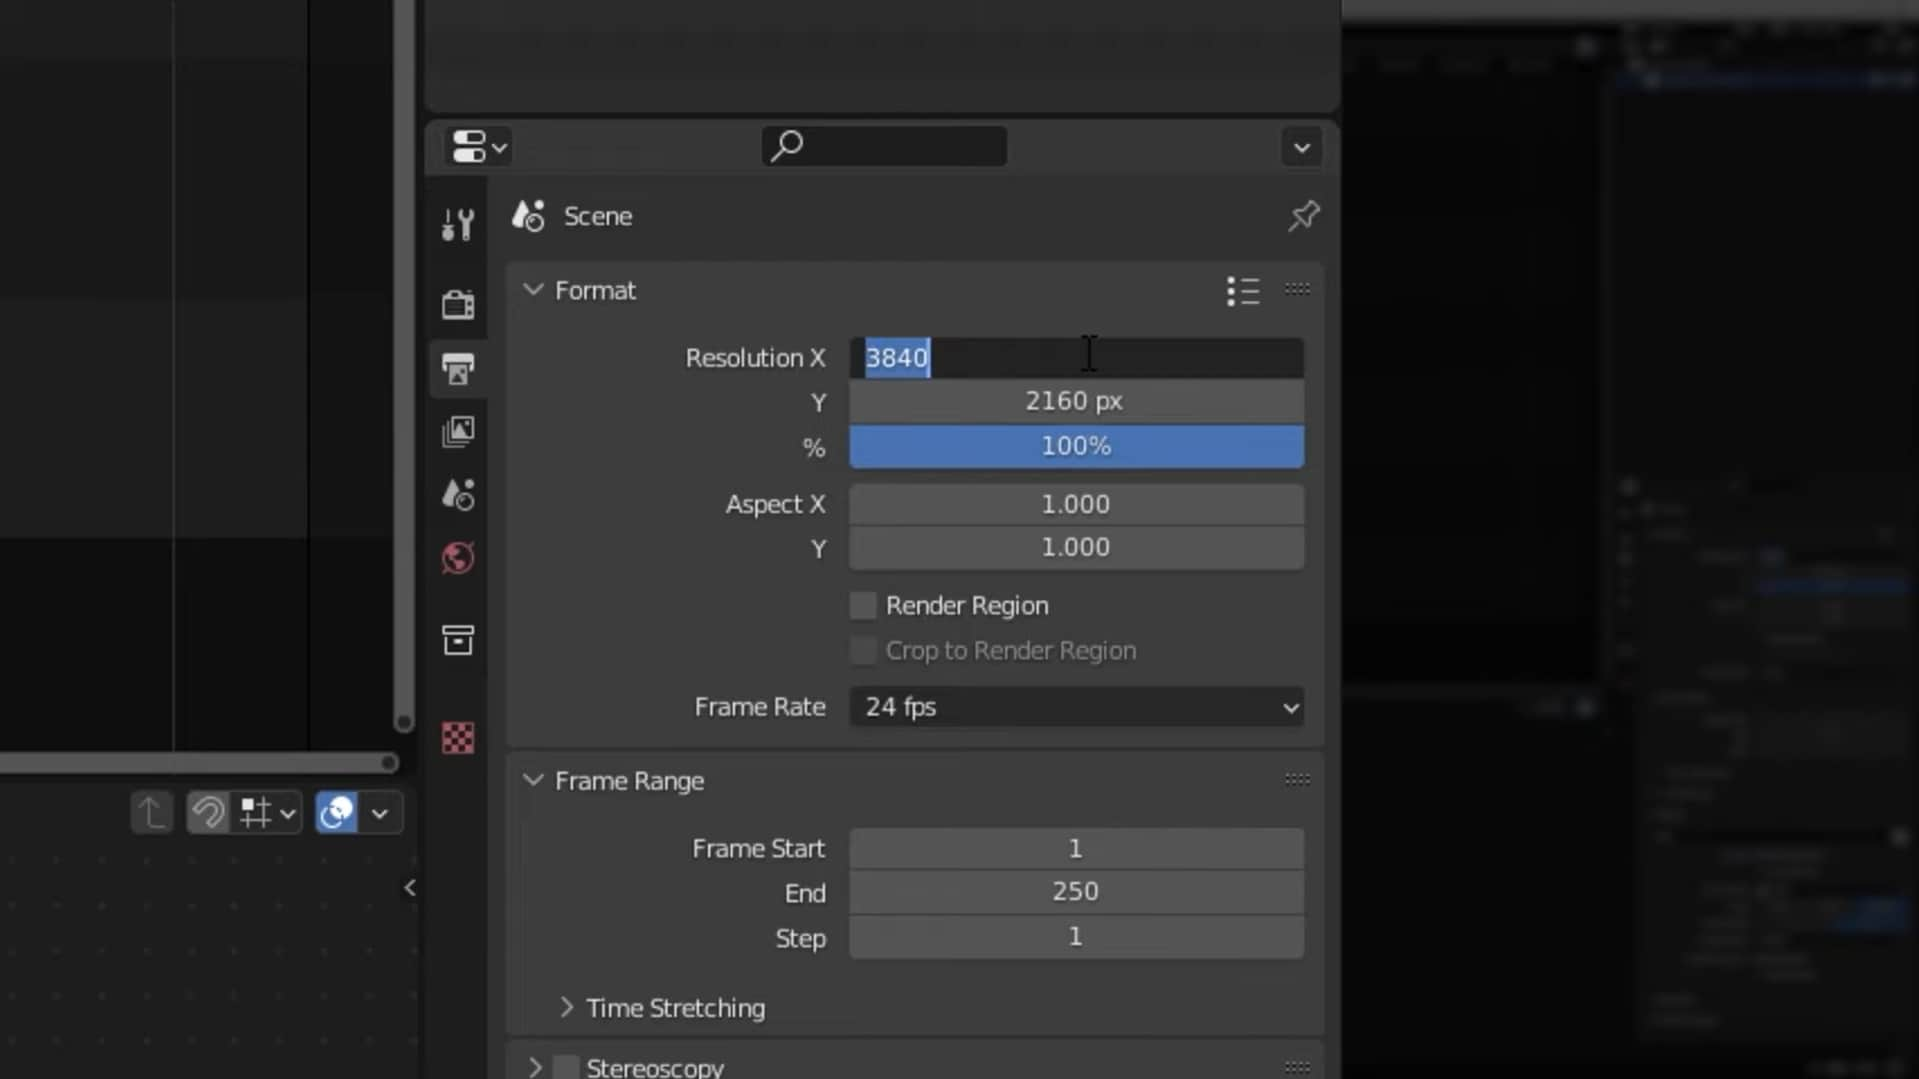
Step 3. Now, go to the settings from the options on the right and set the resolution, frame rate, output format, audio format, etc.
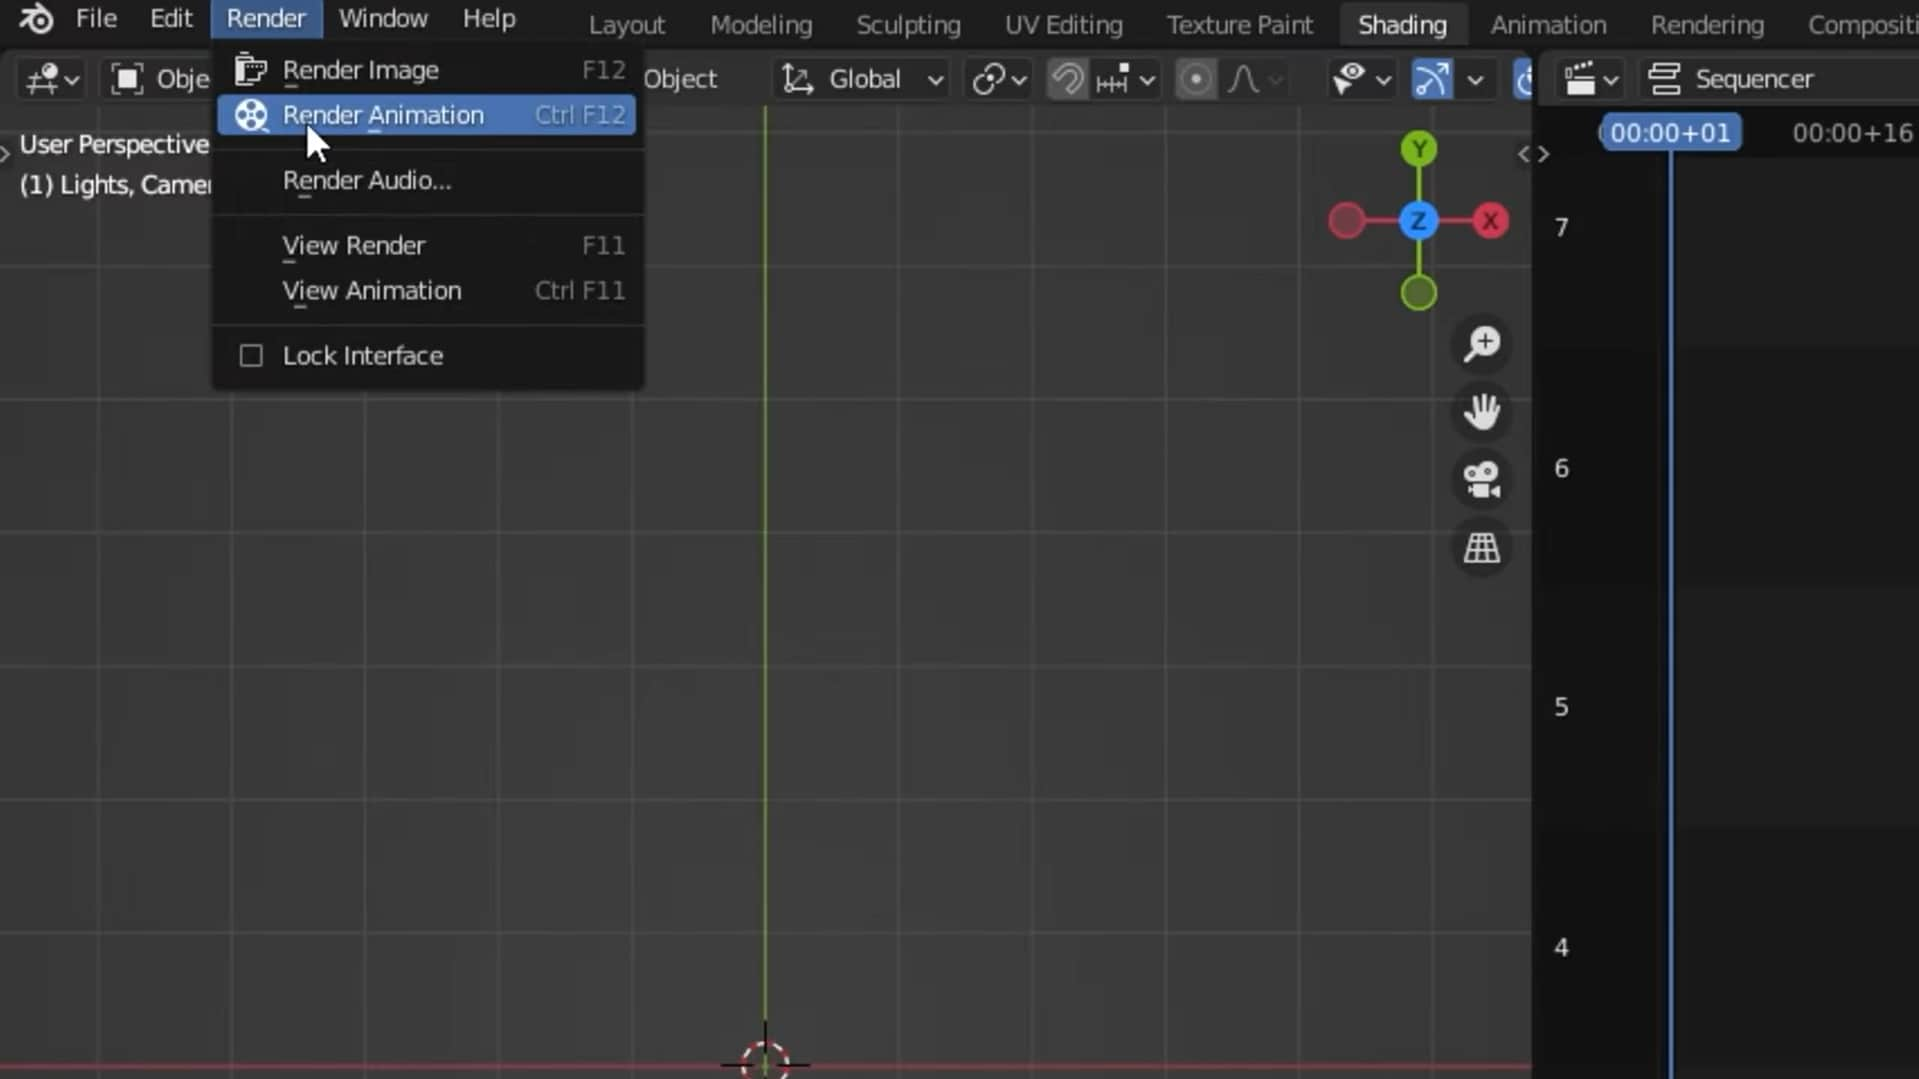
Step 4. Once you have adjusted all the settings, go to “Render > Render Animation” and let Blender do its magic.
Method 3. How to Convert Image Sequences (EXR, Tiff, and PNG) to MP4 with Online Converters
Did you know that in addition to free tools, there are some online platforms that can convert JPG or PNG image sequence files into videos? Moreover, they enable you to edit the video by adding music, resizing the clips, etc.
Here’s how they work:
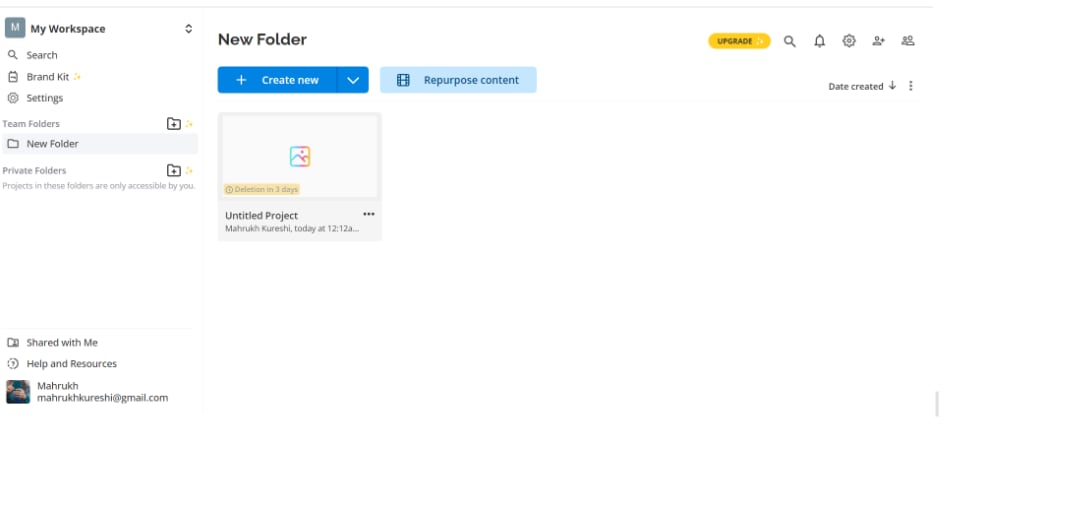
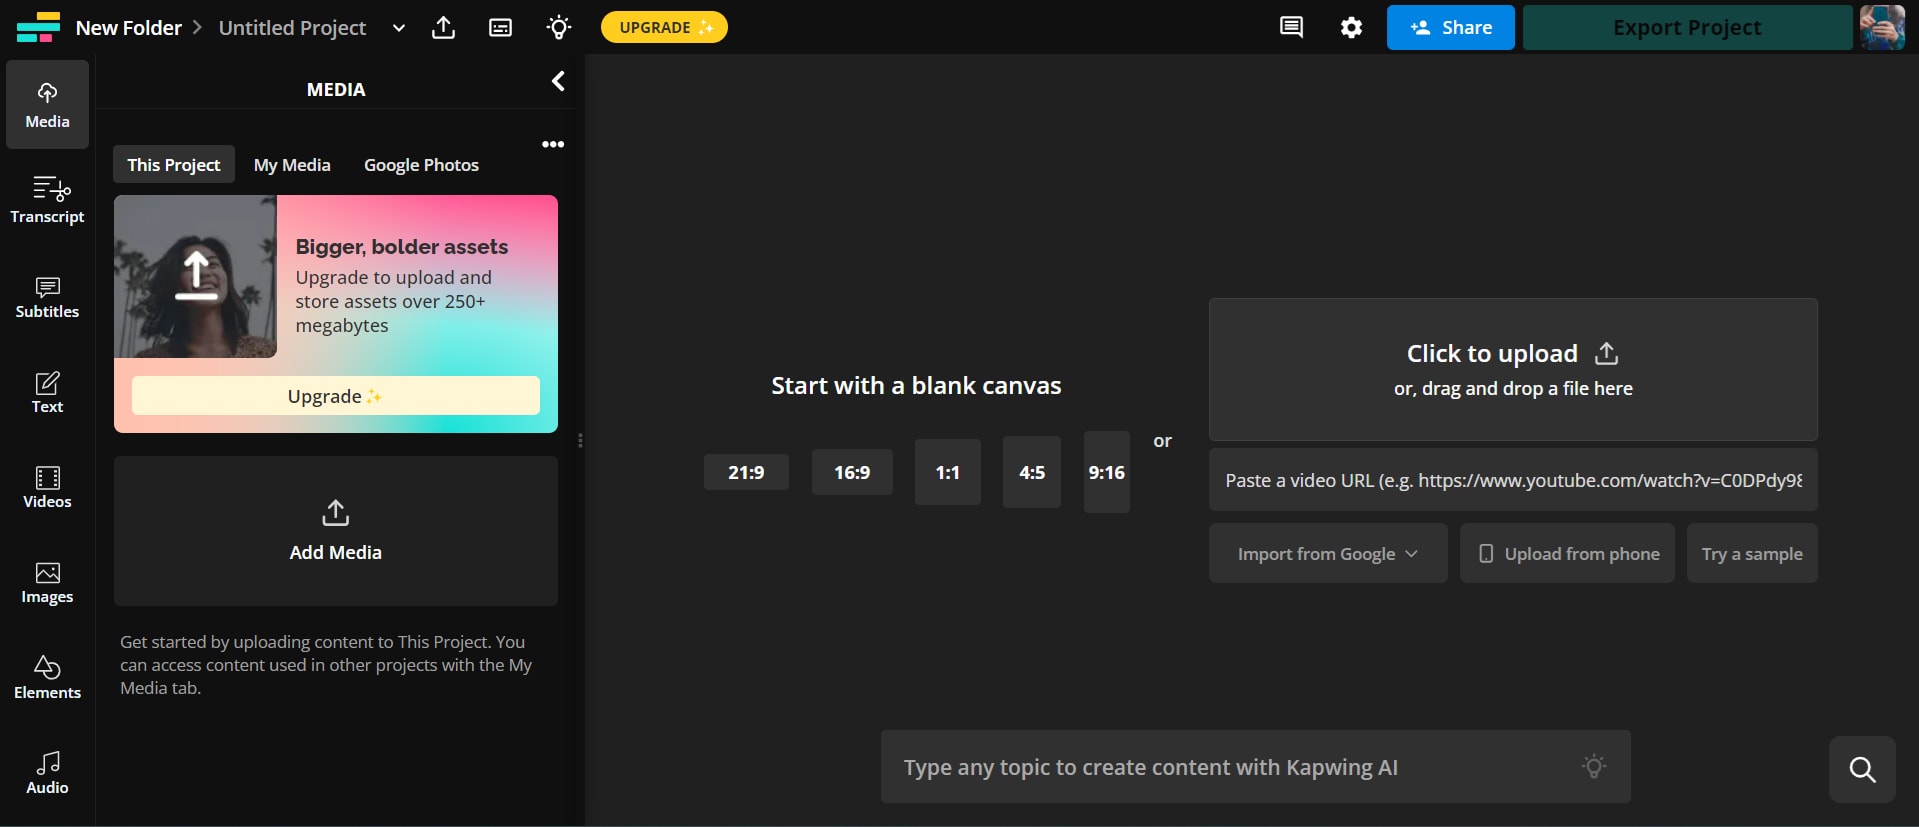
Step 1. Go to any online image converter, like Kapwing, and click on “Create New.”
Step 2. Click on “Add Media” to import your image sequence files to the editor.
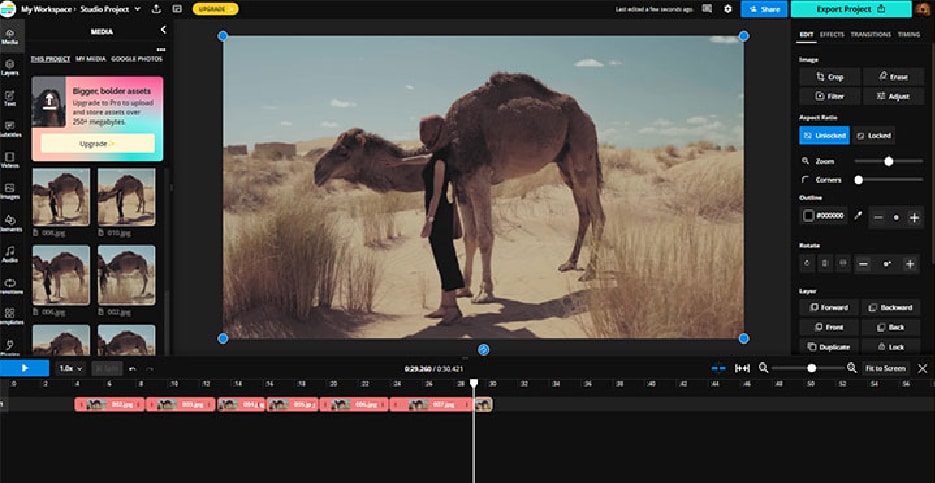
Step 3. Once you have imported all the image files, drag and drop them on the timeline.
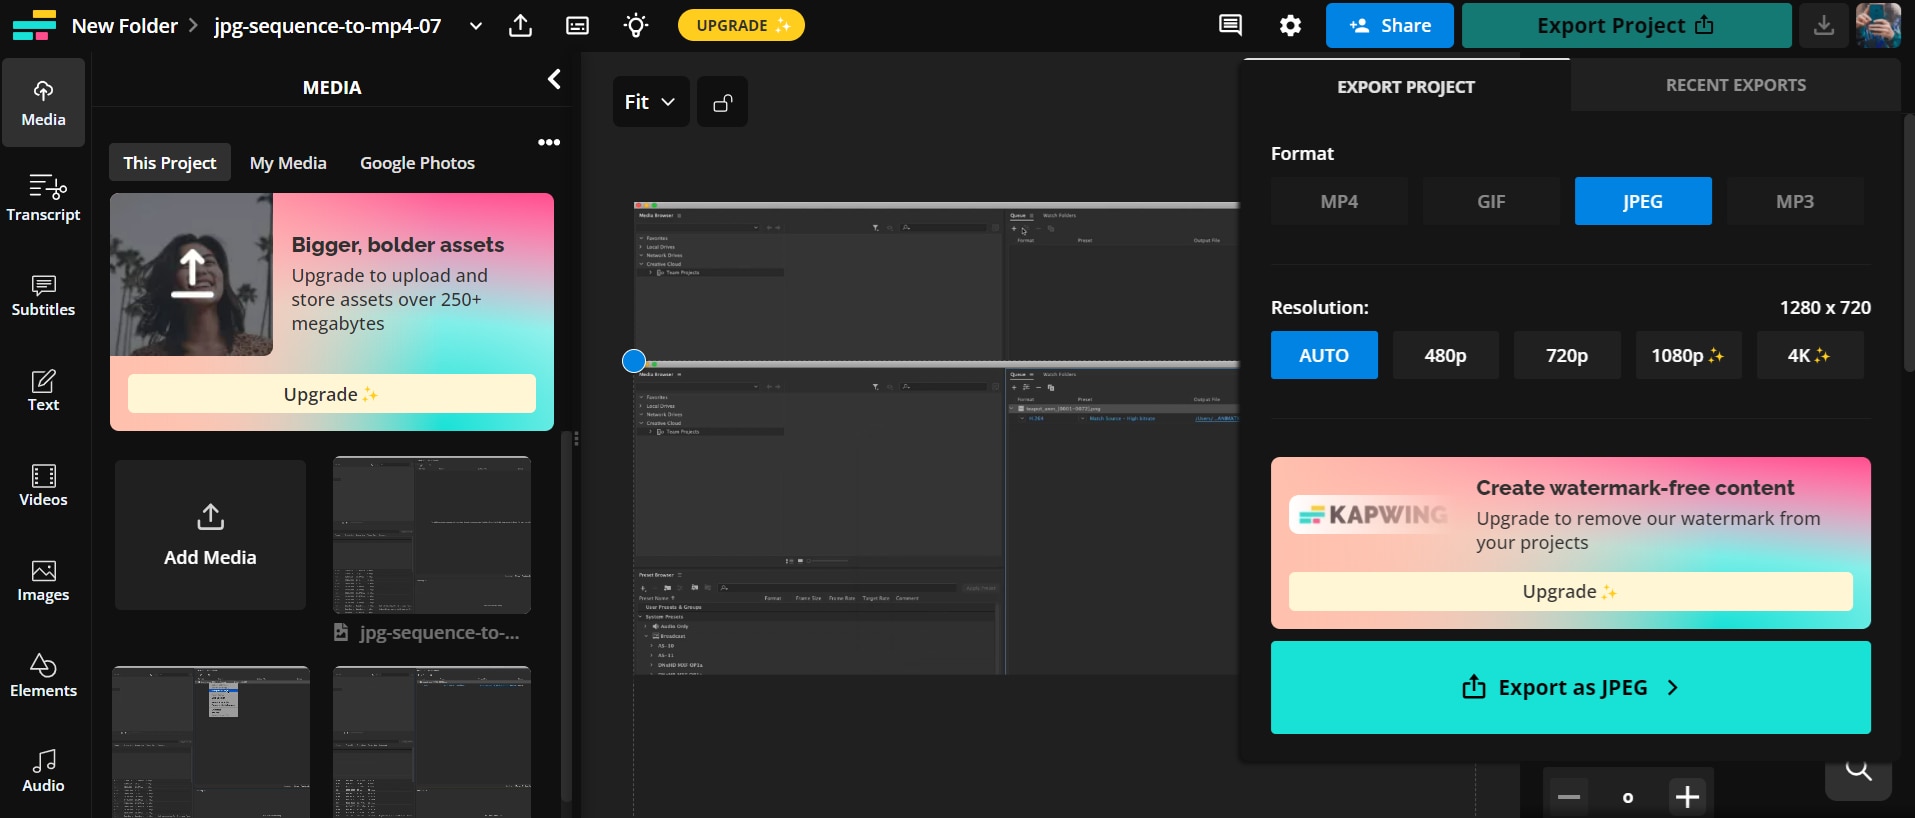
Step 4. Now that you have arranged all the image files in the right sequence click on “Export Project” and choose “MP4” as the format.
Converting image sequences to MP4 videos can be done using various tools, each offering unique features and ease of use. Whether you prefer a dedicated application like Encoder, an online converter, or professional software like Adobe Premiere Pro, these methods provide flexibility and efficiency for different needs. Choose the one that best fits your workflow and requirements.
Final Words
If you have a number of image sequences that you want to convert to MP4, we have got you covered! In this comprehensive guide, we have put together several ways to convert EXR, Tiff, PNG, or JPG sequence to MP4.
From using professional tools like Filmora and Media Encoder to free tools like FFmpeg, we have discussed all. However, for a more customized touch and smooth conversion, we recommend trying Wondershare Filmora.
So, try Filmora today and transform your image sequence into a captivating story!
