


Looking for the keyframe button in CapCut PC? Whether you're making smooth transitions or complex animations, mastering keyframes is essential. While CapCut is a go-to tool, professional creators often seek alternatives like Wondershare Filmora for more precise control. In this guide, we’ll show you exactly where to find and how to use keyframes in both editors.
In this article

CapCut vs. Filmora: Best Keyframe Editing Alternatives After CapCut Ban
On January 19, 2025, CapCut was taken offline in the U.S. due to the CapCut ban, leaving many users frustrated with CapCut not working. For those who relied on CapCut's keyframe editing, the search for a CapCut alternative began. Fortunately, Filmora provides a strong solution. In this section, we'll compare CapCut vs. Filmora, focusing on keyframe editing and helping you decide which editor suits your needs, especially after CapCut's ban.
| Feature | CapCut | Filmora |
| Platform Support | Mobile (iOS and Android) and PC | Available on Windows and Mac; Mobile version Filmora: AI Video Editor, Maker |
| Keyframe Editing Flexibility | Basic keyframe animation, suitable for simple videos | Powerful keyframe editing, suitable for complex video projects |
| AI Features | No AI smart tools | Includes AI motion tracking, smart scene cutting, and automated editing tools |
| Multi-Track Editing | Supports multi-track editing for simple projects | Supports multi-track editing, allowing simultaneous work on multiple videos, audios, and effects |
| Ease of Use | Simple and quick for beginners | Beginner-friendly but with more advanced features for pro users |
| Learning Curve | Very easy to get started | Might require some learning, but offers powerful functionality once mastered |
| Pricing | Completely free | Free version and multiple paid versions, with more advanced features in the paid versions |
CapCut PC Alternative: Using Keyframes in Wondershare Filmora
Keyframes are essential in video editing. They define the start and end points of transitions, allowing editors to adjust parameters like opacity, scale, rotation, and position to create smooth movements on the screen. ( Learn more information on our previous guide: what is keyframing)
Filmora and CapCut are similar in terms of user interface and overall use. However, as a powerful CapCut alternative, Filmora is simpler and offers full-blown timeline-based editing, which is typical of professional video editing software. Even though it's a professional tool, it's very easy to use and offers a broader range of editing features.
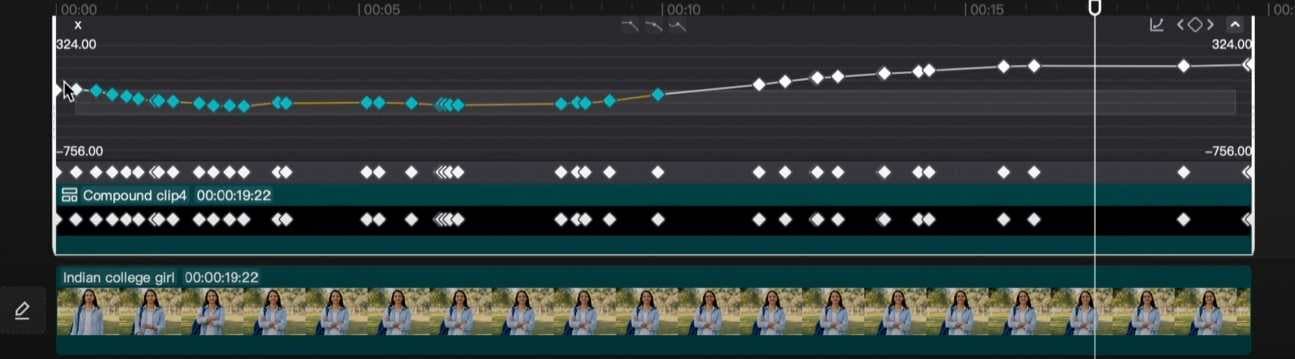
Filmora also has customizable presets and templates that make editing easier. It also has a dedicated Keyframe Graph Editor, allowing you to manage, add, edit, and remove keyframes easily.
Here's how to add, edit, and remove keyframes in Filmora:
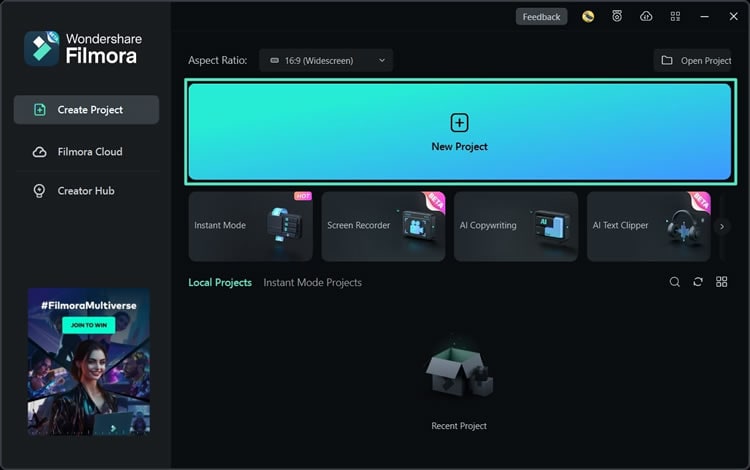
Step 1: Launch Wondershare Filmora and Click New Project.
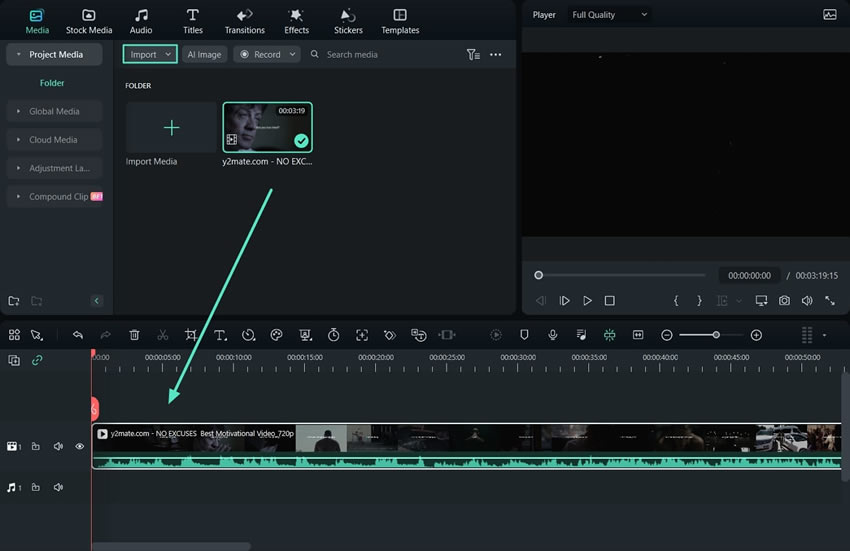
Step 2: Click Import Media, select your video, and drag it on the timeline.
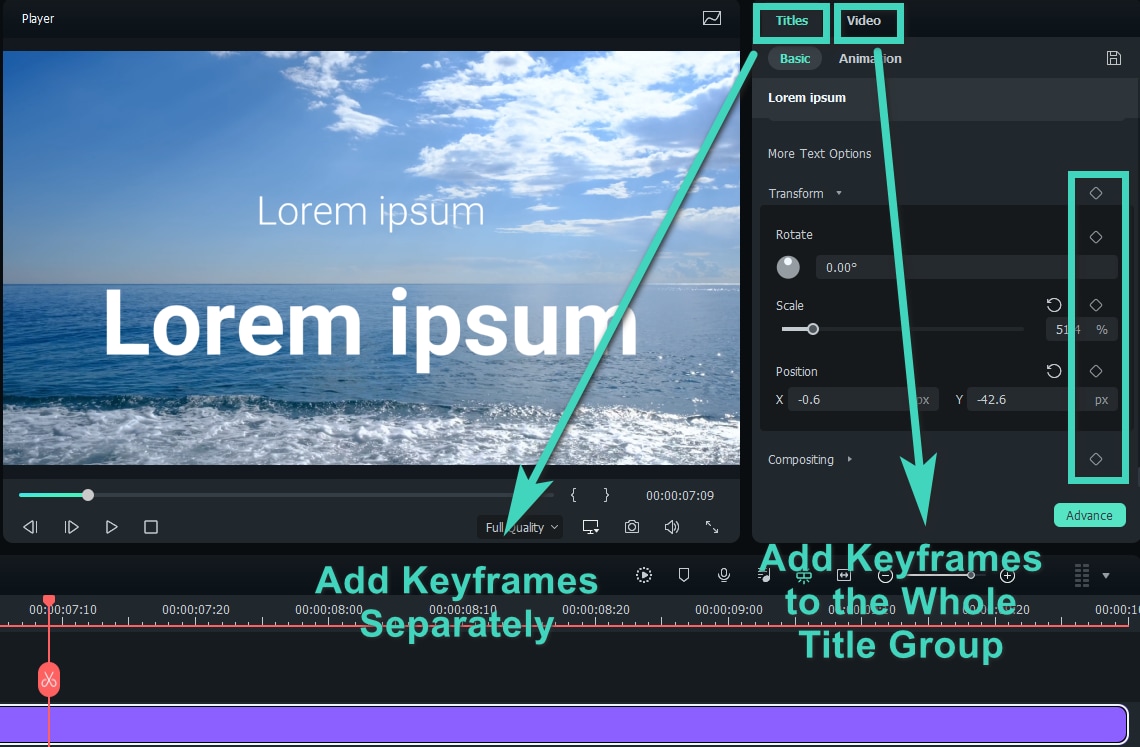
Step 3: Select the video, click Video in the upper right corner, and click Basic. You will see all the features that can be added to the keyframe. Move the progress bar on the video to where you want to add the effect and click the keyframe icon.

Step 4: Change the keyframing parameters by dragging the sliders, adjusting setting values, or applying additional features. You can animation, auto-enhance, drop shadows, transform, etc.
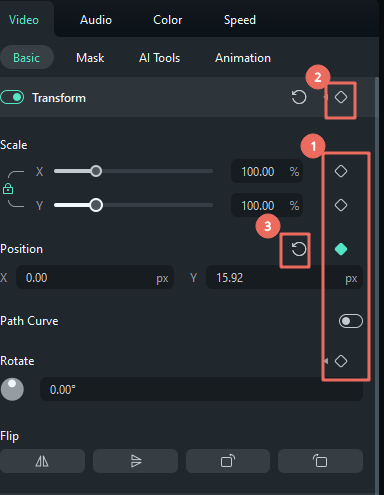
Step 5: To delete keyframes in Filmora, click on the keyframe icon next to specific parameters (1). If you want to delete a whole effect like Transform, click on the keyframe icon next to it (2). If you want to delete all keyframes, click Reset (3).
How to Add & Edit Keyframes in CapCut PC?
By using keyframes in CapCut PC, you can easily create complex animations with multiple keyframes, enabling effects like color changes, filter adjustments, and audio modifications to make content more engaging.
Here are detailed steps to add, edit, and remove keyframes in CapCut. Once you've gone through the steps, you'll quickly realize how simple it is to use keyframes.
Where is the Keyframe Button in CapCut PC & How to Add One?
Adding keyframes in CapCut on PC is a fairly straightforward process. Here are the steps you need to follow:
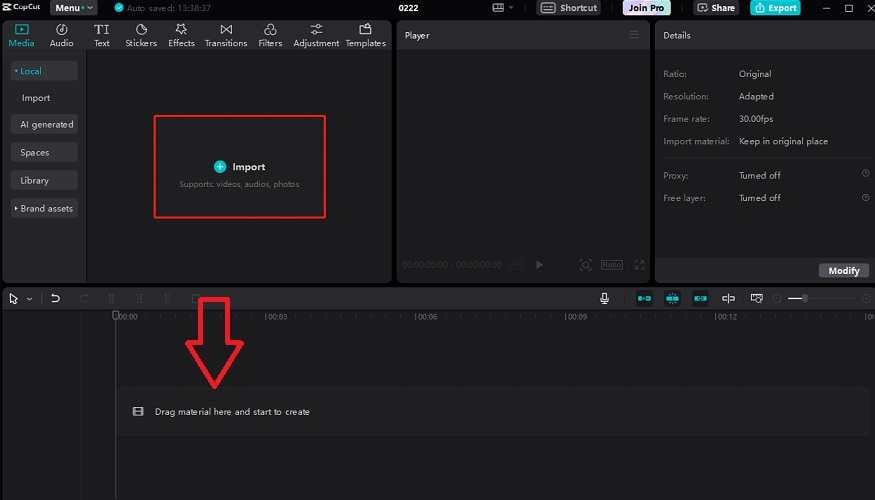
Step 1: Launch CapCut and start a new project. Click the Import button, select the video you want to use, and drag it to the timeline.
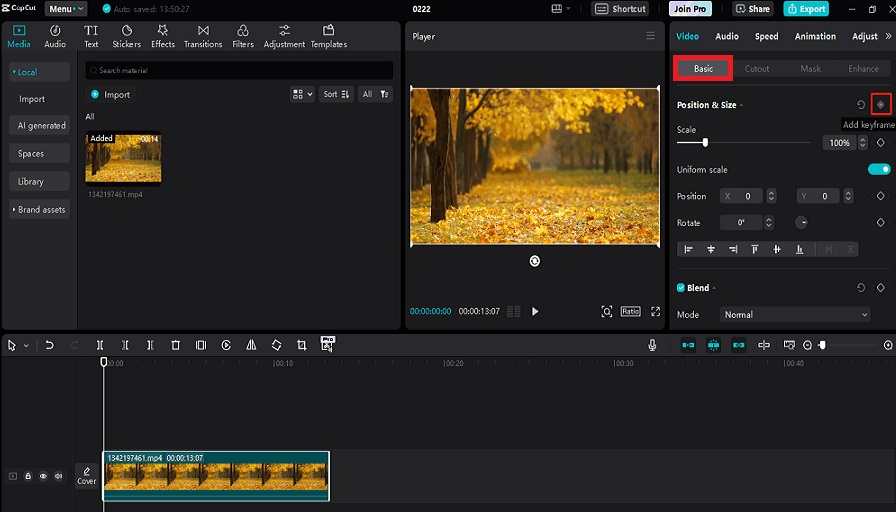
Step 2: Click on the video on the timeline, navigate to the Adjustment, click Basic, and click the keyframe icon next to the undo icon.
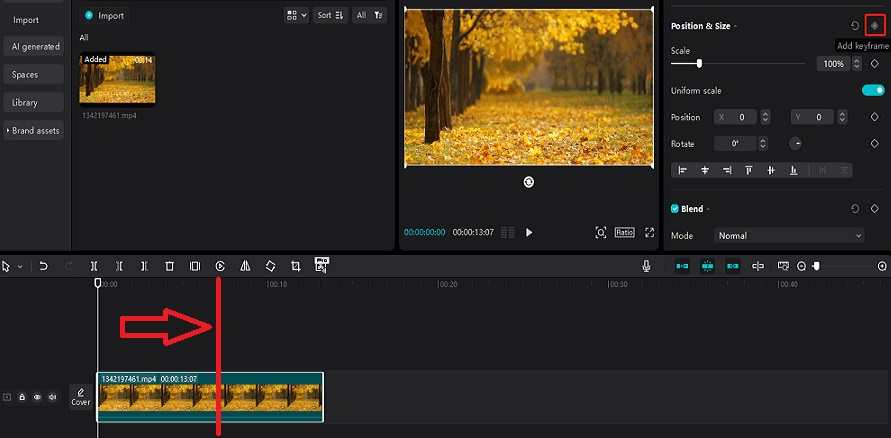
Step 3: Move the navigation pin on the timeline to the part of the clip where you want those changes to end. Click the keyframe icon again and add another keyframe.
Now that you've learned how to add keyframes in CapCut, let's see how you can actually utilize keyframes to make edits or transitions in your videos.
How to Edit Keyframes in CapCut
There are many different edits you can do with keyframes in CapCut. Here's how you can create color transitions to fade your video into black and white with this effect:
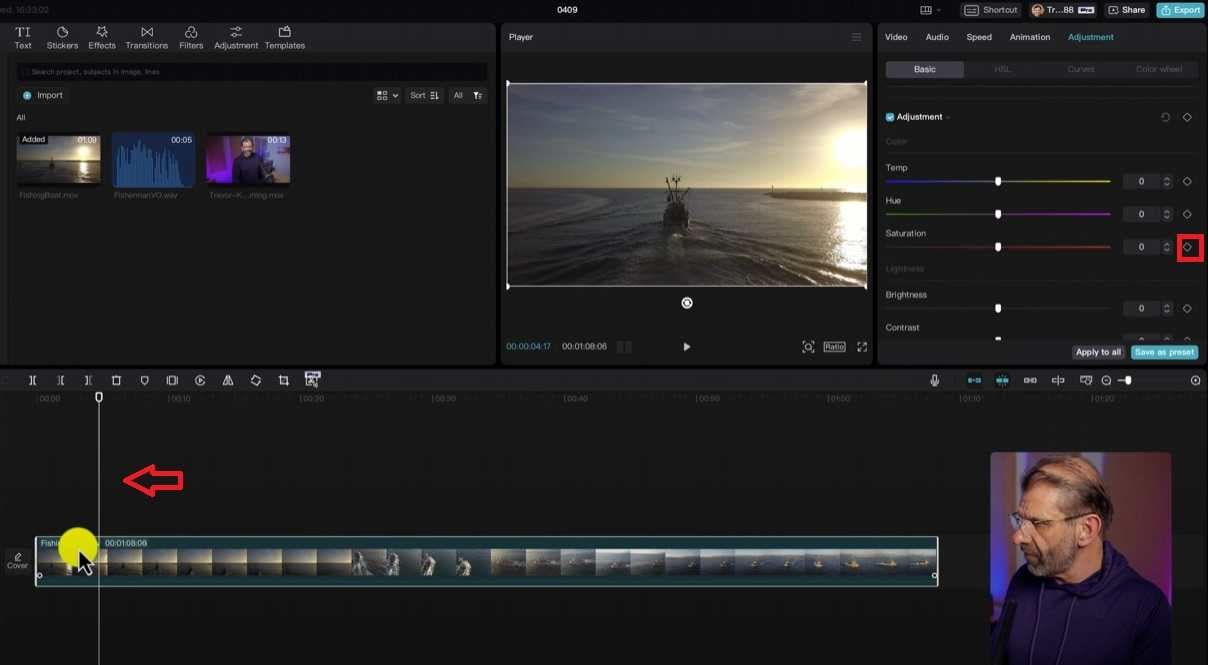
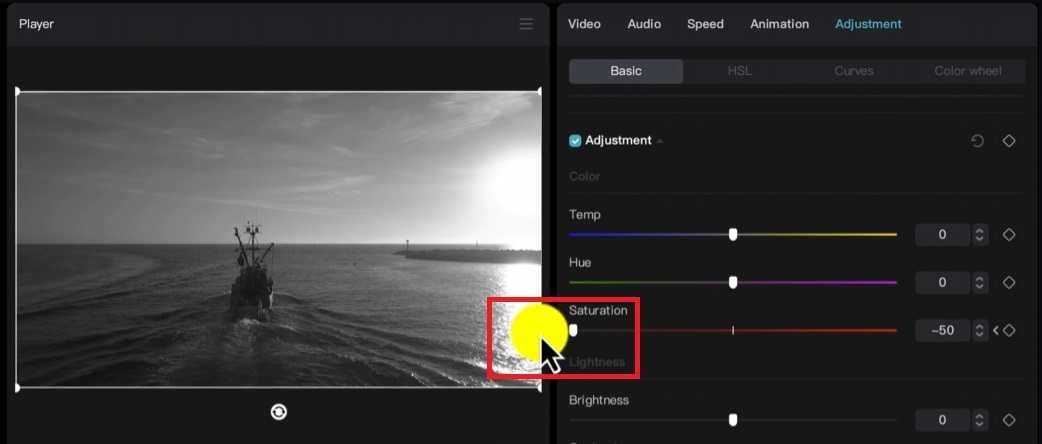
Step 1: Select your video on the timeline, click Adjustment, then Basic, and scroll down to Saturation.

Step 2: Click on the point in your video where you want the effect to start and click on the diamond icon (keyframe) next to Saturation.
Step 3: Move the navigation pin to where your effect ends. Drag your Saturation bar all the way to the left, and your other keyframe will be added automatically.
How to Delete Keyframes in CapCut
When you have many keyframes in CapCut, getting rid of them can be challenging. Here's what you need to know about deleting keyframes in CapCut to make your life easier:
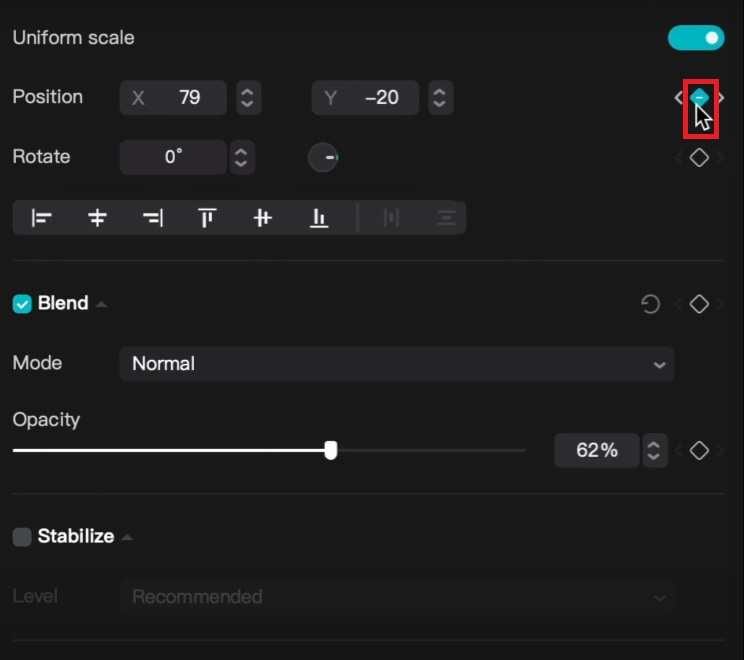
Step 1: Click on your video on the timeline timeline and use the previous (<) or next (>) keyframe button to navigate from one keyframe to another.
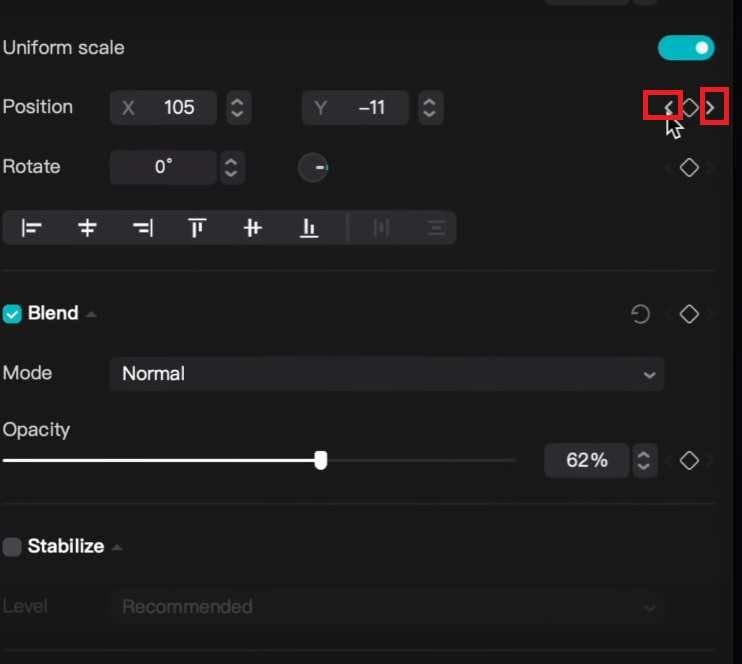
Step 2: Click the keyframe icon in the middle to remove the keyframe. This method can take a lot of time if you have many keyframes. Follow the next steps to remove multiple or all keyframes with a single button.
Step 3: Right-click your track and click Show keyframe animation.
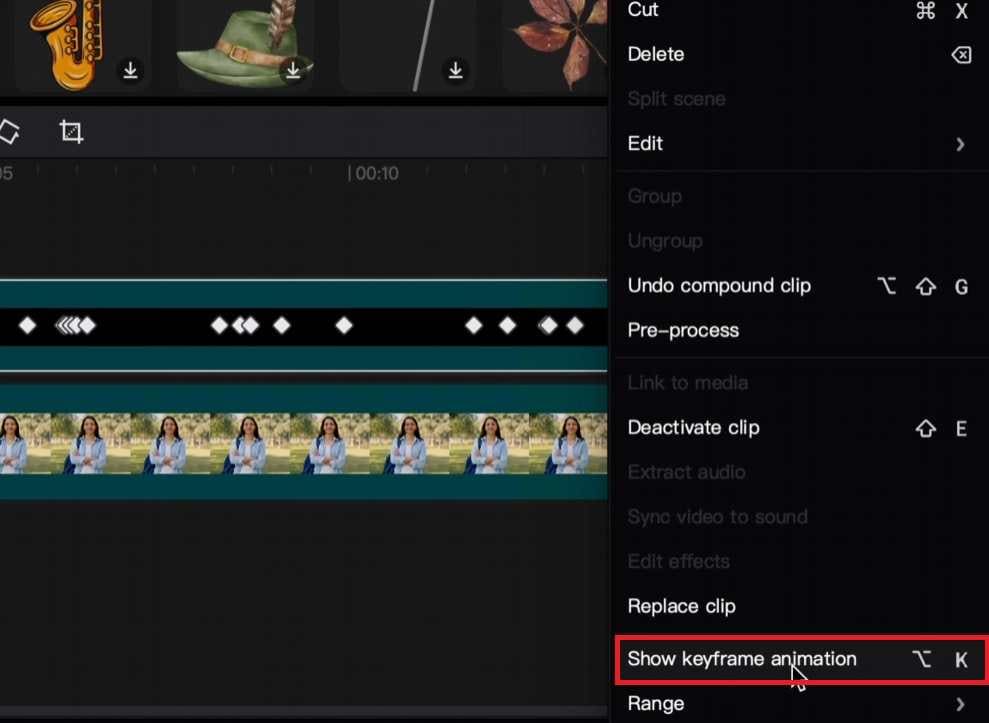
Step 4: Select all the keyframes you want to remove with your mouse and press the Delete button.
Troubleshooting: Keyframe Not Showing in CapCut PC? If you can't find the diamond icon, ensure your clip is selected on the timeline. Keyframe options only appear in the "Video > Basic" or "Adjustment" tabs when a specific element is active.
Tips & Tricks for Mastering CapCut PC Keyframes

Learning how to add keyframes in CapCut on PC is easy. However, you can use many advanced techniques and effects to create amazing results. But before you get to that, here are some tips and tricks you should use to improve your skills.
- Plan Your Keyframes: Carefully plan what effect or animation you want to add to your videos. Determine the length, positions, and effect you want to use to achieve the desired result.
- Adjust Keyframes Precisely: Always pay close attention to the position of your keyframes and place them precisely. Small position changes can have a big impact on how the animation plays out and how it looks in the video.
- Learn and Experiment: Keyframes have different customization options, such as rotation, size, and position, that you can adjust to get different results. Take the time to learn how they work and use online resources to improve your workflows.
- Work With Keyframe Interpolation: Try to understand how keyframe interpolation works in CapCut. This will help you design and predict animations, resulting in a more natural and fluid motion.
CapCut's powerful keyframe feature allows users to fine-tune their video edits with precision. However, with CapCut now banned in the U.S., it's important to explore alternatives that can offer similar capabilities.
Conclusion
In light of CapCut's ban(Now CapCut is back), it's crucial for U.S. users to consider alternatives like Wondershare Filmora, which provides all the features you need, including advanced keyframe editing for a more professional result.
FAQ
-
Can I add keyframes in CapCut on PC?
Yes, CapCut lets you add keyframes to images, videos, and text. You can add keyframes, edit them, and remove them using CapCut. -
What is the best alternative to CapCut for adding keyframes?
One of the best CapCut alternatives for adding keyframes is Wondershare Filmora. It's very similar to CapCut but offers additional features that are easier to use. -
Why should I use keyframes?
Keyframes are crucial for precise control over different animation effects in videos, their timing, and the overall creation of motion graphics.
