
 100% Security Verified | No Subscription Required | No Malware


 ChatGPT
 Perplexity
 Gemini
 Claude
 Grok
Grok
All it takes is one video filter to establish the mood of the scene. Make it or break it. This visual effect can increase the clarity of the message you intend to share and make your video unforgettable. On the one hand, it might also end up diminishing the general impact of your content. Indeed, the video preset is not only an element for finishing touches but also an instrument for creative expression. That's why you should choose one very well to get your desired results. Don't worry. Applying such video effects is a walk in the park. With the surging demand for this type of resource, you won't find it hard to find and add one to your project. That is for certain.
In this article, we will talk about the video filter editor for desktop and online use. We will help you decide when to choose one over the other when working on this kind of project. Continue reading below to learn more.
In this article
Wondershare Filmora: A Comprehensive Video Filter Solution
When talking about the video filter editor for the desktop, you will not run out of choices. There are lots of them out there. Among the best options you may take into consideration is Wondershare Filmora. This powerful video editing software comes with advanced tools and countless resources. For sure, it can certainly help you implement your desired techniques and render a stunning output. Are you inclined to give it a shot? If that is so, then check out the details written below.


Core Features
Wondershare Filmora is equipped with different features that can help you apply a video filter perfectly. Get to know some of them and make the most of the benefits they have to offer. Check out the list below.
- Over 200 varieties of video filters from 10 different categories.
- All video presets offered by Wondershare Filmora are customizable. You can adjust its opacity and level of intensity based on your preferences.
- The application of video filters on Wondershare Filmora is purely non-destructive. You can add such visual enhancements without touching the original footage permanently. You can easily remove it if you want to.
- It offers AI-powered smart filter options if you wish to apply a consistent and accurate level of such enhancements.
The Best Video Filter Option By Use Case
While the selections offered by Wondershare Filmora are countless, you still have to make the perfect choice. Select the best video filter that matches not only your preference but also your needs. To help you out in this regard, go over the list below and keep the items in mind.
Social Media: Use a video filter that looks modern and goes along with the latest trend. Try Trendy Glow, Vlog Style, or AI Beauty Filter in this regard.
Cinematic: Consider using a video preset that carries some dramatic elements and creates a certain mood. Try Film Noir, Blockbuster LUTs, and AI Color Match.
Correction: Use a video filter that enhances the exposure, color balance, and contrast settings. Try AI Auto Color, Exposure Fix, and AI Noise Reduction.
Creative: Use a video preset that brings out the artistic quality of your content. Try Anime Effect, Watercolor, and AI Style Transfer.
Special AI Tools: Turn to automated visual enhancement if you cannot find your preferred visual filter from the available choices. Try AI Smart Portrait, AI Sky Replacement, and Auto Reframe.
Short Tutorial
Wondershare Filmora has a very intuitive and responsive interface. You can easily apply a video filter to your videos, even without extreme effort. Do you want to give it a try? If so, check out the tutorial below and follow the indicated steps accordingly.
Step 1: On the main workspace of Wondershare Filmora, go to the Elements Panel and click Import under the Media tab. Select all the files you are going to use and upload them to the platform. Once the assets are ready, grab and drag them onto the Editor Timeline for further customization.
 secure download

Step 2: After that, head back to the Elements Panel and switch the tab from Media to Filters. Choose a category and go over the given options or search for a specific theme. Select one, then tap its corresponding Download button.
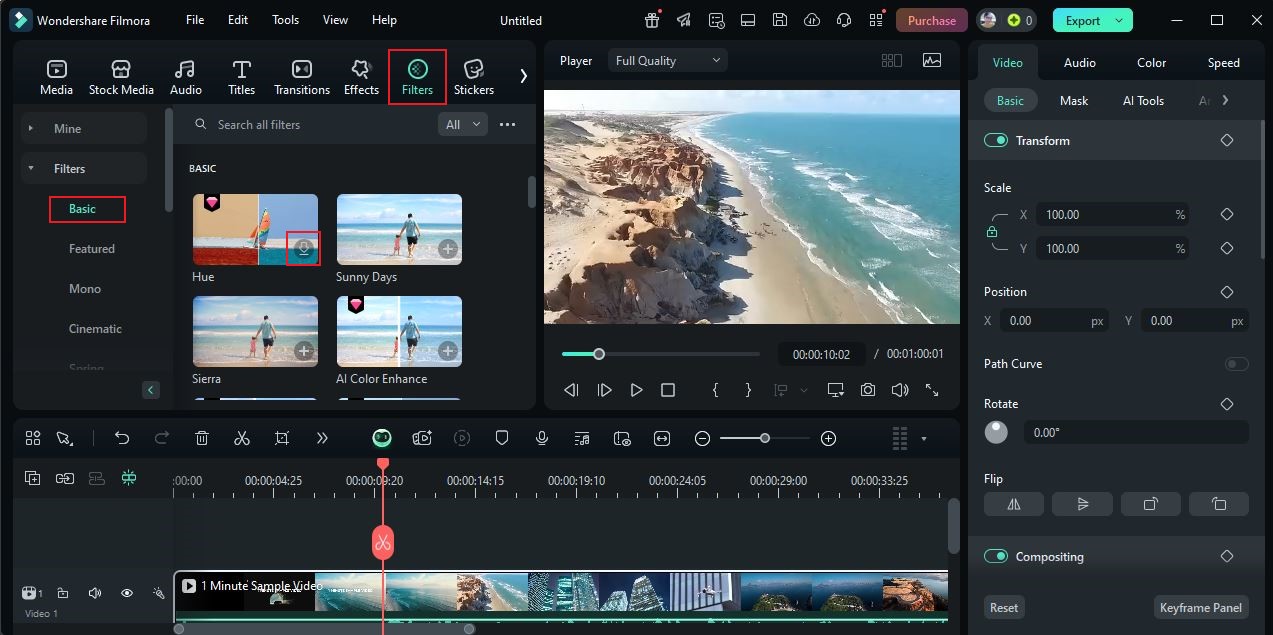
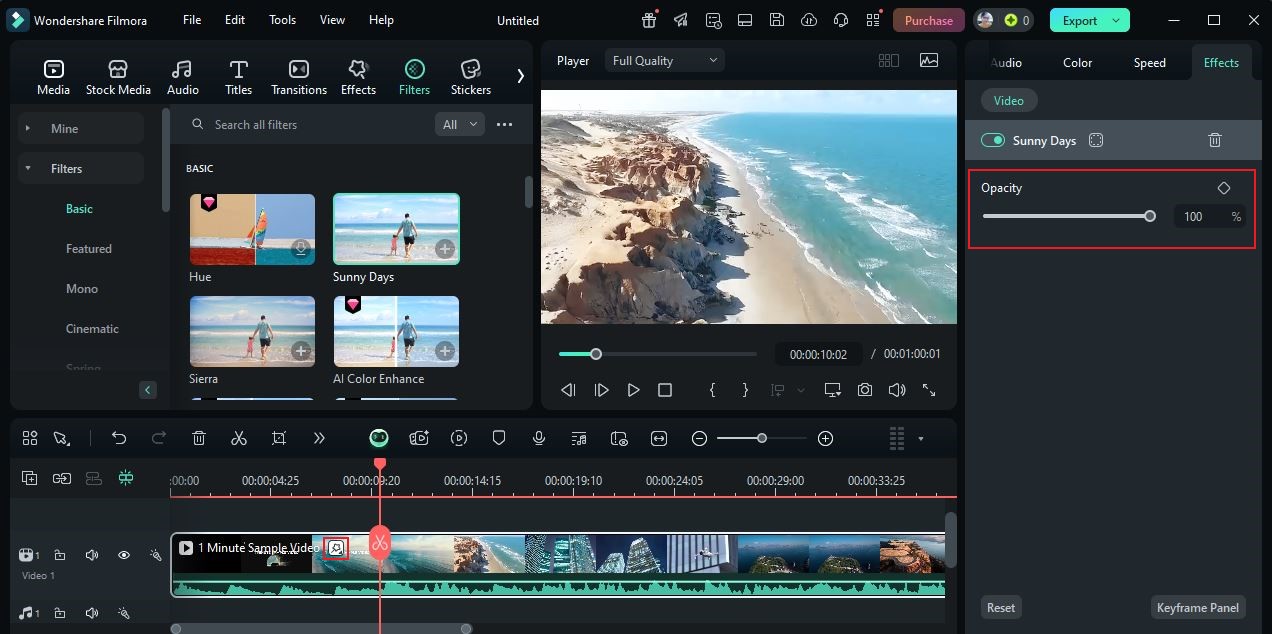
Step 3: At this very moment, it's time to apply the selected video preset. Simply grab the template asset and drag it onto the Editor Timeline. You can drop the filter to a specific clip or place it on the top of the video track for wider coverage. Following that, click the Filter asset once again and access the panel on the right-hand corner. From there, move the Opacity slider to your desired level or enter a specific input.
Step 4: Finally, play and review the output. If you're satisfied with the result, click the Export button and configure the download settings based on your preference. Otherwise, continue making adjustments until you get a desirable result.
Alternative Video Filter Solutions for Different Needs
Wondershare Filmora and other similar desktop applications are indeed helpful in this regard. When you're working on complicated projects, you can easily find a great video filter from their libraries. You just basically have to choose one and apply it right away. However, keep in mind that it's not the only option available. Let's say you're a content creator on the go who needs basic and quick video filter fixes. If that's the case, you can consider using a video filter editor that runs over the internet. No download and installation. Just browse online and start working. Check out some of them from the list below.
Free Video Filters Online
The free video filters are scattered all over the internet. To get started, you just generally need to choose one from the choices at your disposal. Read the list below for more details.
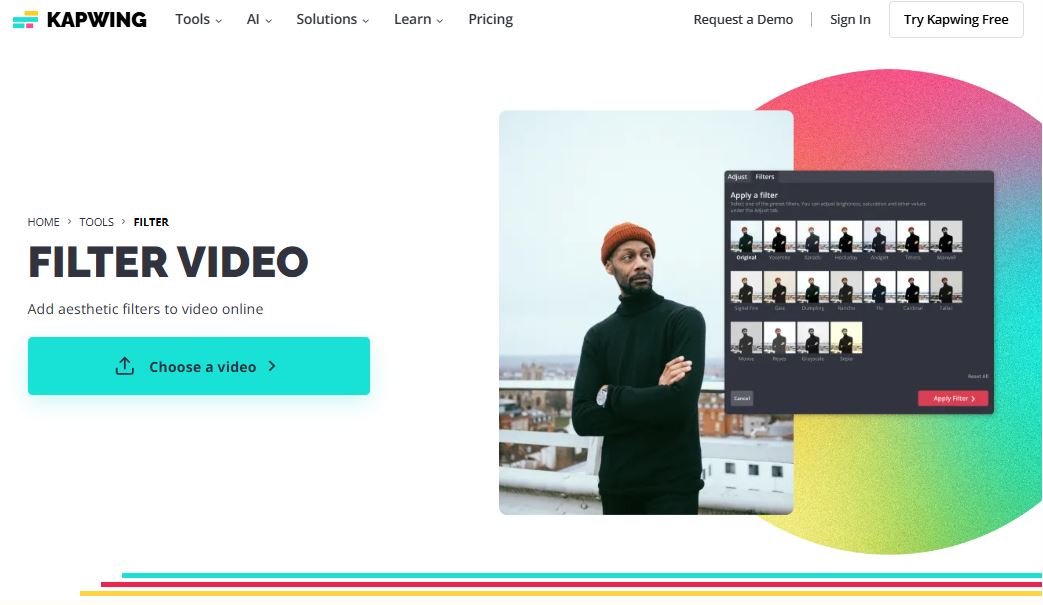
- Kapwing: This web-based media editor is home to dozens of video preset selections that suit various themes. On top of that, you're also given manual controls to adjust salient video settings like brightness, contrast, etc.
- FlexClip: This user-friendly online video editor offers 100+ free video filters that you can access within the platform and apply to your content. Also, it has AI tools, and LUT support features that you can put to good use.
- Clipfly: This AI-powered video editor online has eight basic video filter selections that fit various styles. Furthermore, it allows you to apply multiple filters and make an HD video export.
- Flixier: This potent online video editor has over 10 video preset selections you can apply to your content and customize afterward. From Vintage and Polaroid to Sharpen and Black-And-White, you will not run out of choices.
- Clideo: Apart from powerful customization tools, this video editor also features different filters you can apply in a snap. If you're working on classic or retro content, it will surely give you a lot of choices.
Key Advantages
The free video filters mentioned above are indeed helpful under certain circumstances. They have functional features that work best in specific situations. Do you want to know what those are? If so, check out the list below.
- Most of them offer different types of video filters. However, the assets are commonly basic and pretty average. If you need a video filter for a more complex project, you may need to opt for the desktop video filter editor.
- Although allowed, the options for customization are quite limited. If you're working on a complex project, you might find it hard to implement certain editing techniques.
- You can make the edits anytime and anywhere. Just ensure that you have a strong connection to the internet.
Which One is the Most Recommended?
We all know that Wondershare Filmora is one of the best video editors out there. It provides powerful tools that enable you to create both basic and professional video content. Good thing this amazing content-creation software is available on mobile, too. Yes. That is right. Its mobile version, which runs on iOS and Android, also offers free video filters. Do you want to try it on your end? If so, learn more about them by browsing the list below.

- It gives over 50 selections of highly optimized video filters.
- It syncs the projects on the mobile version with the desktop app. You can easily switch from one device to another without transferring files manually.
- It offers different AI tools that allow you to apply effects and edit video in the blink of an eye.
Conclusion
Always keep in mind that the video filter is an essential creative tool. Aside from aesthetics, it also serves a very important function. Basically, content creators use the video preset to save time and get instant results without too much manual intervention. In this regard, the best video filter editor you can try is Wondershare Filmora. Its desktop has powerful creative tools you can use not only to apply filters but also to render stunning videos. On the one hand, you can opt for the Wondershare Filmora - Mobile if you want to take a more convenient approach. Don't worry. Both of these versions are serving their purpose very well. You can subscribe to its free trial to explore and then upgrade later on for more advanced AI tools. Amazing, right? Try Wondershare Filmora today and transform your video content using professional-grade filters.
secure download 