
 100% Security Verified | No Subscription Required | No Malware


Sometimes, you may want to preserve your favorite video memories and freeze them to get the desired results. During your search quest for the best solution, you've probably encountered Sony Vegas, and have wondered how to use it to freeze the frames in your favorite videos.
If so, you've come to the right place. We'll teach you how to freeze-frame in Sony Vegas automatically and manually to help you navigate the experience.
Moreover, we've prepared an alternative solution if this tool seems too overwhelming for your video editing needs. Without further ado, let's jump into the guide.
In this article
Understanding Freeze Frames in Sony Vegas
Sony Vegas provides a freeze-frame feature you can use to preserve your memories and control the experience. You can use automatic or manual features to get the desired results. You can choose between the two depending on the level of control you want to gain – you'll have better control if you choose the manual option.
Aside from this, Sony Vegas provides several additional features to make your content look more engaging after freezing the frames. For instance, you can add transitions between the frozen and moving elements to make the experience smooth and seamless. You can also add keyframes between the abovementioned elements to ensure you get the best results and distinguish the moving and frozen images.
How to Freeze Frames in Sony Vegas Automatically
Sony Vegas provides an automatic feature you can use to freeze your favorite frames. You can check out the detailed guide below to learn how to activate this feature:
- Step 1: Import the desired file to the platform and drag it to the timeline to start editing.
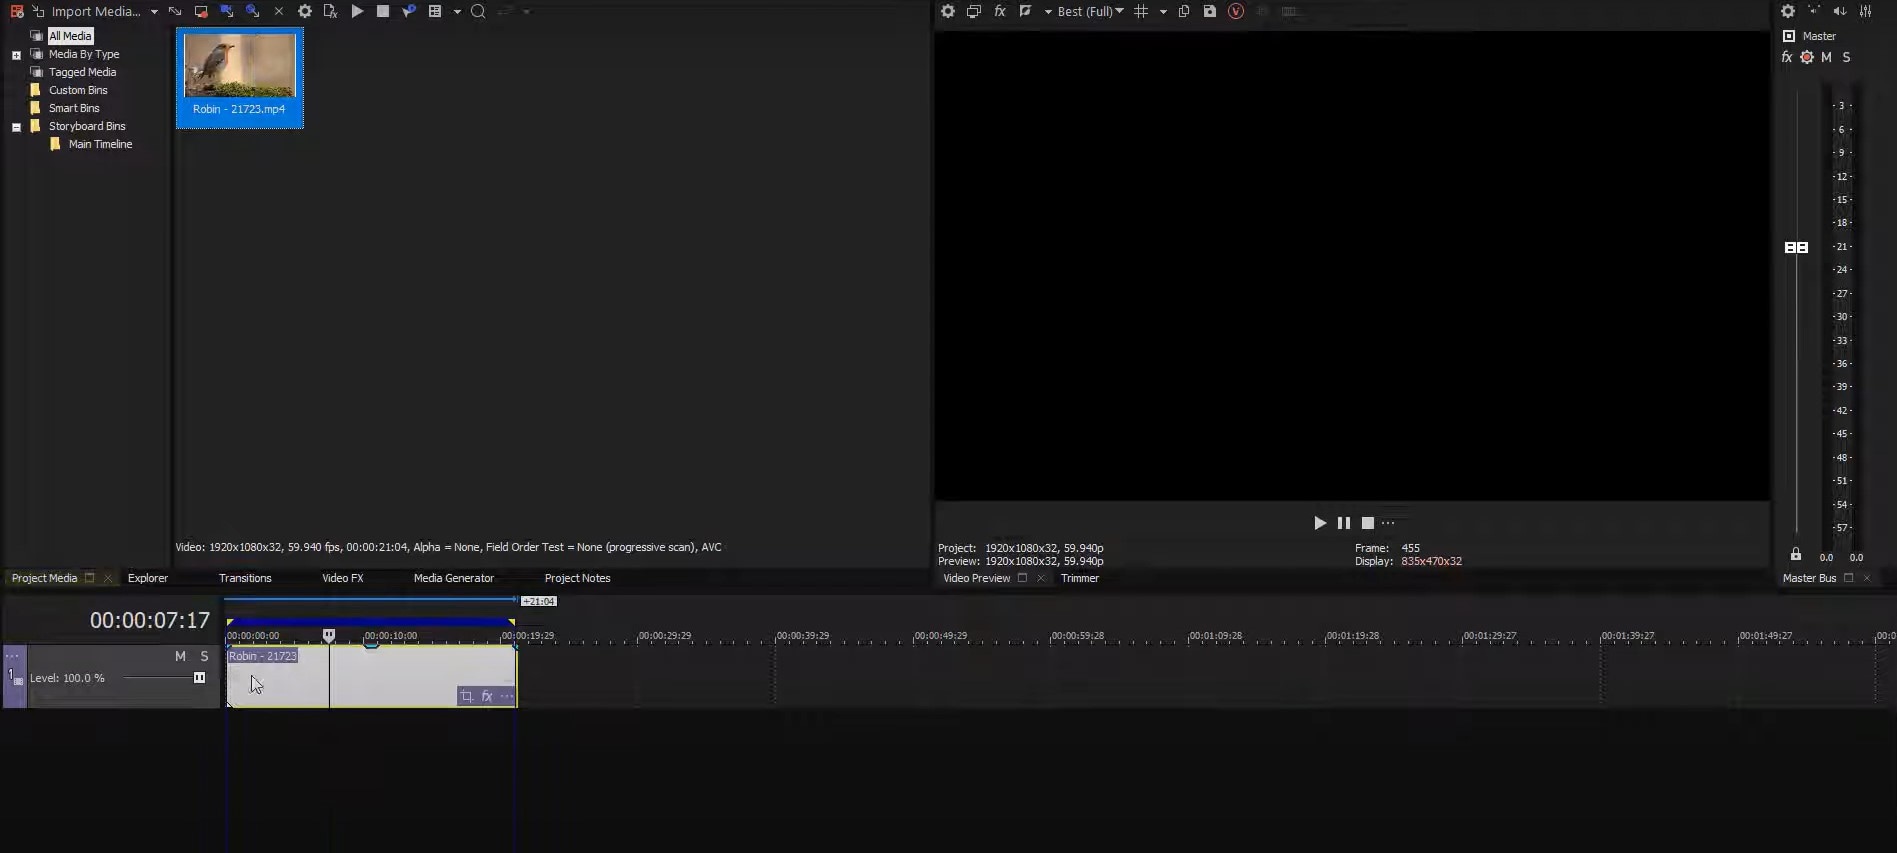
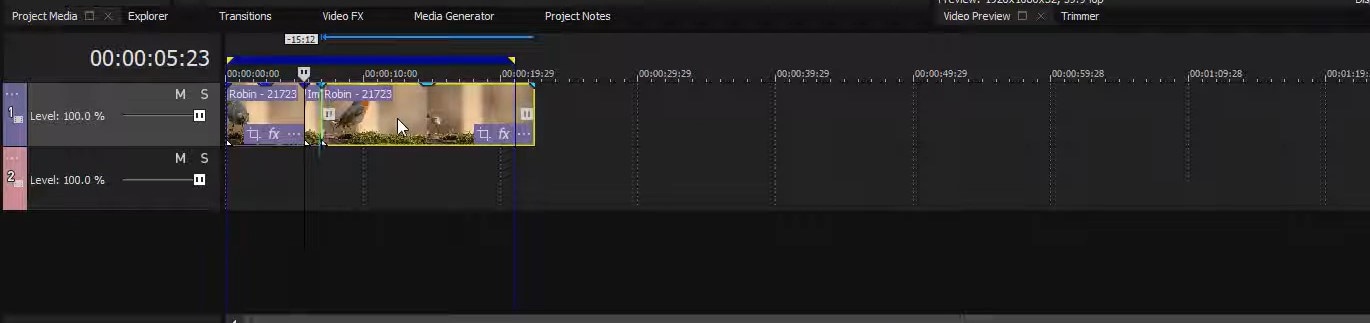
- Step 2: Position the head where you want to freeze the frame, as presented in the image below.

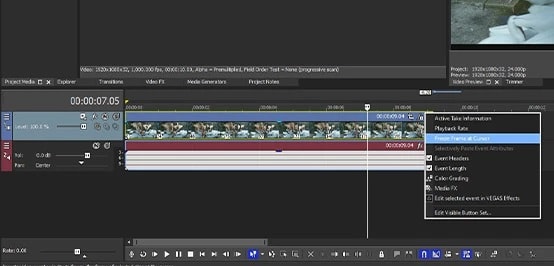
- Step 3: Choose Freeze Frame at Cursor from the drop-down menu.
Once you complete these steps, the program will automatically set the velocity and freeze the frame. That may be a better option if you're a beginner or if you don't want to spend your time editing the frozen frames.
How to Freeze Frames in Sony Vegas Manually
If you want to master your skills and unleash the true power of Sony Vegas, you may want to opt for the manual freeze-frame feature. Although it may be a bit more complex to use, you'll gain more control over your content and be able to make your visions come to life. You can learn how to do it below.
- Step 1: Import your video file to the Sony Vegas platform and drag it to the timeline.

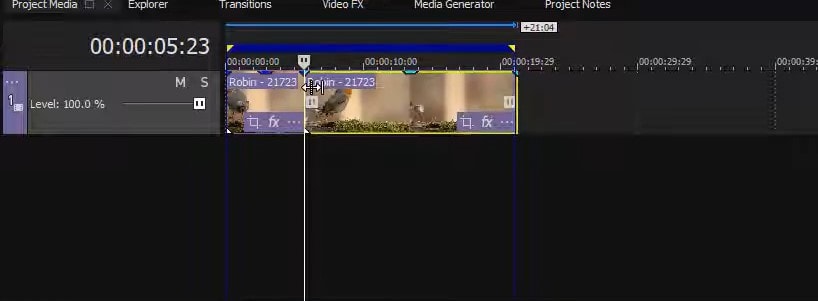
- Step 2: Place the head over the frame you want to freeze.
- Step 3: Split the video by clicking the S key on your keyboard.
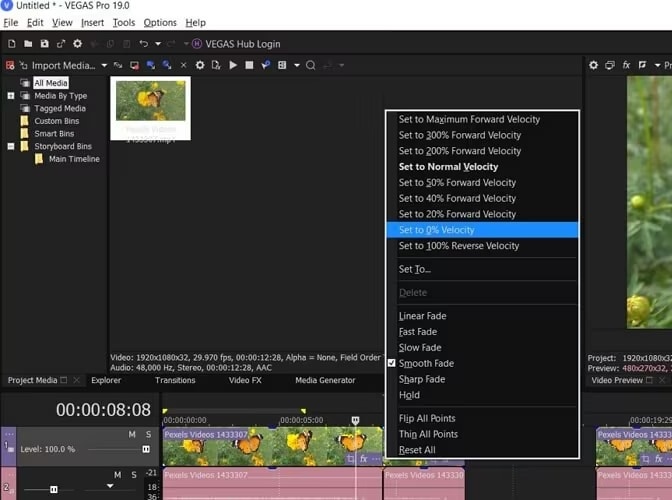
- Step 4: Right-click on the split video and head to Insert/Remove Envelope>Velocity.
- Step 5: Tap the Set to 0 percent Velocity option from the next menu.
These steps will help you cut the necessary frames and change the speed to zero, which will automatically freeze the desired frame. As you can see, adjusting to this type of freeze-framing in Sony Vega may take some time, but you can quickly master your skills and get the desired results.
You can also use the snapshot feature to add an image of your frame to the timeline and create a freeze frame accordingly. Check out the guide below to learn how to do it.
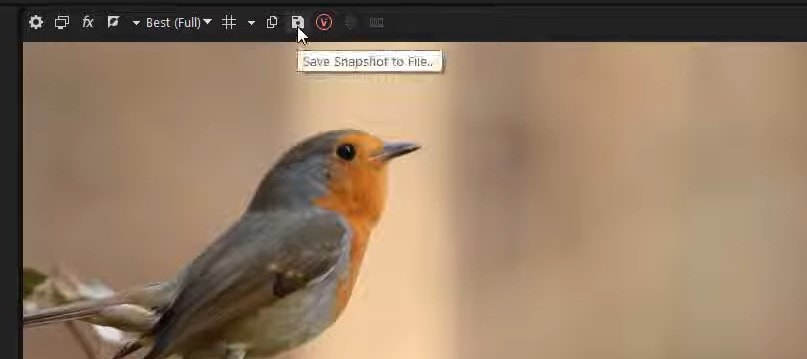
- Step 1: After importing your media and selecting the frame, press the S button to split the video.
- Step 2: Tap the Camera icon from the top bar to take a snapshot.
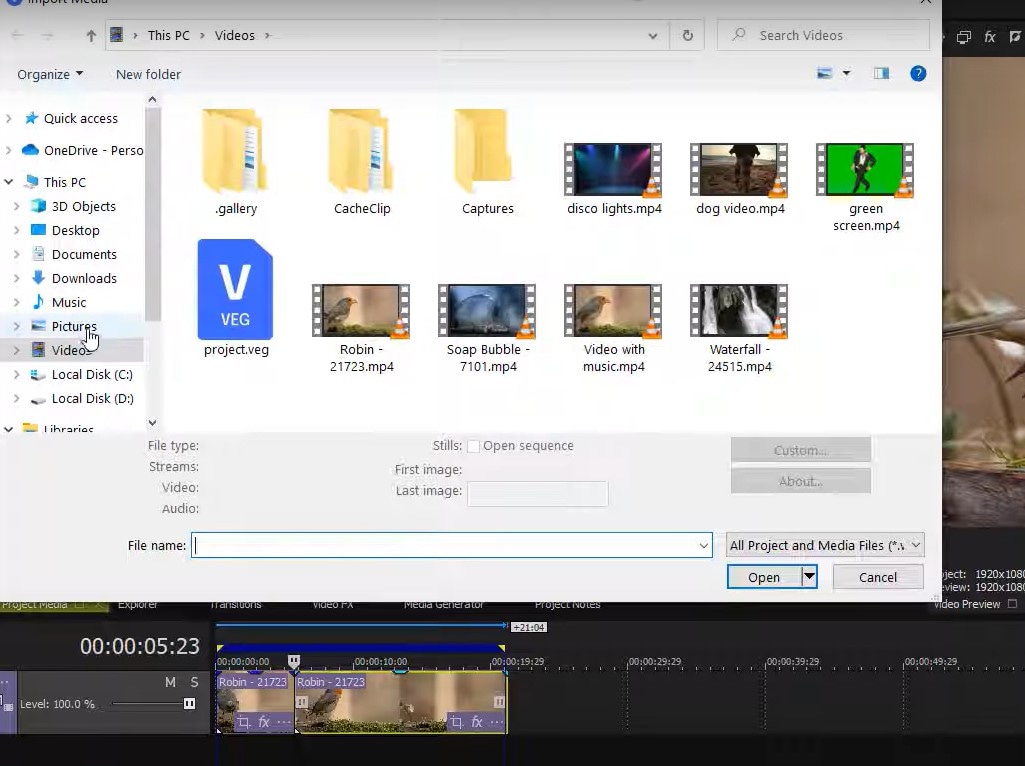
- Step 3: Head to Import and choose your image from the available options.
- Step 4: Adjust the speed and place the file between the desired frames.
Best Alternative to Sony Vegas - Filmora
As you can see from the guides above, using Sony Vegas for your freeze-frame experience can be challenging since you'll have to adjust numerous elements to get the desired results. That's why this solution may not be the most beginner-friendly, and you may need time to master your skills.
If you're searching for an easier alternative everyone can use, we advise you to check out Wondershare Filmora. It's the ultimate AI-powered video editor that will help you reach your goals in seconds. You don't need previous experience to learn how to freeze a frame and customize the experience.
Aside from a one-click Freeze Frame feature, you'll access various transitions to create a seamless experience. You can also customize the transitions to make your videos pop and prepare them for further use.
Moreover, the tool provides various AI features like AI Smart Cutout, background removers, AI Color Palette, and more, which can help you edit your frames and become a video editing professional.
All you have to do is head to the official Wondershare Filmora website and download the tool to your device.
- Superb video stabilization with low distortion.
- Vast video/audio effects and creative assets.
- Powerful AI for effortless content creation.
- Intuitive, professional yet beginner-friendly.
- Works on Mac, Windows, iOS, and Android.


How to Freeze Frames in Filmora
Using Wondershare Filmora to freeze the frames is easy. You can follow the steps below to master your skills and get a custom experience.
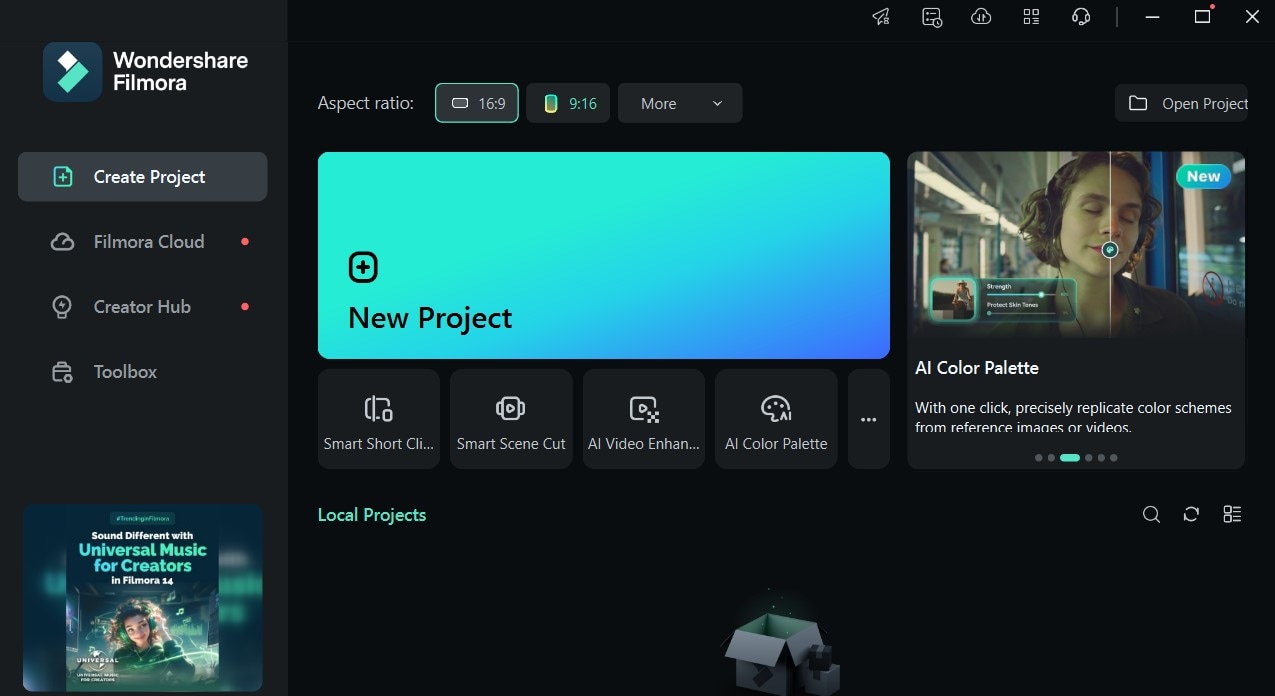
- Step 1: Open the Wondershare Filmora platform and click the New Project option from the main menu.
- Step 2: Import your video to the platform and drag the file to the timeline.
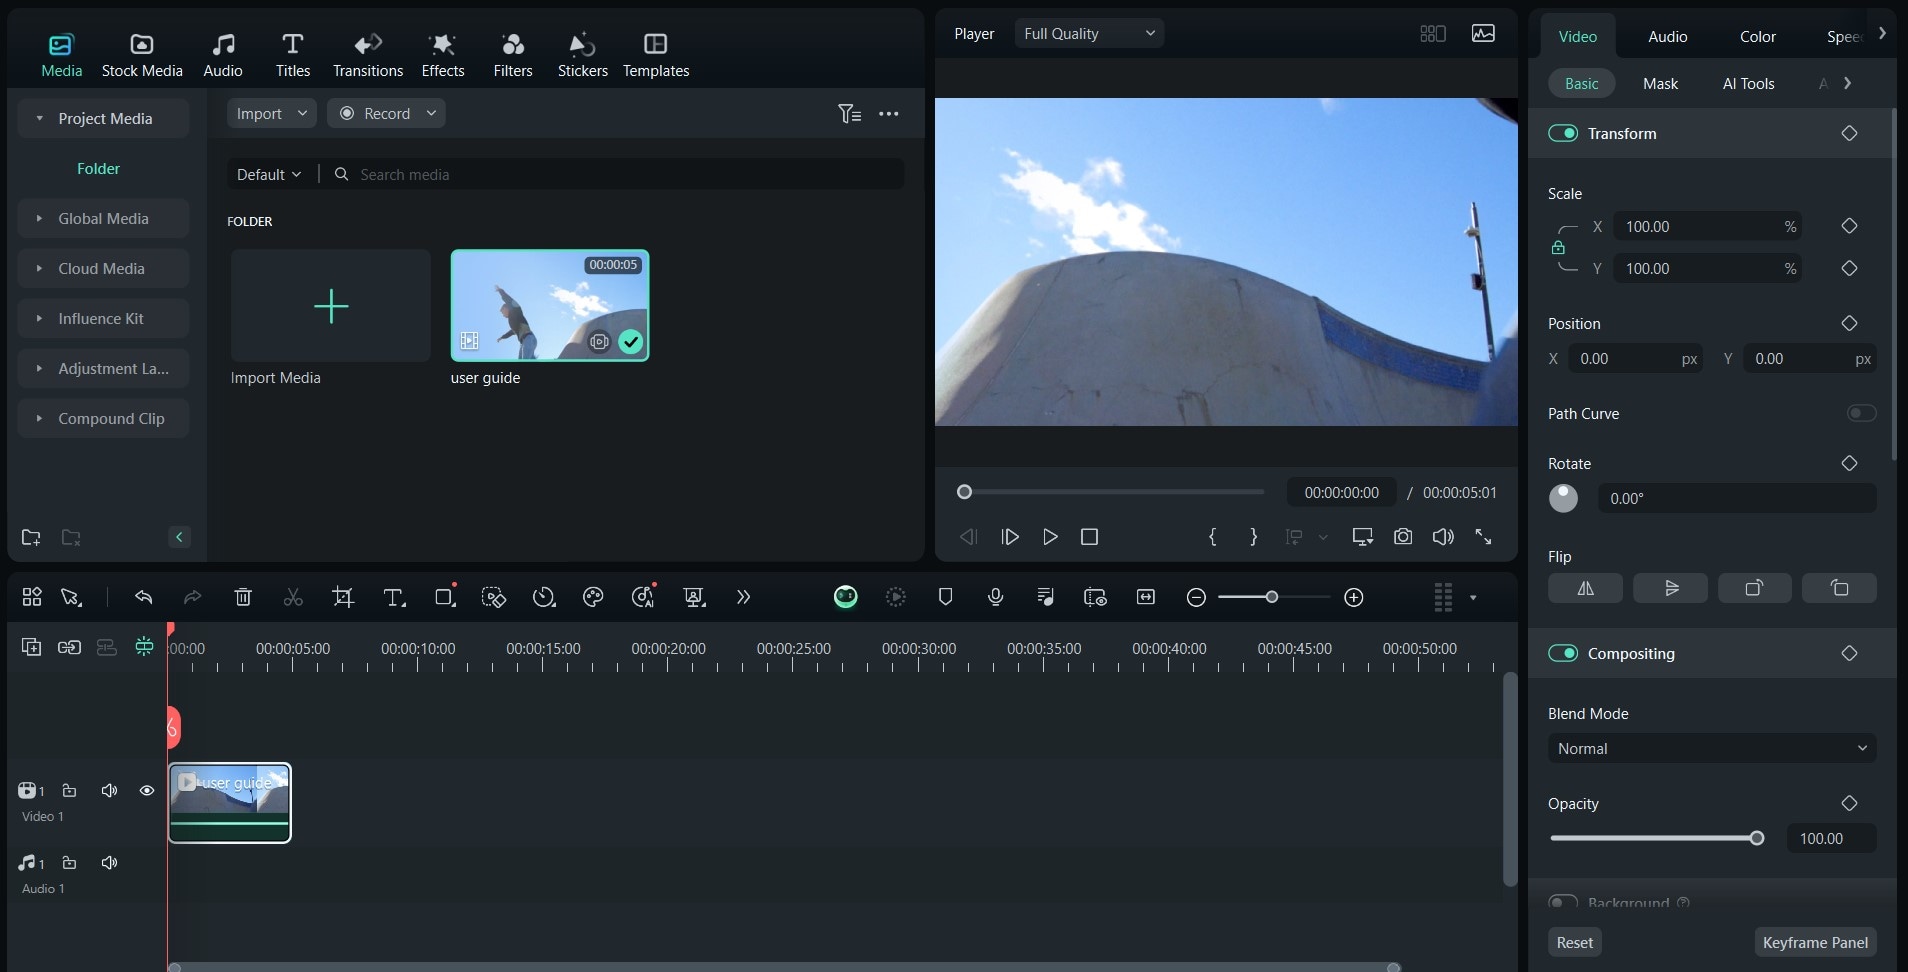
- Step 3: Place the playhead where you want to freeze the frame.
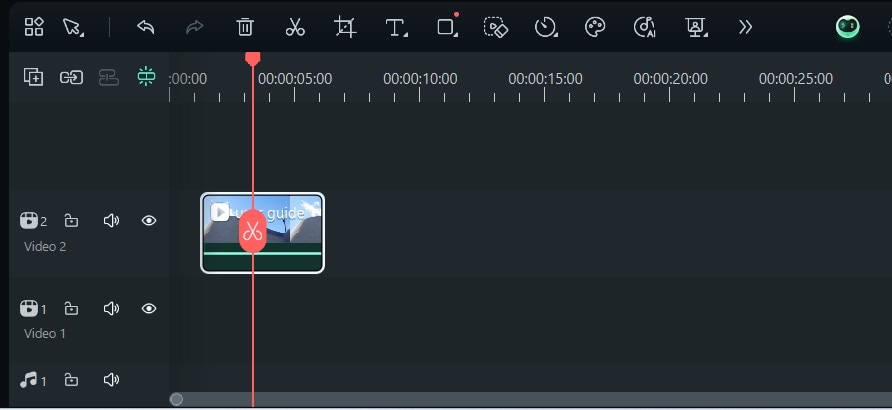
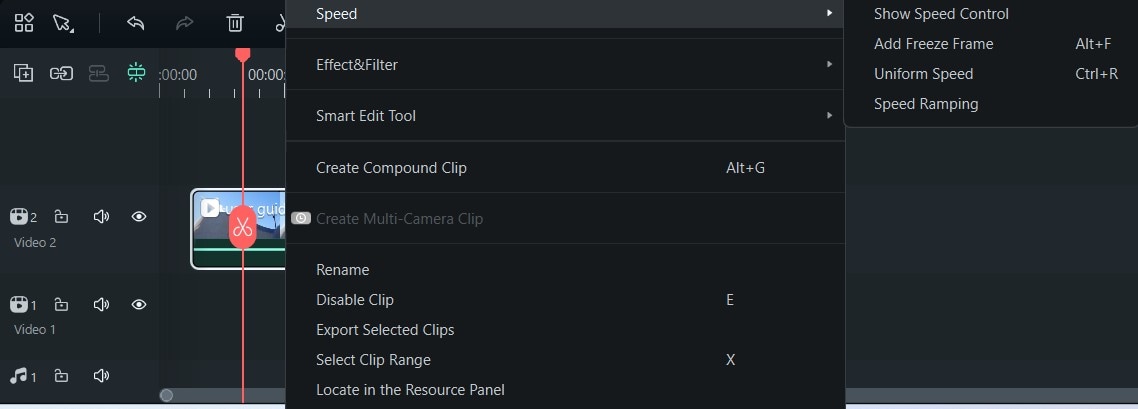
- Step 4: Right-click on the video and head to Speed > Add Freeze Frame, as presented in the image below.
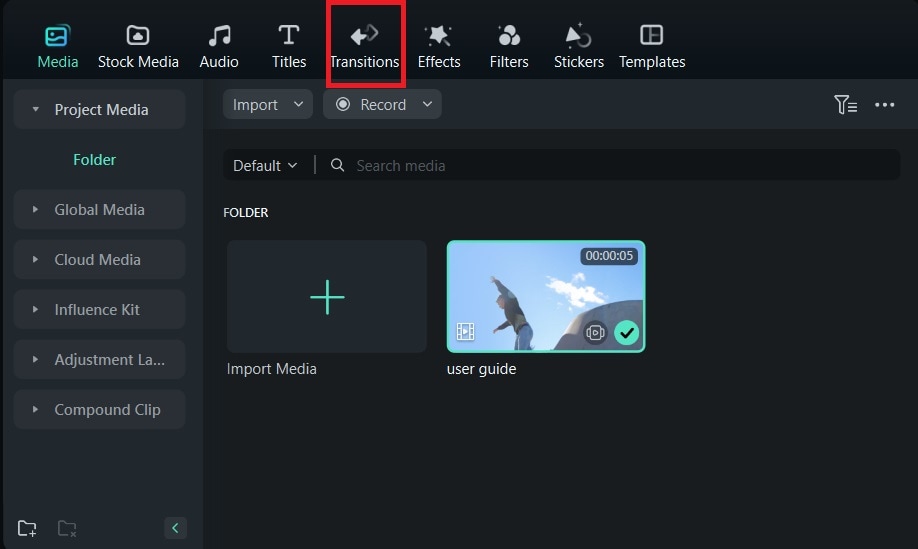
- Step 5: Once you complete these steps, head to the Transitions tab from the top bar and select a transition to make your videos pop.
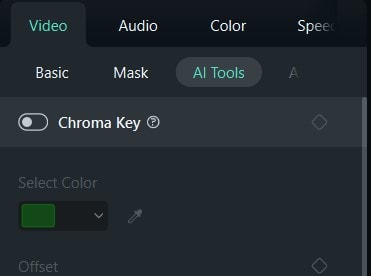
- Step 6: Double-click on the video and head to AI tools to enhance the quality of your video. You can experiment with the available options until you get the desired results.
Once you complete these steps, the program will automatically create a freeze-frame in the said space. You can now edit the frame, choose the duration, and much more with the help of powerful Wondershare Filmora features and tools.
Conclusion
Freezing the frames can be useful for emphasizing specific elements in your videos. You're here because you want to learn how to use Sony Vegas for freeze-frames, and we've presented detailed guides to help you navigate the experience.
However, Sony Vegas may not be as intuitive and beginner-friendly as you might expect, so we've prepared an alternative solution to help you master your skills.
Wondershare Filmora will provide simple and automatic freeze-frame solutions you can customize to get the best results. You'll get the ultimate results if you opt for this video editing solution.
