
 100% Security Verified | No Subscription Required | No Malware

Finding the right software for video editing can be like searching for treasure without a map. If you hope for something free, powerful, and not crazy hard to learn, the Olive Video Editor might be your hidden gem.
This open-source tool is designed for people who want useful features without breaking the bank. Sure, the Olive editor is not as famous as other free options like Kdenlive or Shotcut, but that makes exploring it so interesting.
Stick around, because we will walk through a simple Olive Video Editor tutorial and share an honest Olive Video Editor review to help you decide if this editing software is right for you.
In this article
Part 1. Olive Video Editor Tutorial: A Simple Beginner's Walkthrough
Now that you have a feel for what Olive Video Editor is all about, it is time to roll up your sleeves and actually try it out. The good news is that Olive editing software works on Windows, macOS, and Linux, so you are covered no matter what device you are using.
To learn how to operate it, follow this easy Olive Video Editor tutorial; you will be up and running quickly.
Step 1 Download Olive Video Editor
First, grab the latest version from the official Olive editor website. The newest version is still in development, so they recommend using the older stable version on GitHub. Click the link they provide and pick the download that matches your device.
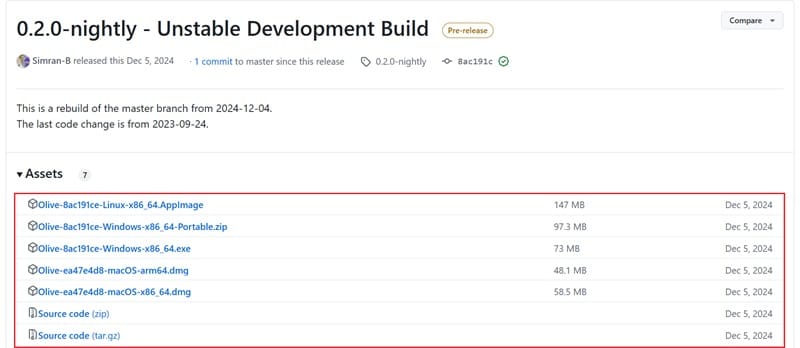
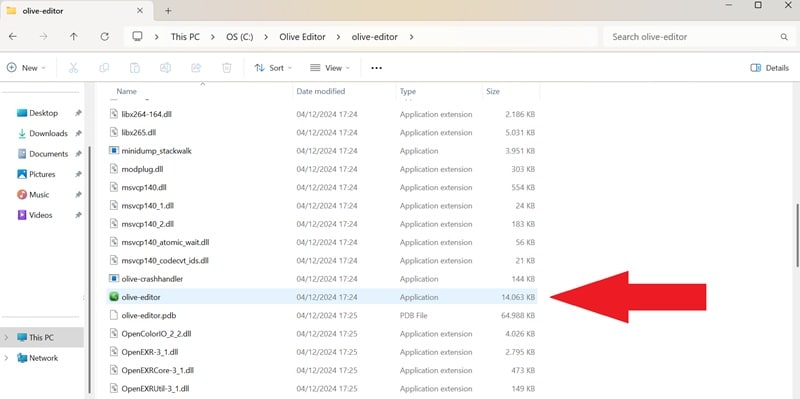
After that, open the file and follow the installation steps. You will be ready to go in a few minutes.
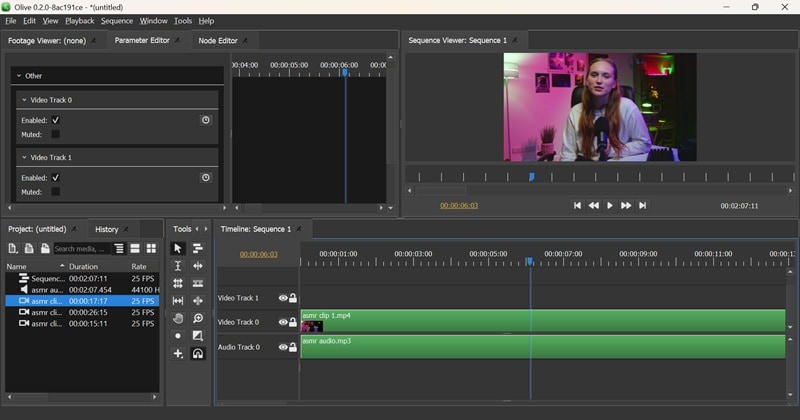
Step 2 Starting a New Project
Once you open Olive Video Editor, you will land on the main workspace where all the editing happens. Starting a project is simple. Click the "File" menu at the top, then hit "Import" to upload your first video.
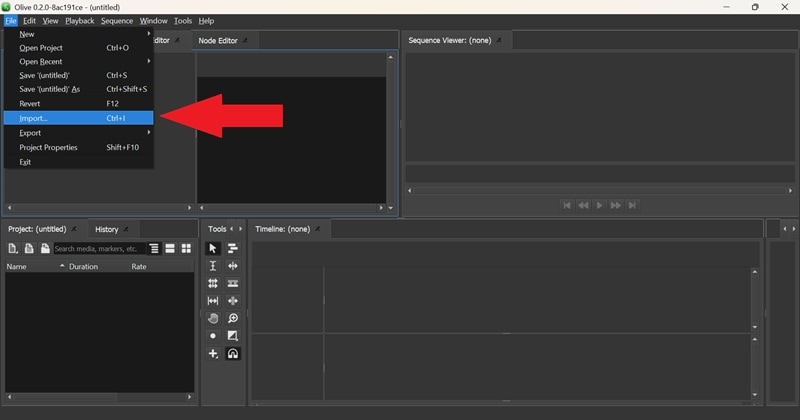
If you want to add more, repeat the same steps to add more videos, audio tracks, or images. Then, drag your clip to the editing timeline on the right.

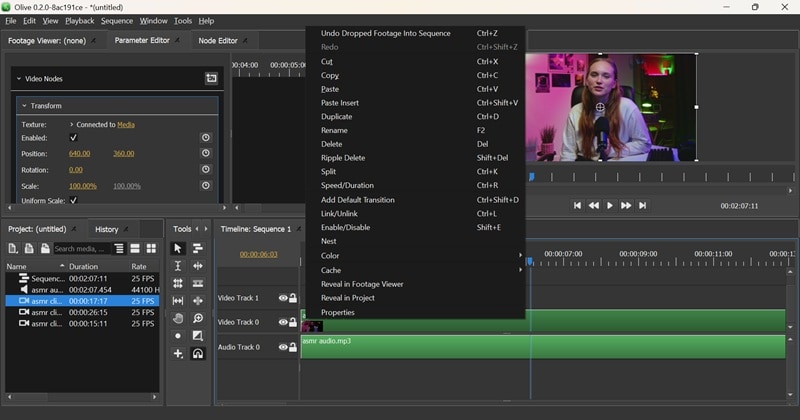
Step 3 Basic Editing
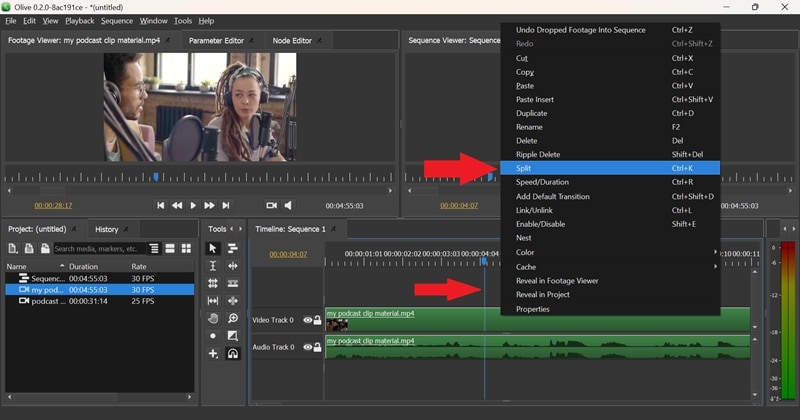
If you want to cut, trim, or split your clips, right-click on them in the timeline. A bunch of options will pop up. For example, if you choose "Split," the clip will instantly be divided at the point you selected.
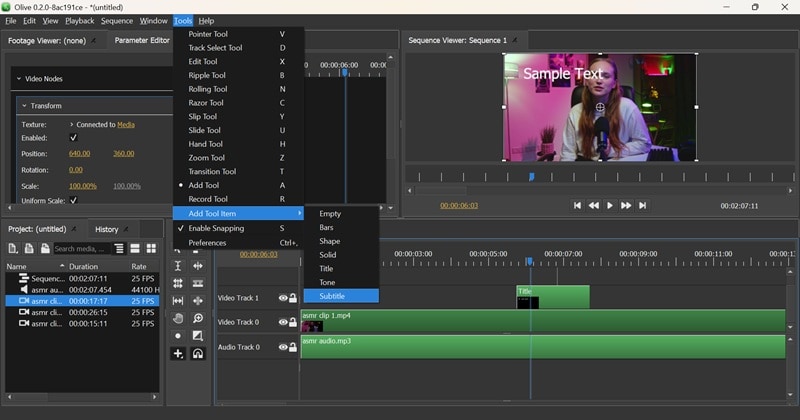
Step 4 Adding Titles and Text
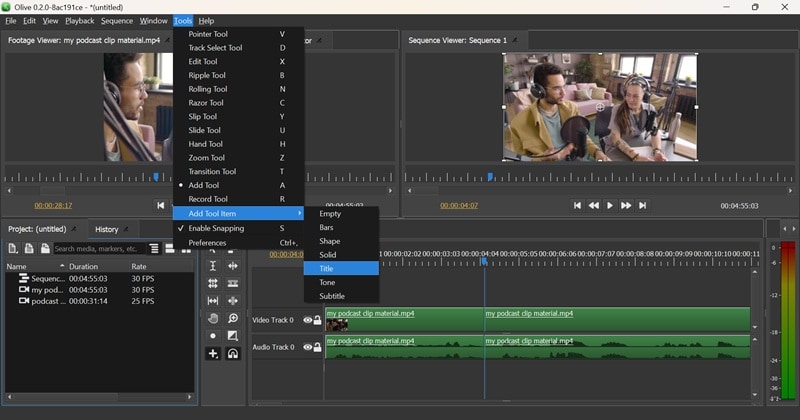
Click on the "Tools" menu, choose "Add Tool Item," and then select "Title." A title layer will appear on your timeline.
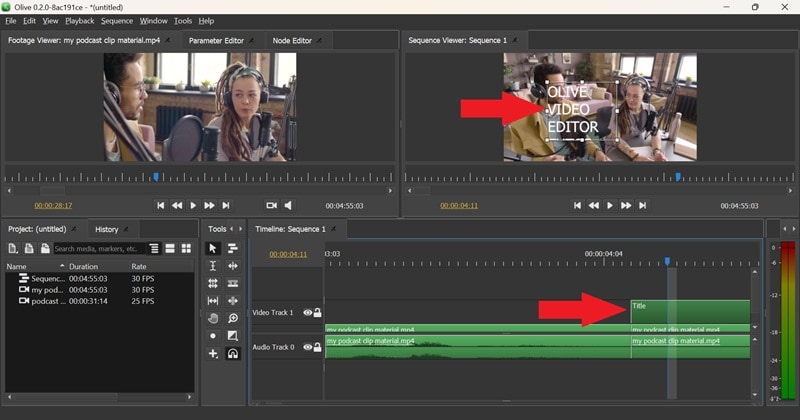
Place the title layer above your video layer; otherwise, it will not show up. Then, you can tweak the text to match your style.
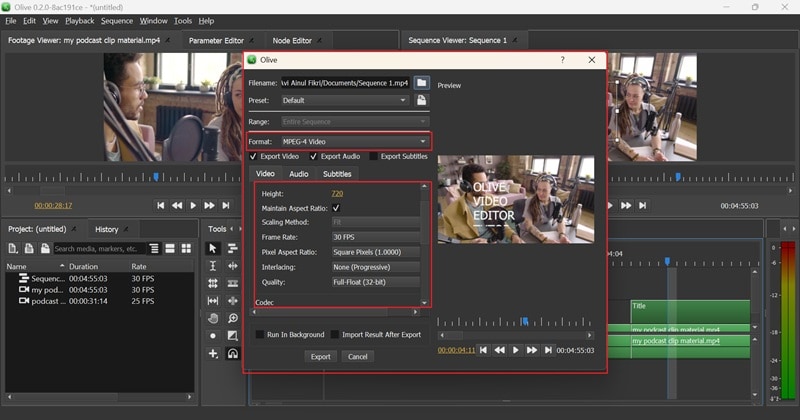
Step 5 Exporting Your Video
Once you are happy with your edit, it is time to save your masterpiece. In Olive Video Editor, click "File", then select "Export" and choose "Media".
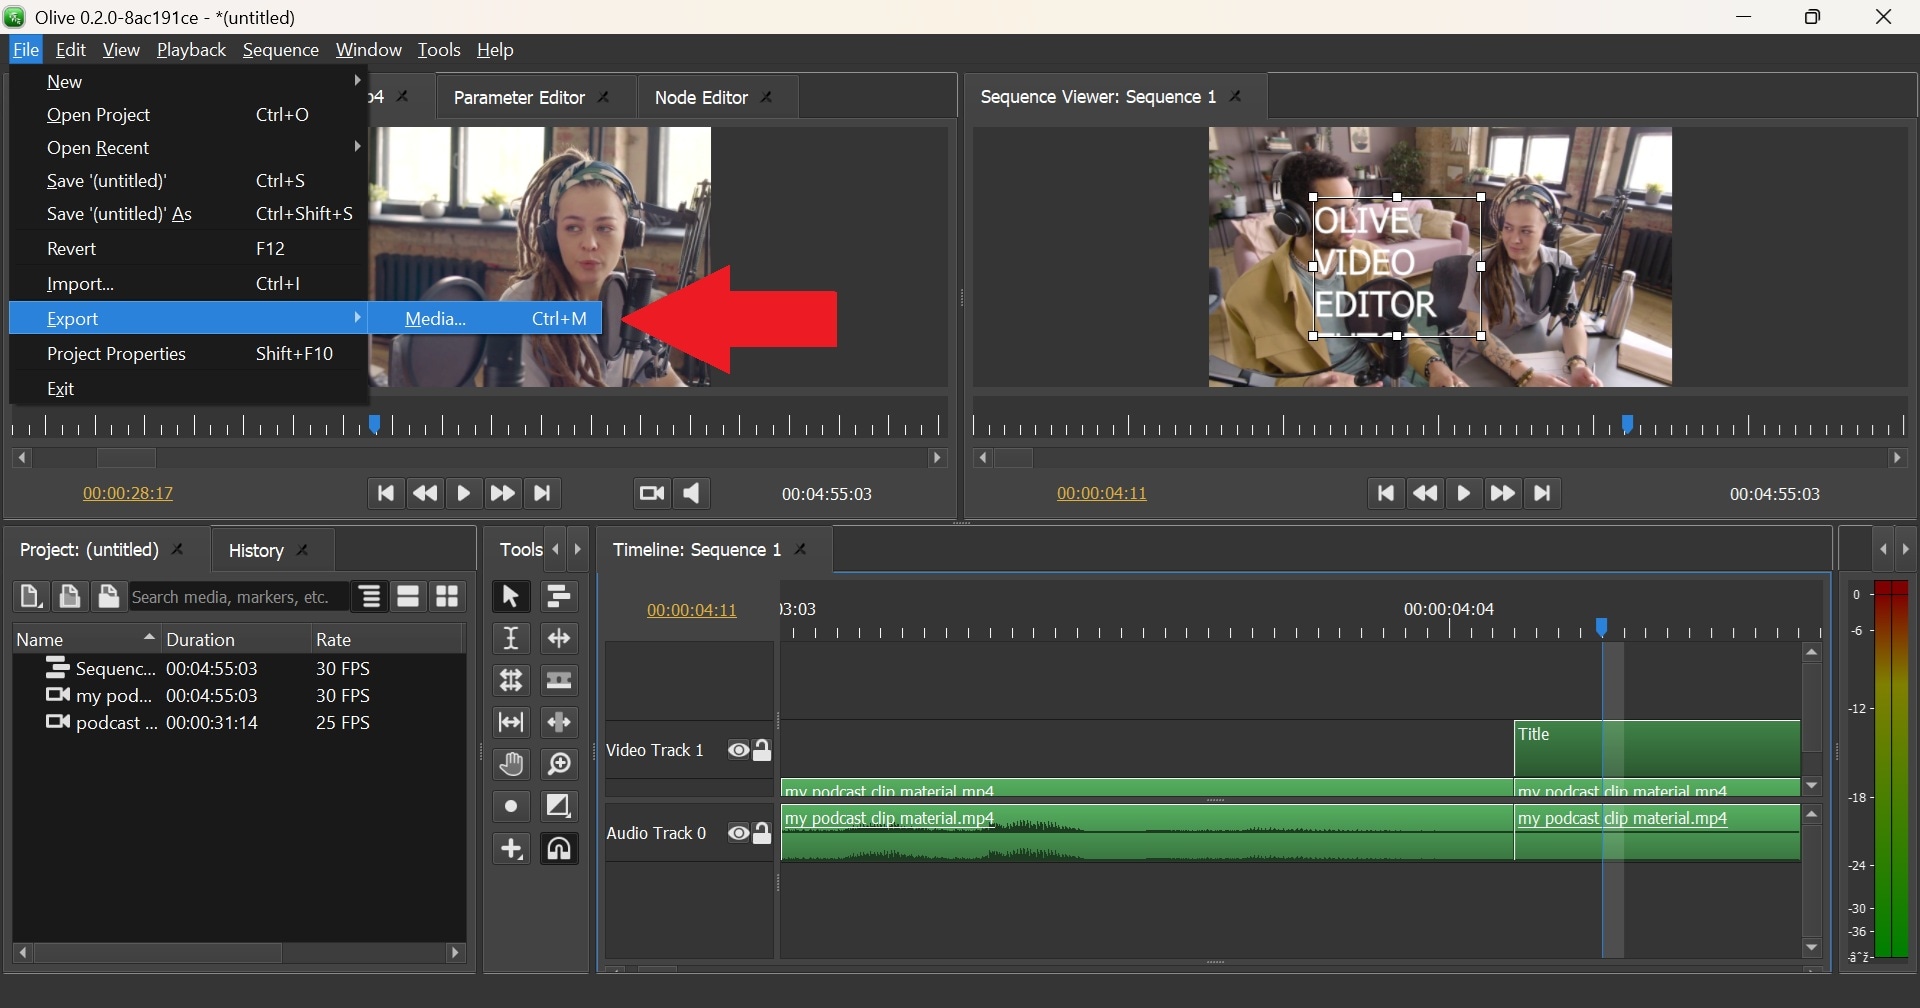
A new window will pop up where you can adjust settings like video format, frame rate, and aspect ratio to get the best quality. You can even choose to export just the video, just the audio, or both.
And just like that, you know the basics of using the Olive editing software. If you want to learn even more tricks, a full Olive Video Editor tutorial is waiting for you on YouTube. It is a playlist made by TJ FREE that covers everything in detail. Feel free to check it out and level your editing skills with Olive Video Editor.
Part 2. Olive Video Editor Review: What It Nails (and Where It Still Needs Work)
Now that you know your way around the basics, let us talk about how the Olive Video Editor actually holds up. Since Olive editing software is still in active development, it is not perfect yet, but it shows a lot of promise. It is a solid pick for beginners who want to get serious about editing without spending a fortune on expensive tools.
But like we said earlier, we are keeping things honest in this Olive Video Editor review. So next, let us break down what Olive does well and where it could still use a little more polish.
1. Interface
The Olive Video Editor interface can be tricky for new users. The screen is divided into the footage viewer, parameter editor, and node editor, but it does not explain what each part does. The video timeline itself, however, feels familiar if you have used other editors before. The tools area is a bit complicated and can leave you scratching your head.
2. Basic Tools
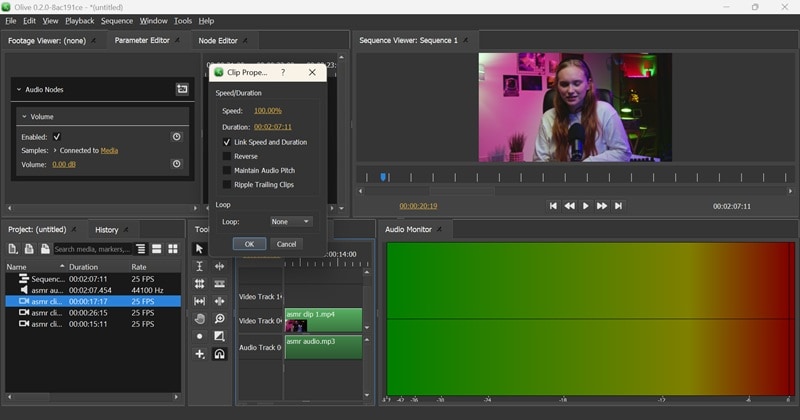
When it comes to simple stuff like cutting, trimming, changing speed, or duplicating clips, the Olive editor does a good job. These basic editing tools are easy to find and use once set up.
3. Text Highlights
Olive Video Editor allows you to add text, titles, subtitles, and captions. It also offers a nice variety of fonts. Just be careful when creating your text box, as adjusting it after you place it can be a bit annoying.
4. Video Effects
Olive offers a range of effects like blur, color correction, and distortion to level up your videos. However, the effects can be tough to find and even tougher to navigate, so you will need a little extra patience here.
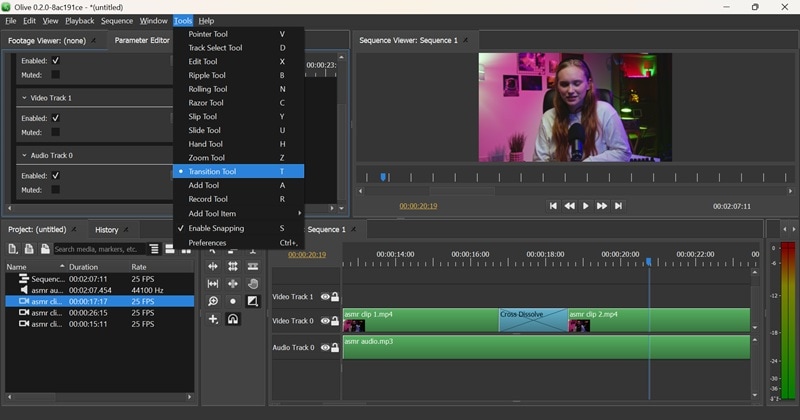
5. Video Transitions
To add a transition, you have to head over to the Transition tab and choose one like Cross Dissolve or Linear Fade. After that, make sure to drop it right between two clips on the timeline. It works fine once you know the trick, but it is not obvious at first.
6. Audio Tool
You can add soundtracks and edit audio in Olive Video Editor. Cutting, splitting, adjusting the length, changing volume, and panning are all possible. It takes a bit of clicking around to find everything you need.
7. Overall Ease of Use
Olive editing software is not the easiest choice if you are entirely new to video editing. The interface can feel overwhelming, and figuring out things like effects, transitions, and audio adjustments without extra help can be tough. You may need to look up extra tutorials to get the hang of it.
What I Loved
- Free and Open-Source: Olive editing software costs you nothing. You get full access to all the features without any annoying paywalls.
- Non-Linear Editing: You can jump around your timeline, cut and move clips however you want without messing everything up. This gives you tons of flexibility when putting your project together.
- Lightweight Performance: Olive Video Editor runs smoothly even on older or less powerful computers, so you do not need a high-end setup to start editing.
- Super Accessible: It is awesome that Olive is available across all major platforms like Windows, Mac, and Linux. No matter what you are using, you can get started right away.
What Needs Work
- Still in Development: Because Olive Video Editor is still being built and improved, you might sometimes run into minor bugs or crashes.
- Limited Built-in Effects and Templates: Unlike big names like Filmora or Adobe Premiere, Olive does not have a vast library of ready-to-use effects, transitions, or fancy templates.
- Finding Features Can Be Frustrating: Some tools and effects are difficult to see immediately. It takes digging and clicking around to unlock everything Olive can do.
- Lacks AI Features for Intermediate to Pro Editing: Unlike newer editing software, Olive Video Editor does not offer built-in AI tools for things like auto-cutting, brilliant reframing, or auto-captioning. This might feel a little limiting if you are aiming for faster or more advanced edits.
Part 3. Need a More Powerful Editor? Find the Best Alternative
While the Olive editor has many good things going for it, it clearly lacks some essential features. You will need something more substantial if you want a smoother, complete editing experience without all the extra work.
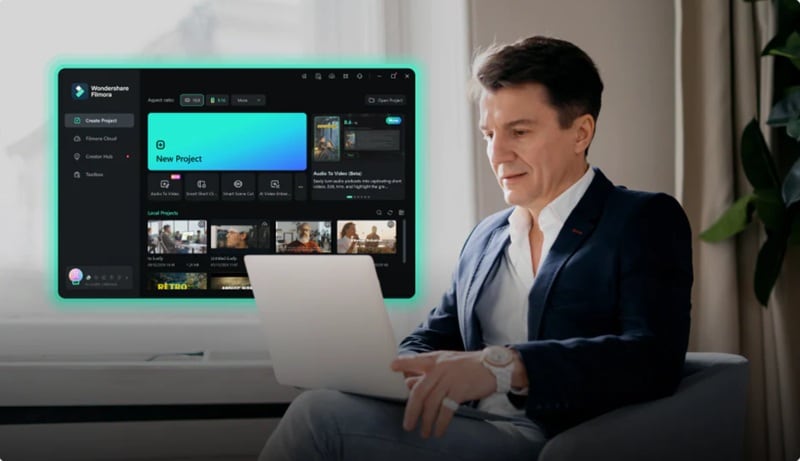
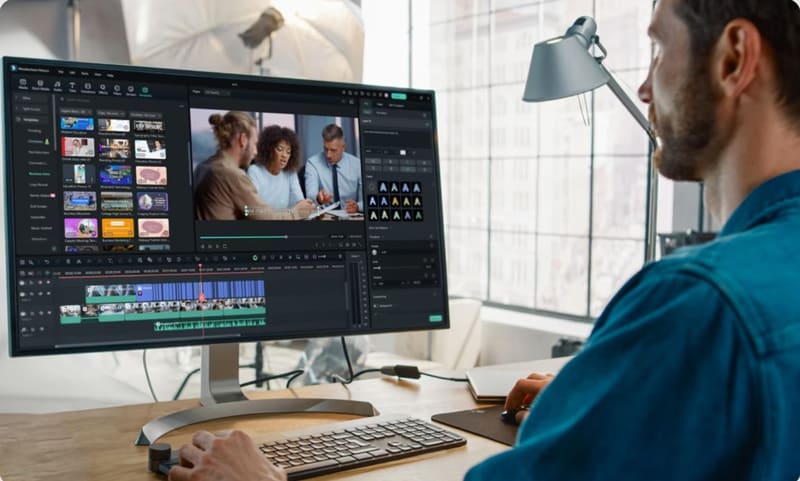
Thankfully, you don't need to look long to find the perfect solution because Wondershare Filmora is here! It is powerful but beginner-friendly editing software that makes turning your ideas into videos faster, easier, and more exciting.
 secure download

Here is why Filmora might just be the upgrade you have been looking for:
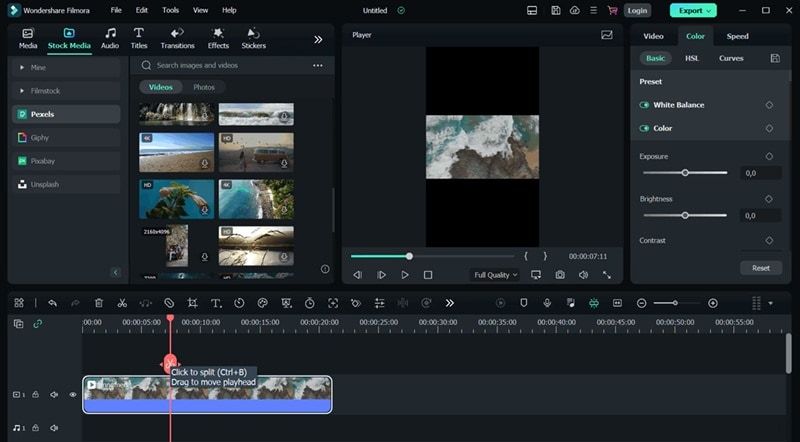
Beginner-Friendly Interface
Filmora is designed with simplicity in mind. The drag-and-drop editing style is perfect for beginners who want to start without a long learning curve. You can jump right into your first project even if you have never touched a video editor.
All the Tools You Need
Filmora gives you way more control over your videos. You get everything from trimming and cutting to adding keyframes and advanced color correction without making things feel complicated.
Smarter Editing with AI
Filmora is packed with AI-powered tools that take much of the heavy lifting off your plate. Here are some of the standout features:

- AI CopywritingAI Copywriting: Struggling to write a catchy video title, description, or even video script? Let Filmora’s AI help you craft the perfect words to grab attention.
- Speech to TextAI Speech to Text: Instantly turn spoken words into captions, making your videos easier to follow and more engaging.
- AI TranslationAI Video Translations: Translate your video subtitles into different languages in just a few clicks, which is perfect for reaching a wider audience.
- Color MatchAI Color Palette: Automatically apply beautiful, professional-grade color tones to your video to make it pop with style.
- AI Music GeneratorAI Music Generator: Create custom background music that perfectly fits your video.
Features for Advanced Projects
Filmora is not just for beginners. It also packs serious features that help you tackle bigger, more professional projects. Here are a few you will love:

- Multicam EditingMulti-Camera Editing: Easily sync and switch between multiple camera angles to create dynamic, professional-looking videos.
- Planar TrackerPlanar Tracking: Track objects that move in 3D space so you can naturally pin graphics, text, or effects to them.
- Screen RecorderScreen Recording: You can capture your screen activities directly inside Filmora, perfect for tutorials, game streams, or presentations.
- Speed RampingSpeed Ramping: Smoothly speed up or slow down your footage to add dramatic effects and make your edits look more cinematic.
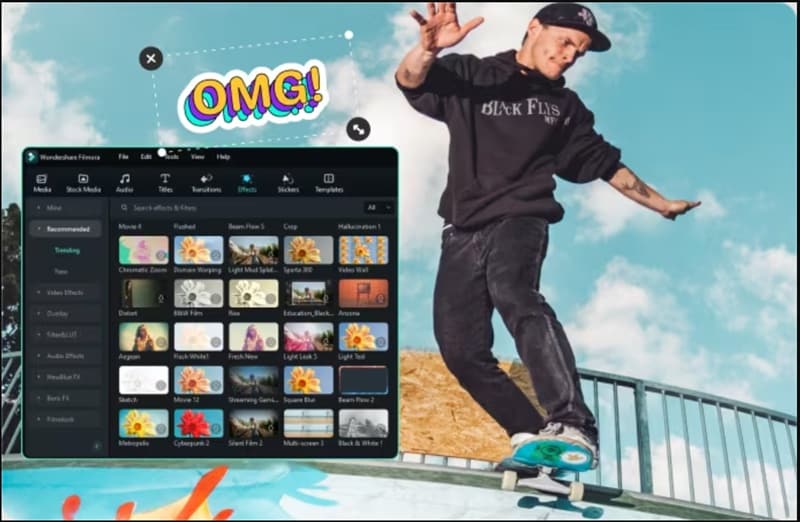
Extensive Library of Effects and Filters
Filmora offers a massive collection of built-in effects, stickers, transitions, filters, and templates to make your videos look polished without spending hours creating everything by hand.
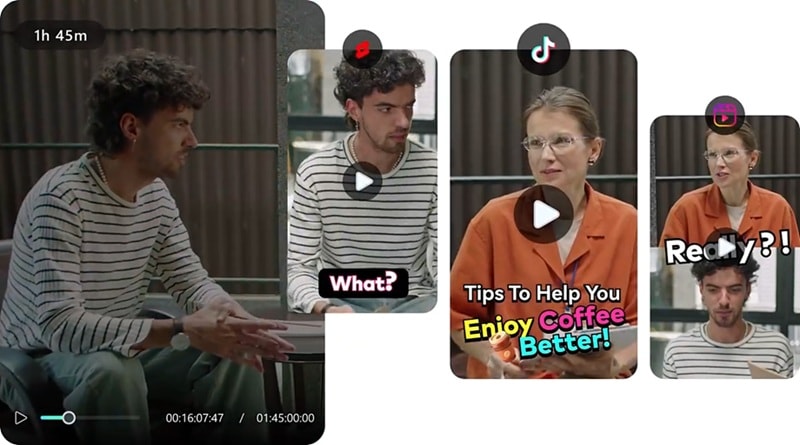
Perfect for Viral-Ready Short Videos
Creating videos for TikTok, Reels, or Shorts? Filmora has tools like Long Video to Short VideoSmart Short Clips and the AI Reels Maker to help you quickly edit eye-catching short videos that are ready to go viral.
Turn Ideas into Videos Instantly
Need to make a quick video? Filmora offers AI features like AI Text to VideoAI Text to Video, Audio to VideoAI Audio to Video, and AI Image to VideoAI Image to Video, which turn your ideas into finished videos in just a few clicks.

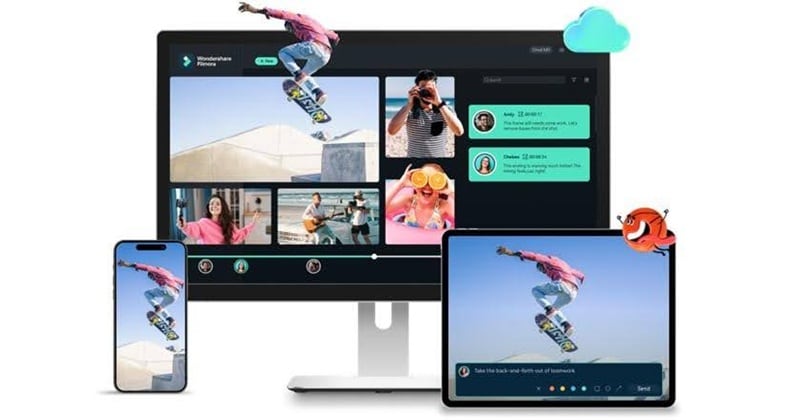
Edit Anytime, Anywhere
Filmora is super accessible and even works on mobile. You can use it on Windows, macOS, Android, iOS, and iPadOS to edit your videos wherever you are.
Conclusion
In this Olive Video Editor tutorial, we guide you through its features and provide an honest review. While Olive is free, its complicated interface and missing features can be frustrating for first-time users. Testing key areas like tools, effects, and ease of use reveals that Olive might not be the best option for beginners.
On the other hand, Wondershare Filmora offers a smoother, more intuitive editing experience. With its user-friendly interface, vast library of effects, and powerful AI tools, Filmora stands out as a top choice for both novice and experienced editors. Whether you're creating simple videos or complex projects, Filmora makes editing easier and more enjoyable.
secure download
