
Your Vision. Your Style. Enhanced by Filmora.
Filmora provides everything you need to create professional-looking videos with easy-to-use video effects and transitions.

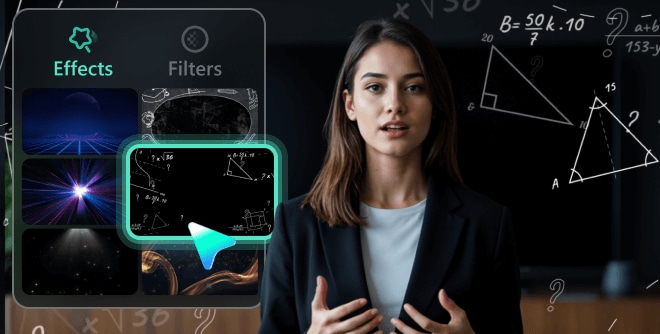
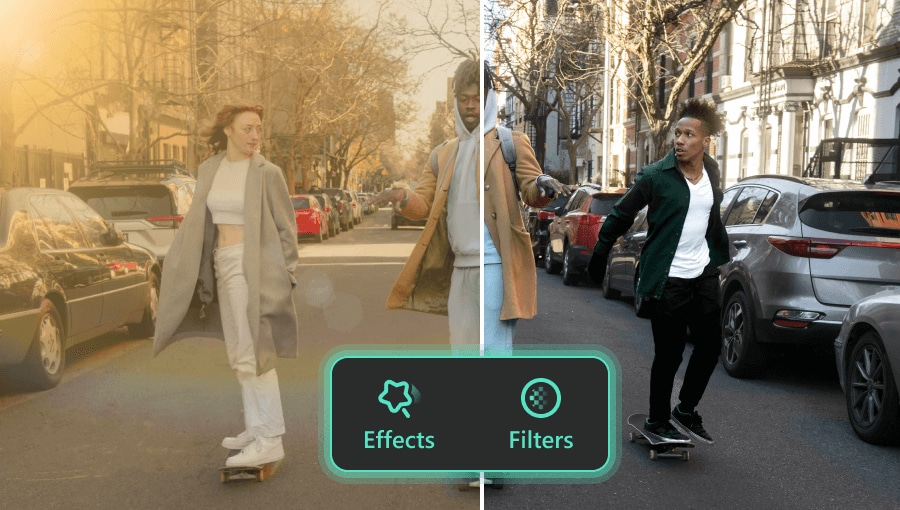
Extensive Effects Library

Premium Third-Party Effects

AI-Powered Video Effects
Extensive Effects Library
Browse through our vast collection of video effects that will take your content to the next level. Perfect for YouTubers, content creators, and video professionals.

Blur Video Background

Ken Burns Effect
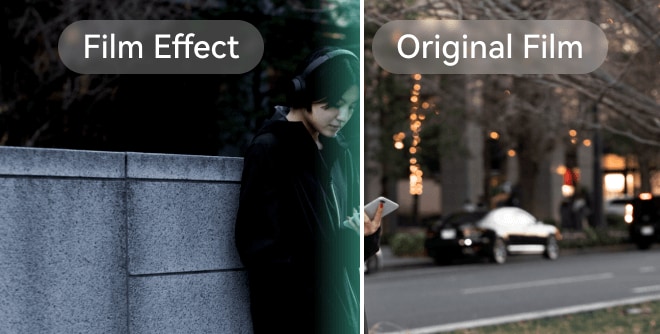
Film Overlay

Video on Video Overlay

Lens Flare Overlay
Whiteboard Animations
Distortion Effects

Smoke Overlay Video
Premium Third-Party Effects
Enhance your video editing with professional-grade effects used by Hollywood studios and broadcasting networks.
Boris FX Integration
- Professional VFX Effects
Studio-quality visual effects for any project - 3D Object Integration
Easily add and manipulate 3D objects in your videos - Advanced Particle Systems
Create fire, snow, rain and more with realistic physics
NewBlue FX Integration
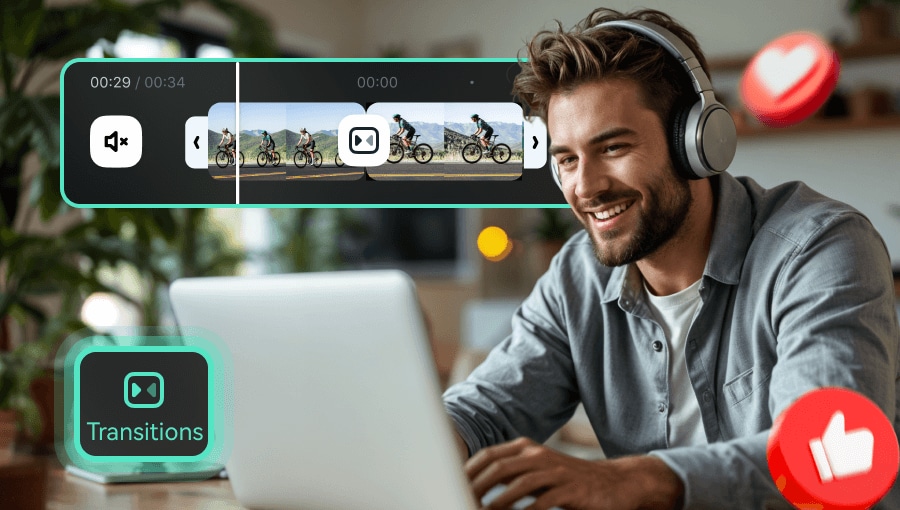
- Dynamic Transitions
Smooth scene changes with professional transitions - Advanced Color Correction
Professional-grade color grading tools - Premium Title Effects
Create broadcast-quality titles and lower thirds
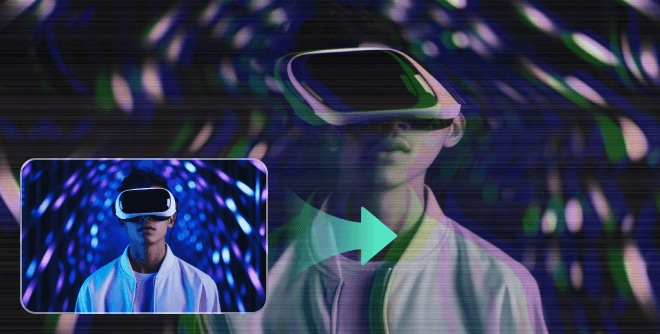
AI-Powered Video Effects
Transform the way you edit with cutting-edge AI technology, from popular AI effects that instantly elevate your footage to AI tools that generate personalized effect styles for any creative vision.
360 Subject Spin
Time Freeze
Epic Orbit
Cyber OOTD
Handheld Zoom In
Dragon in the Palm
Rapid Zoom Out
Cinematic Zoom Out
Hitchcock Zoom
AI Image to Video
AI Green Screen & Background Replacement
- No green screen required
Get perfect results without special equipment - Real-time background replacement
Instantly swap backgrounds with any image or video - Edge refinement technology
Perfectly smooth edges around subjects for natural results
Transform Your Videos
See how creators are using Filmora's video effects to elevate their content across different platforms and genres.
YouTube Content Creation

Business & Marketing
Film & Entertainment
FAQs About Filmora Video Effects
Find answers to common questions about Filmora's video effects capabilities.
Discover More Powerful AI Functions


What Our Users Say
Hear from content creators who have transformed their videos using Filmora's effects.