
 100% Security Verified | No Subscription Required | No Malware


 ChatGPT
 Perplexity
 Gemini
 Claude
 Grok
Grok
Ever had an awesome photo that's totally spoiled by an annoying blur or censor? You're not alone. Sometimes, images have these censors or blurry patches placed to hide faces, sensitive info, or details someone doesn’t want to be shown. But what if you want to remove that part?
Well, with handy photo censor remover tools, you can easily remove censor from images or even videos without needing any fancy editing skills in no time.
And lucky for you, if you scroll down, you'll discover some super simple methods to remove censored photos using AI-powered image censor removers, mobile apps, and online tools. You'll never have to worry about blurry, censored photos ruining your favorite memories again!
In this article
Part 1. Different Types of Image Censorship
Before you learn to remove censors from images, it actually helps a lot to know what kind of censor you’re dealing with. Why? Because not all censored photos are the same, and the type of blur, block, or sticker slapped on the image can change which image censor remover works best.
So let’s break down the common types of image censorship you might run into. That way, when you're ready to clean up your photo, you'll know exactly what you're working with and which method to use.
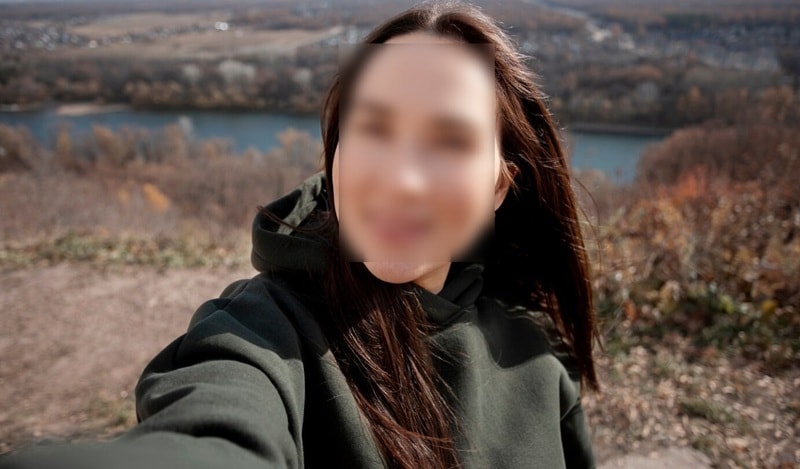
- Blur Censorship:This happens when something like a face or detail is gently blurred to hide it while still looking natural.
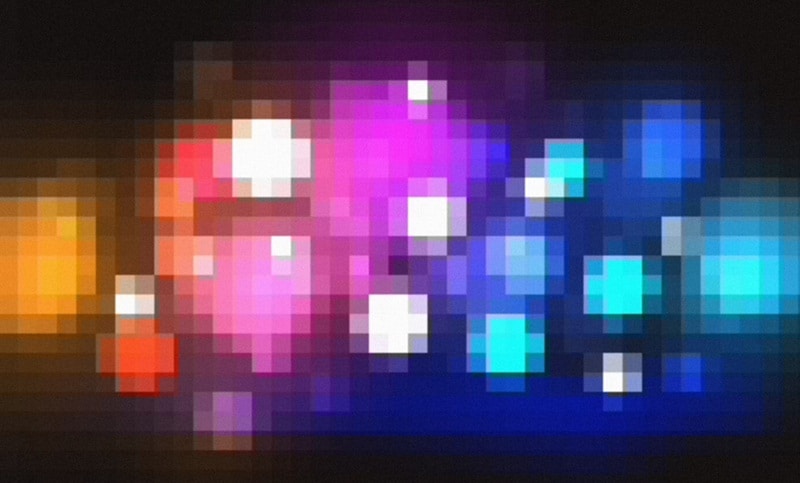
- Pixelation or Mosaic:The censored area looks blocky and low-res, like an old video game. It's often used to hide faces or sensitive content.
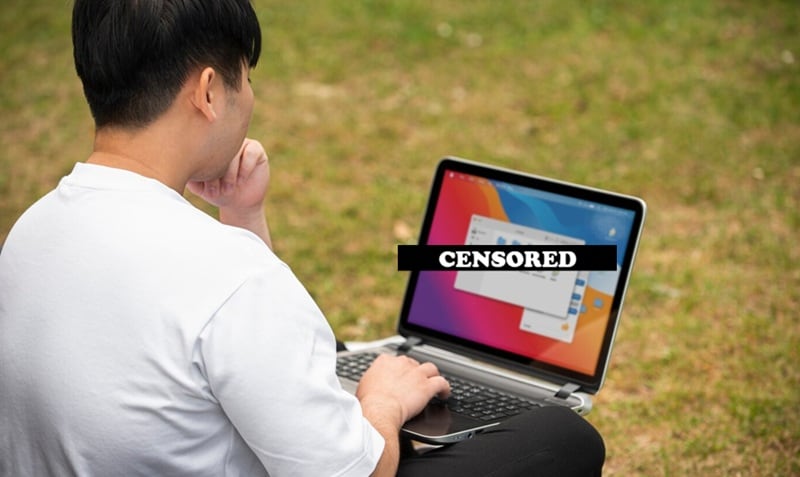
- Black Bars or Shapes:A solid black box or emoji placed over the image to hide something. Sometimes it's a bar over the eyes or a shape covering text.Image Name: remove-censor-from-images-4.jpg
Image Alt: censoring photos with black bars
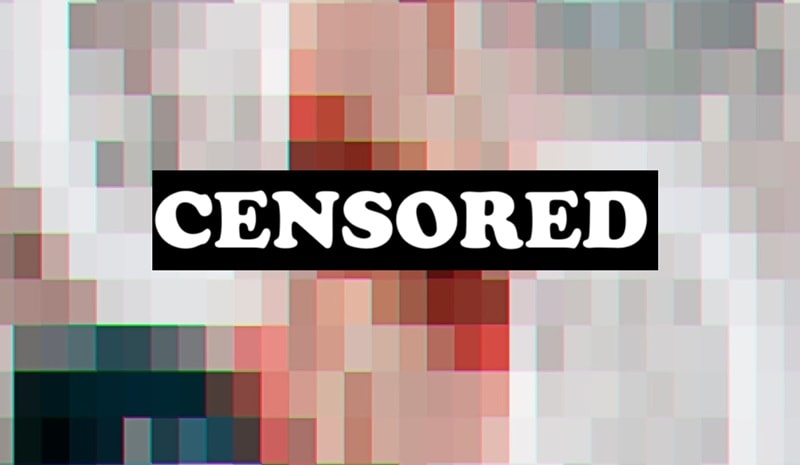
- Text or Overlays:Sometimes people slap words like “CENSORED” or random phrases over the image to block something out. It could also be a sticker or colored overlay.
Choosing the Right Tool for the Job
Now that you know the differences, take a look at these tool guides to help you remove a censored photo:
- Blur or Smudge:Use AI-powered tools to restore lost details.
- Pixelation:Go for AI image restoration tools designed to sharpen blocky areas.
- Black Bars:These are tough. Some advanced AI tools might help, but results depend on the image.
- Text or Stickers:Use tools with content-aware fill or inpainting to remove and replace covered parts.
Part 2. Step-by-Step Guide to Removing Censor From Images Using Desktop AI Tools
Thanks to AI technology, removing blur, pixelation, or random cover-ups from photos is no longer something only pros can do. These image censor removers can analyze the censored area, fill in the missing parts, and clean up your photo way faster than doing it by hand.
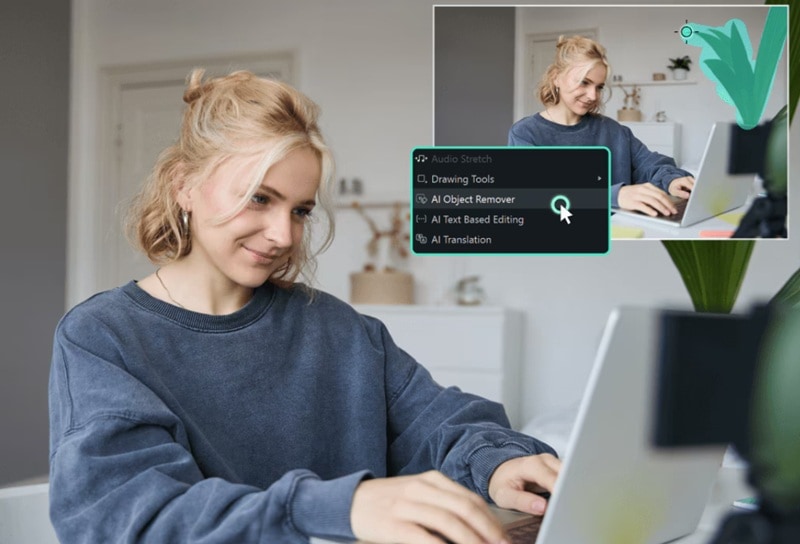
Out of all the AI tools available, one that really stands out is Wondershare Filmora. Thanks to its AI Object Remover feature, you can remove unwanted blur, stickers, or blocks from your images in just a few clicks.
- Remove unwanted objects from videos & images in seconds.
- No manual masking—AI does the hard work for you.
- Preserve background quality with smart auto-fill.
- Works seamlessly on Windows, Mac, iOS & Android.


Here’s why Filmora is the perfect solution to remove censors from images:
- Remove Multiple Unwanted Elements:From people and text to logos and watermarks, Filmora can remove all kinds of distractions from your videos and images quickly and cleanly.
- Smart and Accurate Erasing:The tool uses intelligent recognition to erase only what you select. It avoids removing anything important that might be close or overlapping.
- No Quality Loss:Even after removing censors, your image or video stays sharp and detailed. The results look clean and professional while saving you time and effort.
- Edit Anytime and Anywhere:Filmora works across devices. It’s available on Windows, macOS, Android, and iPhone, so you can edit whenever it’s convenient for you.
- Complete Editing Toolkit:Filmora isn’t just for removing censored photos. It offers a full suite of editing tools and a huge built-in media library to help you create stunning videos from start to finish.
With all these features, Filmora truly stands out as a reliable photo censor remover. Now it's time to put it into action. Follow this step-by-step guide to learn how to remove censor from an image using Filmora:
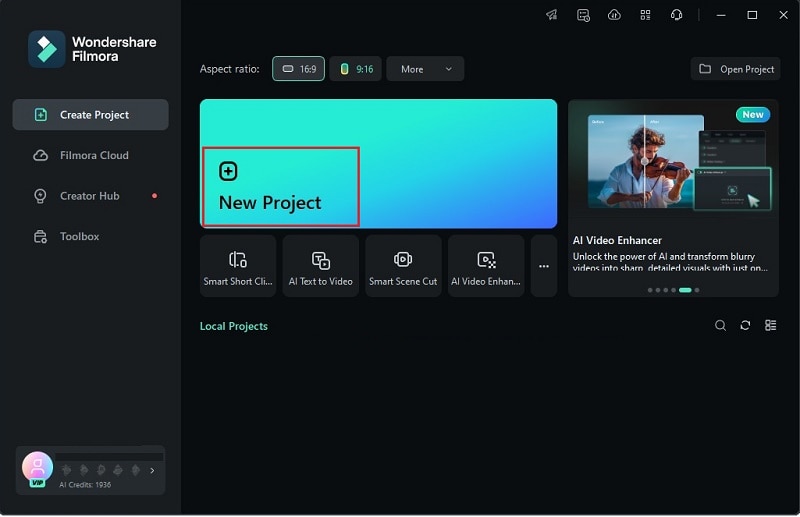
If you haven’t done it yet, go ahead and download the latest version of Filmora and install it on your device. Once it’s ready, open the app and click on “New Project” to get started with a blank workspace.
 secure download
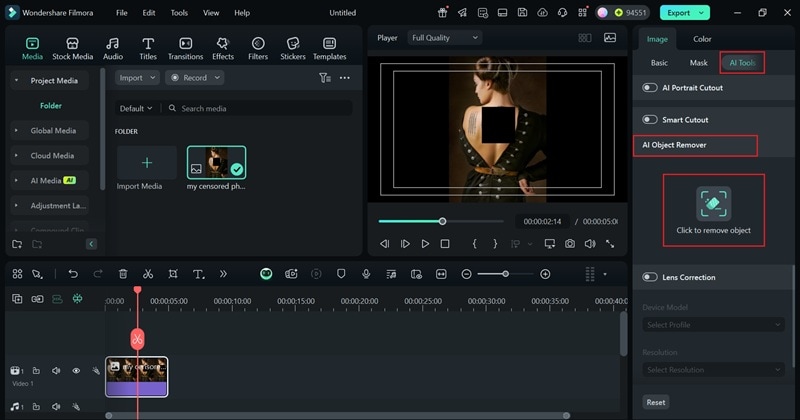
Next, go to the "Media" tab and click on the "Import" button. Find the image you want to uncensor on your device and once it's loaded, just drag it down to the timeline at the bottom so you’re ready to start editing.

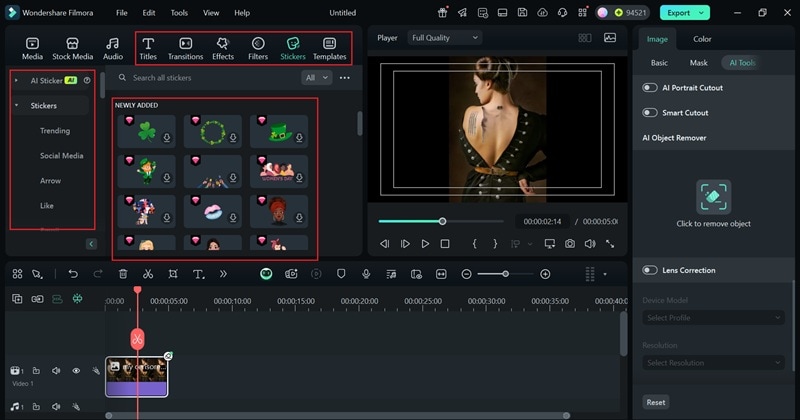
To start removing the censor, click on your image in the timeline. On the right, go to “AI Tools” and scroll until you see “AI Object Remover”. Click the icon to open it.
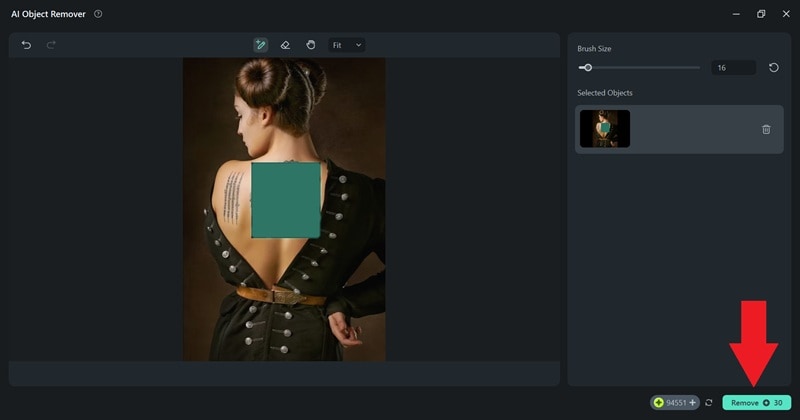
Use the brush to highlight the censored area. Once it’s fully covered, hit “Remove” and let Filmora do the rest. It’ll process in a few seconds and apply the effect automatically.
Check the preview window to see the censor removed from your image. If you want to level it up, you can add stickers, filters, text, or effects.
When you’re finished editing, click “Export” in the top right corner. Choose “Local” to save it to your device, and make sure to select an image format such as JPEG or PNG. That’s it, you’re all set.

Best For: Desktop tools are great for detailed edits like removing black bars, mosaic, or multiple censors. Perfect for more control and better quality.
Part 3. How to Remove Censor from Images Using Mobile Apps
As you can see, using Filmora on the desktop to remove censors from images is not only easy but honestly kind of fun. With just a few clicks, you can clean up your image and give it a fresh look.
That said, some people like the convenience of editing straight from their phone. The good news is, just like we mentioned earlier, Filmora’s AI Object Remover is also available on Filmora mobile. So, if you're more of an on-the-go editor, you can still remove censored photos right from your iPhone or Android device without missing a beat.

To learn how to remove a censor from an image using Filmora Mobile’s photo censor remover, take a look at the simple guide below.
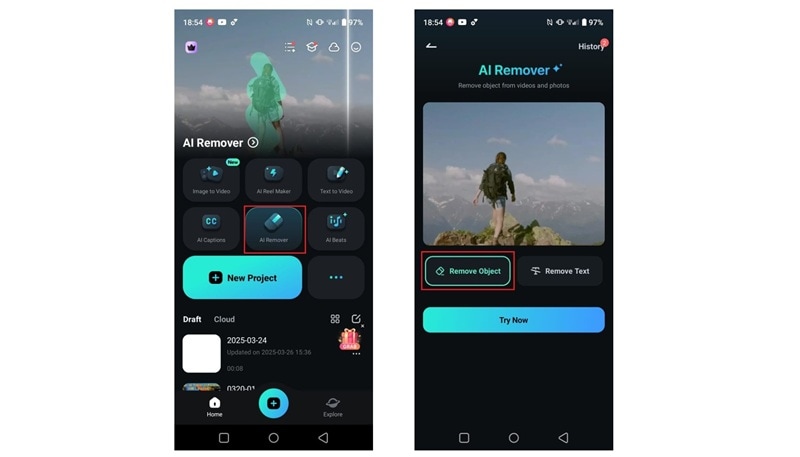
Open the Filmora Mobile app on your phone. If you don’t have it yet, download it from the Apple Store or Google Play. Tap on “AI Remover” from the main screen and select “Remove Object”.
 secure download
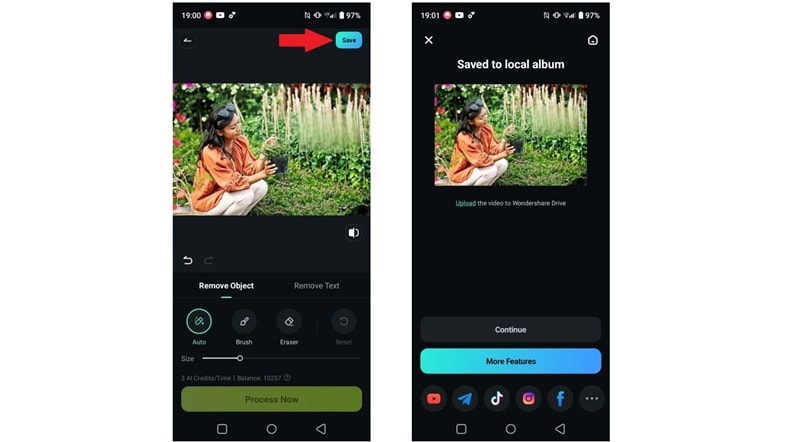
Next, upload the photo you want to uncensor and tap “Import” to bring it in. Now, use the brush to highlight the area you want to uncensor. If you choose the "Auto" option, it makes the process even easier. Once everything is marked, tap "Process Now" and wait a few seconds for the result.

Once the process is done, you’ll see the result in the preview window. If needed, brush over the area again and reprocess to improve it. When you're happy with the result, tap "Save" to add it to your album. You can share it on social media or tap "More Features" to add effects, text, or stickers in Filmora’s main editor.
Best For: Quick fixes when you're on your phone. Great for simple blurs, stickers, or brush marks—but might struggle with black bars or heavy pixelation.
Part 4. Quickly Remove Image Censors Using Online Tools
So far, we’ve seen how flexible Filmora is for removing censors from images, whether you're on desktop or mobile. But if you’re in a rush or don’t want to install anything, there’s another option. You can try removing image censors online, there are many tools to do that and they work right in your browser with no downloads required.
Platforms like Simplified, Pixelied, PixelCut, and a bunch of others make it simple to erase blur, stickers, or text from your images. Just head to their websites, upload your photo, and start editing. It’s quick, beginner-friendly, and perfect when you want results without the extra steps.
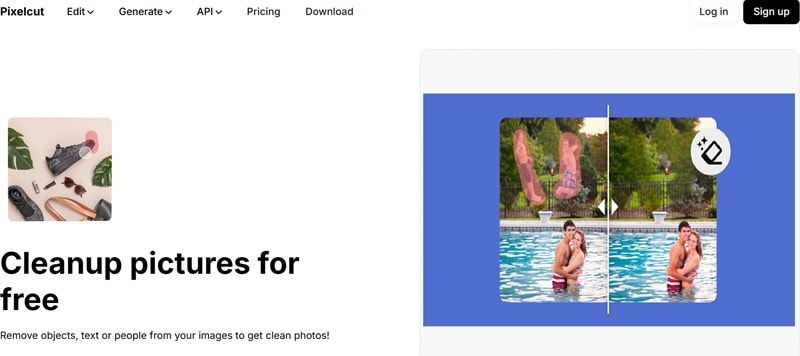
To give you an example, let's try using PixelCut to learn how to remove censors from images online. Just follow this simple guide to begin:
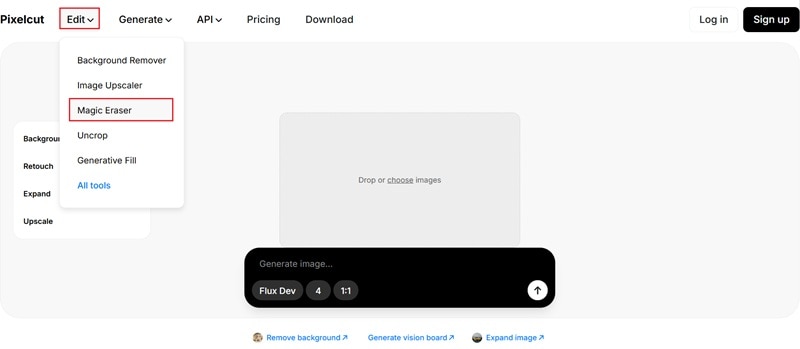
To get started, open your web browser and go to the Pixelcut website. On the homepage, click the "Edit" menu and choose "Magic Eraser" to launch the tool for removing censors from your image.
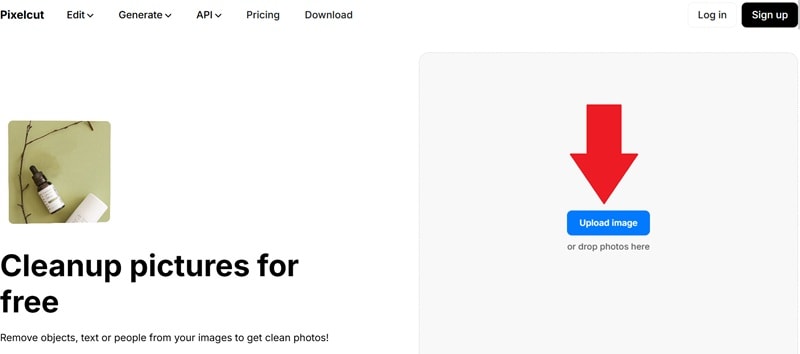
Now, click "Upload Image" to import the photo you want to uncensor. Choose the image from your device, and it will load onto the editor automatically.
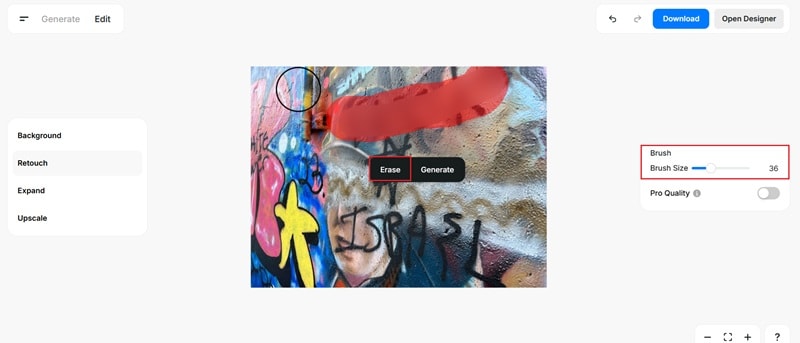
Next, adjust the brush size and use it to highlight the censored area. Once it's covered, click "Erase" and wait a few seconds for the tool to process it.
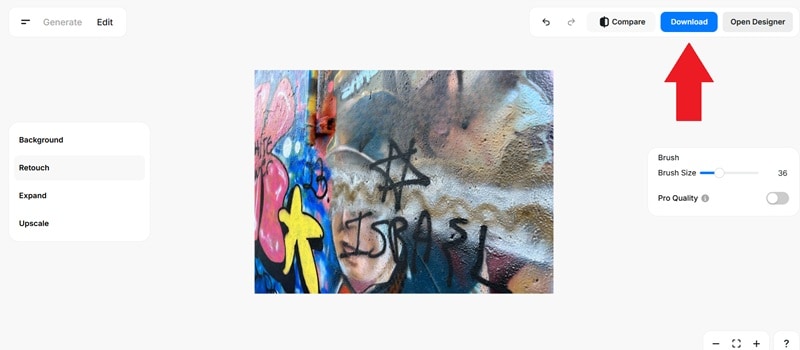
Once the process is complete, you’ll see the result instantly. To view the before and after, click "Compare". When you're happy with it, just click "Download" to save it to your device.
Best For: Quick and easy edits with no need to install anything. Ideal for light censorship such as small blur spots, text, or objects.
Conclusion
Thanks to AI technology, removing censors from images has become pretty simple. There are plenty of online tools like Simplified, Pixelied, and PixelCut that make it possible to remove censors from images online. Still, out of all the image censor remover tools out there, Wondershare Filmora really stands out.
Its AI Object Remover feature makes it super easy to remove a censored photo by just highlighting the area with the brush, and letting the tool do the rest. Filmora is also a full editing suite, so after removing the censor, you can keep enhancing your photo with its advanced features or using its built-in library.
Whether you're dealing with blur, mosaic, or even black bars, Filmora can handle it. Plus, it works on both desktop and mobile, so you can remove censors from images anytime, anywhere.
secure download
