
 100% Security Verified | No Subscription Required | No Malware


 ChatGPT
 Perplexity
 Gemini
 Claude
 Grok
Grok
Ever wondered how to remove color from an image and make it look stunning in black and white? Or maybe you need to erase the background to create a clean, professional look? Whatever your reason, removing color can completely transform an image and make it more artistic, focused, or even more useful if you are using it for design projects.
Fortunately, you don’t need to be a Photoshop expert to edit image colors. With several image color removers available online, you can do it in seconds. In this guide, we’ll show you the easiest ways to remove a specific color or background color from images, and how to automatically remove unwanted background objects from images. By the end, you’ll be able to edit images like a pro, even if you’ve never done it before. Let’s get started.

In this article
Part 1. How to Remove Specific Colors from Images
Sometimes, you may want to remove a specific color from an image while keeping everything else the same. There are several ways to do that. However, Kittl’s image color remover feature provides a very easy and flexible solution to achieve.
Kittl is an online image editor that gives you the best results. Also, what makes Kittl really cool is its AI-powered features that help you design faster. And don’t worry if you’re new to design. Kittl is made for everyone, whether you’re a beginner or a pro. The interface is clean and easy to understand, so you can jump in right away. Plus, since it’s online, there’s no need to download big software or worry about system issues. Just upload your image, edit it, and you’re done.

Below is a step by step-by-step guide on how to use Kittl to remove specific colors from images:
To have access to Kittl's image editing tool, you first need to visit their website on your device and create an account. To can create an account using your email address or your Facebook account.

Once you’ve successfully created an account on the platform, the next thing you need to do is upload the image you would like to remove the specific color.
Step 3: Access the Color Removal Tool
After your photo has been uploaded, click on it to open the "remove color" tool, which is under the "photo filter" feature. This will take you straight to the next step.
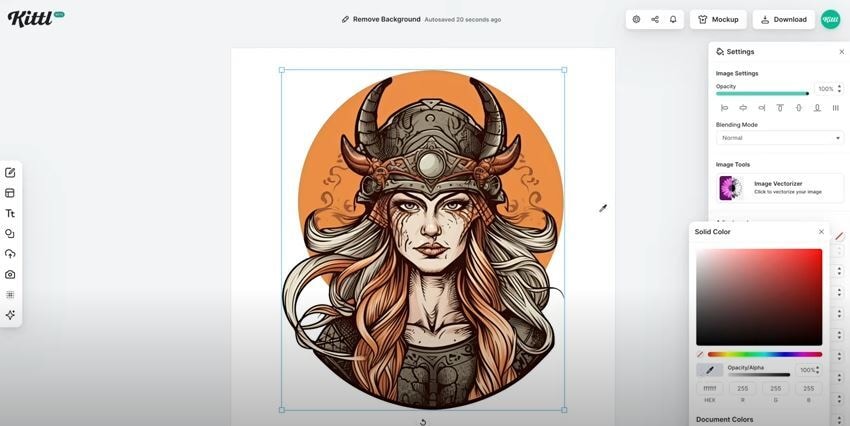
After you have clicked on the “photo filter”, you can select the particular color you want to remove by using the eye dropper tool. The tool makes it easy for you to remove the exact colors you want to remove from images, whether it is in the background or foreground.
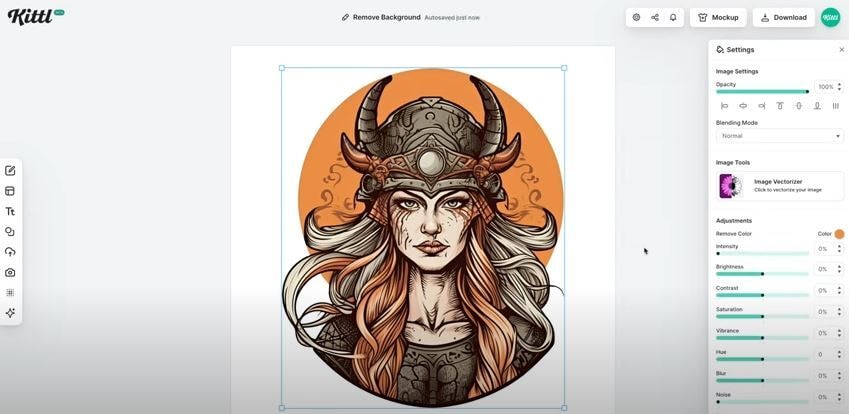
Once you click on the color you want to amend, Kittl provides you with a slider that helps you adjust the color you want to delete from the image. You want to reduce or increase the intensity of the color on the image, or you can totally delete the color from the image.
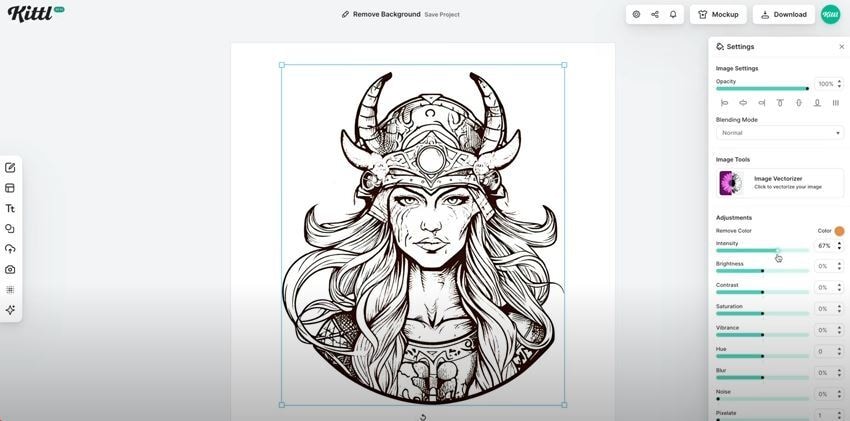
Once you’re okay with your edit, you can save your image or keep working on it using other tools on the platform. The platform lets you download your image in different formats, so you can use it anywhere—whether it’s for a website, social media, or a design project.
Part 2. How to Remove Background Color from Image
If you want to remove the background color from an image but don’t have advanced editing skills, Fotor is the perfect tool for you. This online tool helps users remove BG color from images quickly, and it does it without stressing you.
Whether you want a transparent background for your website, a clean look for a product photo, or need to remove the white color from image files for a sharper presentation, Fotor simplifies the process for you with its AI-powered background remover. With just a few clicks, you can upload your image and let Fotor’s AI detect and remove the background automatically. The tool works smoothly without requiring complex manual selections.
Furthermore, you can replace the background with another image, a solid color, or leave it transparent. Let us quickly give you a guideline on how to use this tool to remove background color from images.

First things first, open your browser and go to Fotor’s Background Remover. Fortunately, this is an online tool, so you don’t need to install anything. Just visit the website, and you’re good to go.

Now, click on the "Upload Image" button and choose the picture you want to edit from your device. It can be any image a product photo, a portrait, or even a random selfie. Just make sure it’s a good-quality image so that the AI can work its magic properly.
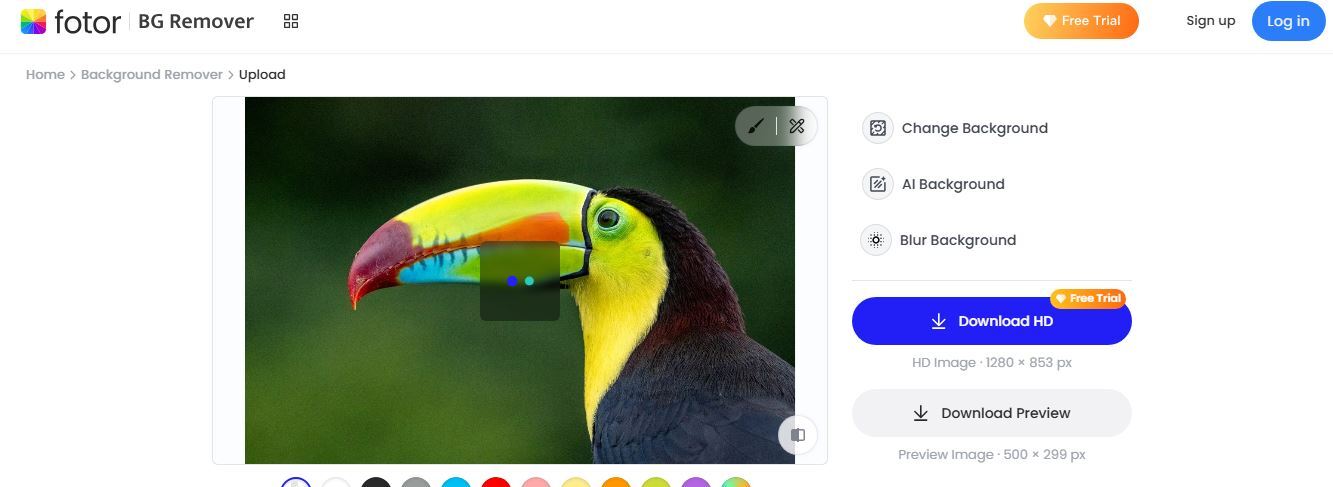
Fotor automatically removes the picture’s background, you don’t need to do anything manually. Within just a few seconds, you’ll see your image without the background. It’s very quick and saves you a lot of time.
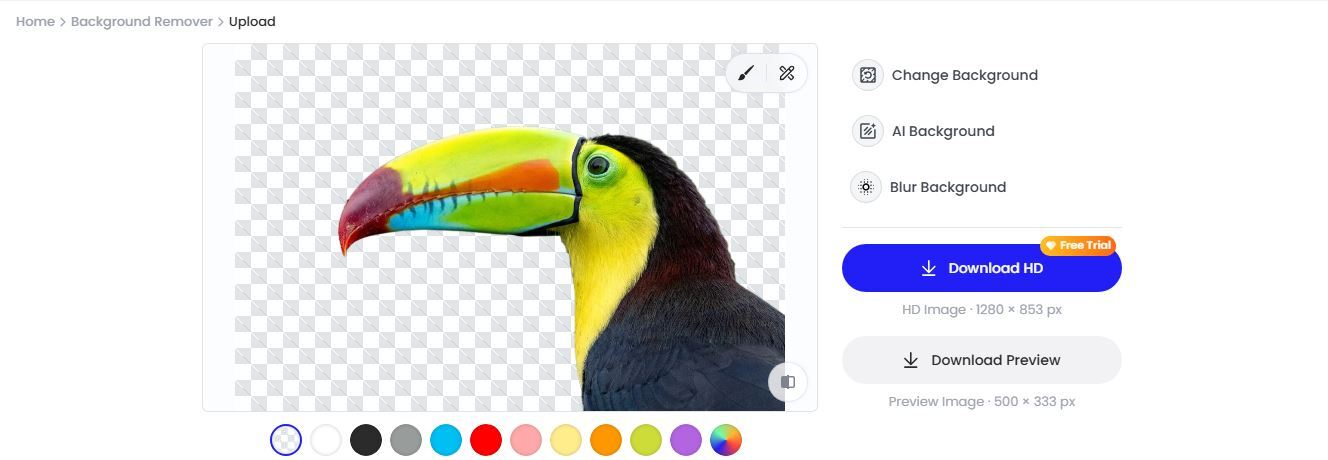
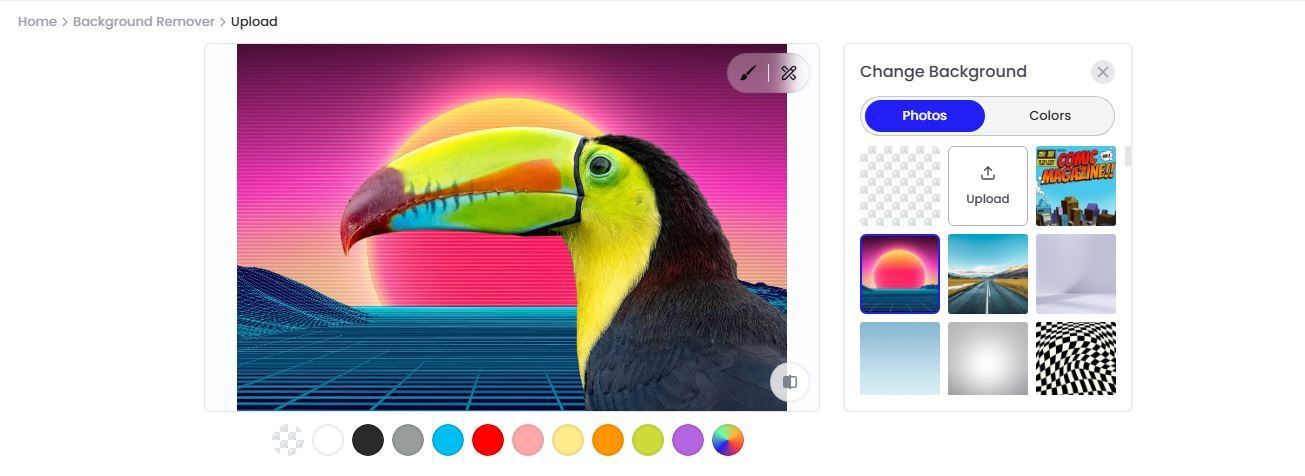
Fotor allows you to select a new background color. Simply click the "Change Background" button in the upper right corner. There are a variety of colors to choose from. You can also set your own image as the new backdrop.
Alternatively, the built-in AI background generator allows you to quickly build a variety of unique backgrounds. All you need to do is enter a text prompt describing your desired backgrounds, and Fotor will create them for you.
Click the “Download” button and choose your preferred format. If you want a transparent background, save it as a PNG. If you added a new background, you can save it as a JPG.
Part 3: Mistakes to Avoid When Using a Background Remover
You’ve finished removing color from the picture, and—you notice that something’s off. It could be a rough edge around the subject, an unwanted blur, or a faint outline that won’t blend in. Below are some of the reasons for this and how you can correct them.
- Since most background remover tools function by recognizing the edges and features that separate the subject from the rest of the image, blurry, low-quality, or cluttered images make it difficult for these tools to give the best result. To avoid this problem, make sure you use an image that is clear and has a very good quality.
- Not all image color removers are equal. Outdated or basic tools can blur details or fail with complex images. Always choose a reliable, updated background remover like Filmora to ensure that you have access to its new features.
- The picture format you choose has a huge impact on the quality and usability of your completed image. Certain formats do not support transparency, and this can limit where and how you use the image. Avoid downloading transparent photographs as .jpg files because this will result in a white backdrop on the stored image —use PNG or SVG instead.
Part 4. Remove Unwanted Background Objects from Your Images Automatically
Sometimes, you might not want to remove an entire background but just a few unwanted objects. Whether it's a person walking in the background, a random shadow, or an unnecessary watermark, removing objects from an image can make it look cleaner and more professional.
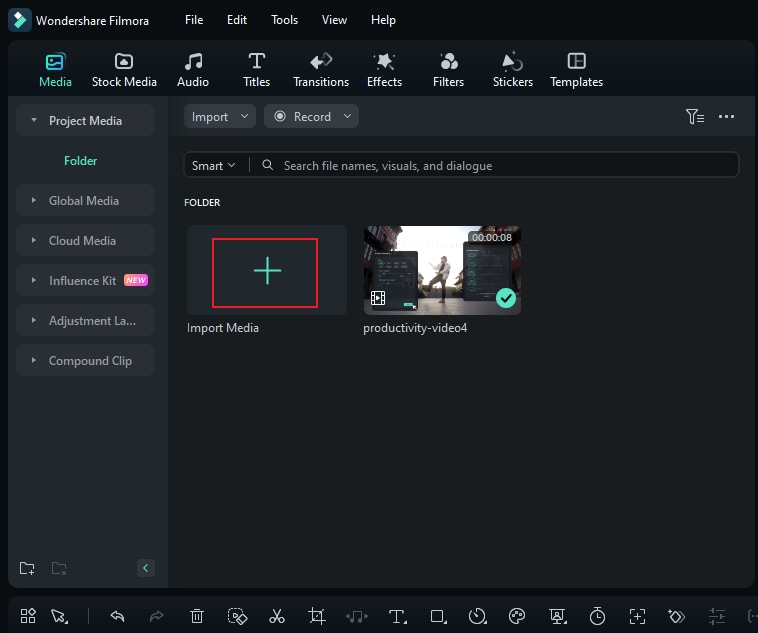
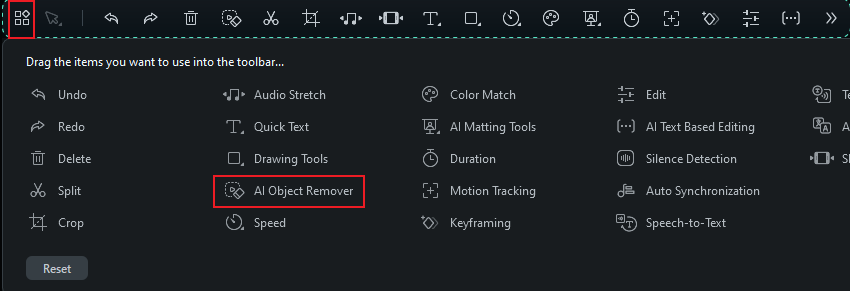
Wondershare Filmora is a great tool for this. It is an AI-powered image and video editor designed to help users edit videos and images with ease. With its AI Object Remover feature, you can easily remove unwanted background objects within seconds.
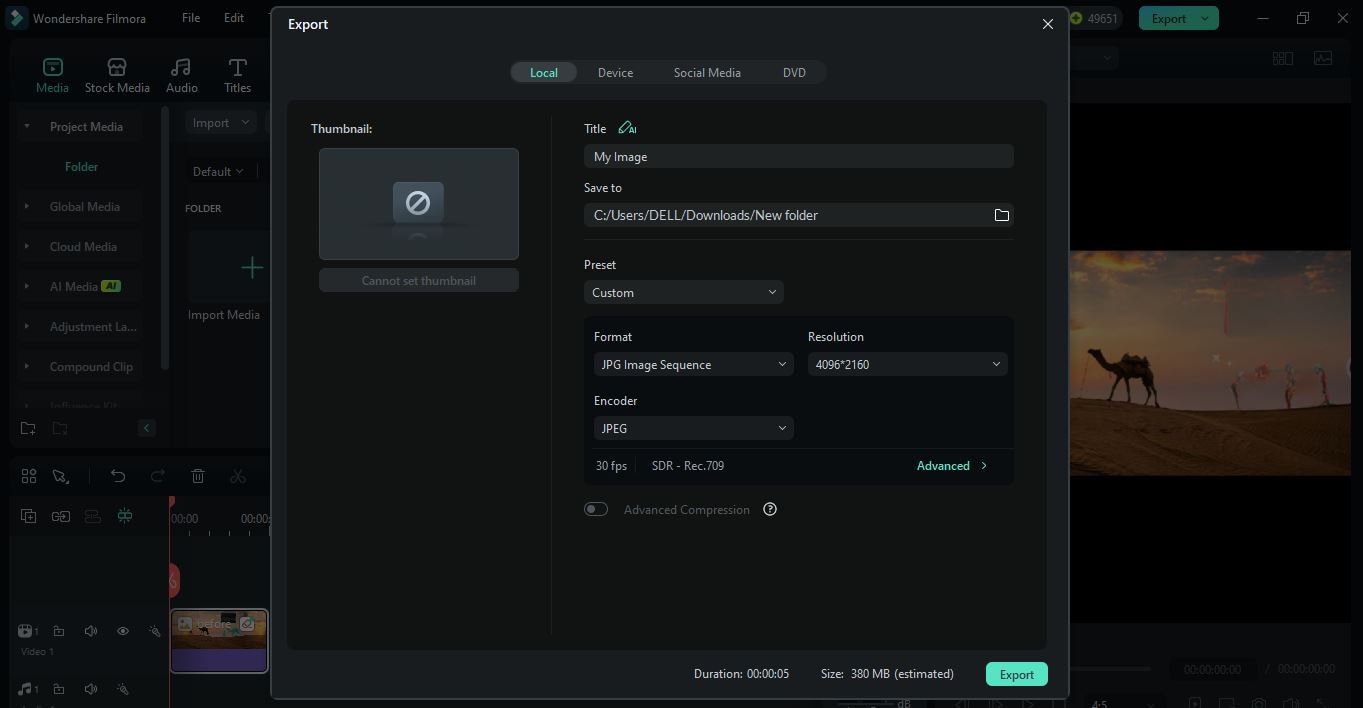
Here’s how to remove unwanted background images using the Filmora:

 secure download

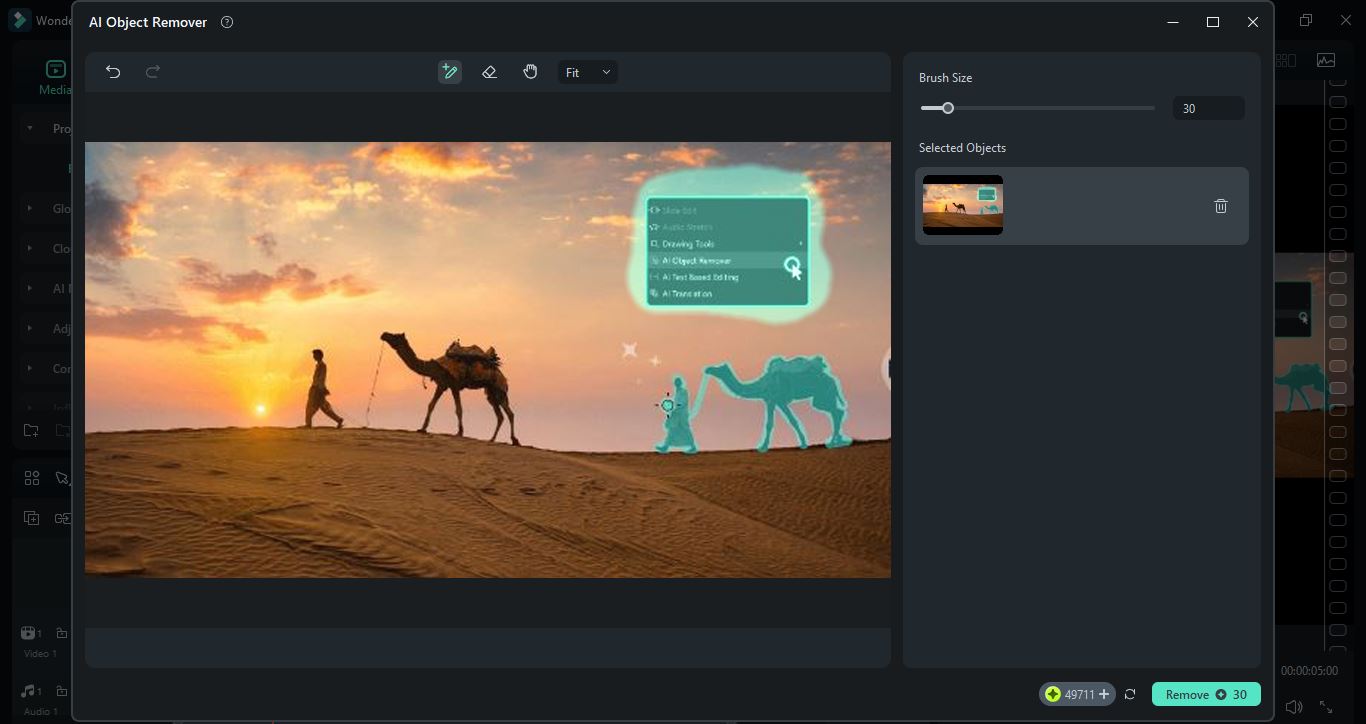
Here is a sample image showing the results of how AI object remover works for unwanted objects in your photos.

Conclusion
We believe that so far, we have been able to share all the information you need on how to remove color from images with you. With tools like Kittl, Fotor, and Filmora, you can remove specific colors, delete backgrounds, or erase unwanted objects in just a few clicks. And if you want to get better results, try to avoid the mistakes we discussed. Ready to take your editing skills to the next level? Try Filmora today.
- Remove unwanted objects from videos & images in seconds.
- No manual masking—AI does the hard work for you.
- Preserve background quality with smart auto-fill.
- Works seamlessly on Windows, Mac, iOS & Android.

