
 100% Security Verified | No Subscription Required | No Malware


 ChatGPT
 Perplexity
 Gemini
 Claude
 Grok
Grok
Try removing spots from photos to make them stand out even more! Even if your photo has good quality, pimples, blemishes, and spots can be greatly distracting, especially when creating professional pictures.
The good news is that there are numerous easy ways to take out spots from pictures, including masking, using cutouts, and using an automatic spot remover. In this guide, you will learn how to remove spots from photosusing 4 different methods. So, let's get right into it!

In this article
Part 1: The Different Ways to Remove Spots from Photos
When removing spots from photos, one of the quickest and most effective ways to achieve a flawless finish is by using a dedicated tool. Wondershare Filmora is a great place to begin, with AI-powered features to help you quickly remove blemishes from photos.
Here are four different ways to remove spots from your photos with Filmora:
- By using an Automatic tool: Filmora’s AI object removerscans the spots in your photos and removes them. This option is perfect for all kinds of imperfections, including pimples, spots, or blemishes.

- By masking them: This dynamic tool also offers a masking feature that covers a spot in your picture with a mask.
- By using a blur feature: Another excellent way to remove spots from photos is by blurring them out individually. This is a great option for covering small spots and pimples. However, it may not work for large blemishes.
- By covering them with cutouts: Filmora also lets you cut out a patch of skin from one area of your photo to cover up the spot or blemish. This gives the picture a natural, undetectable finish as it covers any type of spot.

- Remove unwanted objects from videos & images in seconds.
- No manual masking—AI does the hard work for you.
- Preserve background quality with smart auto-fill.
- Works seamlessly on Windows, Mac, iOS & Android.


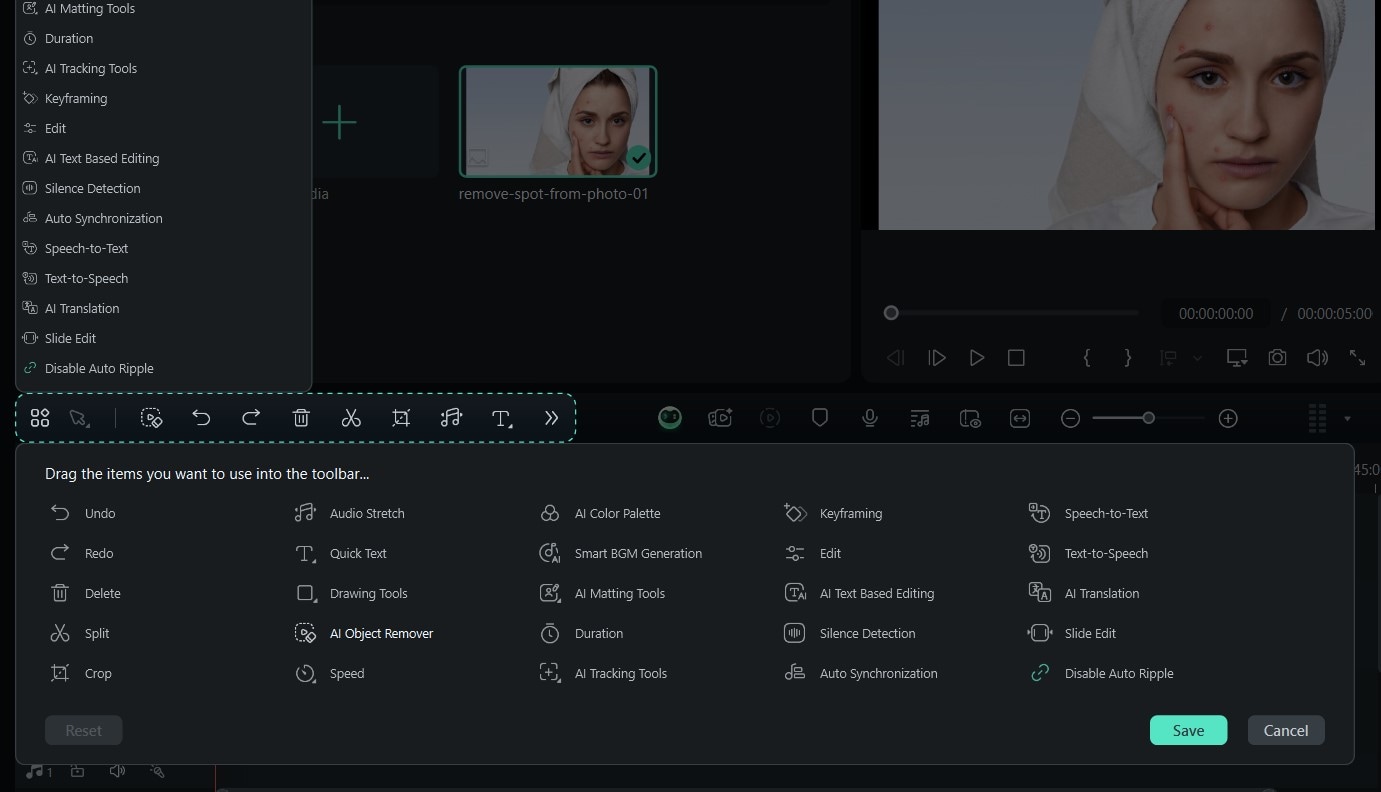
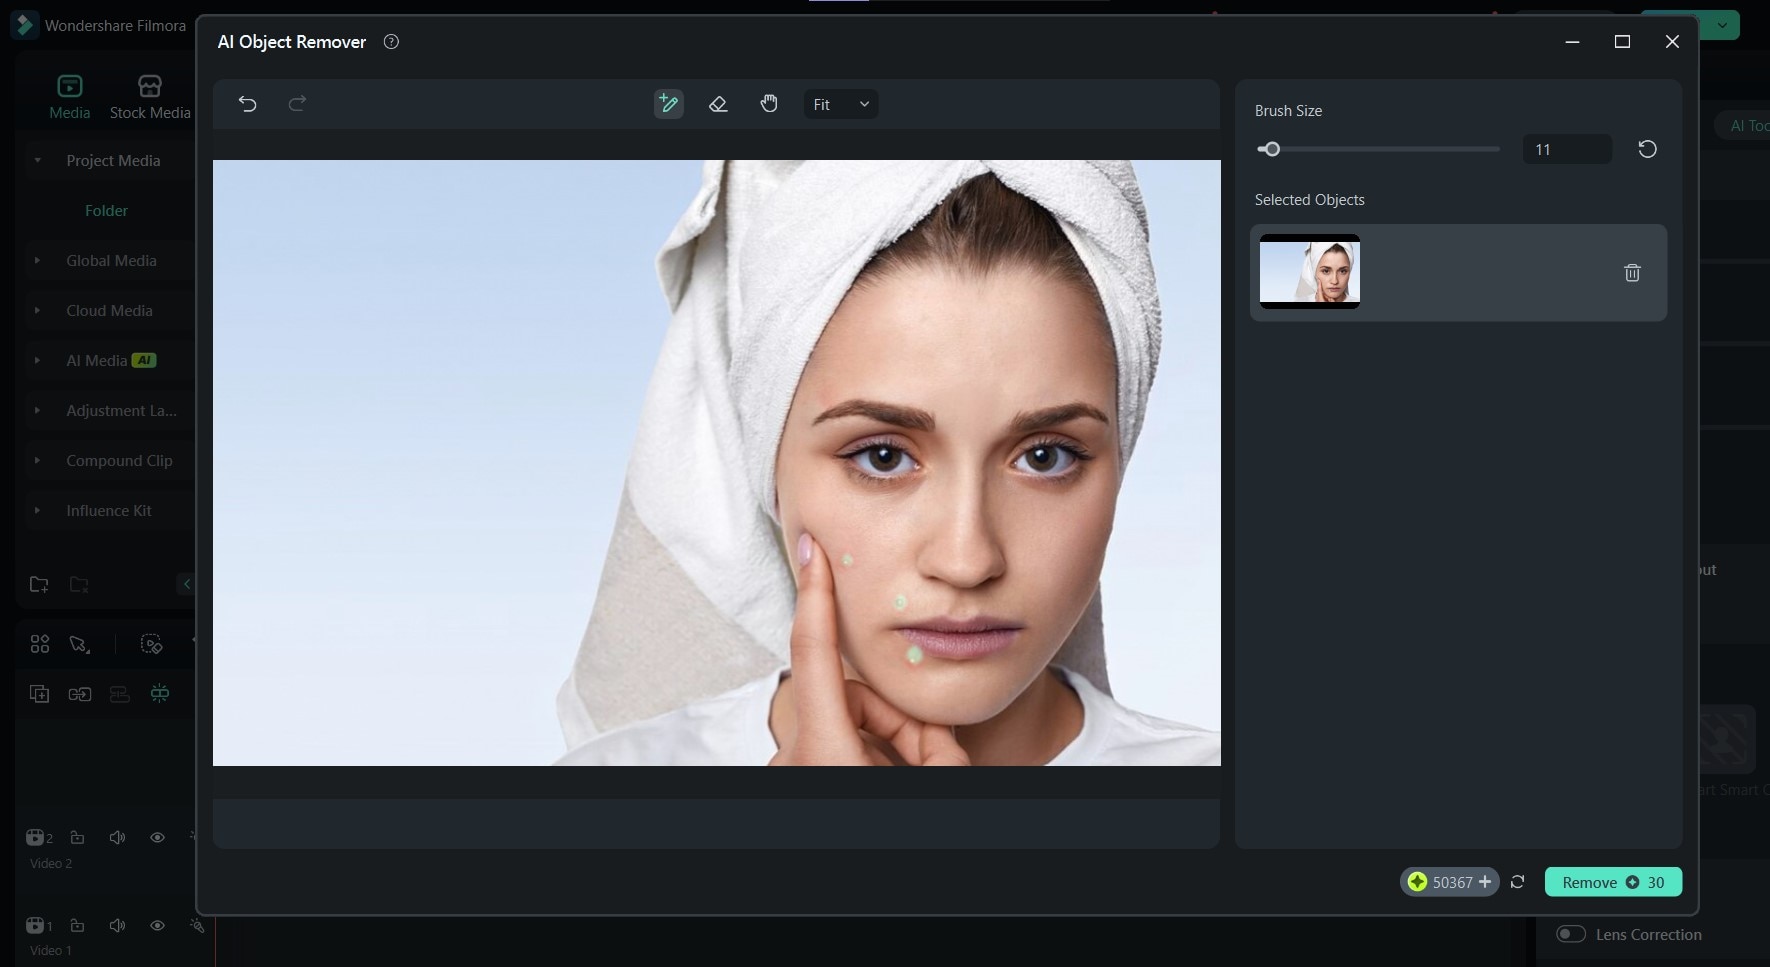
Part 2: How to Remove Spots from Photos with an Automatic Tool
Using the AI Object Remover from Filmora as an automatic tool to remove spots from photos is the best way to achieve perfect pictures every time. While it's great for videos, you can use this tool to remove practically any element from your pictures, especially spots. To use it, first download the latest version of Filmora from the official website and follow the steps below:

 secure download

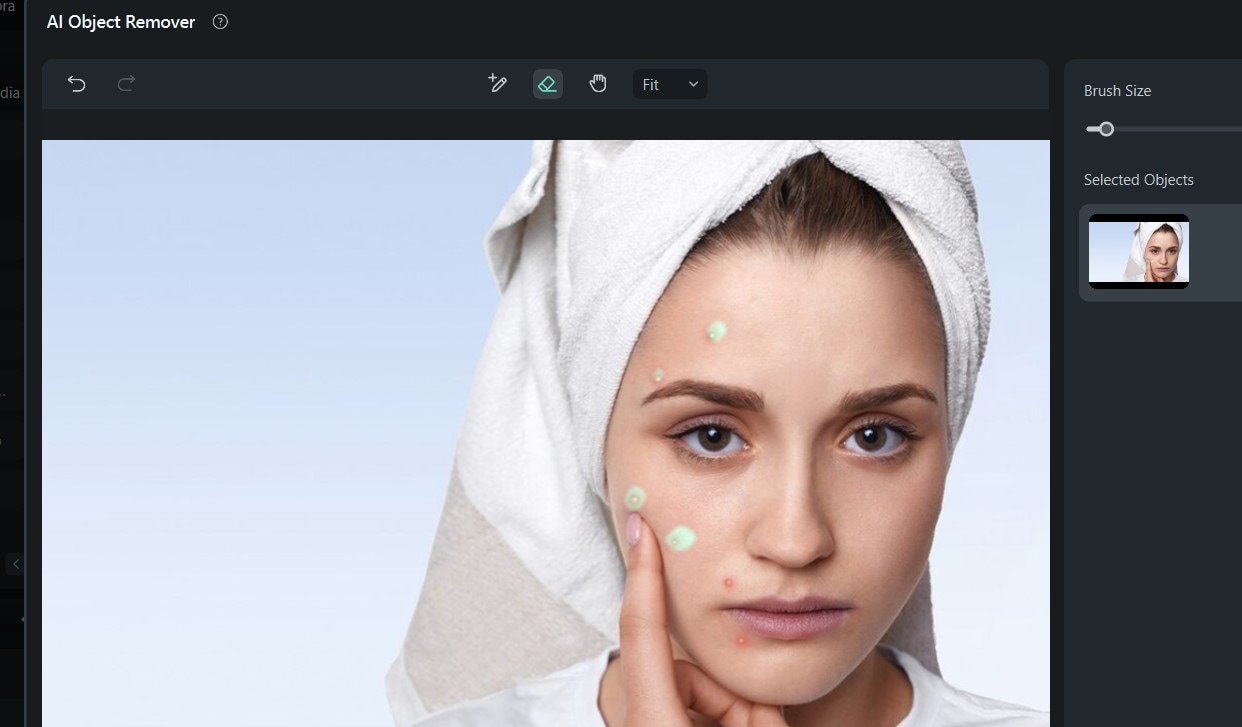

At the end of this process, here's what your final photo should look like:

Pro Tip: You can also use the AI Object Remover to take out elements like unknown people, objects, or animals from the background of your photos or videos.
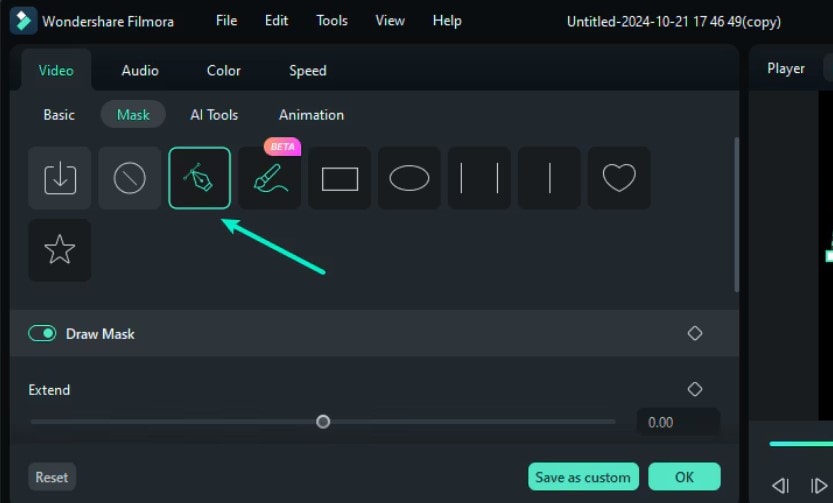
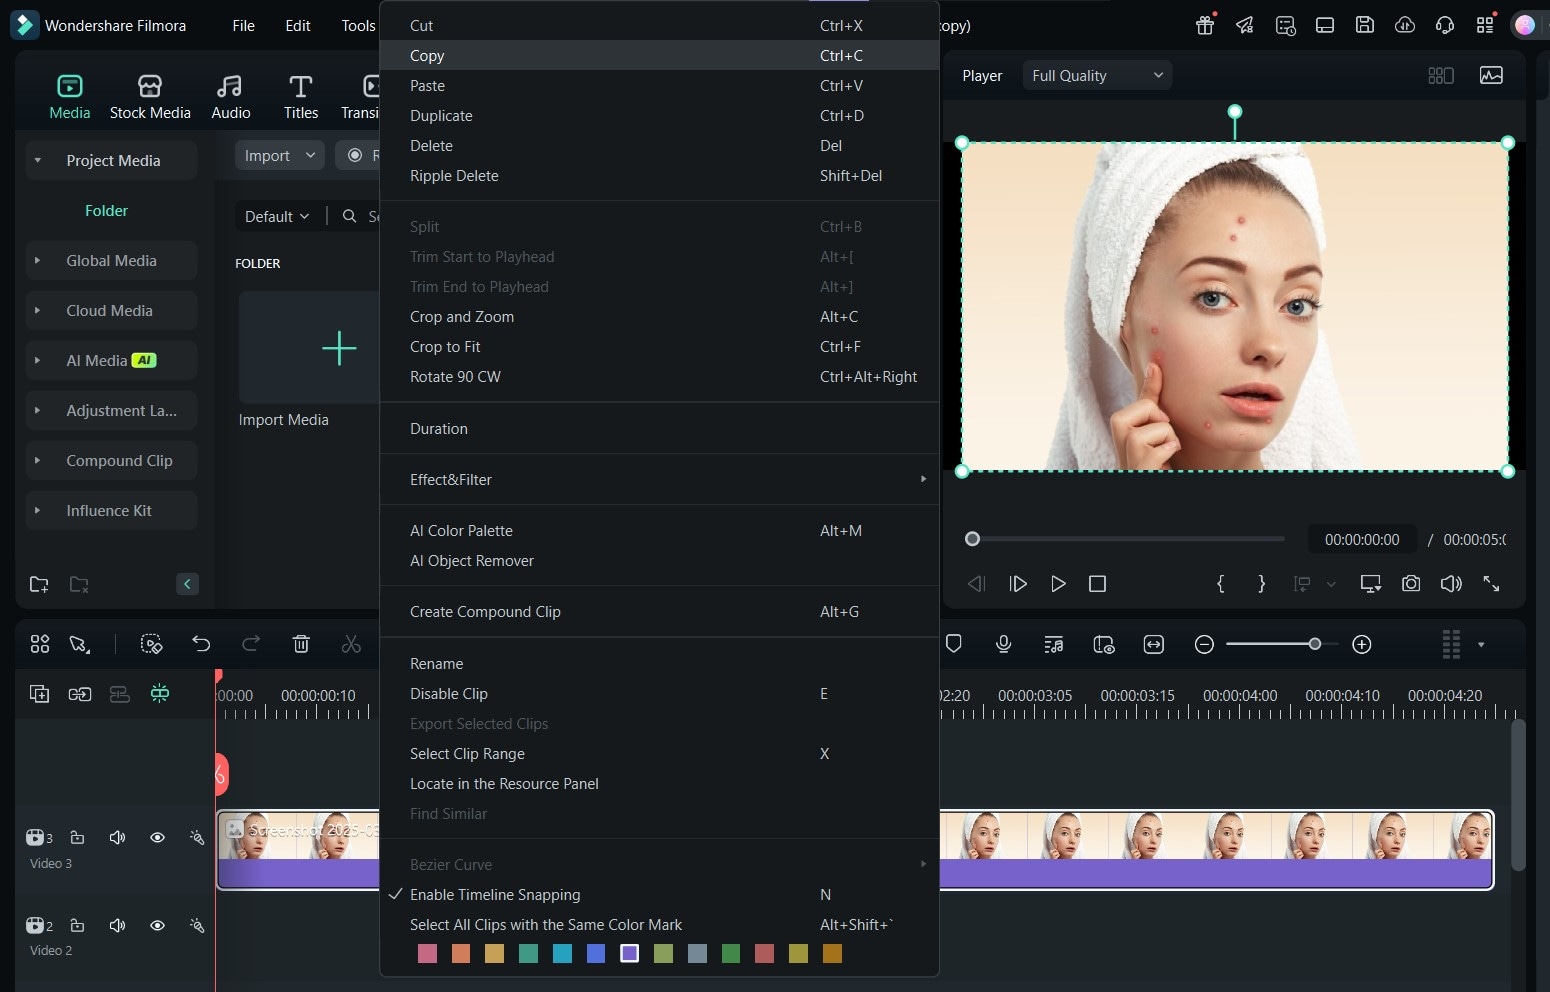
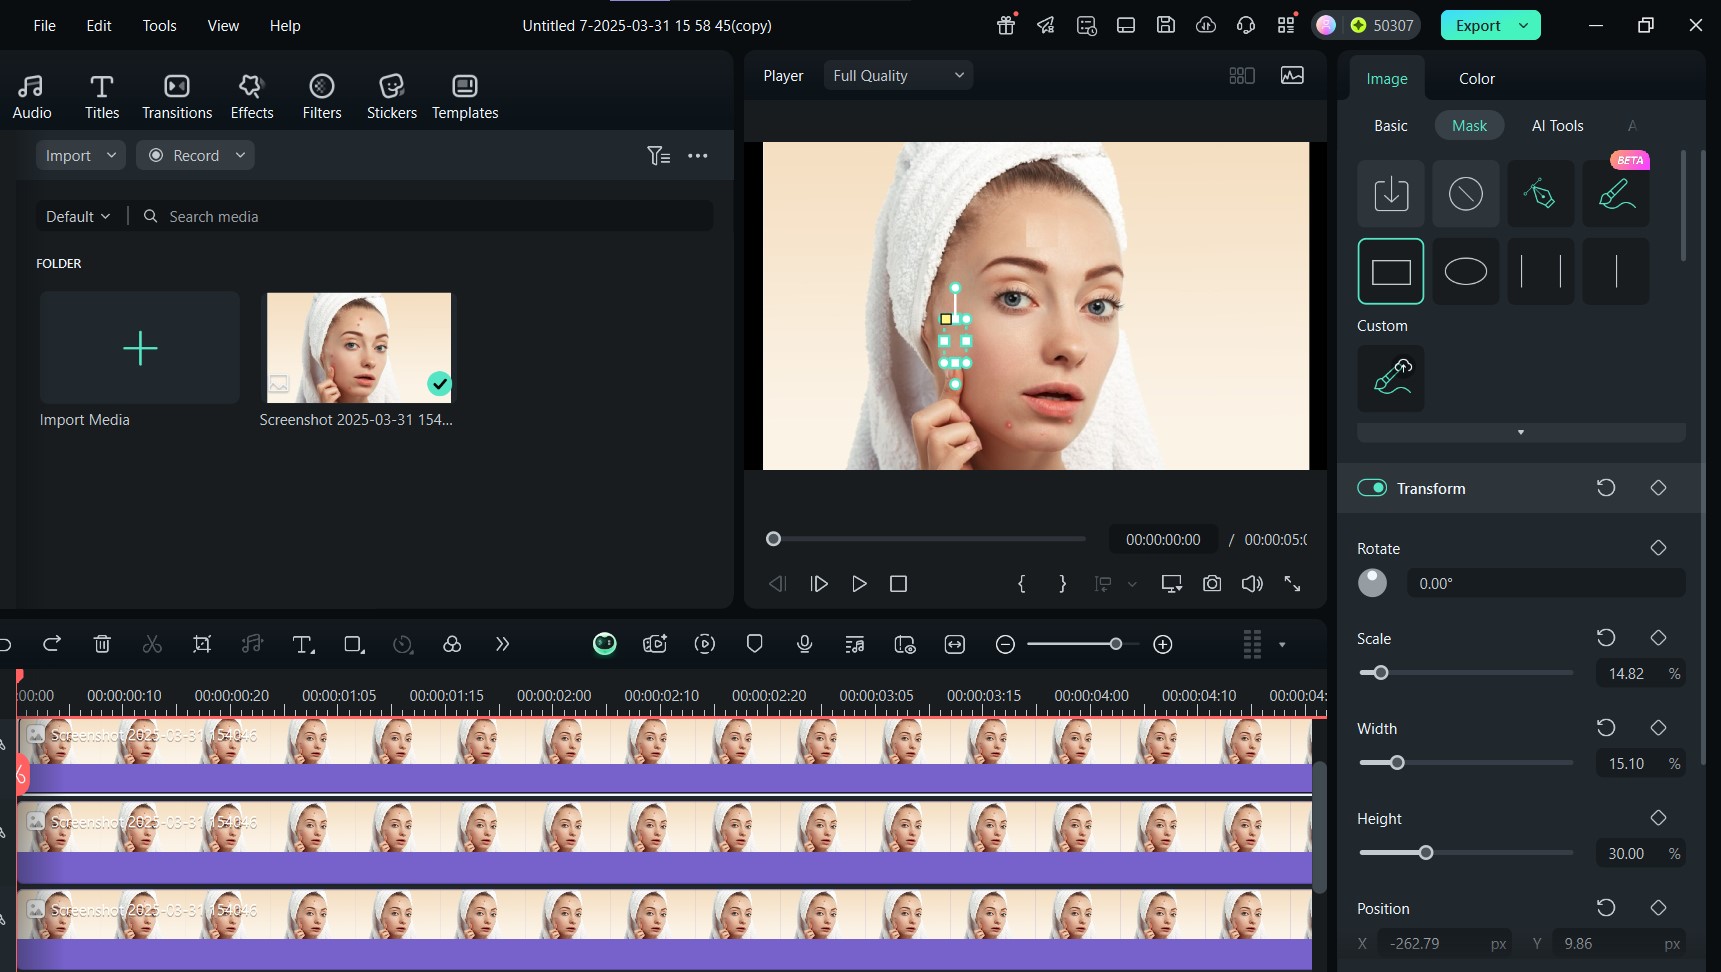
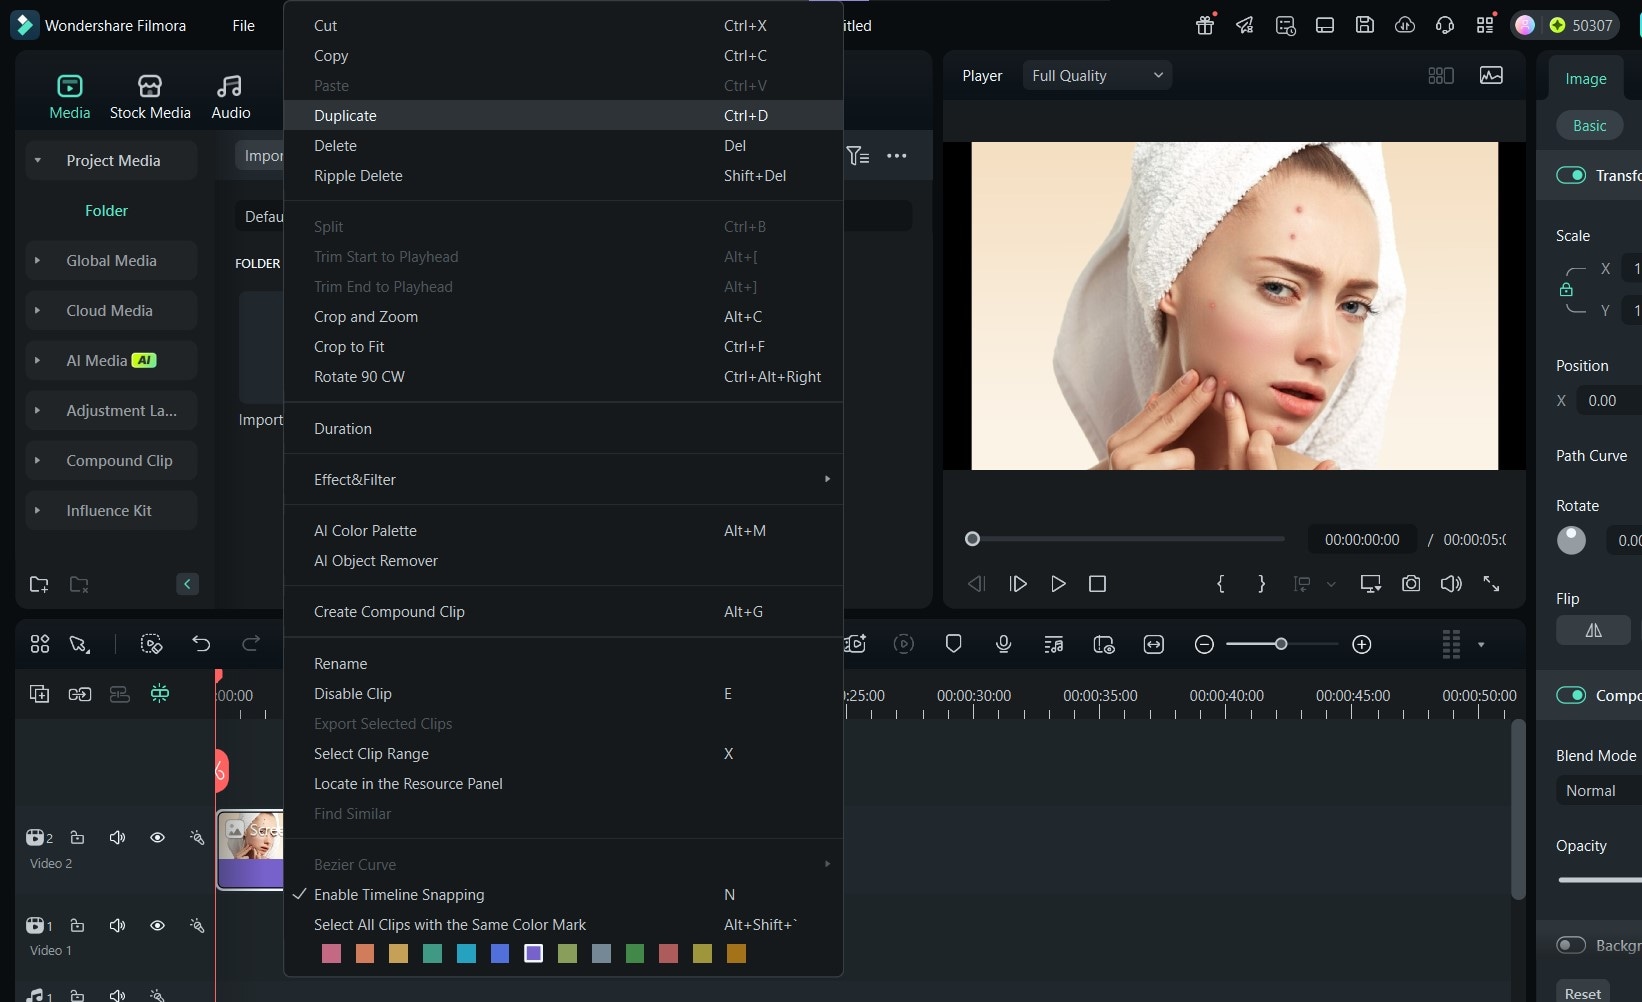
Part 3: How to Remove Spots from Photos by Masking Them
The masking tool also lets you remove unwanted elements from your photos, such as spots. While it's not as straightforward as the AI Object Remover, it's still an excellent option to try out. Here’s how to remove blemishes from photos by masking them with Filmora:
 secure download
Here's a sample of the final result:

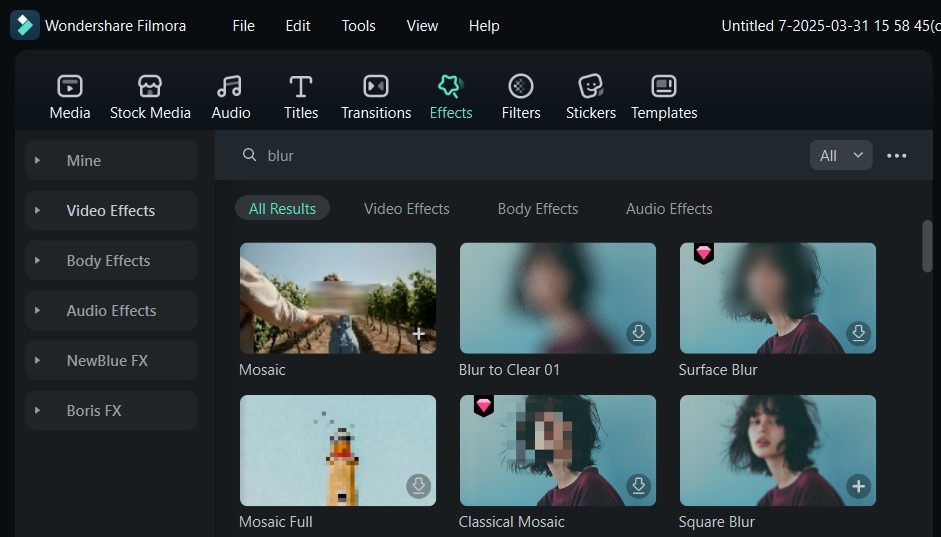
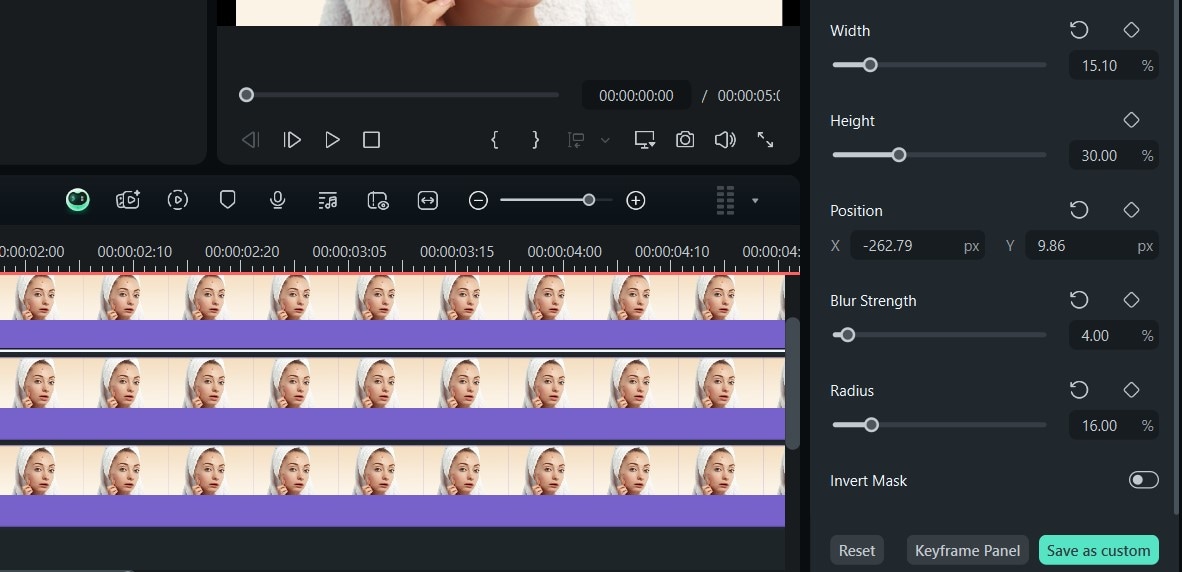
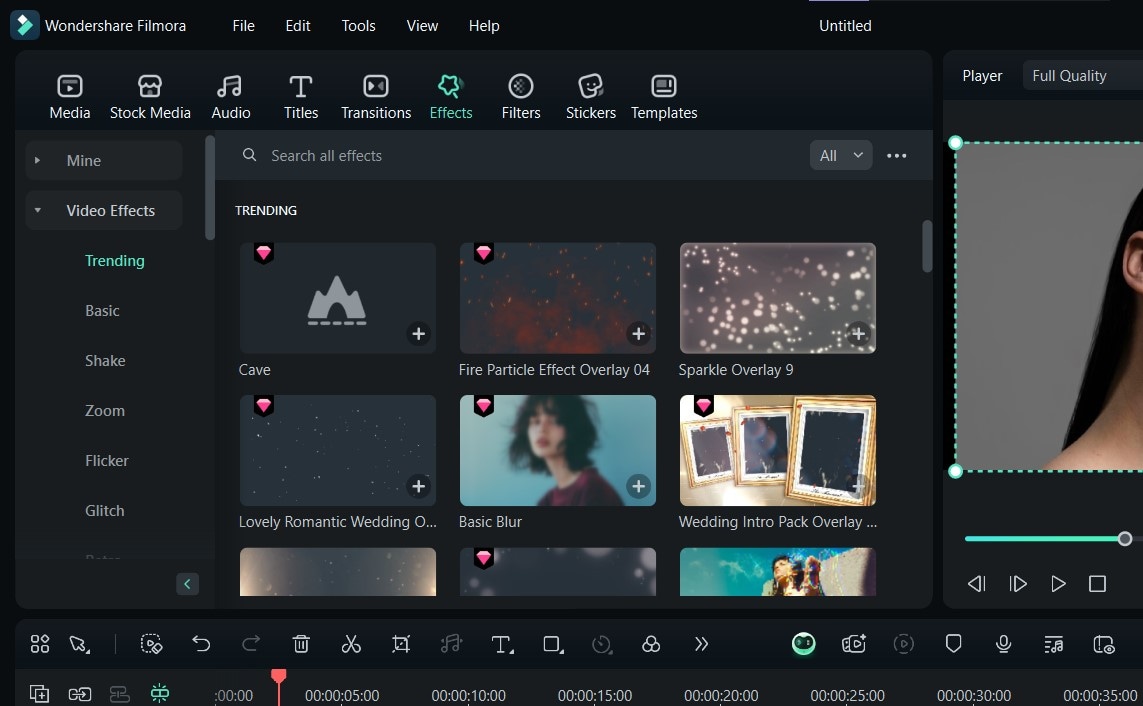
Part 4: How to Remove Spots from Photos Using Blur
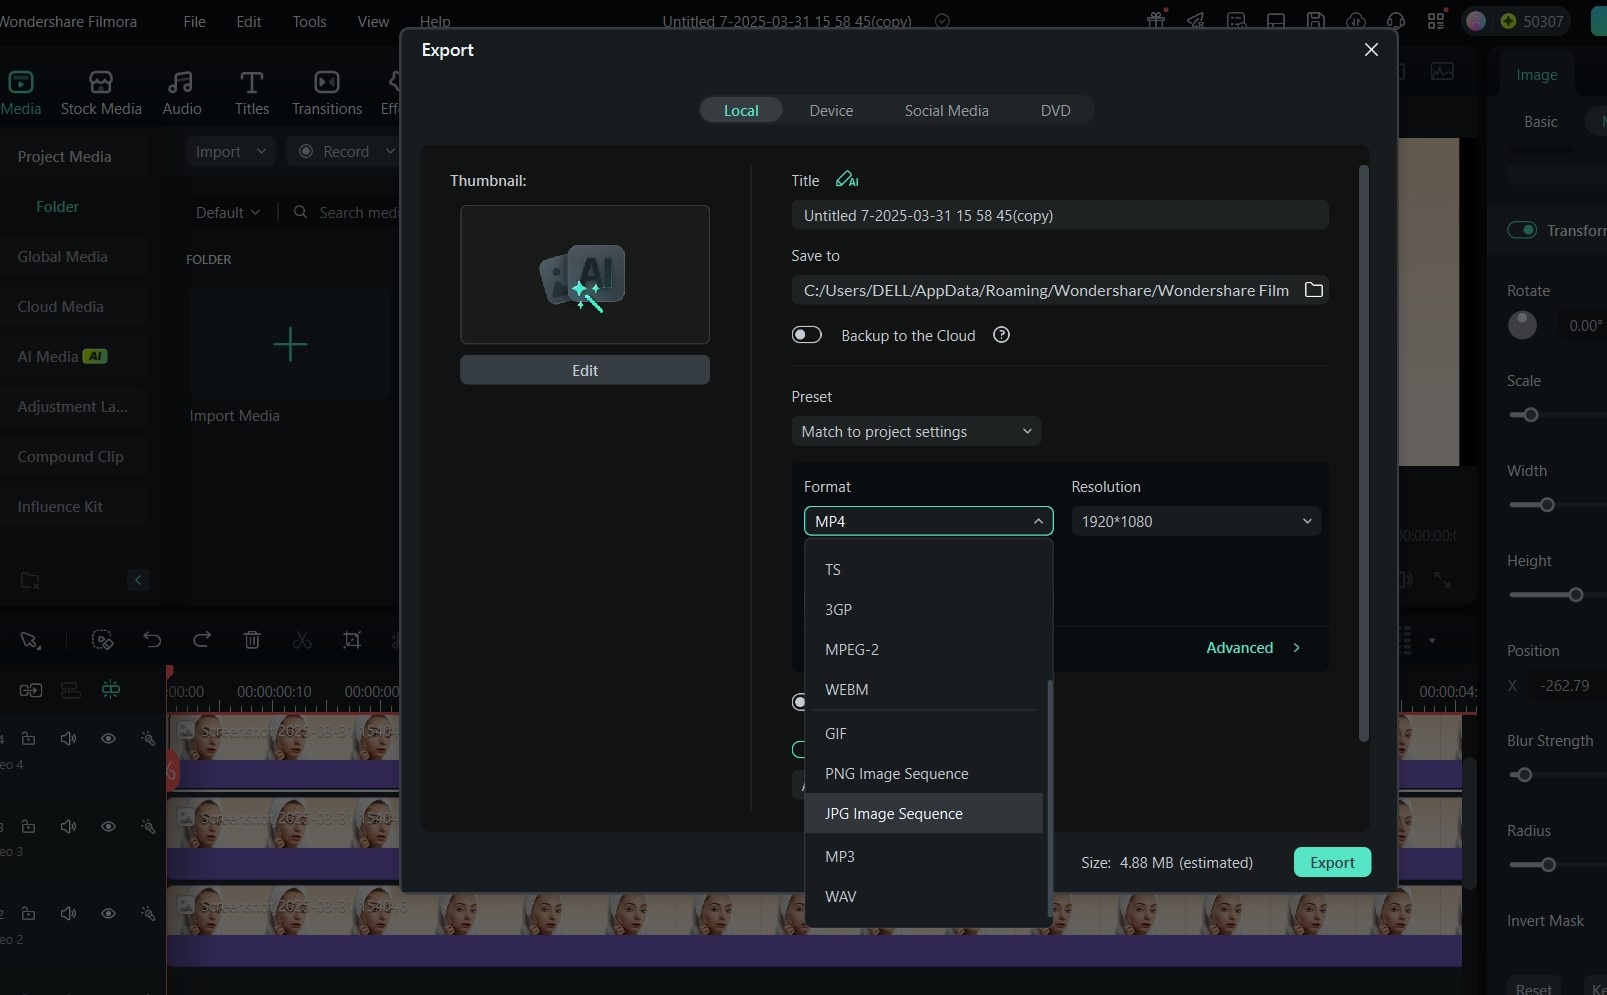
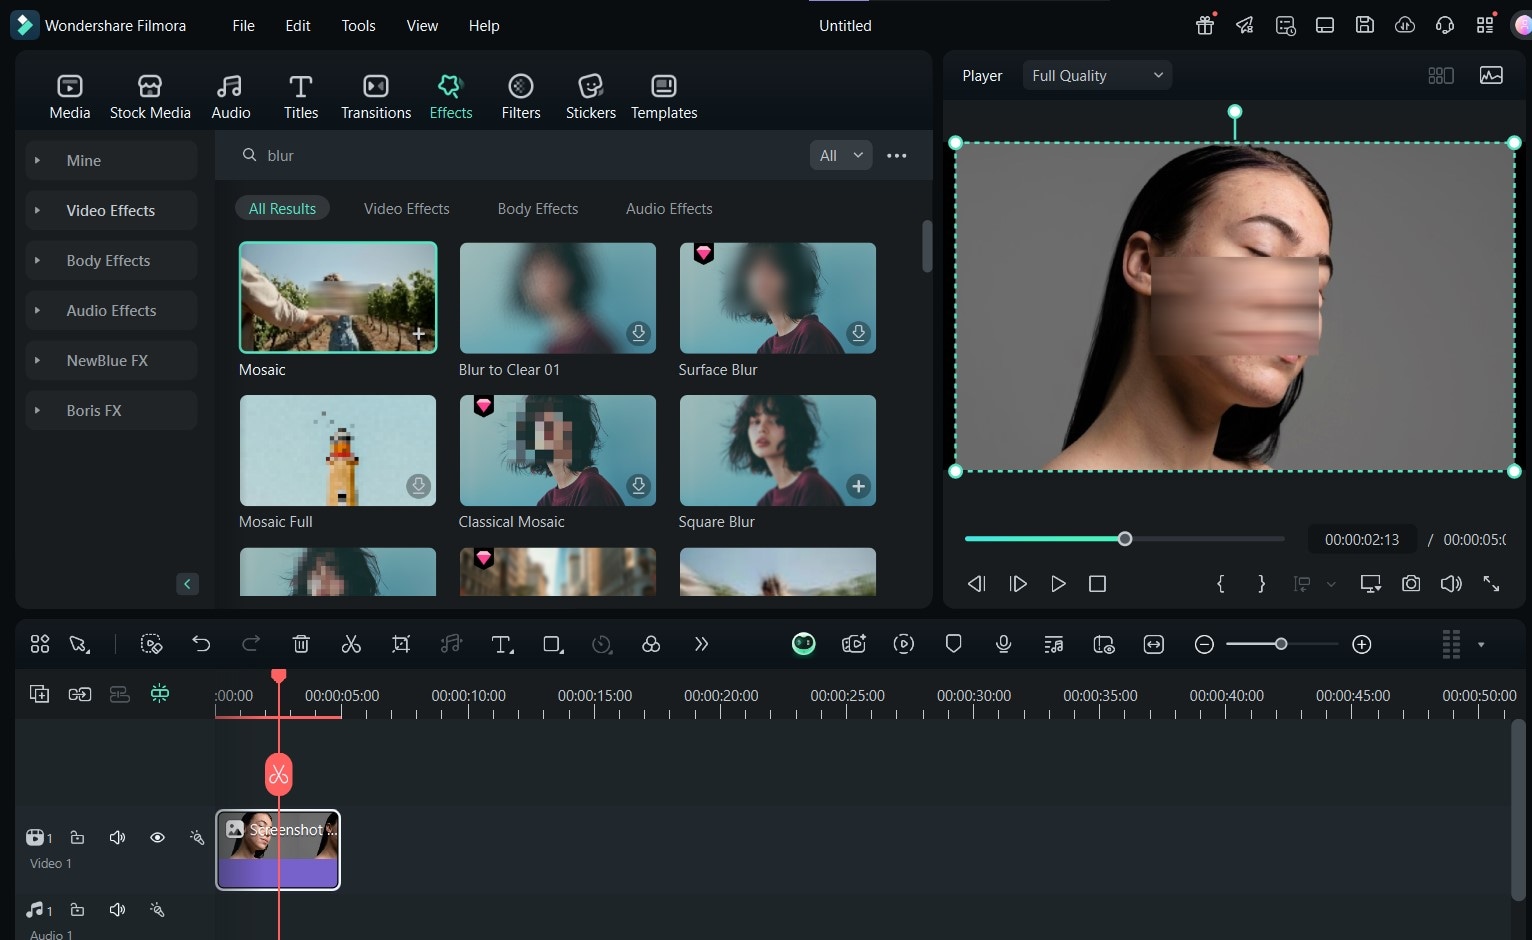
Filmora offers a Mosaic blurring tool, accessible through the effects panel, to remove visible spots from a photo. This tool isn’t as straightforward as the automatic option (AI Object Remover), and it’s most effective for tiny to medium-sized spots. Follow the steps below to remove spots from photos using Filmora blur:
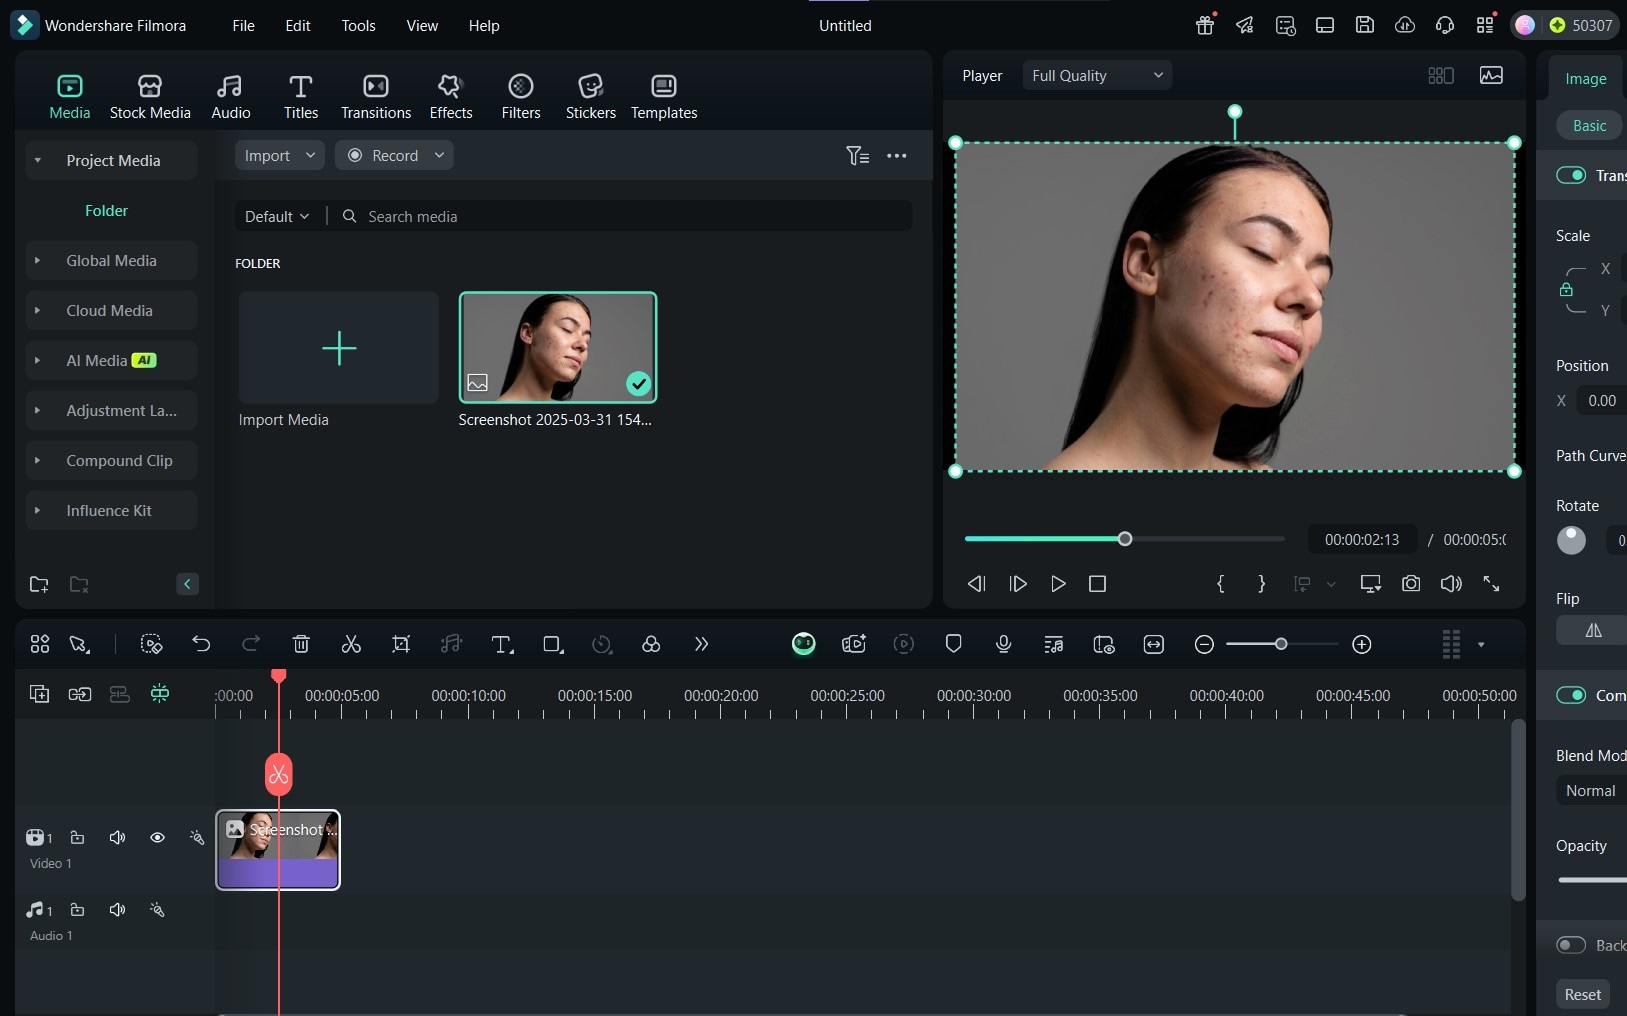
Step 1: With your photo imported into the editing suite, drag it into the timeline to start editing.
 secure download

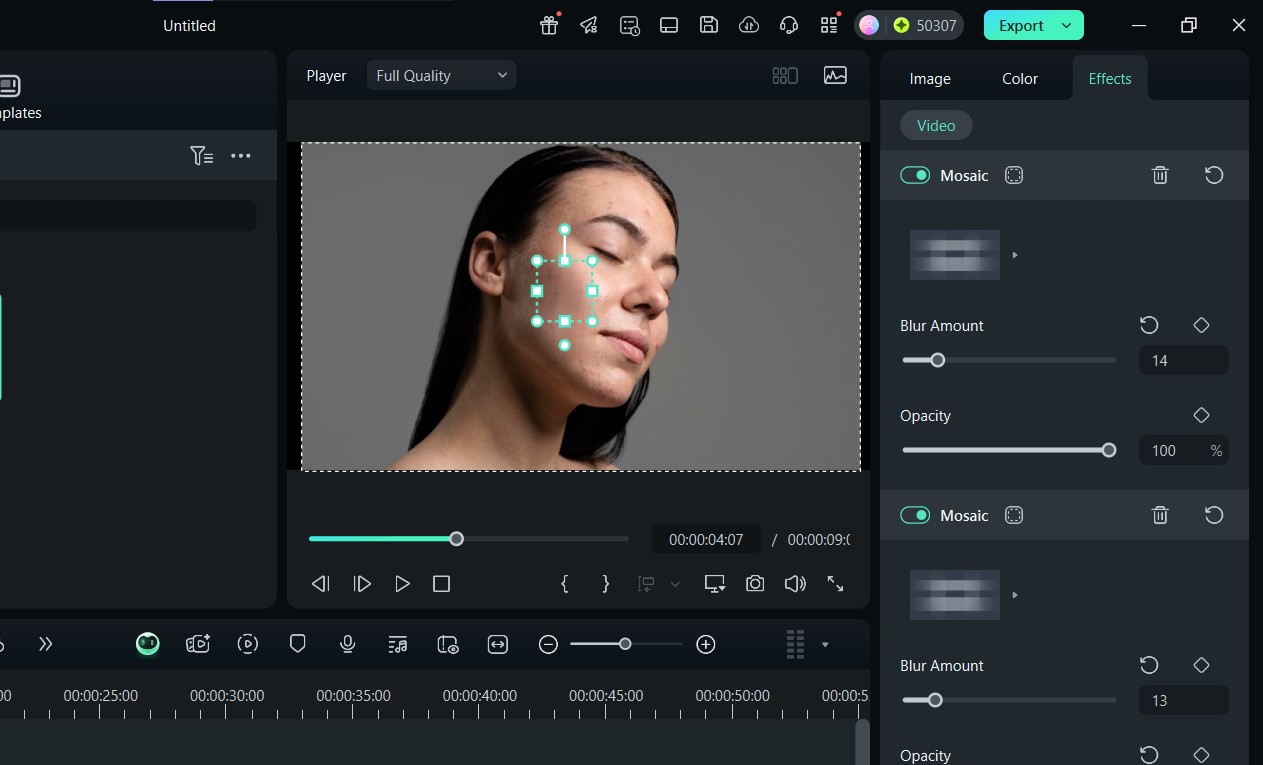
Here’s the finished edit:
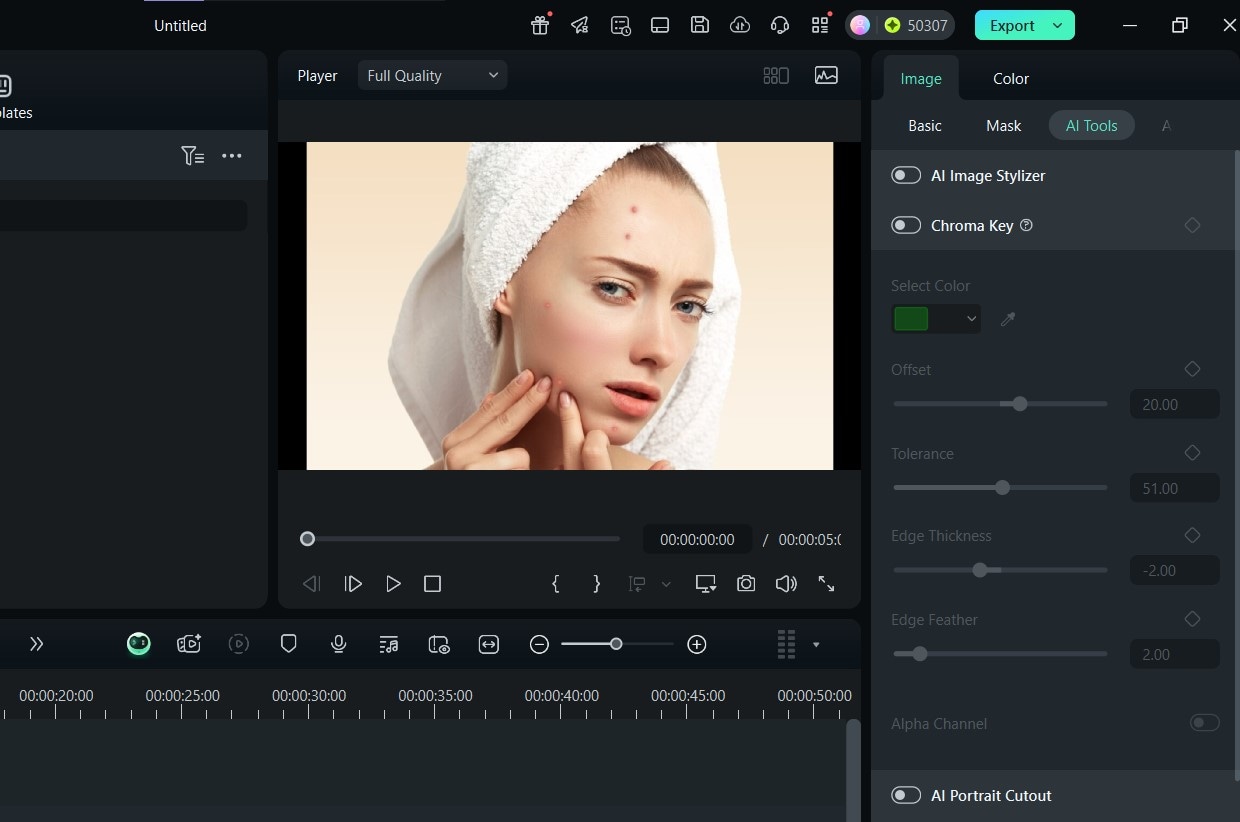
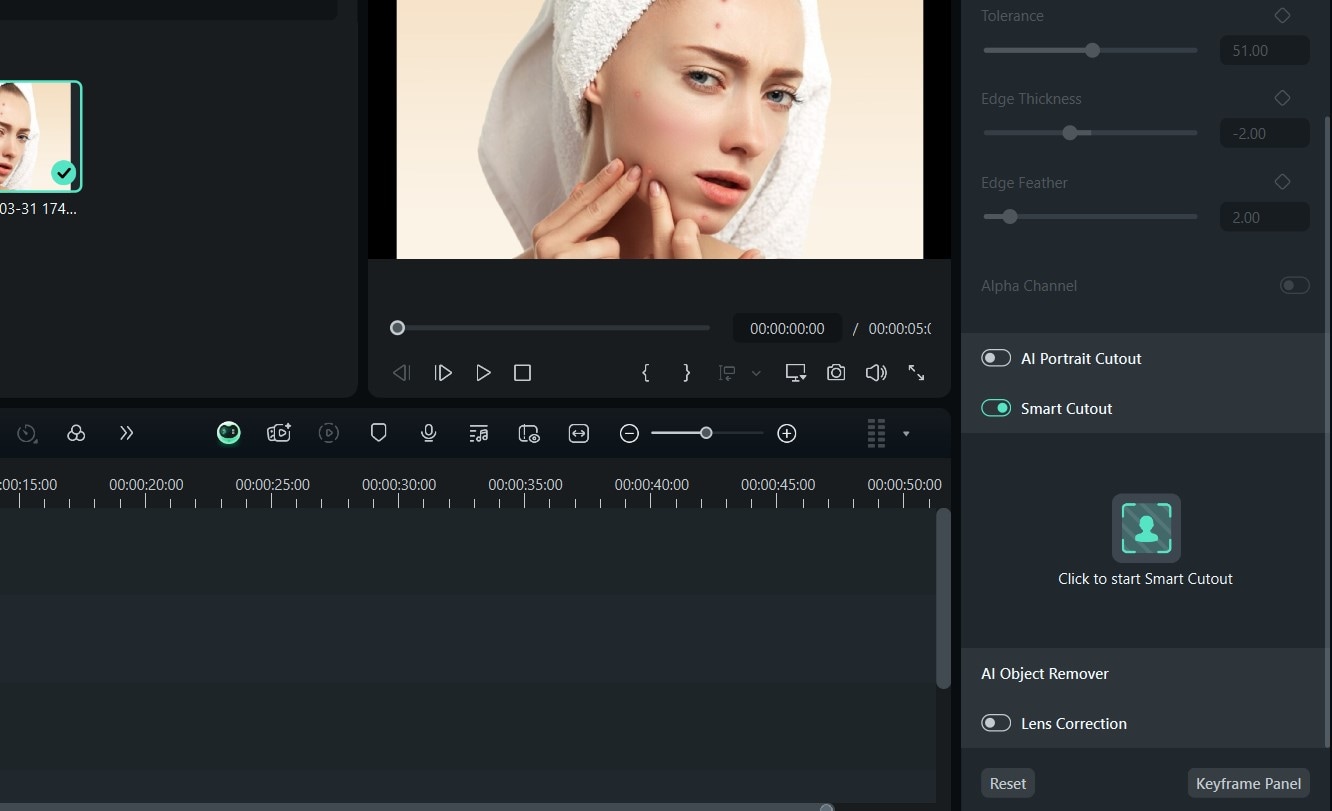
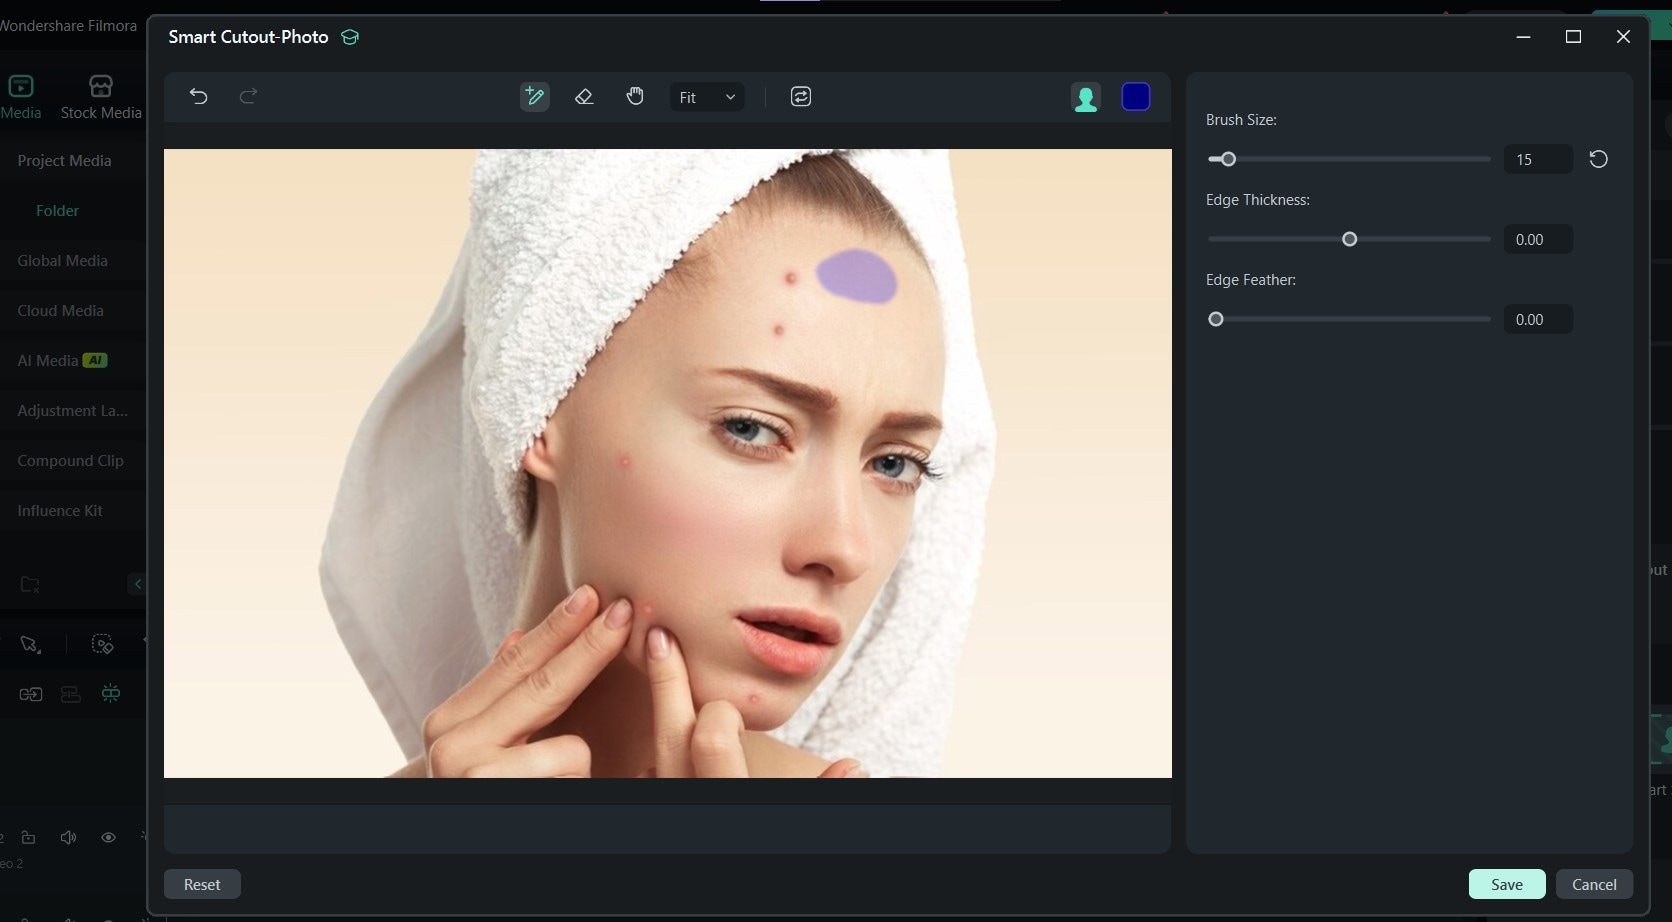
Part 5: How to Remove Spots from Photos Using Cutouts
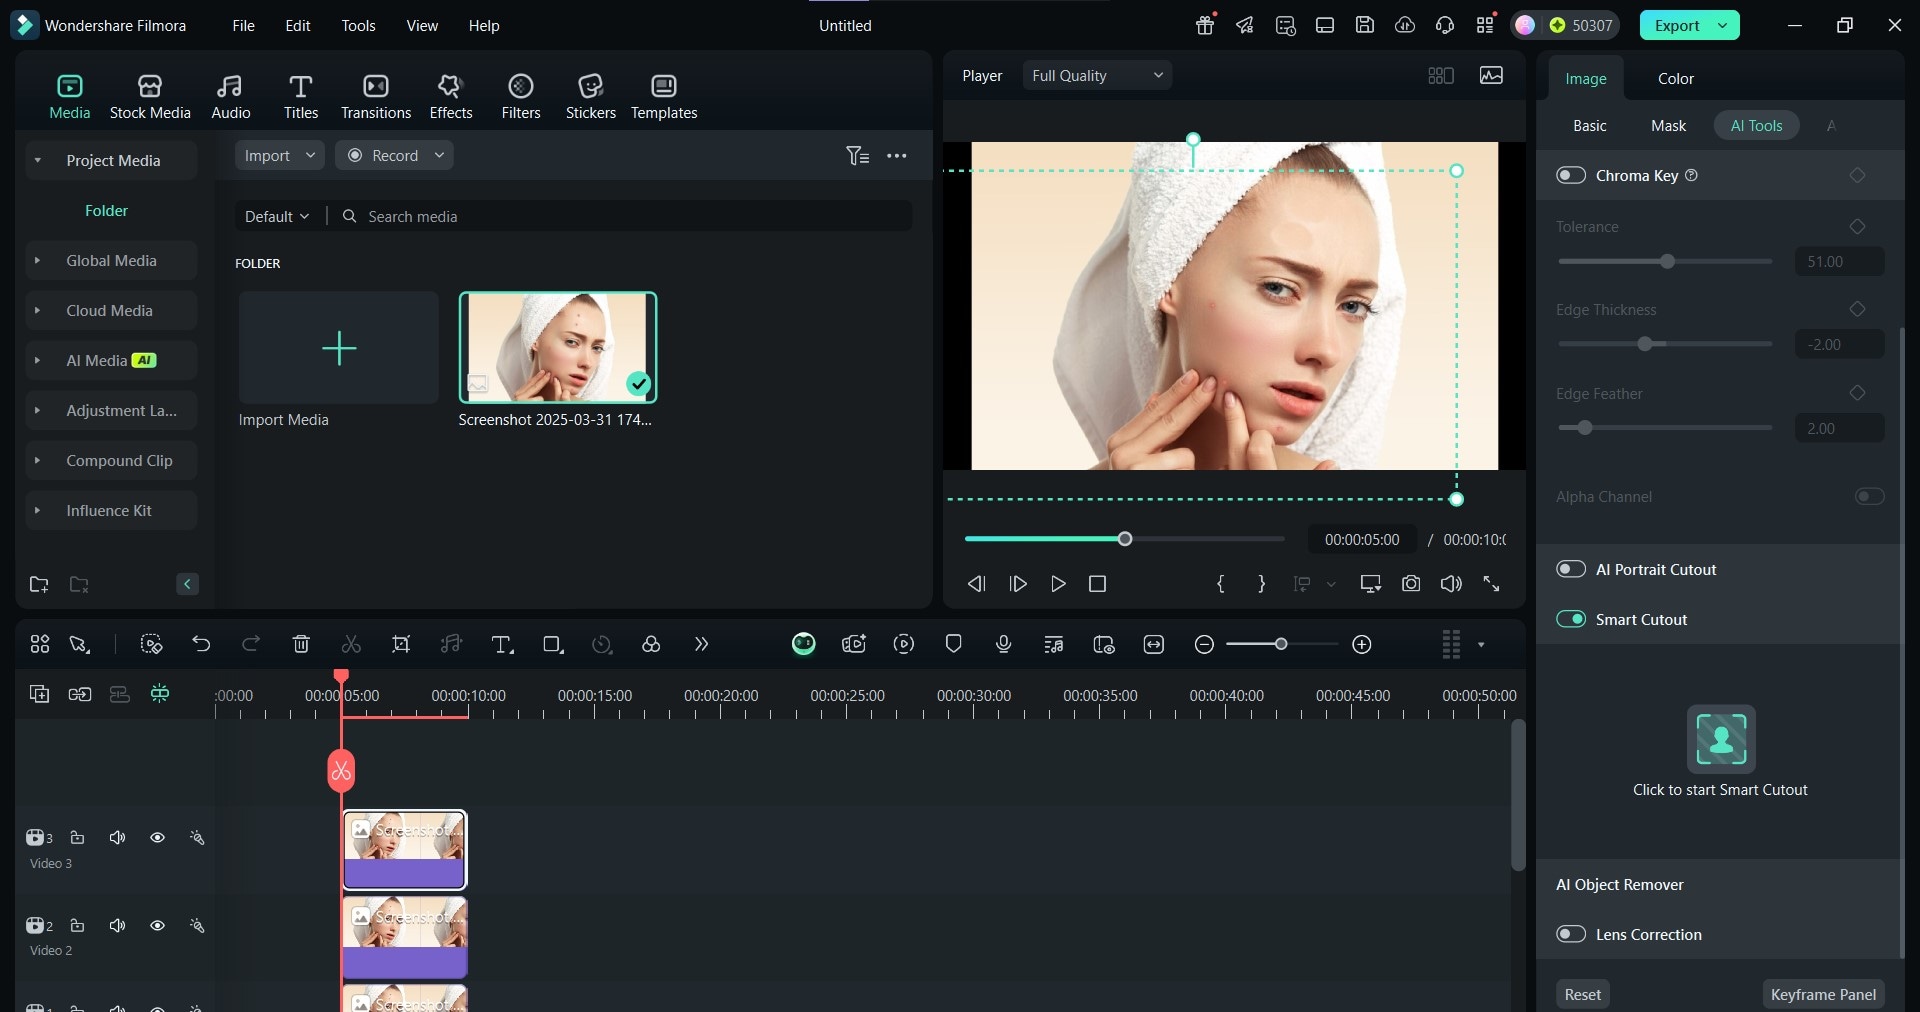
Cutouts are essentially fractions of your image or patches of clear skin that you can use to cover a blemish, pimple, or spot. Filmora makes this accessible using AI Smart Cutouts. To use it and remove pimples from photos as well as other imperfections, follow the steps outlined below:
 secure download

The final photo should look as clean as this:

Conclusion
Spots, blemishes, and pimples may be small, but they can seriously affect the overall quality of your photos, especially when you’re aiming for a clean, professional look. While there are options to remove pimples from photos online, Wondershare Filmora offers more effective features that can be useful to both beginners and experts. Whether you choose the automatic AI Object Remover, masking, blur, or cutouts, you can rest assured of a clean, professional picture finish every time.
From our experience testing each tool, the AI Object Remover stands out as the fastest and most beginner-friendly option. It does all the heavy lifting so you can focus on creating flawless images. So, if you’re looking for a spot remover photo tool that’s smart, simple, and effective, try Filmora and let the AI do the magic!
