


 100% Security Verified | No Subscription Required | No Malware


 ChatGPT
 Perplexity
 Gemini
 Claude
 Grok
Grok
Have a folder full of .MOV clips from a vacation, a project, or your iPhone that you need to combine into a single, seamless video? Merging video files shouldn't be a complicated task. You need a straightforward tool that lets you join your MOV clips quickly and easily, without a steep learning curve. That's exactly why we've created this guide.
Here, we'll show you how to merge MOV files the easy way, breaking down the top 6 tools for the job—from free desktop software to convenient online joiners.
Part 1: Find Your Perfect MOV Joiner in 60 Seconds: A Quick Comparison
If you're short on time and just want to know which tool to use, this section offers a quick comparison of the top software and online platforms to merge, combine, or join MOV files.
| Tool | Platform | Best For | Price |
| Wondershare Filmora | Windows, Mac | Merging with transitions & effects | Free Trial / Paid |
| QuickTime Player | Mac | Simple, transitionless joining | Free (Built-in) |
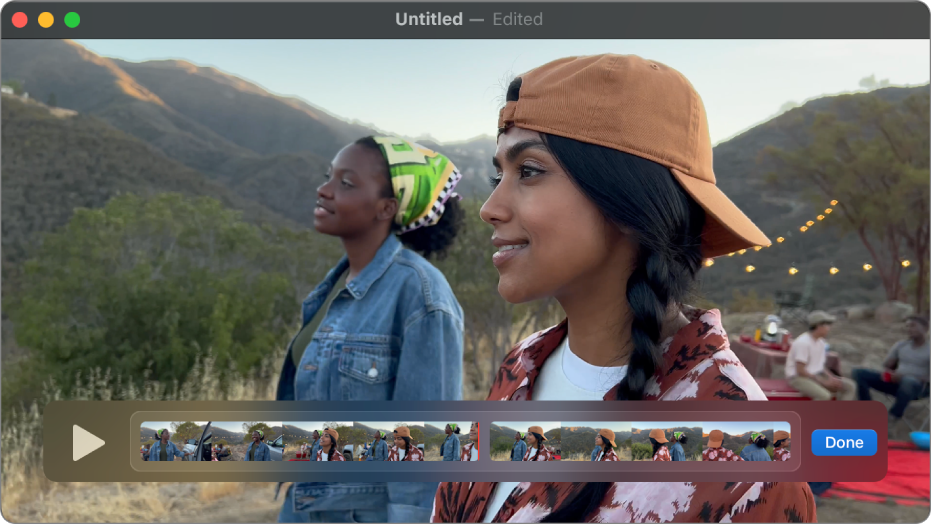
| iMovie | Mac, iOS | Basic video merging with simple edits | Free (Built-in) |
| VLC Media Player | Win, Mac, Linux | Merging without editing capabilities | Free |
| Video Candy | Web-based | Quick online merges, no software needed | Free / Premium |
| Clideo: Merge MOV Files | Web-based | Fast web-based merging with watermark | Free / Premium |
Part 2: The Ultimate Way to Merge MOV Files: Wondershare Filmora
Wondershare Filmora is a powerful video editor designed for both beginners and pros. It supports all major video formats, including MOV, and offers a flexible timeline, drag-and-drop editing, and smart export options. You can join MOV files seamlessly and even enhance them with audio, effects, and titles without any complex setup.
Key Features in Filmora for Combining MOV Files
When it comes to joining MOV files, Filmora delivers more than just basic functionality. It offers a streamlined editing environment packed with tools that help you work faster, stay organized, and create videos that look polished without needing advanced editing experience.
Below are the key features that make Filmora one of the best options for combining MOV files:
- Multiple Format Support
Filmora handles MOV files with ease, along with other popular formats like MP4, AVI, MKV, and WMV. You can import files from different devices, such as iPhone, GoPro, DSLR, or screen recording, without worrying about conversion errors or compatibility issues. This makes it easy to work with mixed footage in one project.
- Instant Timeline Editing
Combining MOV files is as simple as dragging them onto the timeline. Filmora’s editor is responsive and intuitive. You can snap clips into place, rearrange them in seconds, and preview the result in real-time. Even with multiple large files, the software performs smoothly, avoiding lag or playback issues.
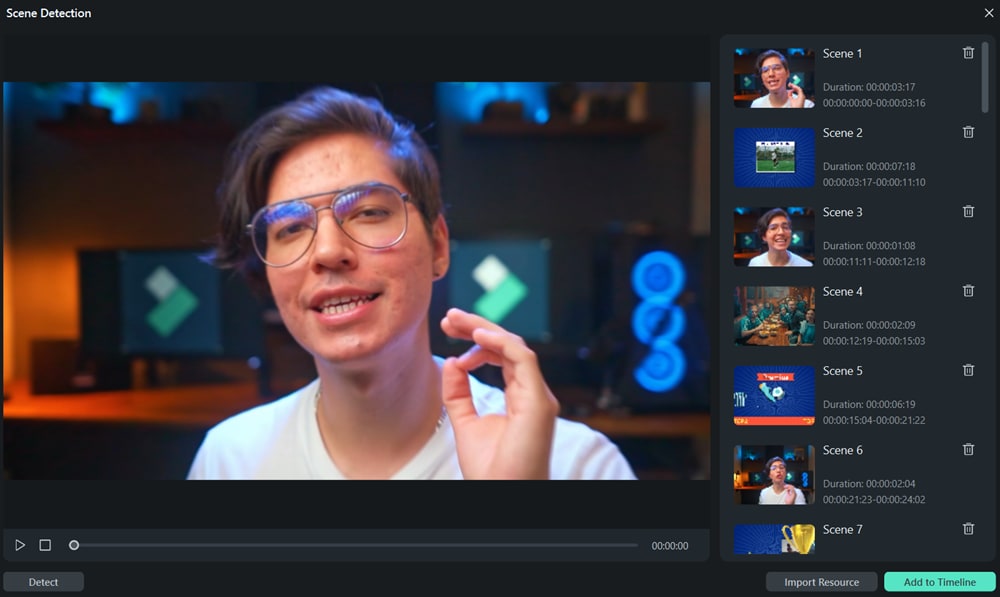
- Auto Scene Detection
If you're working with longer MOV files, such as raw footage from an event or interview, Filmora's Scene Detection helps break them into smaller segments based on scene changes. This feature saves time by letting you quickly identify and organize the parts you want to keep or cut before merging.
- Smart Merge without Re-Encoding
When your MOV clips have the same resolution, frame rate, and codec, Filmora can merge them directly without re-encoding. This ensures that the final output maintains the original quality and reduces export time, ideal when working with high-resolution footage like 1080p or 4K.
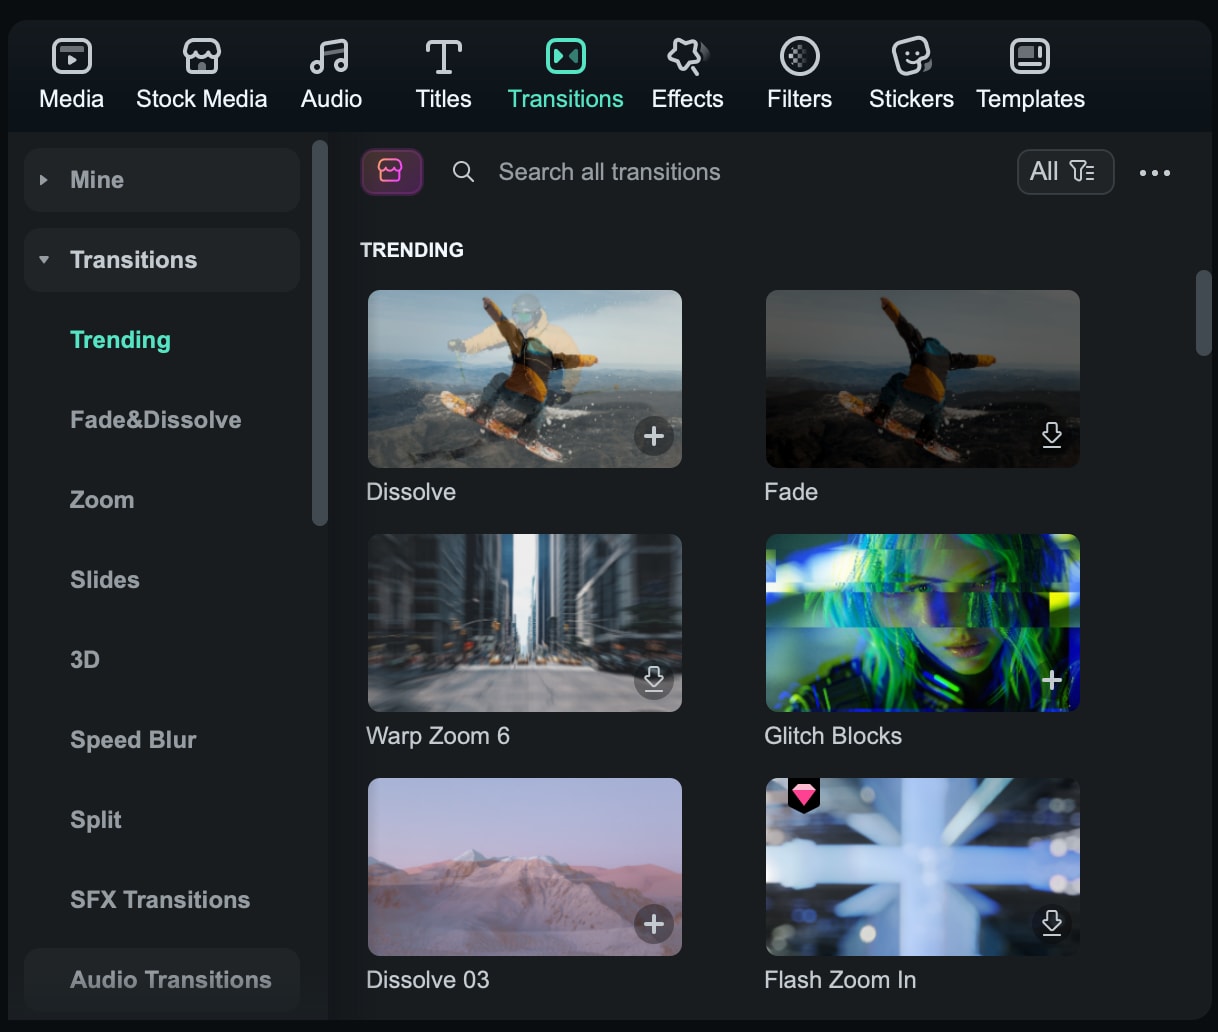
- Built-in Effects, Transitions, and Audio Tools
What sets Filmora apart from basic merge tools is its creative toolkit. You can enhance your merged MOV files with over 100 transitions, preset text animations, and background music from its built-in library. You can also adjust audio levels, apply fade-in/out effects, and add subtitles without leaving the timeline.
How to Combine MOV Files Using Filmora
Step1Launch Filmora and start a new project.
Open Filmora and click "New Project" on the start screen to enter the editing interface.
Step2Import your MOV files.
Click Import > Import Media Files, then select the MOV videos you want to combine. They’ll appear in the project’s media library.

Step3Add your clips to the timeline.
Drag each MOV file from the media library to the timeline in the correct order. You can rearrange or trim the clips as needed.
Step4(Optional) Add transitions, text, or music.
Use the Transitions, Titles, or Audio tabs to add visual or audio enhancements between or on top of your clips.
Step5Export your final merged video.
Click Export, choose MOV as the format, adjust the resolution and quality settings, and click Export again to save your combined video.

What to Check Before You Export Your MOV Video
Before finalizing your merged MOV file, it’s important to review a few key elements to ensure a smooth, high-quality result. These checks help you avoid common playback issues and save time on future edits.
- Match Resolution and Frame Rate
Make sure all MOV clips in your timeline share the same resolution (e.g., 1920x1080) and frame rate (e.g., 30fps). Mismatched settings can lead to playback glitches, uneven motion, or export warnings. If needed, you can adjust clip properties directly in Filmora before exporting.
- Use Seamless Transitions
Hard cuts can feel abrupt when combining multiple MOV clips. Use fade-in/out or dissolve transitions between clips to create a smooth visual flow. Filmora offers a wide range of drag-and-drop transitions that can enhance your video without distracting the viewer.
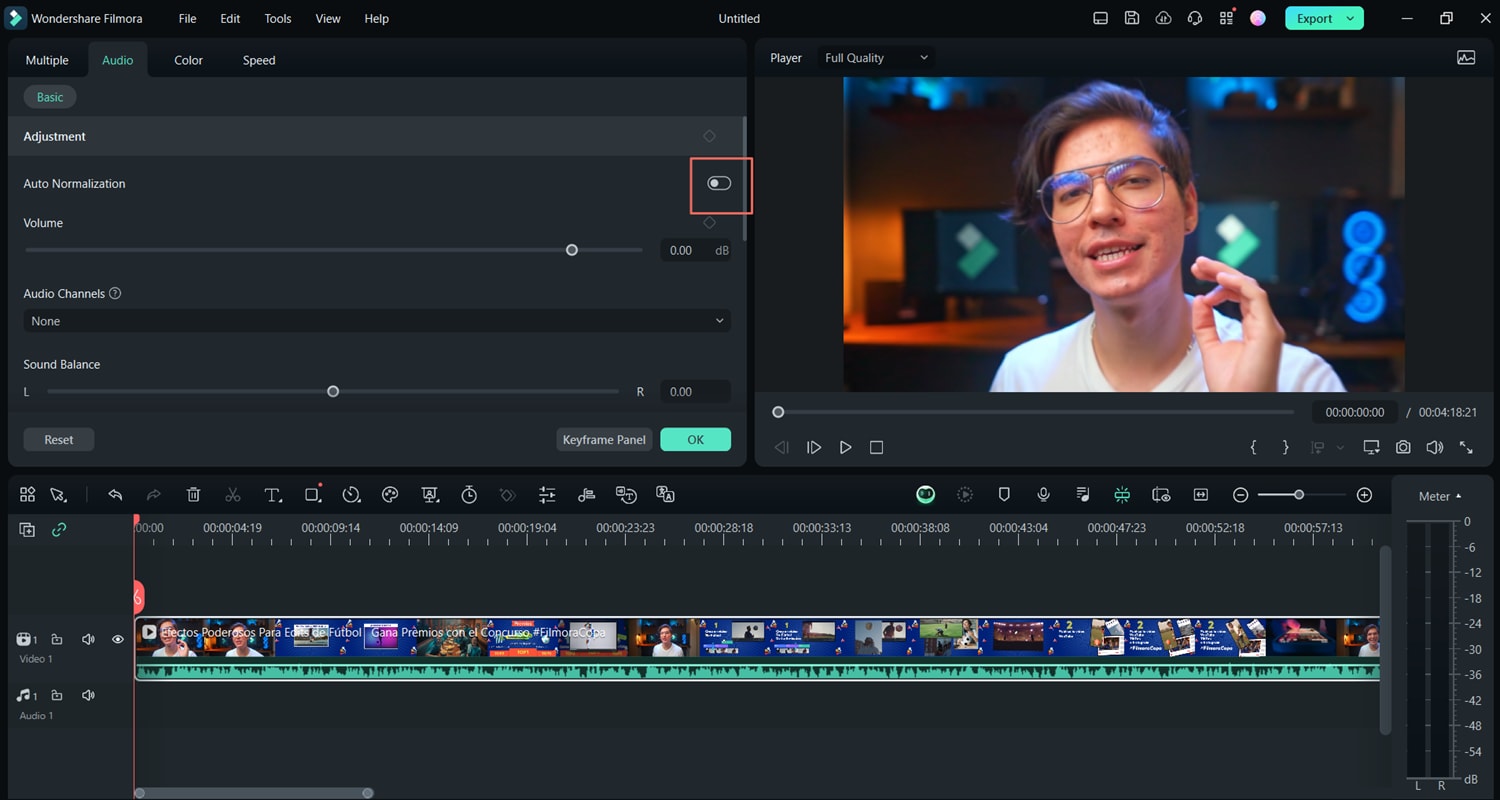
- Normalize Audio Levels
Different clips often come with different audio volumes. Use Filmora’s Auto Normalize feature to balance the loudness across all segments. This ensures that your final video sounds consistent and professional from start to finish.
- Preview Before Export
Always watch your full project in the preview window before exporting. This helps you catch any unwanted silences, awkward transitions, timing errors, or missing effects. Make any final adjustments directly in the timeline to avoid having to re-export.
- Save a Project File
Before exporting, save your Filmora project as a .wfp file. This lets you reopen and re-edit your video at any time without starting over. It’s especially useful if you need to create alternate versions or apply future changes.
Part 3: Other Popular 5 Tools to Merge MOV Files
While Filmora offers the best combination of power and ease of use, there are other excellent tools available depending on your specific needs and platform.
1. QuickTime Player
QuickTime Player is a built-in video application for macOS that supports the MOV format natively. It’s ideal for quick, no-frills merging of two or more MOV clips without installing third-party software. While it doesn’t offer editing tools like transitions or audio mixing, it gets the job done for simple tasks.
How to combine MOV files using QuickTime Player:
- Open the first MOV file in QuickTime Player.
- Drag the second MOV file directly into the same window.
- Rearrange the order of clips if needed.
- Go to the top menu and click File > Export As, then choose your desired resolution (e.g., 1080p).
- Save the newly combined file to your computer.
2. iMovie
iMovie is Apple’s free video editing software, available on both macOS and iOS. It provides a timeline editor with support for transitions, text, and music. iMovie is a good choice if you want a little more control over your MOV file merge, including trimming clips or adding basic visual enhancements.

How to combine MOV files using iMovie:
- Open iMovie and click Create New > Movie to start a project.
- Import your MOV files into the media library.
- Drag the imported clips onto the timeline in the correct sequence.
- Add transitions, music, or titles as needed using the editing toolbar.
- Click the Share icon in the top-right corner and choose File to export the merged video.
3. VLC Media Player
VLC is a free and open-source media player that also includes basic video conversion and merging functions. It’s useful for combining two MOV files with the same codec and format, but it doesn’t support transitions, trimming, or a visual editing timeline. It’s best suited for technical users looking for a lightweight solution.
How to combine MOV files using VLC:
- Open VLC and go to Media > Convert/Save.
- Click the Add button and select all MOV files you want to merge.
- Click the Convert/Save button at the bottom.
- In the Convert window, choose the desired output format and destination file path.
- Click Start to begin the merging process.
4. Video Candy
Video Candy is a browser-based video editor that allows you to merge two MOV files online without installing any software. It’s especially convenient for casual users who need a fast, no-login-required solution. While it lacks deeper editing features, it handles simple merges reliably.
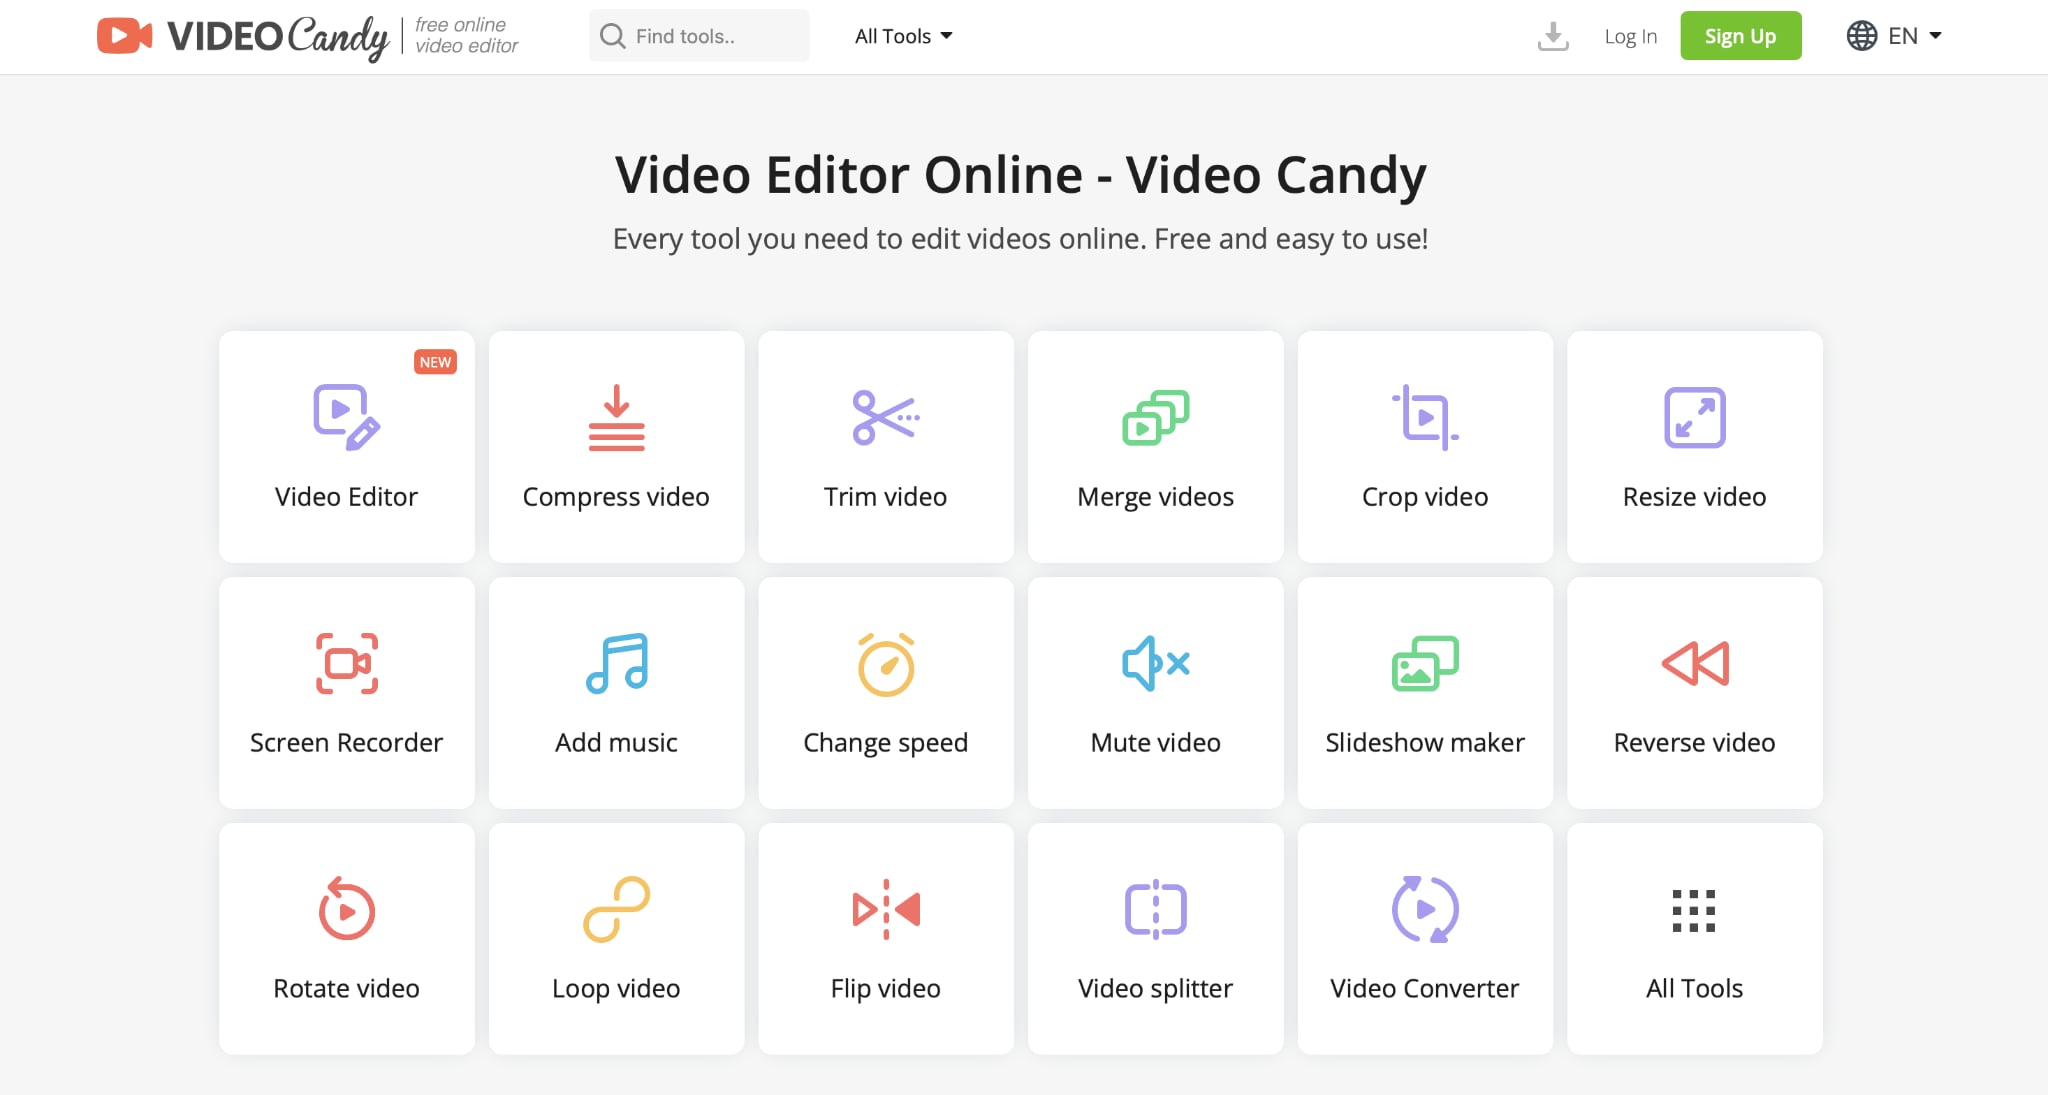
How to combine MOV files using Video Candy:
- Open your browser and go to the Video Candy – Merge Video tool.
- Upload your MOV files by dragging them into the upload area.
- Arrange the videos in the desired order using the built-in preview tool.
- Click the Merge button to process the video.
- Once finished, click Download to save your merged MOV file.
5. Clideo: Merge MOV Files
Clideo is another web-based tool that supports merging 2 MOV files quickly through a clean, easy-to-use interface. It works on any modern browser and device. The free version applies a watermark, but upgrading to premium removes this limitation. Clideo is ideal for users who want quick results with minimal effort.

How to combine MOV files using Clideo:
- Visit the Clideo – Merge Video page in your browser.
- Upload MOV files from your device or select files from Google Drive or Dropbox.
- Rearrange the files as needed using the visual editor.
- Choose the desired output format (MOV recommended).
- Click Merge, wait for processing, then download the merged file.
Conclusion
Combining MOV files is simple when you use the right tools. If you need a quick merge or want to add transitions, music, and titles, Filmora provides a flexible and user-friendly solution. With full support for MOV format, drag-and-drop editing, and high-quality export options, it’s well-suited for both beginners and experienced editors.
Other tools like QuickTime, iMovie, and web-based platforms offer lightweight alternatives, but for a smoother workflow and more creative control, Filmora stands out as the best all-in-one MOV joiner. Make sure to preview, normalize audio, and save your project before exporting to ensure the best results.
FAQs
-
Can I combine MOV files with different resolutions or frame rates, or even different formats, like MP4?
Yes, Filmora allows you to combine MOV files with different resolutions, frame rates, or even formats like MP4. However, for the best result, it’s recommended to match video properties before exporting to ensure consistent playback and quality. -
Can I add transitions between MOV clips?
Absolutely. Filmora includes a wide range of built-in transitions such as fade, dissolve, slide, and more. You can simply drag and drop a transition between two clips on the timeline to smooth out the cut. -
Is there a file size limit for merging MOV files?
There is no strict file size limit in Filmora, but performance may depend on your computer’s RAM and storage. For very large projects, using shorter clips or merging in stages can help maintain smooth editing. -
Will I lose quality when I merge MOV files?
Not if you export using the proper settings. Filmora supports merging without re-encoding when clips share the same resolution and frame rate. Be sure to select high-quality export settings and use the MOV format to preserve the original quality.
