
 100% Security Verified | No Subscription Required | No Malware


 ChatGPT
 Perplexity
 Gemini
 Claude
 Grok
Grok
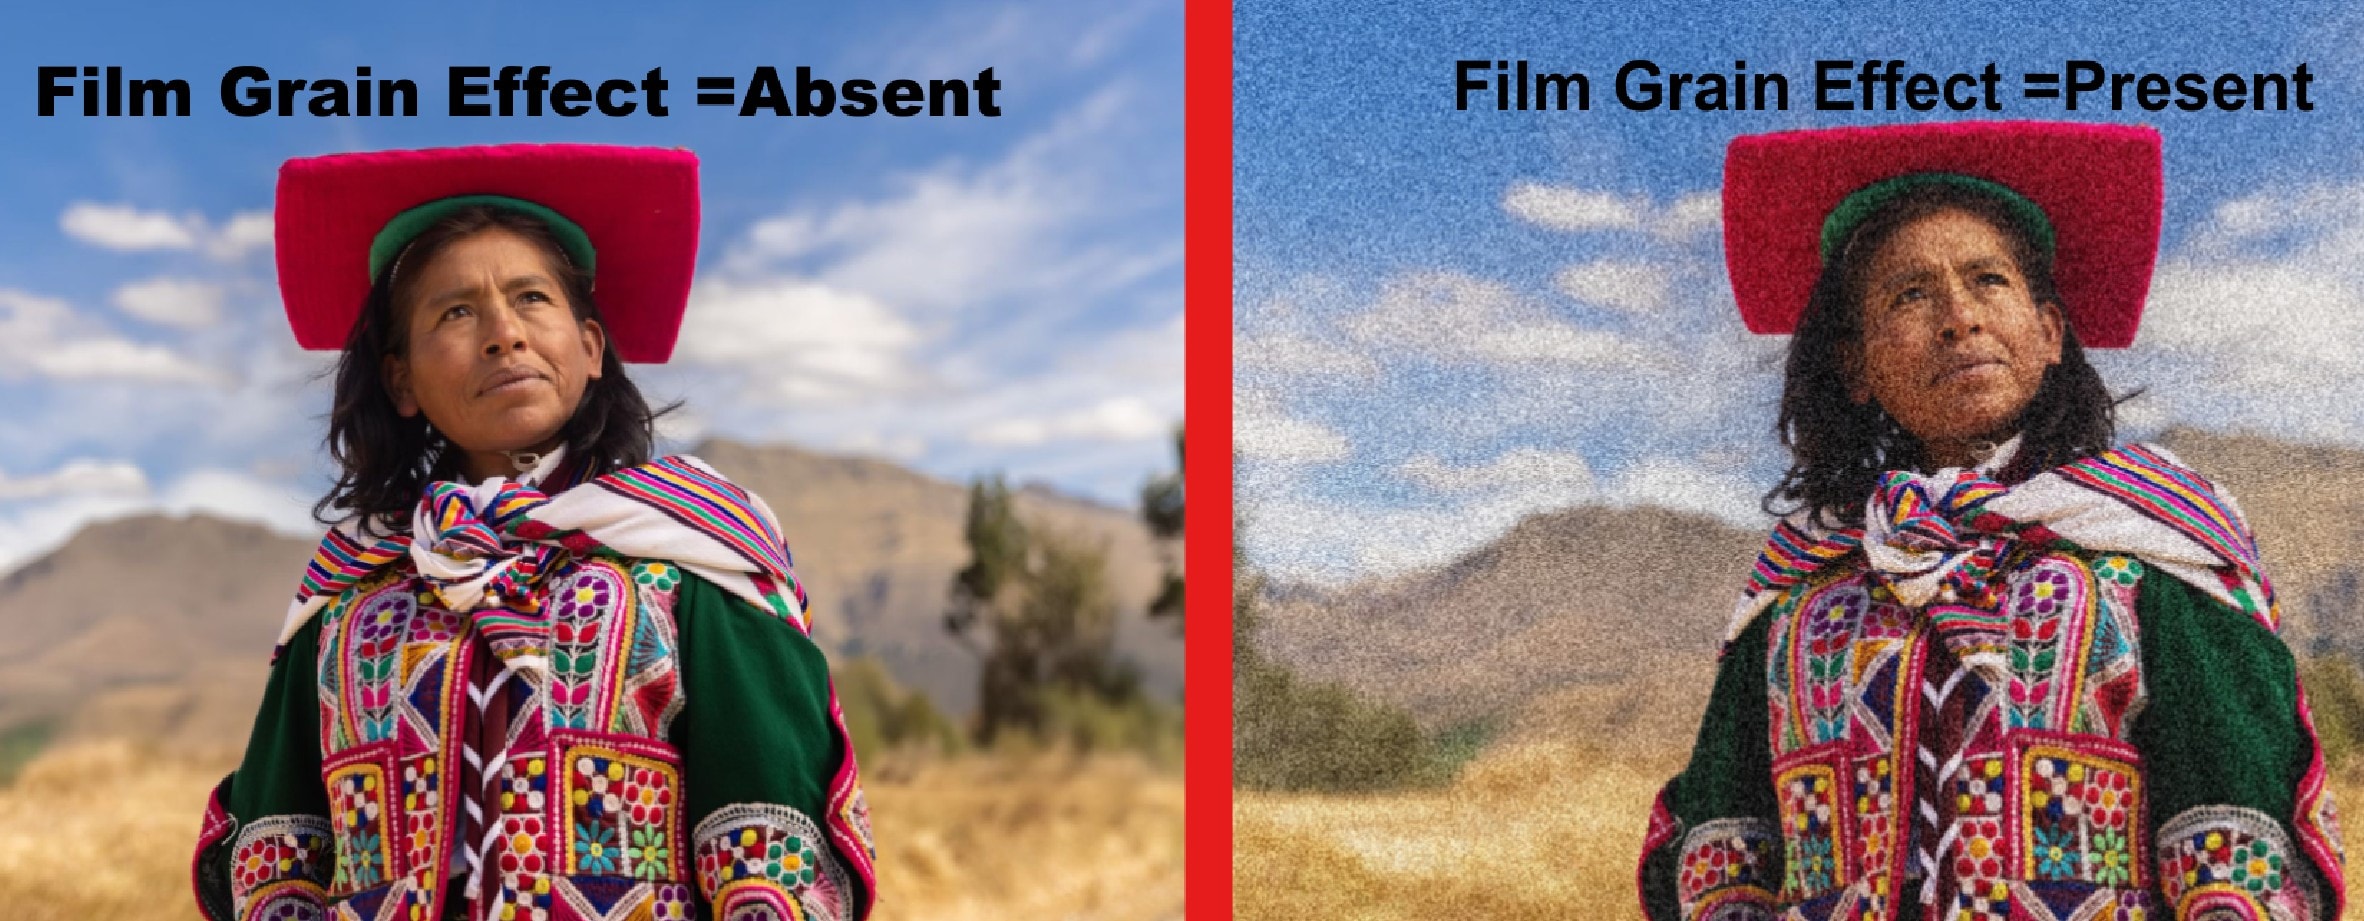
Seeing someone concerned about how to add film grain in Premiere Pro might seem weird because who still uses that old movie style in the 21st century? The invention of modern cameras was meant to be an upgrade from early cameras and film stock, which had lower resolution, limited color accuracy, and slower frame rates.
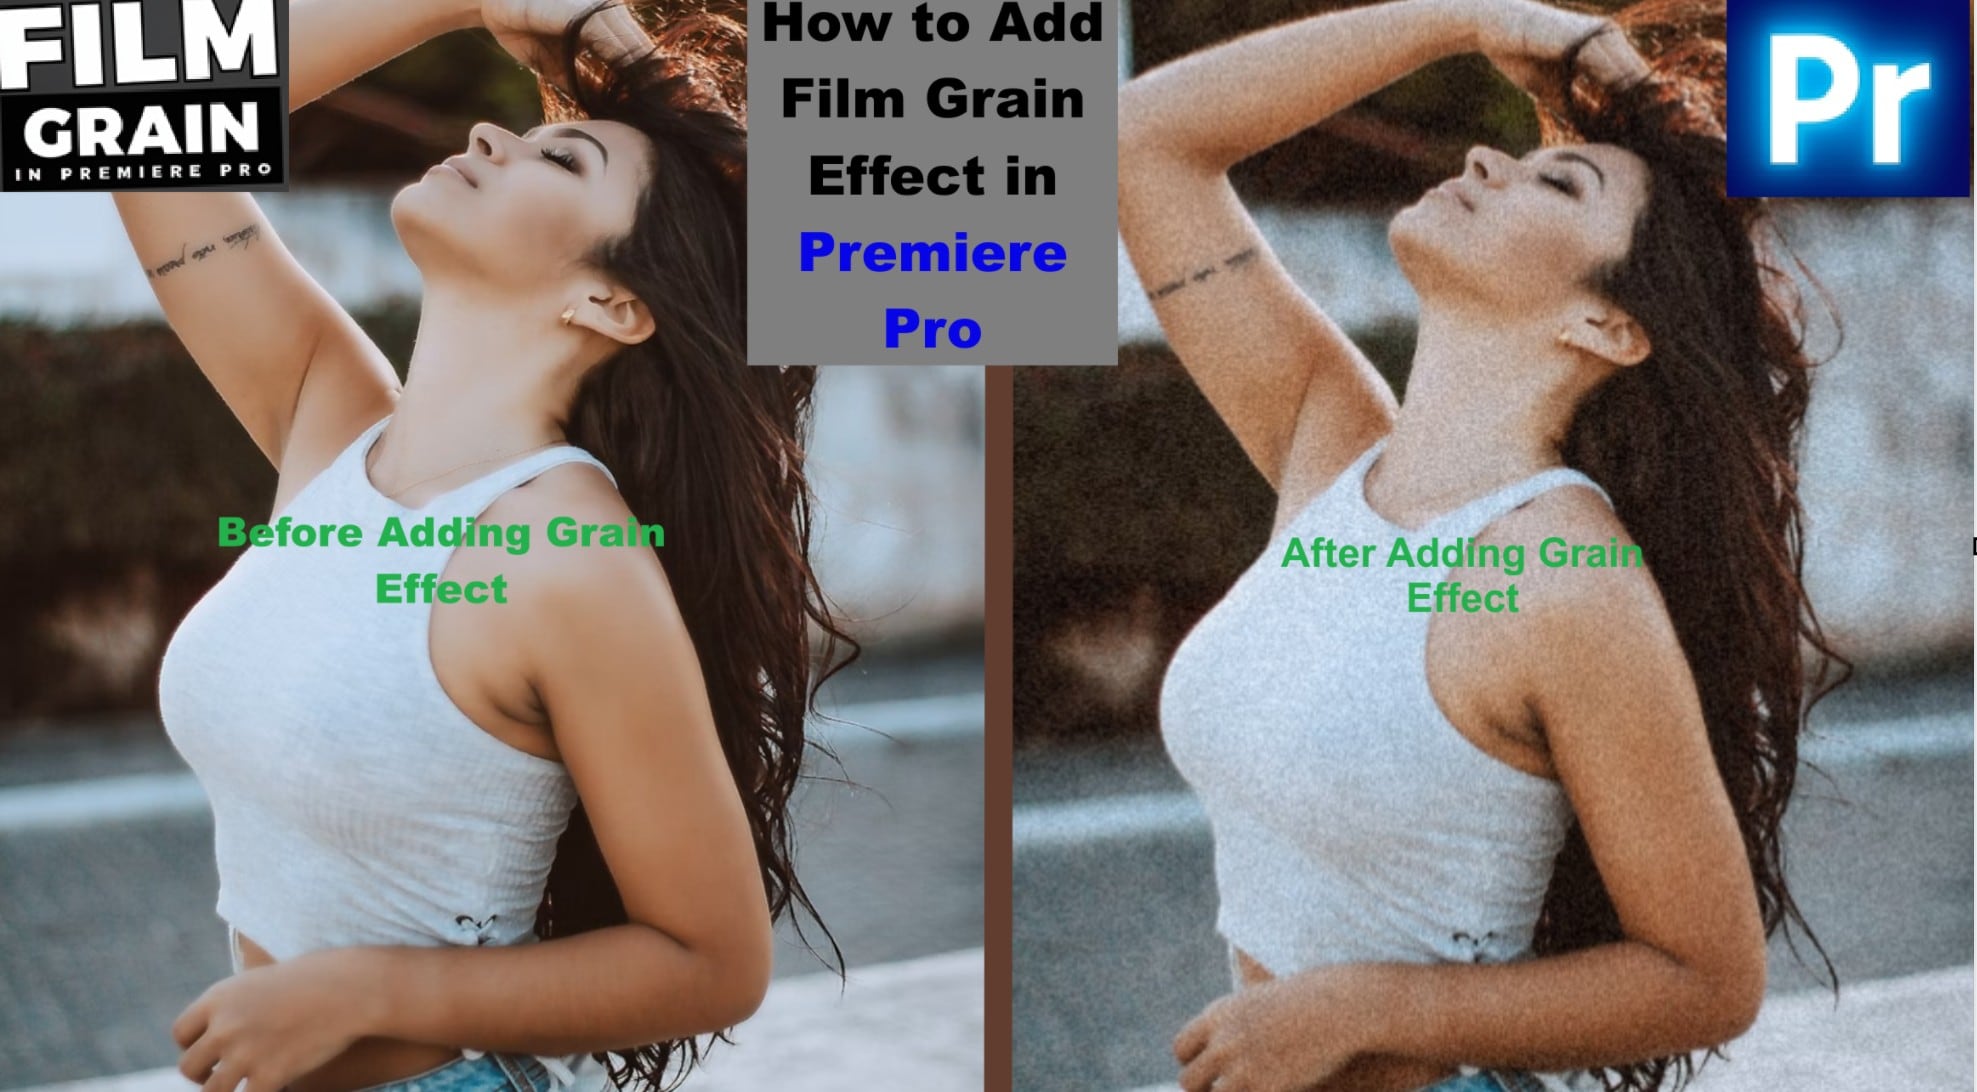
But here is the real deal: old movie styles carry a unique emotional and visual power that modern digital perfection often lacks. The texture and imperfection make shots feel organic and alive to viewers. When you add film grain to digital video, you summon that analog spirit, and it makes your footage captivating and engaging.
In many top tools, you can fake a film grain effect using different methods, and that is what you will discover in this article. Read on to learn how to add a grain effect in Premiere Pro.
Part 1. Film Grain in Premiere Pro: 2 Ways to Add Grain Effect to Your Videos
Old movies have a grainy or flickery look that feels unnatural compared to today’s smooth, high-definition footage. Achieving the iconic film grain effect in Premiere Pro is straightforward, and there are two primary methods to accomplish this. One uses built-in tools, while the other relies on overlays.
While both work, each has a distinct rhythm and level of control, and knowing both gives you the freedom to decide how deeply you want the cinematic texture to be incorporated. Below is how to get this done.
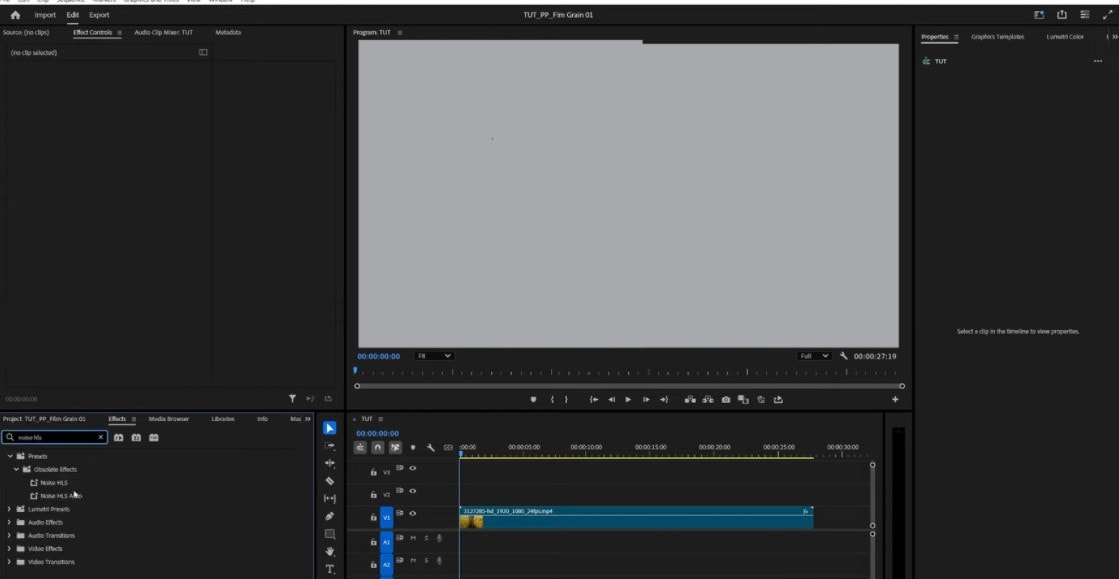
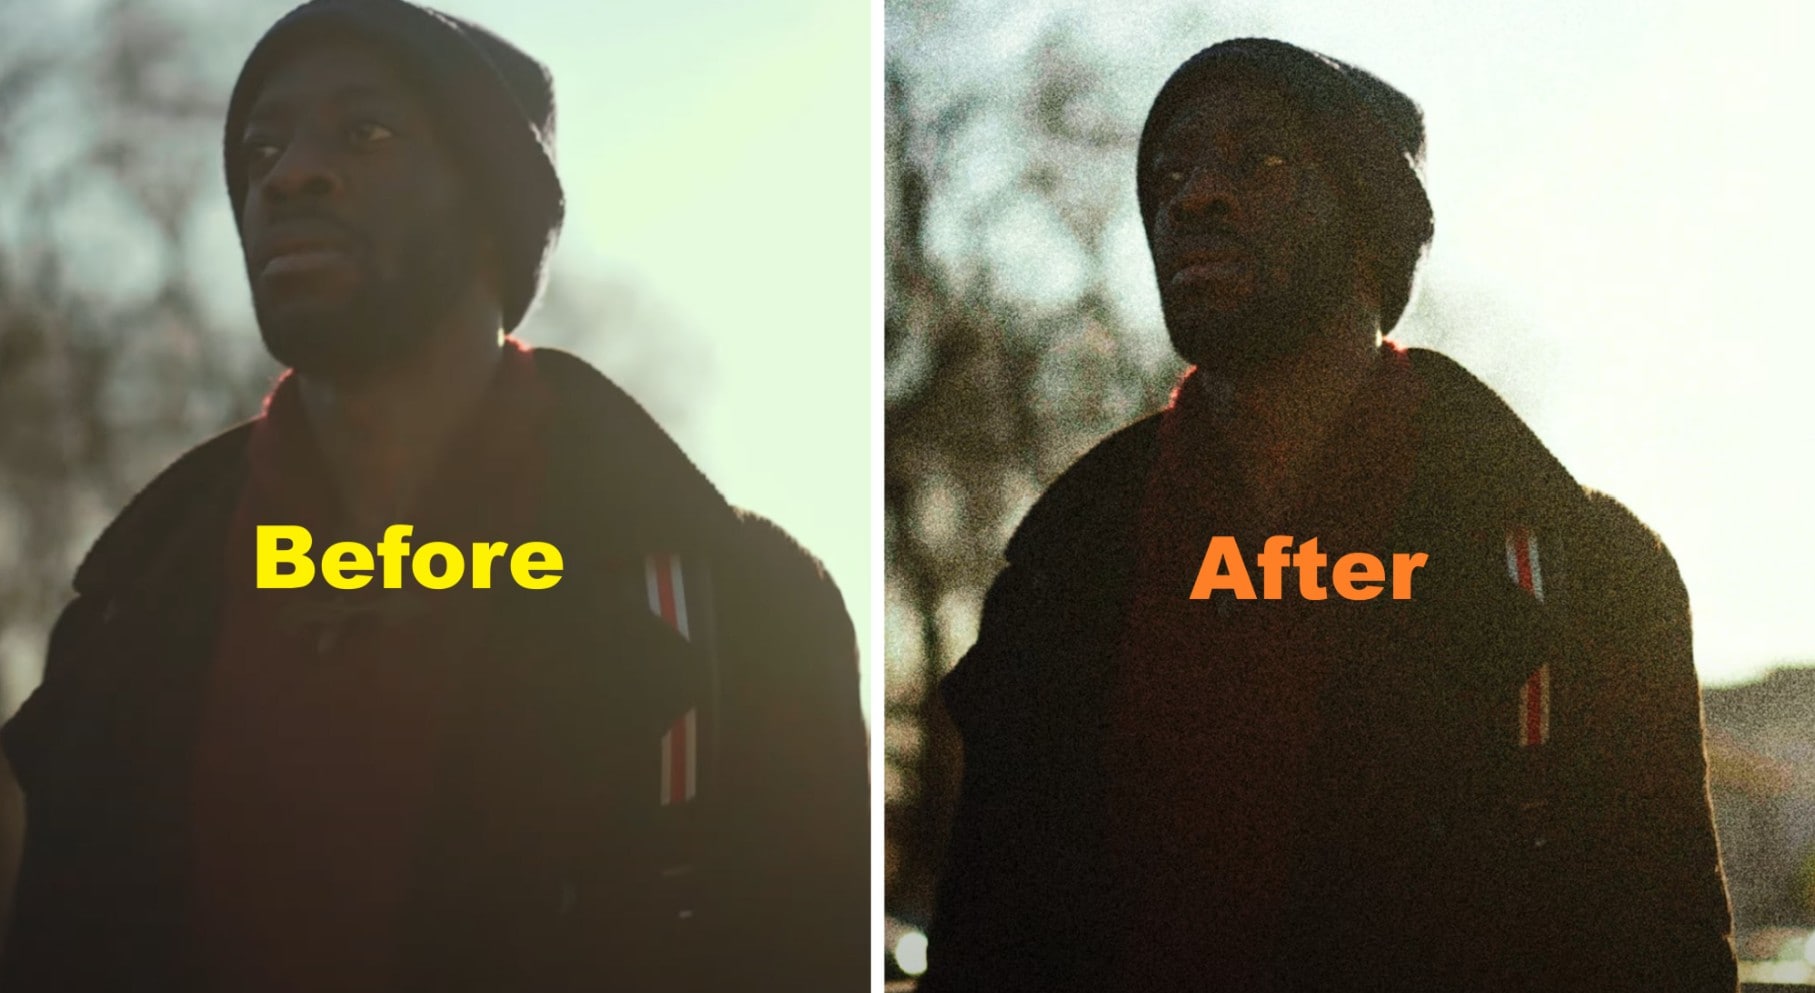
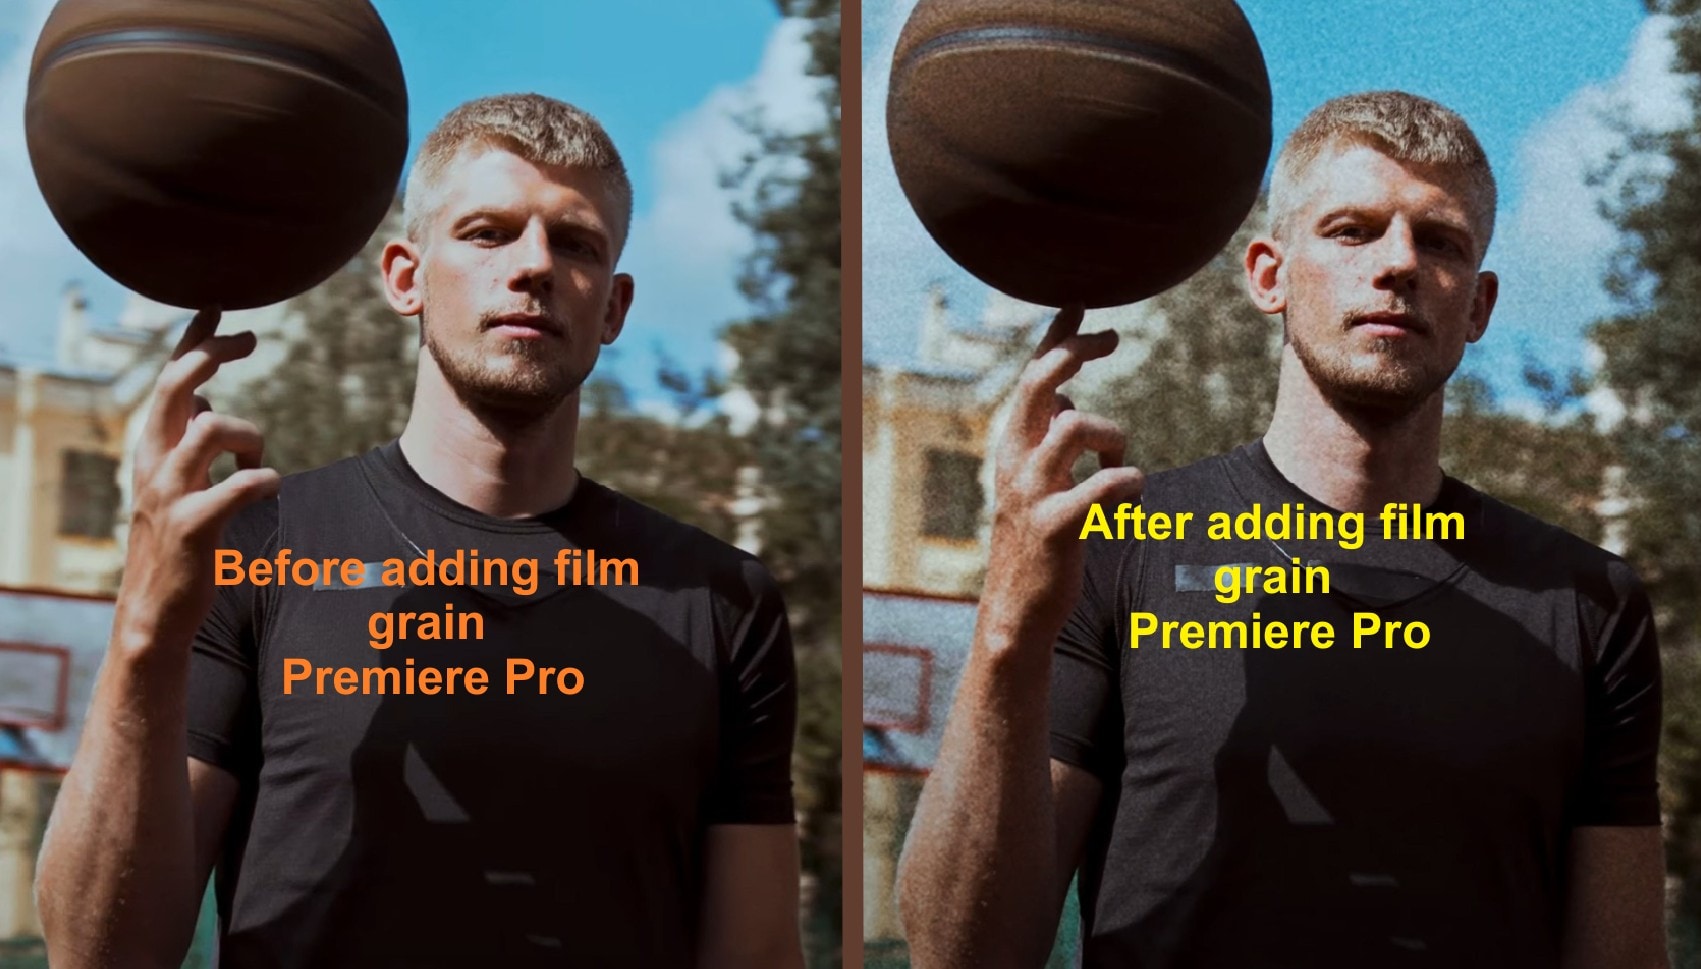
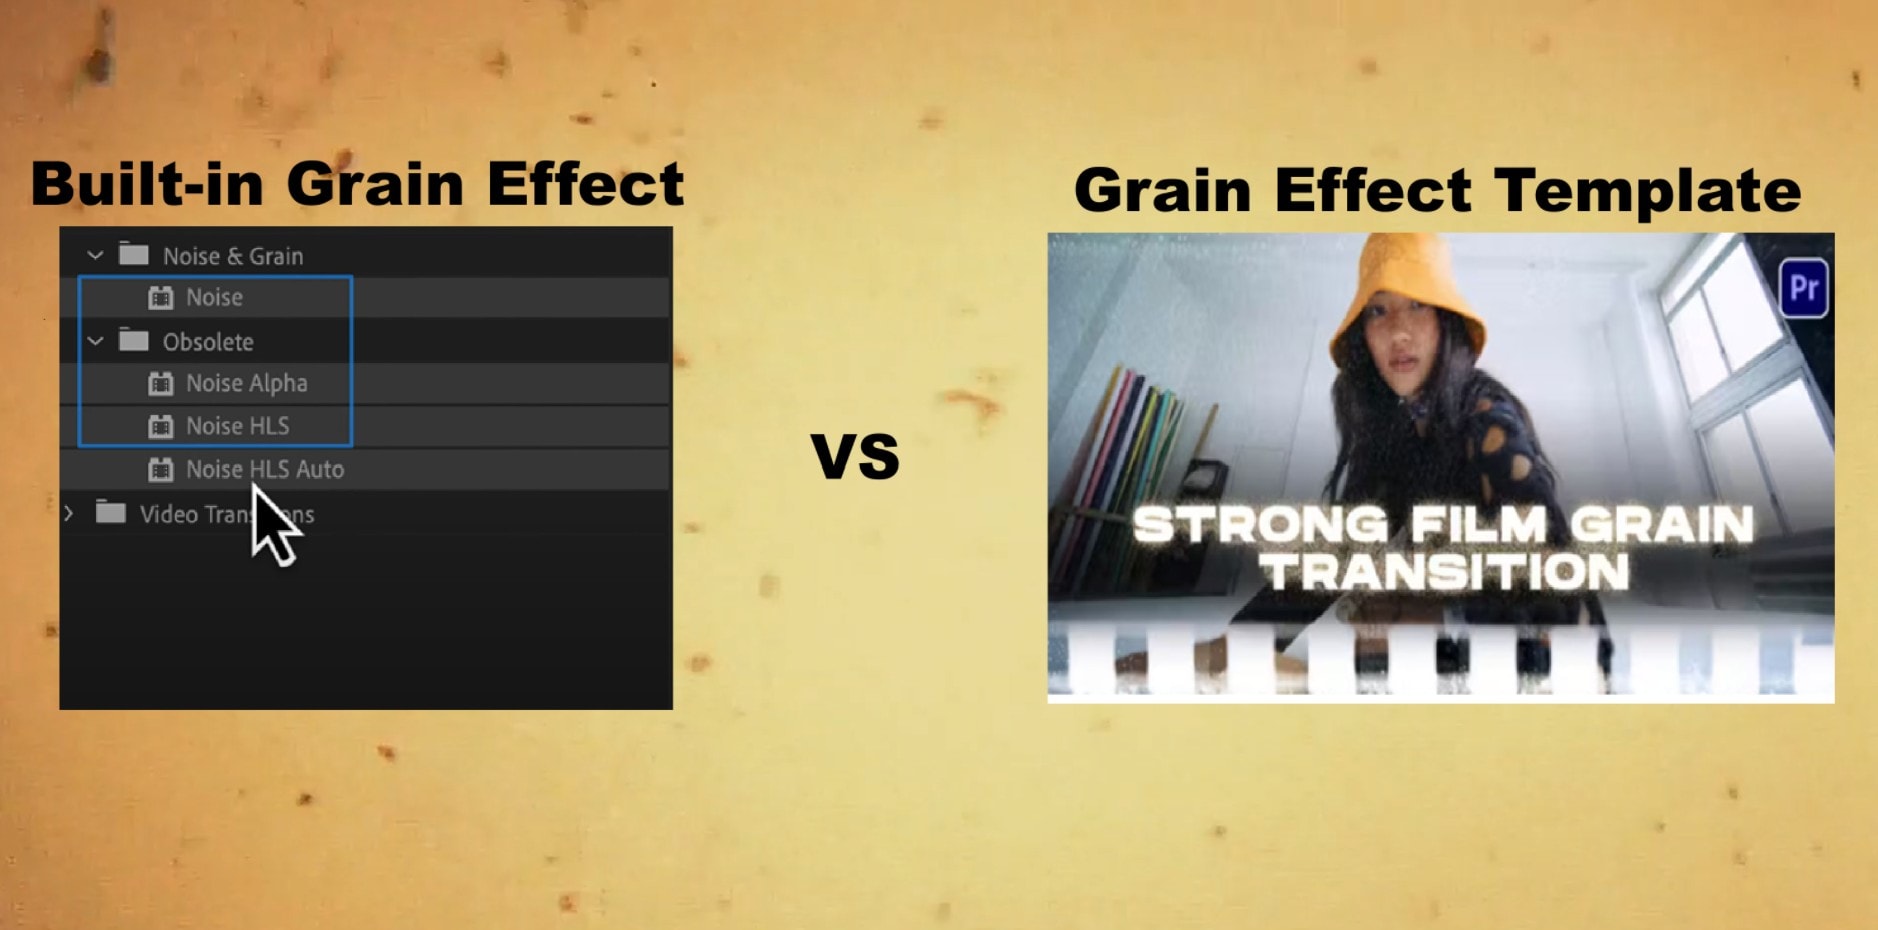
Method 1: Add Grain In Premiere Pro Using the Built-in Noise Effect
The easiest way to add a grain layer is by using the Noise effect. This feature inside Adobe Premiere film grain tools gives you a quick way to simulate subtle texture.
- Step 1: Download Premiere Pro and launch it, and import your clip into the timeline. Go to the Effects panel, and search for Noise and drag it onto your clip. In the Effect Controls panel, increase the amount between 4% and 8%.
- Step 2: Change the Opacity Blend Mode to Overlay or Soft Light. This helps the grain sit naturally across your highlights and shadows.
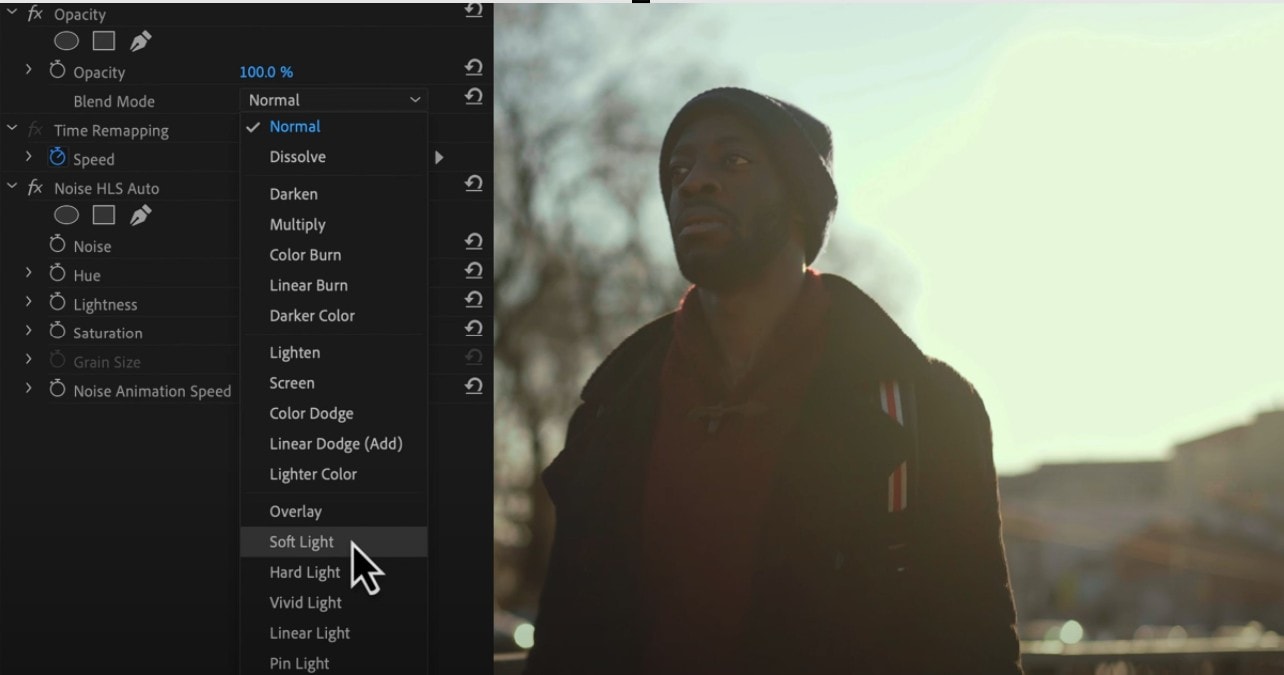
- Step 3: Set the Noise to Grain and adjust the settings if you want more impact of the grain effect. Save the image after.
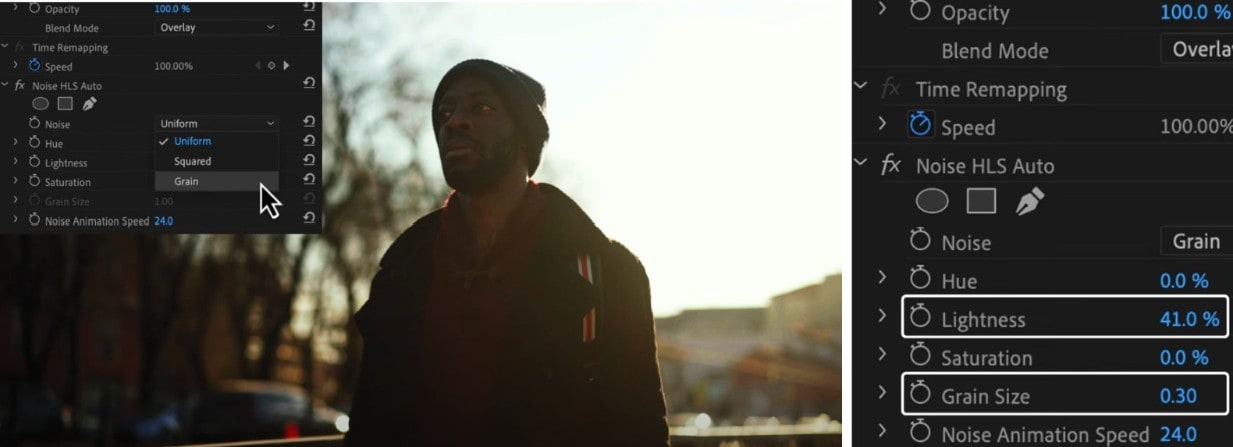
Image Preview
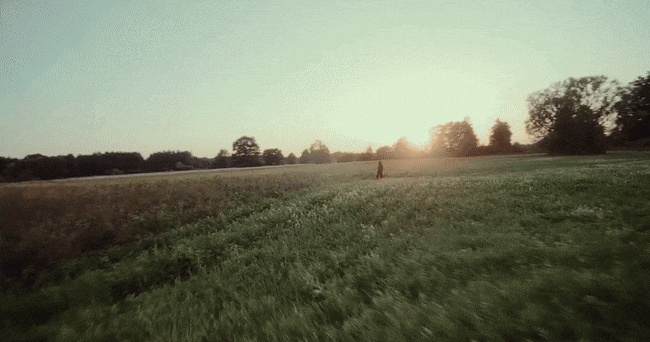
Method 2: Add Grain In Premiere Pro Using the Film Grain Template as Overlay
When using the second method, instead of generating grain through software, you place a film grain texture, often from scanned film stock, on top of your footage. Below is how to add grain in Premiere Pro using an external template.
- Step 1: Download a film grain overlay from a trusted source and import it into your Premiere Pro project. Place or drag it above your footage or video layer on the timeline.

- Step 2: Go to Opacity and change the Blend mode to Overlay or Soft Light.
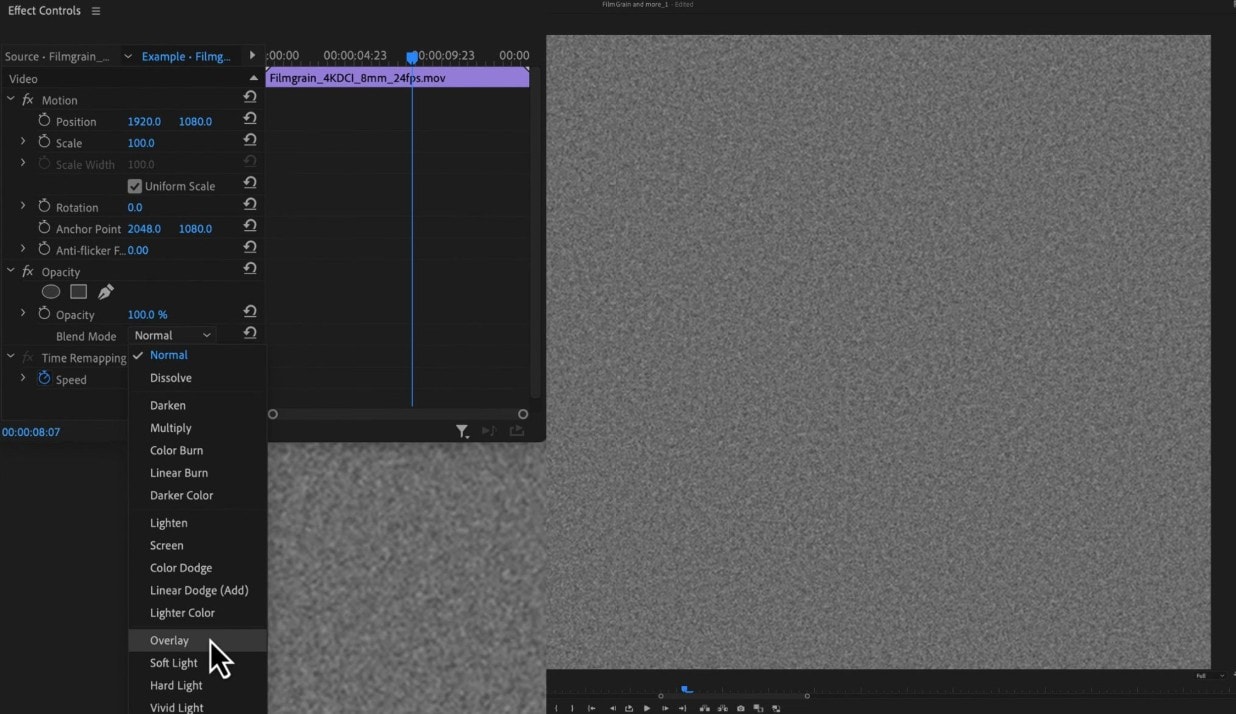
- Step 3: Preview the result. You can adjust the effects settings to have the grain result you prefer for your project.
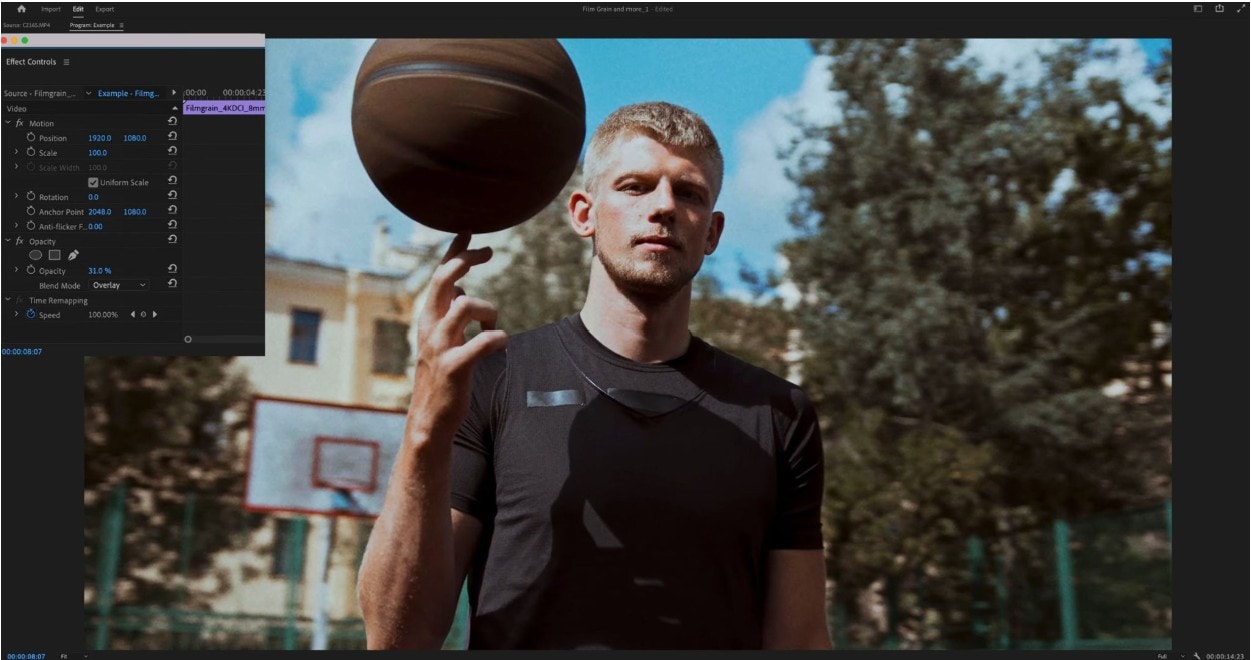
Image Preview
Top 5 Adobe Premiere Film Grain Overlays You Can Download Online
When you want to push your film grain Premiere Pro game further, overlays help. Downloading an external template means you're not generating grain, but you're layering real film texture. Below are examples of overlays to download when you want more control and realism than what film grain Premiere Pro offers.
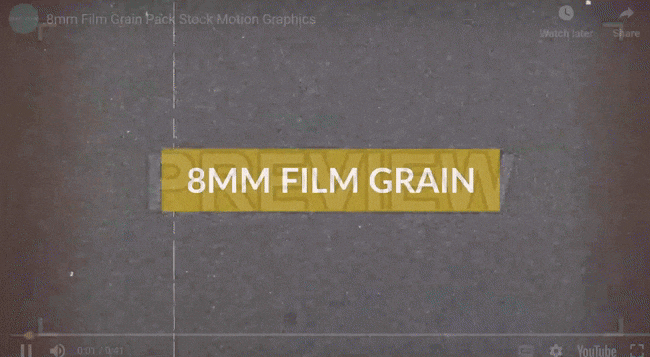
1. Vintage Retro Film Grain Dust 8mm Effect For DaVinci Resolve By aaapresets

This Adobe Premiere film grain pack offers grain, flicker, and dust effects that mimic vintage 8 mm film, giving footage a warm, nostalgic mood. Its design is optimized for reels, shorts, and TikTok formats with drag-and-drop usability in DaVinci or compatible NLEs.
2. Strong Film Grain Transitions Premiere Pro By whiterecord
This template pack includes different cinematic grain transitions designed for Premiere Pro, letting you cut between scenes with grain overlays. Each transition features built-in color customization and supports both 3840×2160 (4K) and 1920×1080 resolutions. The result is a gritty, stylized cut that adds texture without overwhelming the footage.
3. 8mm Film Grain Pack By Projectindio Motion Array
This pack provides an 8mm overlay grain effect for Premiere Pro users with distinct color schemes so you can match grain tone to your scene. The overlays are made for use in any video editor and intended to layer via blend modes for that analog look.
4. 10 4K (3840 x 2160 UHD) Grain Overlay
This overlay set offers grain effects rendered in full 4K, ensuring textures remain sharp even on high-resolution output. Because of its high resolution, it holds up under export to professional formats and larger projects.
5. Film Grain Effect By Alexey_P motionarray

This Adobe Premiere film grain pack is designed to work across resolutions, and you can adjust its opacity to match the strength of the texture you want. It preserves clarity in fine detail while adding mood.
Part 2: Built-in vs. Downloaded Effect: Which is the Best Way to Add Grain in Premiere Pro?
Choosing between built-in and downloaded options when adding film grain in Premiere Pro depends on the user and the project. The built-in Noise effect is fast and flexible. It lets you create a light texture without leaving Adobe Premiere Pro. This works best for simple edits, social media clips, and quick projects that need just a hint of film warmth.
Downloaded overlays, on the other hand, go deeper. They bring real scanned film textures into your workflow. You get moving particles, authentic imperfections, and color shifts that built-ins can’t fully mimic. Let’s compare them side by side.
|
Feature |
Built-in Noise Effect |
Downloaded Film Grain Overlay |
|
Ease of Use |
Simple and quick |
Requires download and import |
|
Customization |
Limited control |
Wide range of textures |
|
Cost |
Free |
Many are paid in packs |
|
Realism |
Artificial look |
Authentic film texture |
|
Setup |
Works instantly |
Needs blending and color matching |
Note: In some cases, using noise effects alters the image’s contrast and color, creating a grainy, textured look. However, the processing time for these effects and settings can sometimes cause lagging.
For editors who crave advanced grading tools, Adobe Premiere film grain overlays remain the top choice. Yet, creators who prefer staying within one app often depend on some other top software with ready-made filters.
Other Professional Tools Creators Use for Film Grain Effects

While film grain premiere pro tools are powerful, they are not the only option. Some tools keep everything simple and fast without spending extra time on downloads. One of the most used alternatives is Wondershare Filmora.
Filmora allows users to apply a similar grain effect in Premiere Pro within seconds. Since everything sits inside its effects library, from vintage dust overlays to fine-grain filters, you don’t have to install plugins or import large templates. You open your video, apply the film grain effect, and adjust the intensity. That simplicity is why beginners and professionals both enjoy it.
If you want fast edits with cinematic flair, Filmora makes sense. It’s more cost-effective than many external templates tied to Adobe Premiere film grain workflows. You save time, avoid plugin errors, and still get rich, analog charm.
 secure download

Part 3: How to Add Film Grain Effect in Filmora
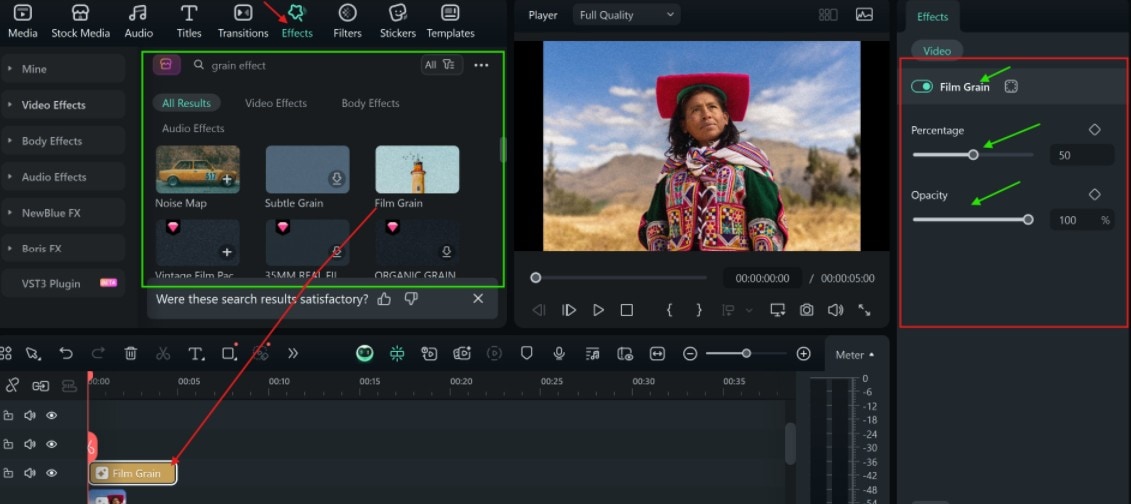
- Step 1: Open Filmora and import your video into the timeline. Select your clip, then go to the Effects tab and search for Film Grain.

- Step 2: Choose a film grain effect, drag it onto the clip, and on the right end, move the intensity slider to control the grain effect.
secure download
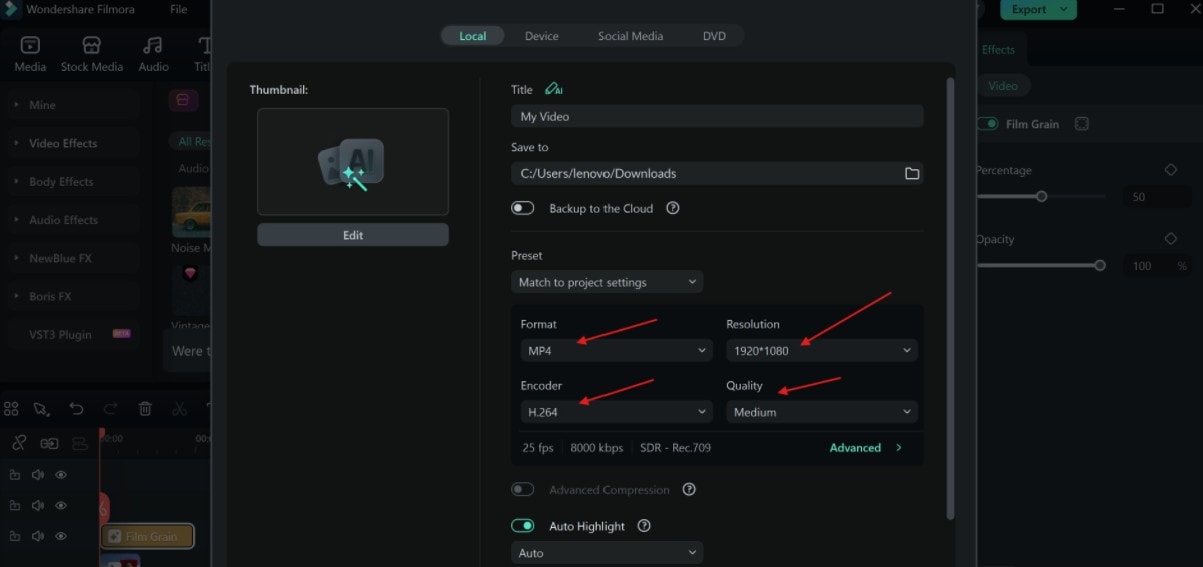
- Step 3: Export when satisfied. Remember to set the resolution.
Preview
Conclusion
Adding film grain in Premiere Pro is one of the easiest ways to give your footage cinematic warmth and texture. Whether you prefer the built-in Noise effect or authentic film overlays, the results can transform your project from digital clarity to movie-style artistry.
And for creators who want to skip the setup but keep the look, Filmora stands out with its one-click grain filters and visual effects. It’s a creative shortcut that still delivers the emotional, nostalgic tone that audiences love. So, whether you opt for Filmora or stick with Premiere Pro film grain tool, you’re one step away from making your digital videos timeless and engaging.
