
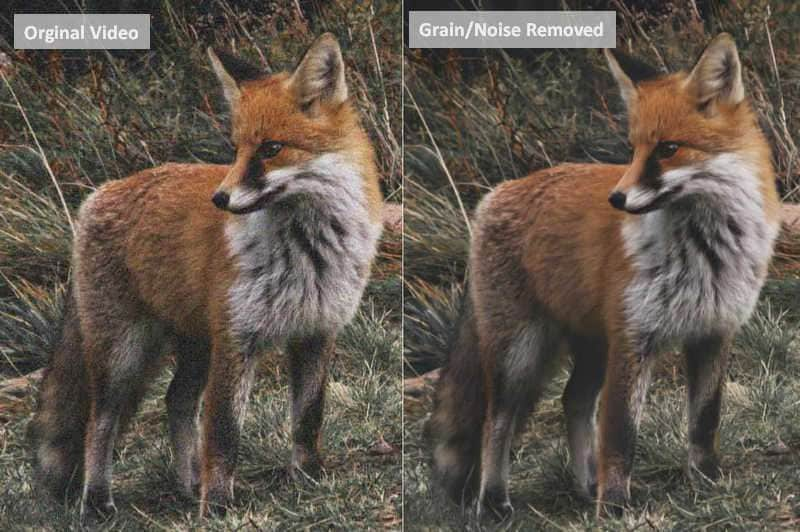
Have you recorded a concert, dear moments from a family get-together, or another event at night but ended up with a grainy video? Has someone sent you a clip via a messaging app, but it's pixelated and looks nothing like the original?
Don't worry; you can fix your favorite footage with many tools. Before we show you how to remove grainy video elements on a computer or smartphone, let's examine what causes visual noise or pixelation in videos.
In this article
Causes of Grainy Video Footage
If your video looks grainy, the following may be the culprits:
- Low video resolution – Shooting videos with low-resolution settings sacrifices details and clarity, making them pixelated or grainy.
- Incorrect camera settings – Low-light filming conditions require a wide aperture with a faster shutter speed to allow additional light through your camera lens and capture more detail. Shooting with a narrow aperture and a high ISO would make the footage grainy.
- Video compression – Whether compressing a video to save storage space or asking someone to send you a clip via a messaging app (they all compress files), you'll have a grainy video because compression downgrades video and audio quality.
Regardless of the cause of grainy video footage, you can resolve the problem with the tools below.
1. How to Fix a Grainy Video on a PC?
Wondershare Filmora is a professional video editor for Windows and Mac devices. Besides standard editing tools like color correction and LUT adjustment, it offers many advanced features that are ideal for content creators. Some include stabilization, motion tracking, keyframing, and silence detection.
The software's latest additions include AI-powered features like copilot editing and video denoise. The latter offers three modes to help you remove grain from videos, letting you preview the results before applying the changes.
The best part? It offers different ways to fix grainy videos; you can remove grain from videos with AI in simple clicks or apply the smart denoise effect. And it works on both Windows and Mac!
Method 1: Fix Grainy Videos with Filmora AI Video Denoiser
- Download Wondershare Filmora to your PC or Mac.

- Once you install and launch the software, register or log into your account and click New Project.

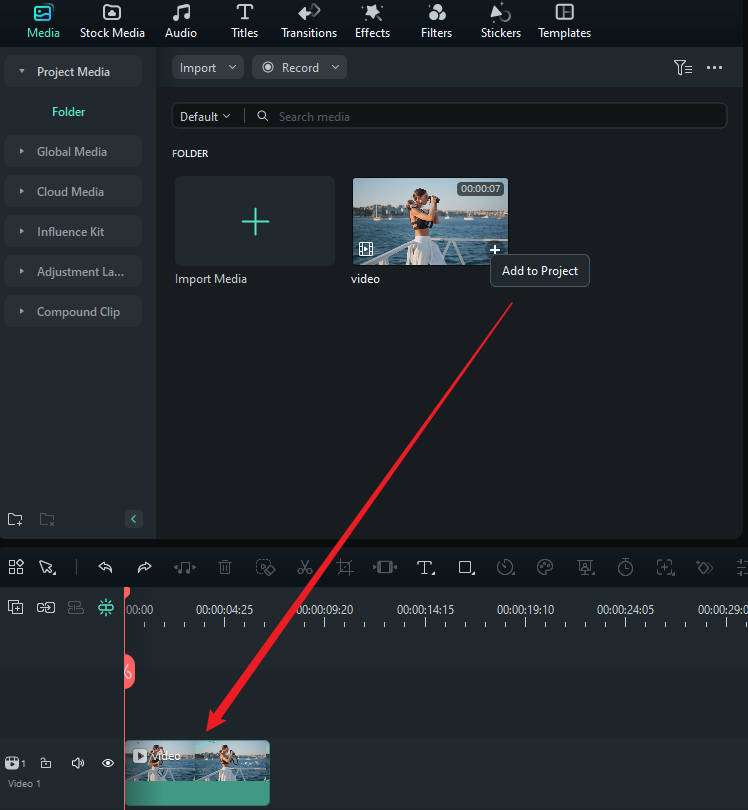
- Go to File > Import Media > Import Media Files and select your grainy video.

- Drag and drop the video onto the timeline and click to select it.
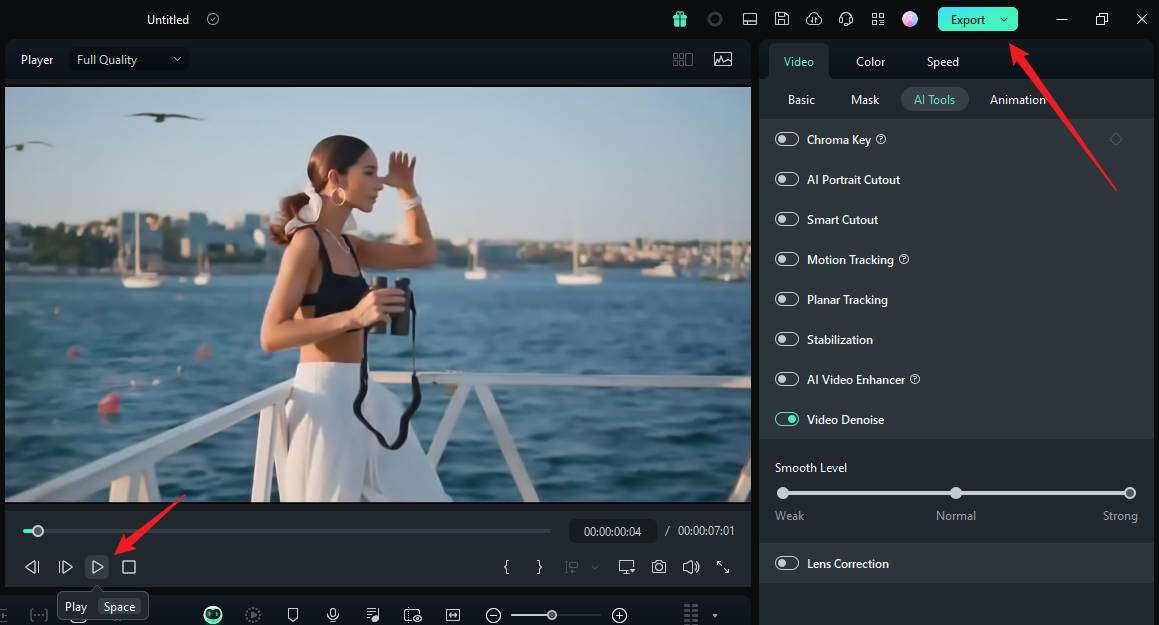
- Go to Video > AI Tools > Denoise in the right-hand Properties panel and choose from three customizable algorithms (Weak, Normal, and Strong) to reduce grain.

- Continue editing if necessary and click Export to save the grain-free video to your device.
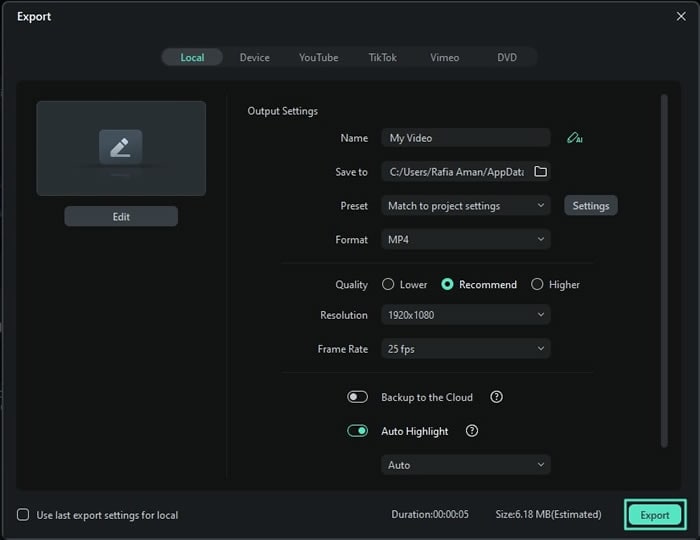
- Choose a location, format, quality, resolution, and frame rate, and hit Export. You can also directly share your video on YouTube, TikTok, or Vimeo.
Method 2: Fix Grainy Videos with the Smart Denoise Effect in Filmora
- Download and install Filmora on your computer. Then click New Project.


- After dragging the video to the timeline, go to the Effect panel > search Smart Denoise > apply it to the video.

- Adjust the parameters such as opacity, threshold, and radius accordingly.

- Preview the results and export the denoised video if you are satisfied.
You can try other methods to fix grainy videos or enhance video quality in Filmora, such as using color adjustments.
Want to make the video clearer? You can also try another powerful feature - AI video enhancer! Here is a video for your reference.
- 100+ advanced video editing features.
- Vast video/audio effects and creative assets.
- Powerful AI for effortless content creation.
- Intuitive, professional yet beginner-friendly.
- Works on Mac, Windows, iOS, and Android.

2. How to Remove Grain From Videos With Final Cut Pro [Mac]?
Final Cut Pro is another timeline-based video editor for Mac users. The latest version introduces AI features like one-click light and color enhancement and Smooth Slo-Mo for blending video frames and achieving seamless motion.
You can add and animate titles, apply transitions, use compositing, masking, tracking, and keying, insert captions, edit audio, group clips, etc. Furthermore, you can leverage audio and video effects, including noise reduction.
Here's how to fix grainy footage with Final Cut Pro:
- Download Final Cut Pro from the Mac App Store.
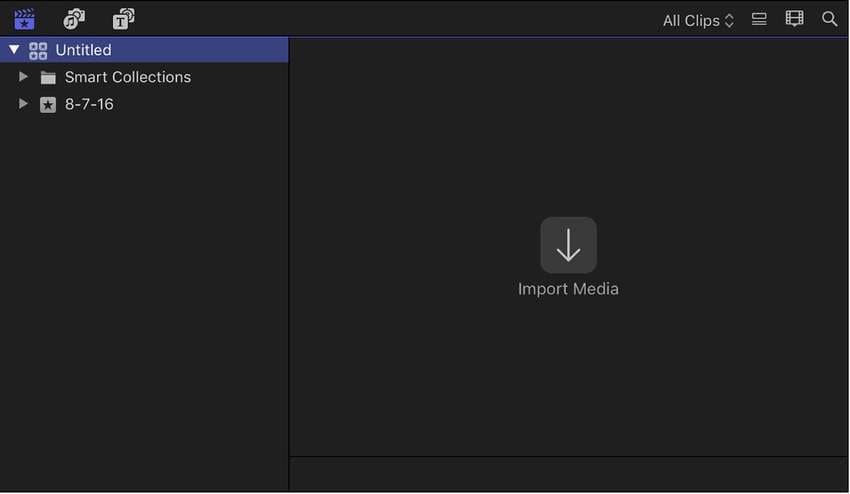
- Launch the program, click the Import Media button on the startup panel (or go to File > Import > Media), and select your grainy video.
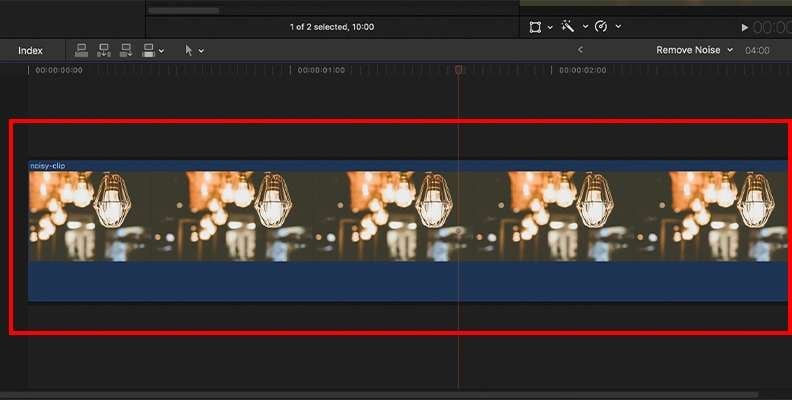
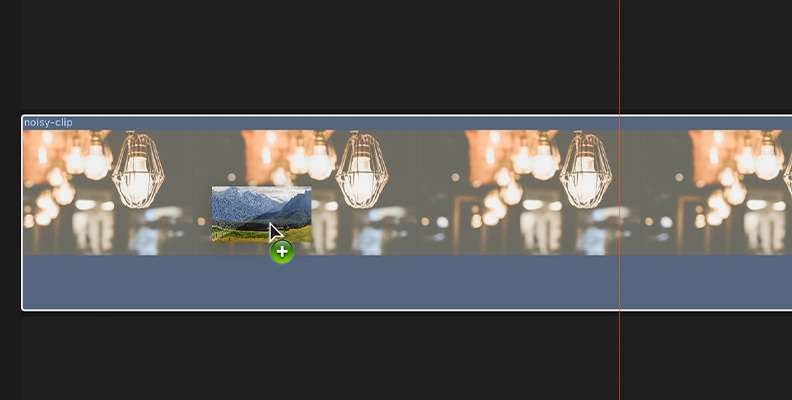
- Drag and drop the video onto the timeline and select it.
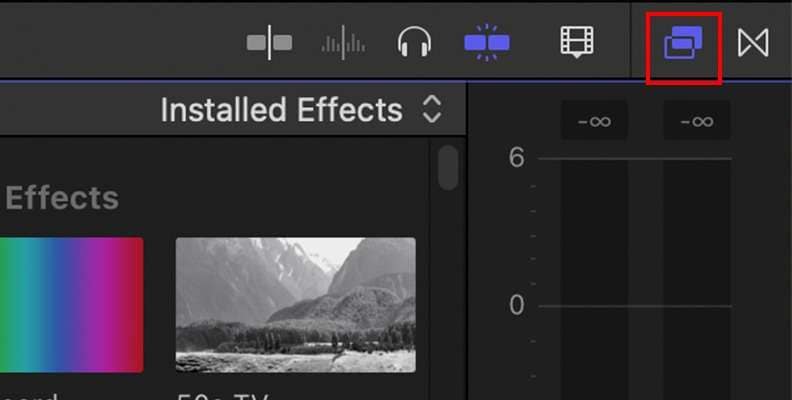
- Click the Effects button in the top right corner of the timeline panel.
- Find Noise Reduction (you can use search to locate it faster).
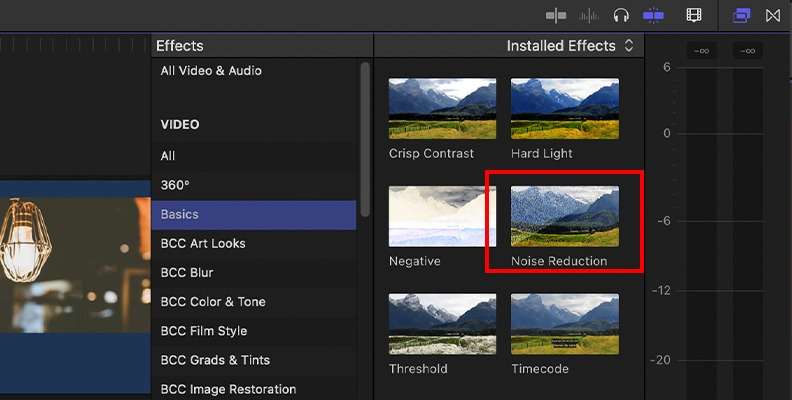
- Double-click the effect to apply it, or drag and drop it onto the video on the timeline.
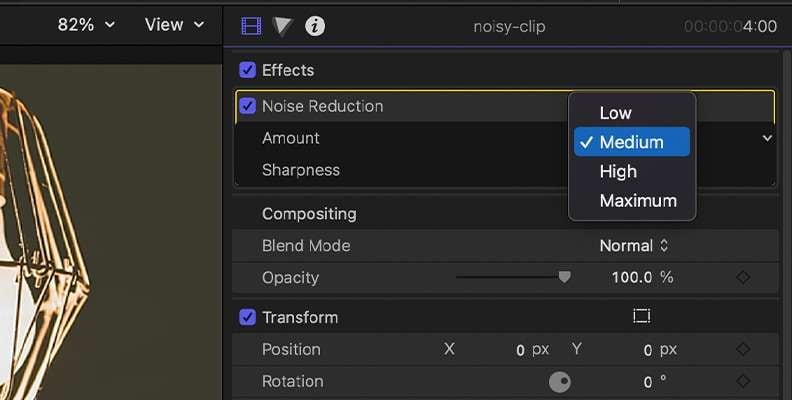
- Click your timeline video and expand the Amount drop-down list under Noise Reduction in the right-hand Video Inspector workspace. You can choose Low, Medium, High, or Maximum (the higher, the better).
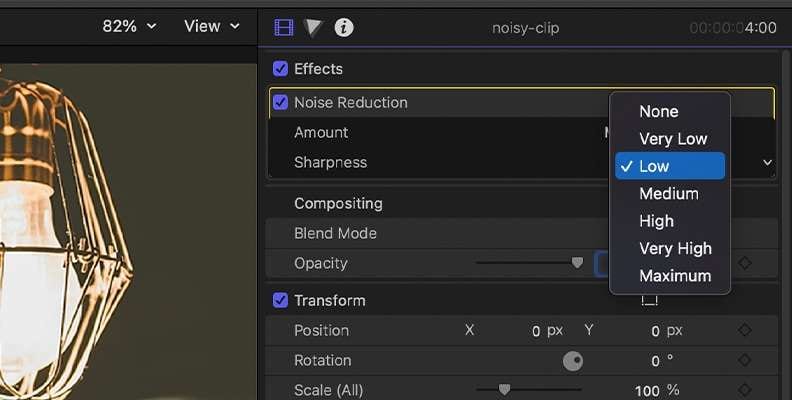
- Expand the Sharpness drop-down list, select a higher level (you can choose from Very Low, Low, Medium, High, Very High, or Maximum), and hit the Export button to save the video to your computer.
Looking for online free ways to remove grain?
3. How to Reduce Grain in Videos With the Photos App on an iPhone?
The Photos app on your iPhone may not have advanced features, but it's perfect if you don't want to download a third-party app. You can trim and crop videos, add filters, and make various adjustments, including reducing noise and correcting color, temperature, saturation, brightness, and sharpness.
Here's how to fix a grainy video on an iPhone using the Photos app:
- Go to Photos > Albums > Videos, open your grainy footage, tap Edit, and select the Adjust feature.

- Swipe to find Noise Reduction and increase it (preferably to 100). Then, boost Sharpness to 20–30, hit Done, and choose whether to save the video as a new clip or apply the changes to the original.

4. How to Fix a Grainy Video With PowerDirector on Android?
If you have an Android phone, you can use its built-in editor to fine-tune photos and videos. However, its limited features make third-party apps more inviting. An excellent option is CyberLink's PowerDirector, a professional video editor with AI tools.
It offers 18,000+ customizable video templates and lets you use the green screen, stabilize shaky footage, and add animated titles and effects. You can also create intros and outros, combine clips, and use many standard editing tools like cropping, cutting, splitting, rotating, trimming, and speed and color adjustment.
Here's how to reduce grain in a video using PowerDirector on Android:
- Download PowerDirector from the Play Store.
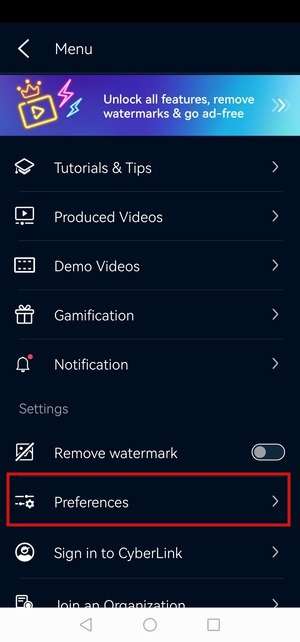
- Launch the app and open the main Menu (the hamburger icon with three horizontal lines).

- Go to Preferences.
- Tap Change UI Edit Mode.
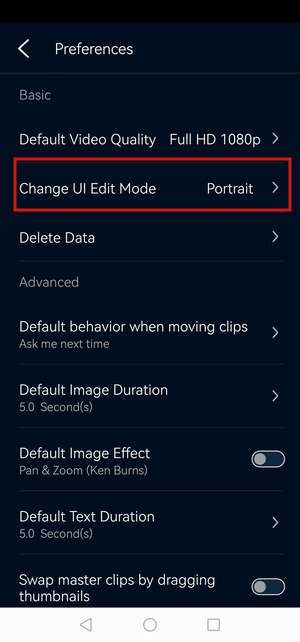
- Tap Auto-rotate to edit videos in landscape mode seamlessly. Otherwise, you're stuck with the portrait UI, which can be inconvenient when editing footage with a 16:9 ratio.

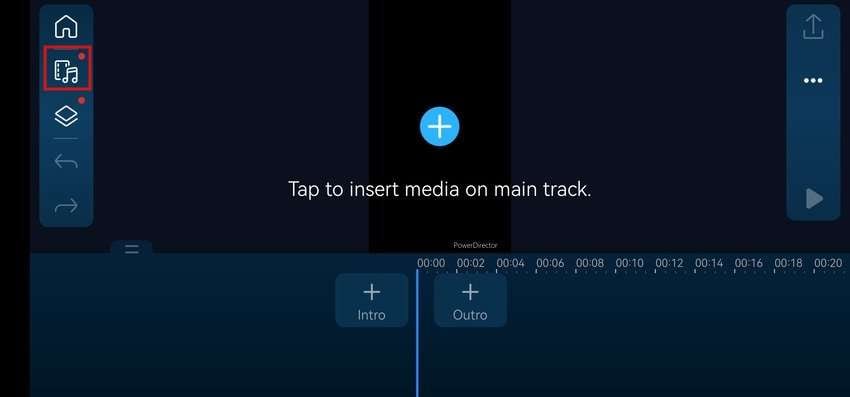
- Return to the main interface and tap New Project.

- Tap to insert your grainy video or hit the Media icon.
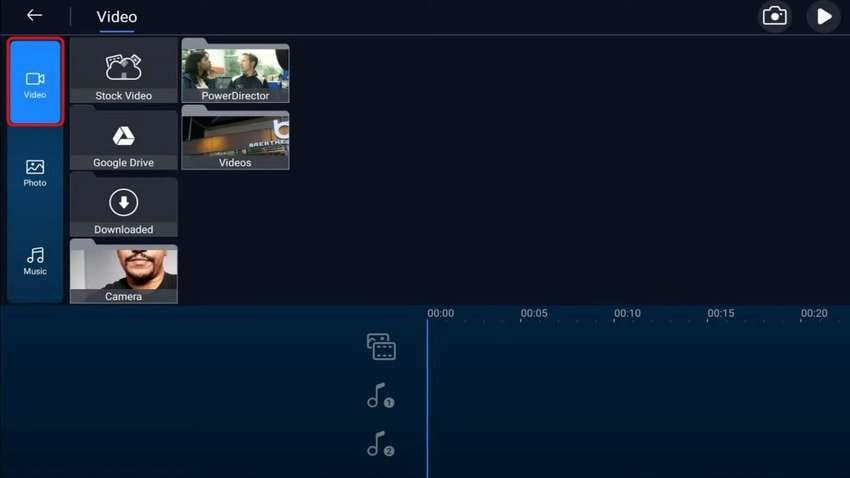
- Choose a location under Video. It can be a folder on your phone or Google Drive.
- Tap a video to select it and hit the Plus button.
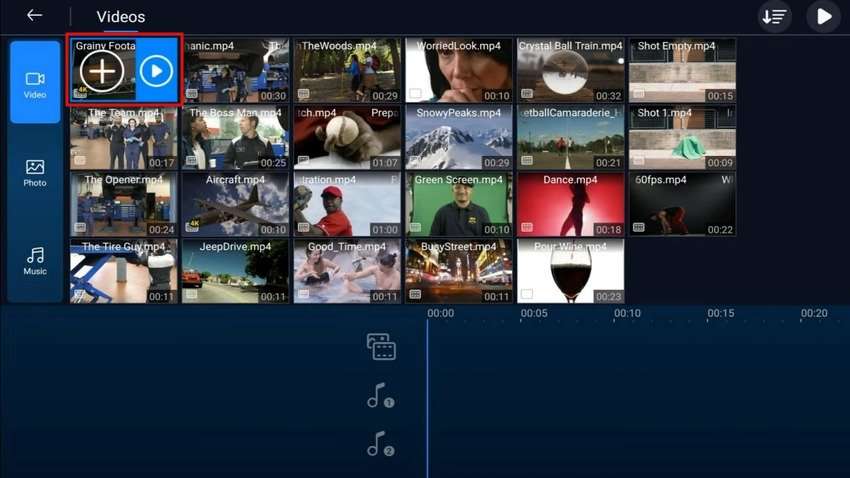
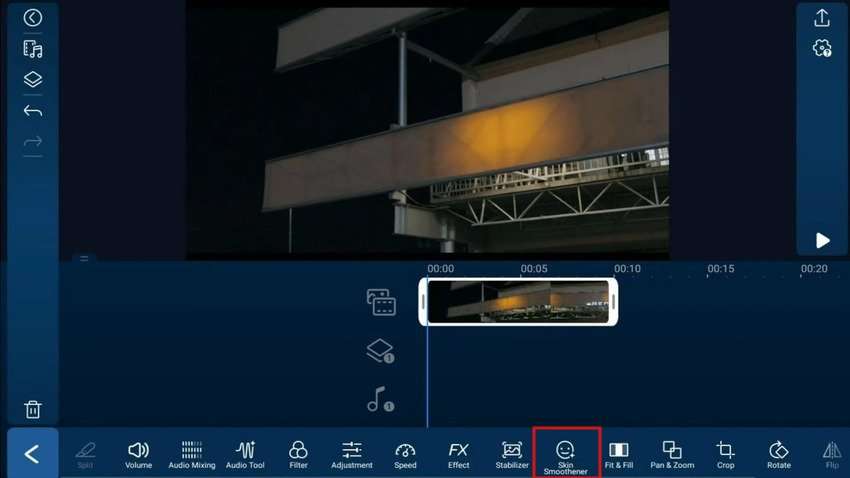
- PowerDirector will automatically add the video to the timeline. Tap the clip to reveal the editing options and find Skin Smoothener. It doesn't matter if your video has no faces; the feature will help you reduce visual noise.
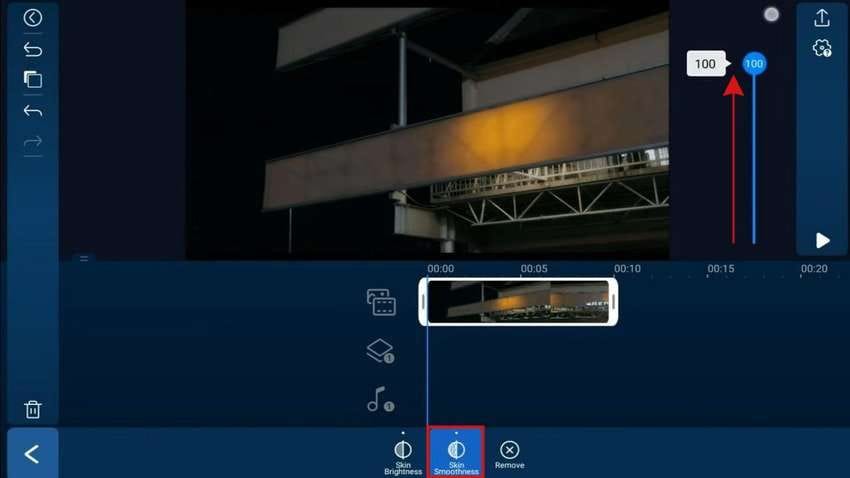
- Use the Skin Smoothness tool and drag the slider to increase the level to 100.
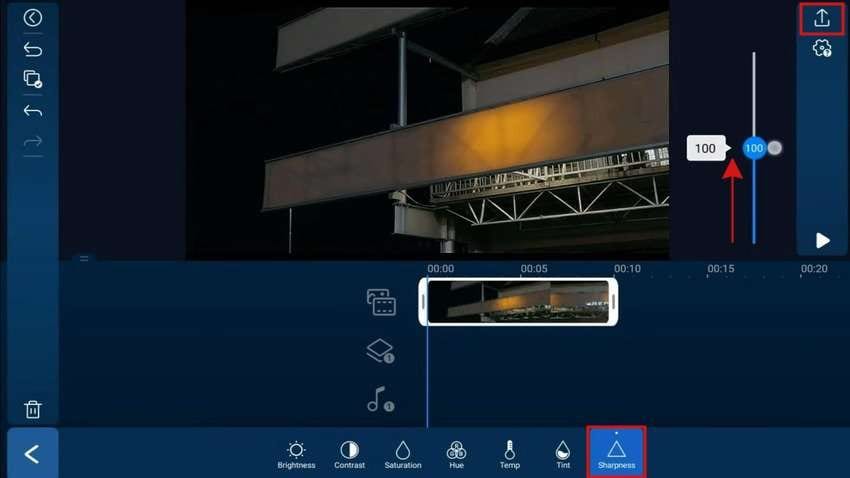
- Return to all editing features and choose Adjustment.

- Tap Sharpness, increase it until you reach the desired level, and hit the Export button.
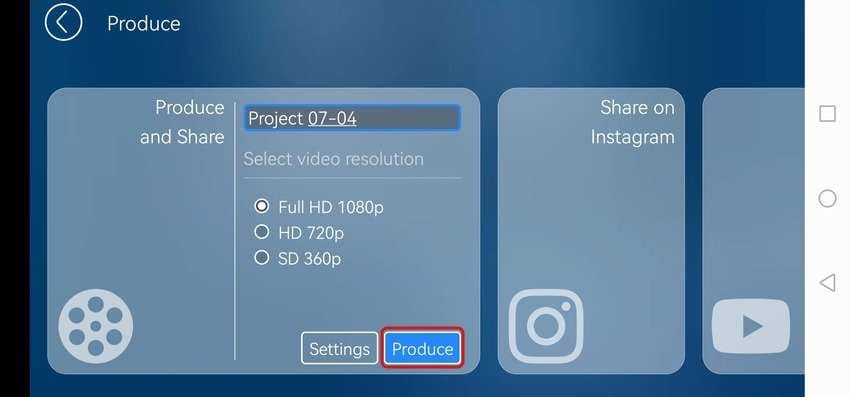
- Name your project, choose a resolution (Full HD is the maximum for free users, while premium users can save videos in 4K), and tap Produce. You'll have a grain-free video in your Gallery within seconds. You can also share it on Instagram, YouTube, and Facebook.
Bonus Tip: Best Plugin for Removing Grain From Videos
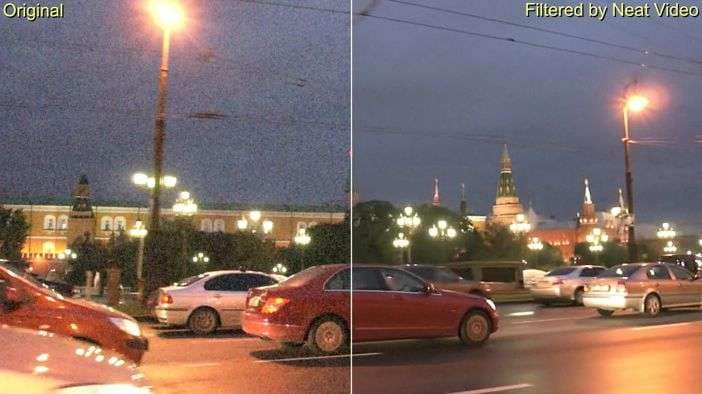
Many video editors, such as Final Cut Pro, are compatible with third-party plugins to improve grainy video quality. Neat Video is an excellent example.
It's a video plugin for reducing grain, jitter, flicker, film dust, scratches, digital artifacts like impulse noise, and other imperfections. It's perfect for low-light videos, time-lapse videos, RAW videos, CGI renders, and video clips from old cameras.
You can add Neat Video to Adobe Premiere Pro, Adobe After Effects, Final Cut Pro, DaVinci Resolve, Media Composer, Edius Pro, VirtualDub, OFX hosts, and several Magix programs (including Magix Vegas apps).
Conclusion
The best way to prevent grain in videos is to record in optimal light and use the correct camera settings. However, shooting in low-light conditions often means working with grainy footage. Fortunately, you can remove grain from videos with many apps.
The built-in Photos app is a no-brainer for iPhone users, while PowerDirector is a superb choice for their Android counterparts.
As for desktop software, Final Cut Pro is an excellent option, but only Mac users can enjoy it. If you want a one-click video denoise option to fix grainy videos, try Wondershare Filmora. It's available on Windows and macOS and offers many more advanced features, including cutting-edge AI.
