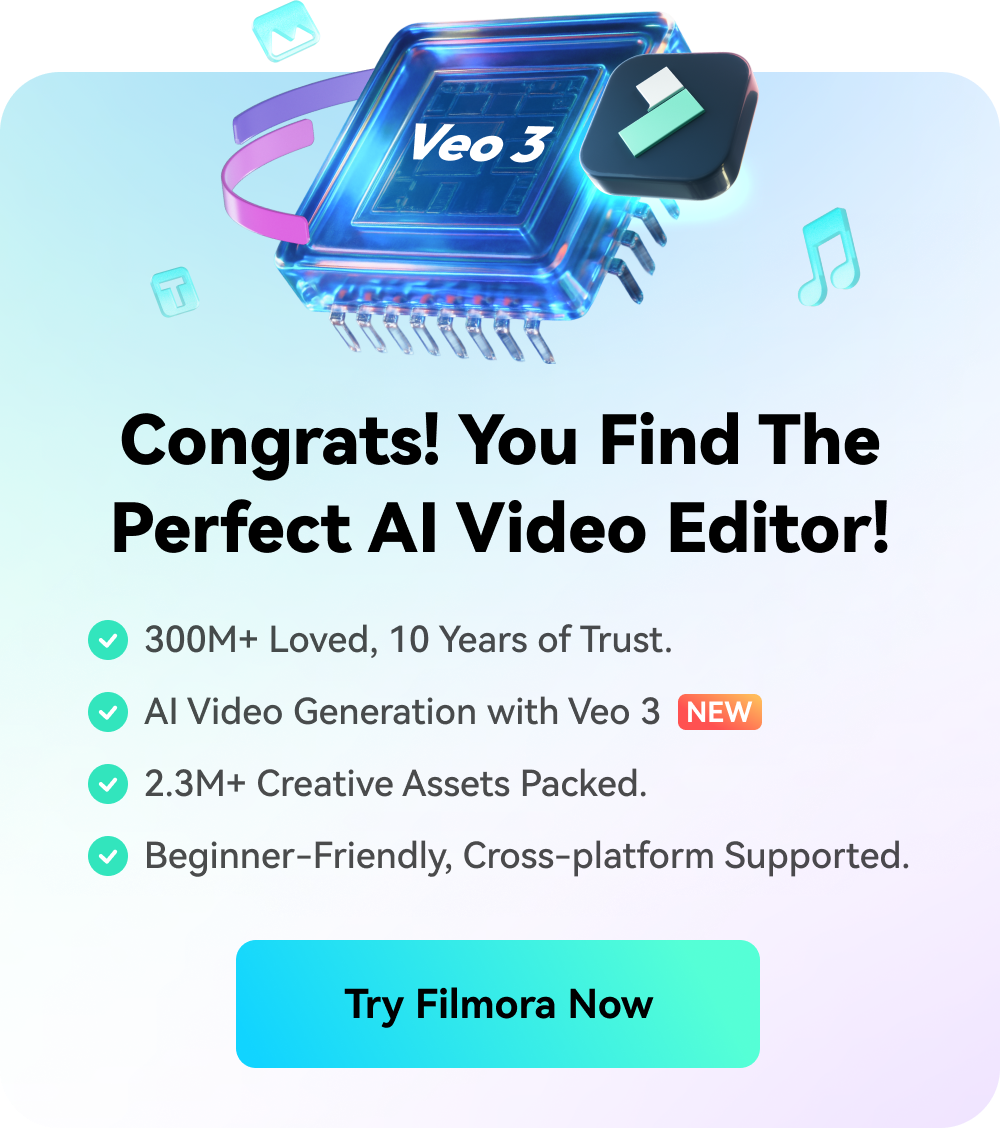
Filmora 14
More AI, Videos in Less Clicks
Bring AI-powered efficiency and simplicity to your everyday editing.
WATCH THE VIDEO


Where Filmora 14 begins
Simpler Steps, Richer Results

G2 Crowd
2025 Spring Leader

Shorty Awards
Best in Photo and Video

GetApp
Video Editing Leaders
When Creativity Pops out
Various Styles, Countless Assets
Create personalized assets with our all-new suite of Filmora AI.
Let the ever-growing resource collection grow your dream.
Let the ever-growing resource collection grow your dream.
Discover all the latest and trending assets in Filmora's Assets Center


What’s Revolution Filmora 14 Brings
New AI Features, New Video-editing Journey
Whether you're a beginner or an expert, Filmora 14 unlocks new possibilities for visual storytelling and effects, taking video editing quality to the next level within your breath.


What’s More
Find Master Tips and Growth
Insights on Our Community


Cameron Mayhill
US Director
I truly appreciate the ability to merge multiple short videos together to create something magical. This feature allows me to take several clips, each showcasing unique moments, and combine them into a single, cohesive piece of art. By merging these short videos, I can enhance storytelling and capturing a range of emotions.
Kriti Agarwal
Content and Film Programmer
I use this software on a daily basis to edit my company's videos. Unlike most video editing software, Filmora rarely lags, making it an excellent choice for everyday use. Editing techniques like zoom, pan, and duration, which often take minutes or even hours to figure out in other software, can be done with just a click of a button in Filmora.
Michael Espiritu
Graphic Designer / Web Developer
It has a built-in screen recording feature, which was very useful for my last project. The interface is visually appealing and easy to use. The ability to record in high definition greatly benefited my project. Additionally, downloading the screen recordings is free.
Sayani Karmakar
Prep Artist
I really like the software interface, and the editing process is fun and easy as well. The output quality is excellent, and the variety of templates is very easy to work with. It uses a drag-and-apply method and even supports CUDA-based rendering. It solves beginners' editing needs, allowing them to edit easily and fluently without much effort.
Teerath Pehlaj
Frontend Developer
Filmora stands out for its simplicity compared to most editing programs. Essential tools like rotate, merge, trim, divide, crop, Green Screen, Audio Mixer, and AI Video Enhancer and AI Portrait Cutout are all easily accessible. You can save your video in any format and at any desired resolution.
Rogelyn Torrejano
Coordinator at The CMO Network
Filmora feels like a personal Swiss Army knife for editing in my toolbox. It's ideal for quick social media edits, with an intuitive interface and drag-and-drop functionality that make piecing clips together effortless. It strikes the perfect balance between user-friendliness and power, making it a great choice for video creation.
Sameer Pai
Consulting Director
The software offers affordable pricing, frequent updates and improvements, and a user-friendly interface, along with an extensive collection of effects, transitions, and overlays; it provides Smart Short clips with super quick rendering and instant templates, making it ideal for YouTube, Instagram, and other social media videos.
Farid Minawi
Physics Teacher
The intuitive and straightforward user interface reveals the powerful mechanics of professional video editing. I often use this software to create rich educational tutorials that require illustrative clips. While it may not be Adobe Premiere, it allows you to produce attractive video clips without needing technical courses or extensive tutorials.
Roszaimy Yaacob
Senior Instrumentation Control Engineer
I am not a professional videographer or video editor, but my work often requires me to submit screen recordings with sensitive information blurred out to maintain confidentiality. While it's easy to handle this with static photos, options for 3-5 minute screen recordings are limited. After researching various solutions, we chose Filmora.
Belinda Mugambi
Digital Marketing Consultant.
Wondershare Filmora is easy to use for a beginner with an intuitive interface that allows you to manage your project from start to finish. Compared to other platforms the elements are well categorized and easy to find.
Trusted by Top-Tier Media Sites Worldwide

Have Any Questions?
Why should I choose Filmora Video Editor?
Millions of creators choose Filmora as their go-to video editor. It’s not only easy to use but also offers over 10 million built-in stock media assets and a wide range of professional-level video effects to elevate your content. Filmora provides a full suite of features designed for both professionals and enthusiasts. With custom templates, AI-powered automation, and one-click drag-and-drop editing, users can enjoy effortless editing solutions while creating stunning videos.
Can the resources of Filmora be used for commercial purposes?
The commercial usability of resources in Filmora varies based on two categories: AI-generated and non-AI-generated. For AI-generated resources, such as AI Music labeled "Commercially available," they are suitable for commercial use. However, resources like AI image, stickers, text to video, and AI-generated sound effects are for non-commercial use due to uncertainties in the commercial status of their training materials.
Regarding non-AI resources, those labeled "commercially available" in Filmora (music, sound effects, transitions, effects, filters, stickers) are permissible for commercial purposes.
Regarding non-AI resources, those labeled "commercially available" in Filmora (music, sound effects, transitions, effects, filters, stickers) are permissible for commercial purposes.
Does Filmora support Metal rendering?
Filmora for Mac has introduced Metal rendering support, leveraging Apple’s advanced graphics technology for significantly improved video editing performance. Metal is designed to provide high-efficiency access to the GPU, enabling smoother playback, faster rendering, and an overall boost in productivity for video editors.
By integrating Metal rendering, Filmora aligns with macOS's native capabilities, ensuring compatibility with the latest Mac hardware and software updates. Whether you’re working on 4K videos, animations, or advanced visual effects, this enhancement empowers creators with a seamless and efficient editing workflow.
By integrating Metal rendering, Filmora aligns with macOS's native capabilities, ensuring compatibility with the latest Mac hardware and software updates. Whether you’re working on 4K videos, animations, or advanced visual effects, this enhancement empowers creators with a seamless and efficient editing workflow.
Can I export videos directly to YouTube from Filmora?
Yes, Filmora has an option to export videos directly to YouTube with an integrated "YouTube Upload" mode that compresses videos according to YouTube's recommended settings. Moreover, the Social Video Planner can enable you to schedule your video in advance, allowing for consistent and timely distribution of your videos without needing to be online at the time of posting.
I purchased Filmora from the Google Store or the Apple Store, but why can't I get authorization after logging in?
If you purchased Filmora from a third-party platform such as the Google Store or the Apple Store, please first log in to the software with your Google or Apple account. In addition, if you need a refund, according to Google Play's policy, all applications purchased from Google Play or Apple Store are managed and processed for refunds by Google Play or Apple Store. Therefore, we recommend that you contact Google or Apple's customer service team directly so that they can assist you in processing your refund.
Does Filmora support GPU acceleration?
Yes, Filmora supports GPU acceleration, which speeds up video rendering and editing processes for compatible systems.
What formats does Filmora support for video export?
Filmora supports a variety of formats, including MP4, MOV, AVI, MKV, MPEG, and more. You can also export in specific formats optimized for social media platforms like YouTube, Instagram, and Facebook.
Get Started With
Filmora Today
Bring AI-powered efficiency and simplicity to your everyday editing.
Hear From Them Talking