
 100% Security Verified | No Subscription Required | No Malware


 ChatGPT
 Perplexity
 Gemini
 Claude
 Grok
Grok
Picture-in-picture (PIP) refers to a video editing technology that involves layering one video or picture on top of another hence creating a special effect that does not detract from the main content. It is mainly in tutorials, reaction videos, video blogs – vlogs – and even product demos where it is necessary to convey as much content to the audience as possible at once.
Final Cut Pro (FCP) is one of the most widely used video editing tools around the globe and considered as professional software. This software provides a number of PIP tools which are versatile and can be configured and provide complex and compelling effects.
In this article, we will go more into how to construct Final Cut Pro picture-in-picture effects and some easier and more user-friendly PIP creation alternative tools for editors of any skill level.
In this article
Part 1: How Final Cut Pro Picture-in-Picture (PIP) Plugins Works?
Some users find it difficult to create long and advanced level PIP videos using FCP and this is where the role of PIP plugins for Final Cut Pro comes into the picture.
There are so many plug-ins available in the market specifically for Final Cut Pro platform and all the plug-ins are unique with marvelous tools and capabilities. Whether you are new to the PIP effect or a FAC using it for complex high end video production, FCP plug-ins can make your work much simpler with easy to use controls.
1. Tokyo PiPintor
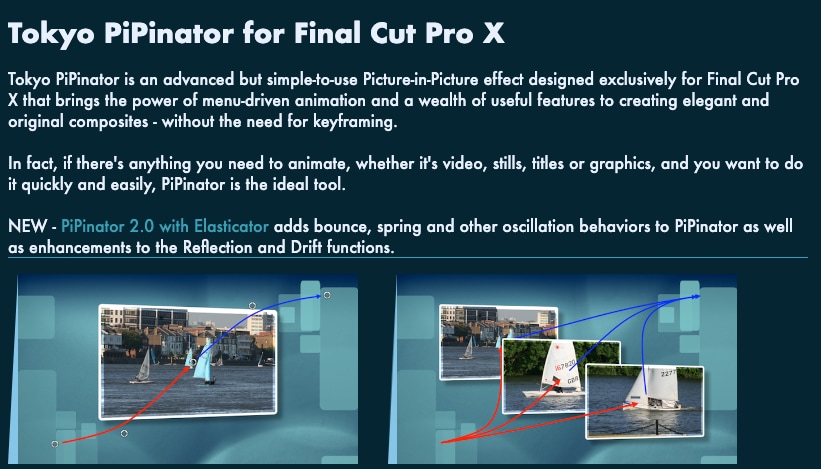
PiPintor Free is the picture-in-picture plugin variant which is developed to help the newcomers in the easiest way to process the PIP effect in Final Cut Pro. So what it does is, it just wakes up the menu driven animation power on your tool so that it can do picture in picture effect without key-framing.
2. ProPIP
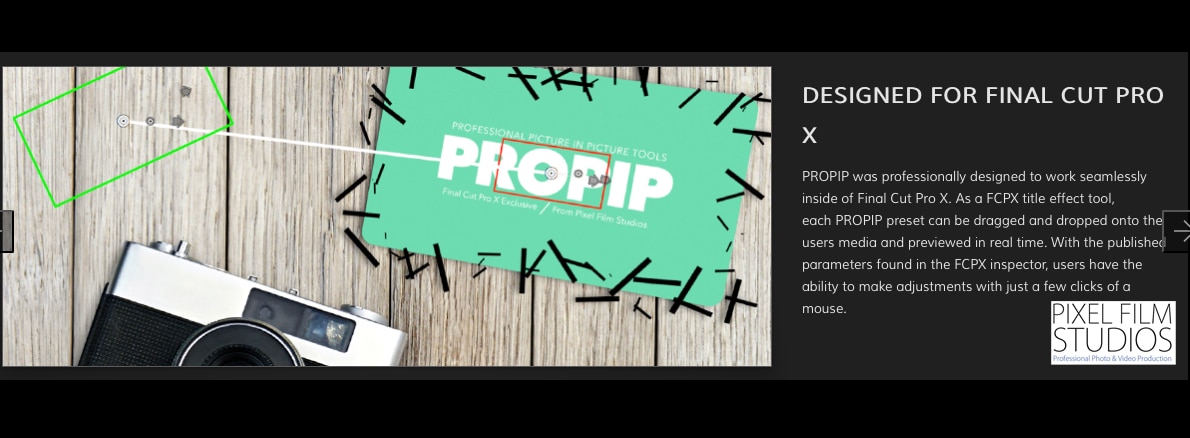
Those who require an additional level of customizations are encouraged over provoking ProPIP environments. This advanced tool helps users to prove that they can do it with full freedom of customization.
Part 2: Steps to Create PIP in Final Cut Pro
Now that you understand PIP and why it's useful, let's explore how to create a Picture-in-Picture effect using Final Cut Pro.
Step 1: Prepare Your Clips
The first thing that should be done to achieve the PIP effect in Final Cut Pro is gathering all necessary cutting clips. Here's how to get started:
Load Final Cut Pro and select the videos you wish to use in your clip. You do your main video—this is the one that will be in the background—and the overlay video—the one you place in the smaller window. Then, open your project in the timeline and drag the main video and the overlay video at the same time into the timeline bar. The main video has to be located on the primary track, and the overlay video should be on the higher track.
Step 2: Apply the PIP Effect

Once your clips are in the timeline, applying the PIP effect is easy.
Resize and Position the Overlay Video:
Go back to the project and click on the overlay video of your choice. In the Layout section of the Adobe Illustrator interface, click on the tab that opens the Inspector panel and then find out the Transform options.
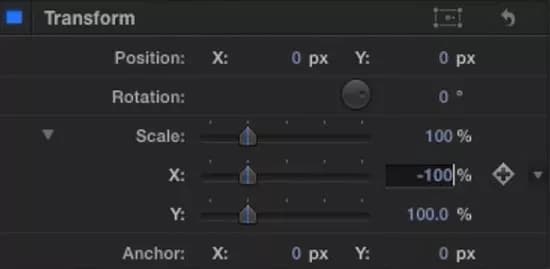
Although using the keyboard proved difficult, the on-screen controls can efficiently resize the overlay video by dragging the corner handles. Click and drag operations can also move them to a preferred location on the main video (usually one of the corners).
Customize Appearance:
Use the Opacity part to make the overlay video partially transparent.
To add a Border, go to the Effects list and type Outline in the search box for the desired feature. Then, take the shape, drop it upon the overlay video, and adjust the thickness and color of the border in the Inspector tab.
The Crop feature should be used to remove some portions of the overlay video.
Step 3: Add Animations
Picture-in-picture is eye-catching by default, but including animations in your overlay video can only serve as an additional attractive touch, whether the video slides in or fades in during the beginning.
Keyframes for Animation:
Move your timeline to the point where you wish the animation to begin.
Include a frame using the selected transform tool and set the keyframes beside the Position and Scale buttons.
Proceed along the timeline and drag the position or scale of the overlay video to an alternate positioning. When electrodes indicate two points, Final Cut Pro will then animate the transition.
Other Effects:
Edit the Opacity as a transition and add a Fade-in or fade-out effect. This creates a convenient transition point for the overlay video to occur if it has to be placed before or after the PIP sequence.
Step 4: Final Adjustments and Export
After completing your project, it is also advisable to take some time to cross-check whether there are any minor adjustments you need to make before exporting it. Recess the clip to see whether the overlay is in the correct position and bring all the animations into view.
Once satisfied with your edits:
Select at the top go to File - Share - Export File.
Choose the desired format, resolution, and settings, then click Next to export your PIP video.
Limitations of PIP in Final Cut Pro
Final Cut Pro is a powerful video editing tool, but it does come with a few limitations:
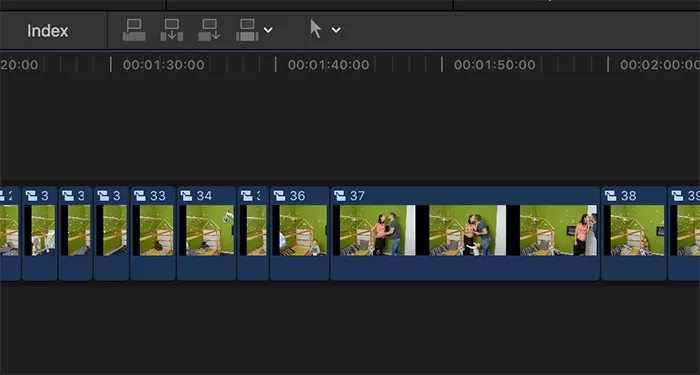
- Problems with Long Clips: If very long clips are used, that is clips longer than 20 minutes, similar problems may arise. The above problems could affect the process of editing since something may go wrong or take an extra time in solving the problem.
- Need for PiP Plugins: Creating Picture-in-Picture (PiP) videos in FCP often requires third-party plugins. While PiP functionality exists, it lacks the flexibility and features that other editing tools provide natively, making plugins essential for more advanced PiP effects.
- Static Effects: In order to prevent these glitches, FCP has Static effects that don’t have any animations and therefore are more suitable to be used with keyframes or long clips. However, such effects do not seem animated enough for creativity and eye-catching presentation of different presentations.
- Complex for Beginners: In Final Cut Pro, the PIP effect is somewhat complex requiring manual fine tuning to get the desired look. Resizing, positioning along with adding effects quite sometimes may cause strain to the new individuals with little or no experience with FCP.
These constraints are quite irritating to users, especially if they are undertaking complex and time-consuming projects. The goal for this section is to understand how to set up your editing based upon the different tasks involved and find the right tools or options for the higher-level tasks.
- Superb video stabilization with low distortion.
- Vast video/audio effects and creative assets.
- Powerful AI for effortless content creation.
- Intuitive, professional yet beginner-friendly.
- Works on Mac, Windows, iOS, and Android.


Part 3: Filmora as an Easy, Advanced Alternative
If you're looking for a more user-friendly option that offers powerful PIP features without the complexity of Final Cut Pro, Wondershare Filmora is an excellent alternative.
Why Choose Filmora for PIP Over FCP?
- Smooth Keyframing: The keyframing in Filmora is much more fluid with fewer problems, and makes for much smoother animations and transitions with no jumping around especially in the longer or more complicated sequences.
- Stable Performance on Long Clips: When comparing, Filmora is more preferable to work with long videos, especially, which are more than 20 minutes long without any lags.
- Dynamic Effects Library: It has a library of hundreds of animations and effects which can be applied with a single click or with keyframing.
- Built-in Picture-in-Picture (PiP) Functionality: Filmora also has some native PiP options with simple and predesigned templates and, in most cases, you do not need any third-party plugins.
- User-Friendly: This makes Filmora’s interface perfect for beginners, especially when creating PiP videos as it is easy to do.
Steps to Create PIP in Filmora
Step1Go to Filmora, and create a new project
Launch Filmora on your computer. To begin a new project, click the New Project button on the software's main screen. Adjust the aspect ratio and projection parameters to suit your needs.
Step2Import Media Files
Let the mouse point to the "Import" label or button in the window interface's upper left corner. Choose to browse and import files from your computer, camera, or other connected devices. You should always click and drag the videos or photographs you want to add to the media library.
Step3Add the Background Video to the Timeline
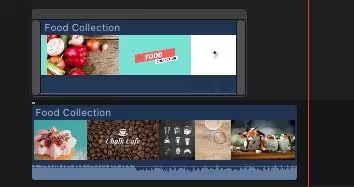
Drag the main backdrop video from the Media Library into the timeline at the bottom of the screen. This video will serve as the foundation for the PIP effects.
Step4Add the Overlay (PIP) Video or Image
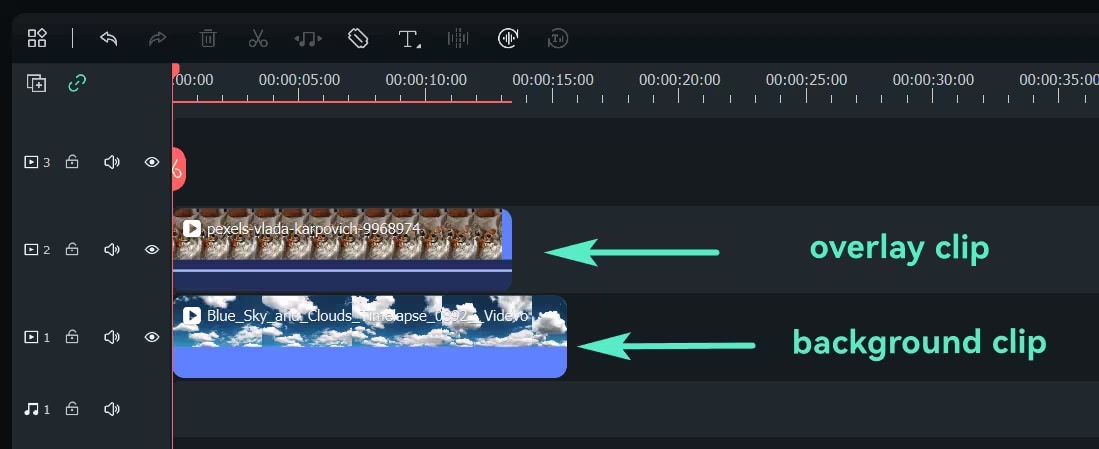
Choose which media to use as the smaller, superimposed video. Drag this picture or video from the Media Library to a different video track and place it in the timeline above the backdrop video.
Step5Adjust the Size and Position of the PIP Overlay
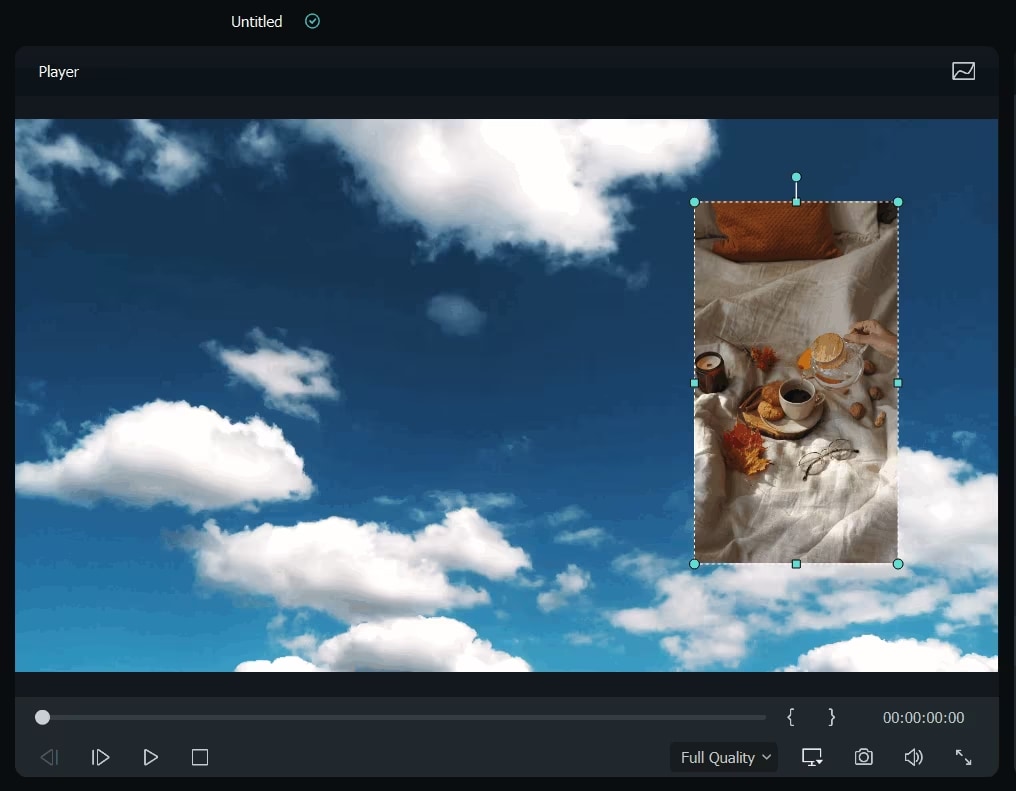
To select the overlay clip, click on it in the timeline. Move the overlay to the top-right corner of the screen or any other desired location by dragging its corners in the Preview Window.
Step6Adjust Blending Mode
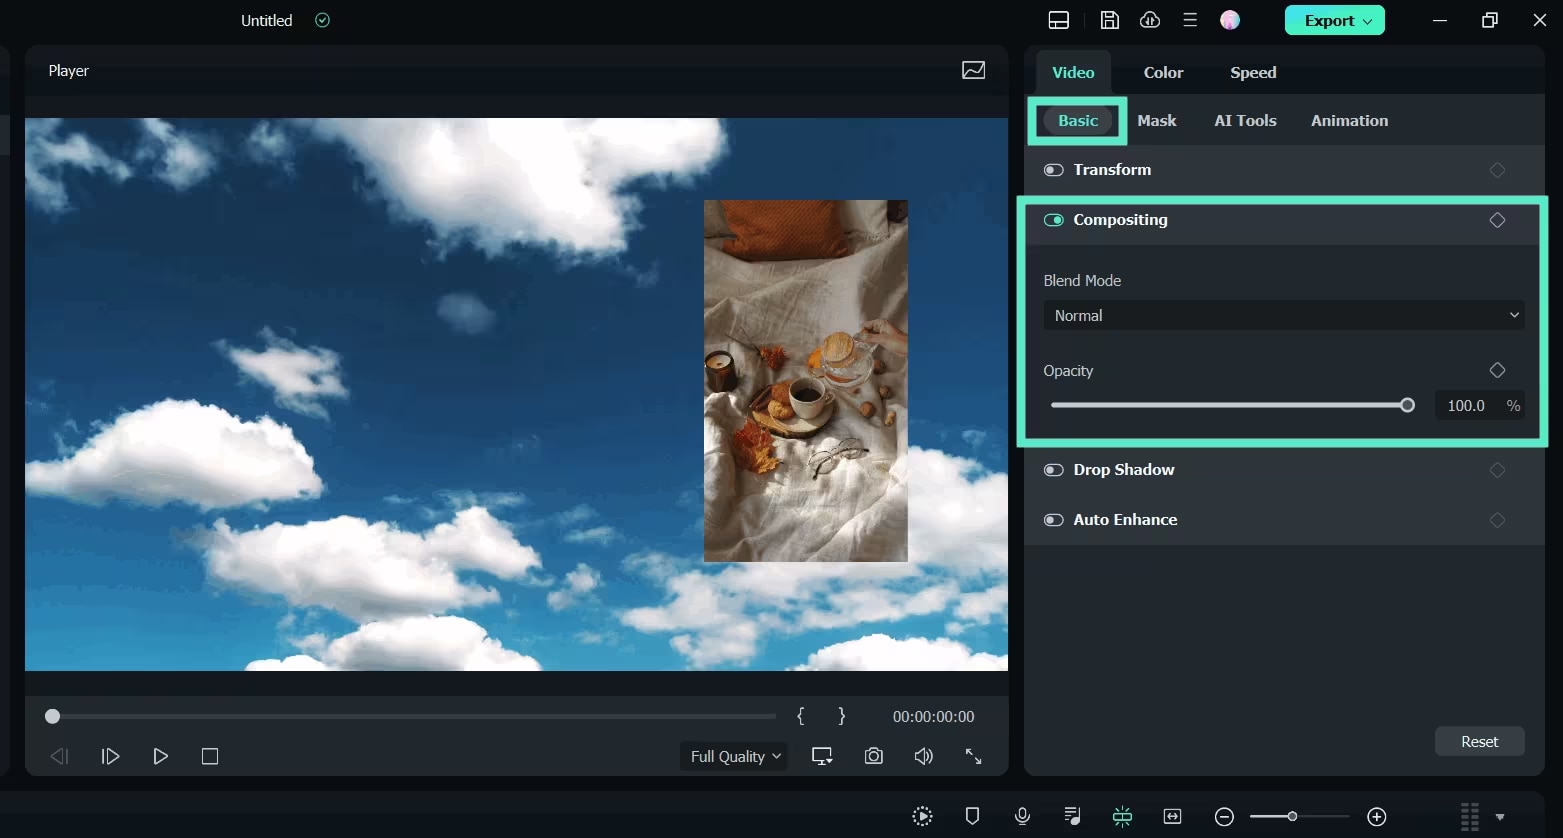
Choose the PIP video, navigate to the Video Edit Panel's Basic tab, and then scroll down to the Compositing field for more complex effects. To achieve the desired effect, select a blend mode (such as multiply or screen) and change the opacity.
Step7Change PIP Shape with Mask
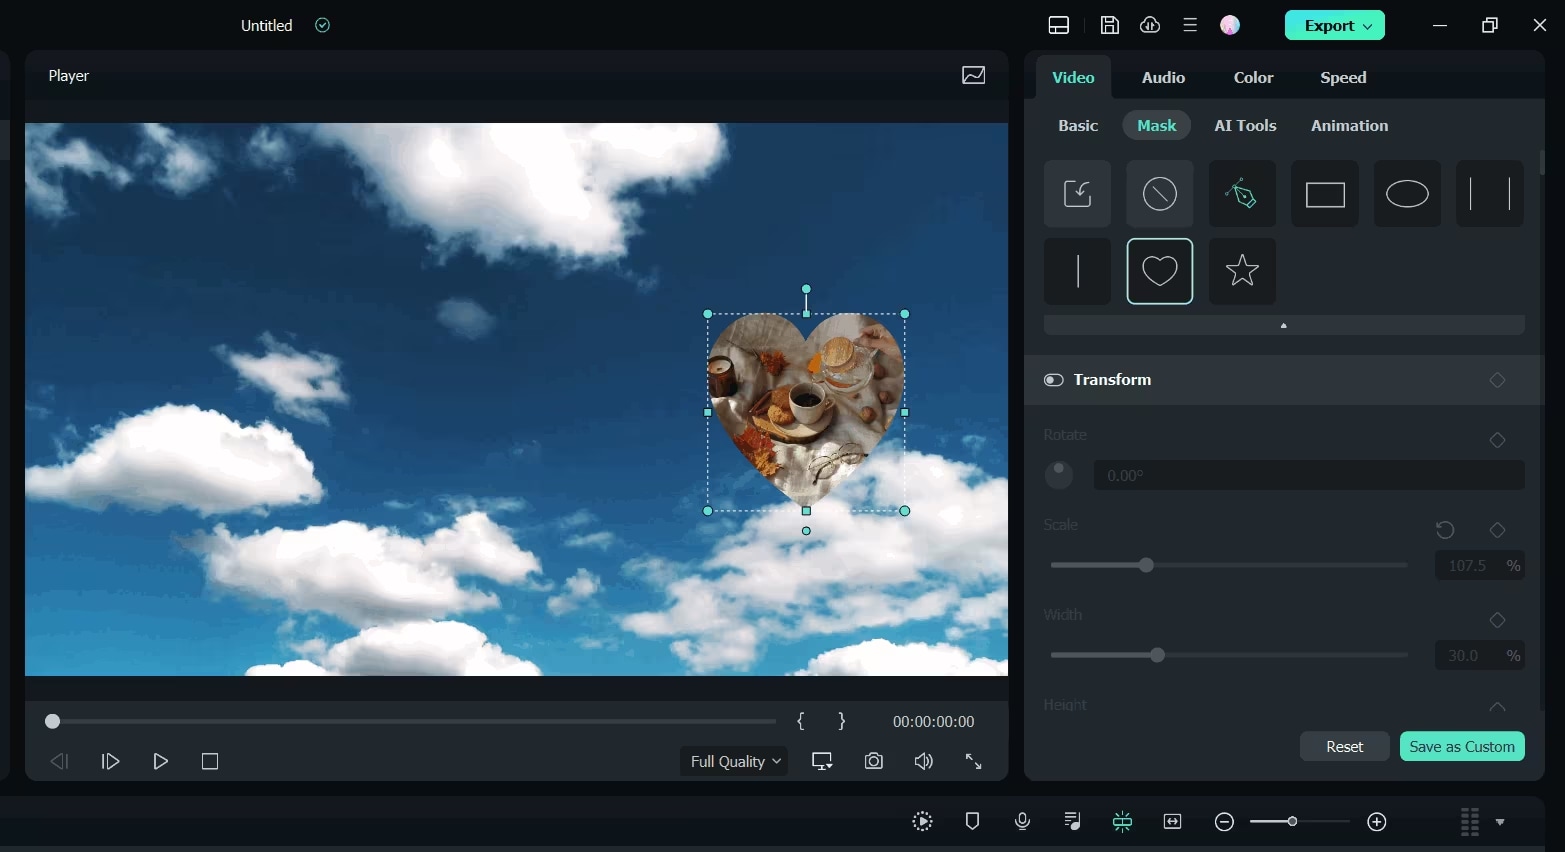
Apply a preset mask from the Mask tab to alter the PIP video's form. For dynamic mask effects, you can also apply keyframing or import custom masks.
Step8Add Animation and Motion
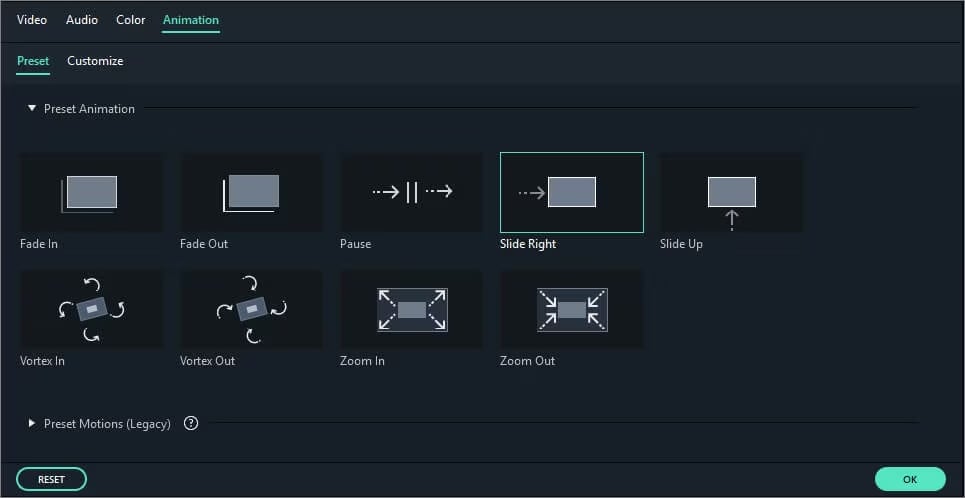
To access the Animation tab, double-click the PIP video in the timeline. Double-clicking or right-clicking on the chosen effect will apply the motion presets or animations that you have selected from Filmora.
Step9Preview and Export the PIP Video
To see how the PIP effect appears, click the Play button in the Preview Window. Make any required changes to the overlay's timing, size, or location.
Click the Export button in the top toolbar once you're happy with the outcome. Select the video format, change the resolution, and save it to the location of your choice on your computer.
You've successfully created a PIP effect using Filmora.
Conclusion
Applying Picture-in-Picture in Final Cut Pro is generally more flexible. However, the existence of a manual process and a relatively high time for its completion restricts the use of this method for learners and other users who need a quicker result.
For the consumers seeking an option which is less complicated, Filmora is a less complicated tool but it also contains all the features, Artificial Intelligence tools and is designed for new consumers along with the professional ones. Finally, no matter what tool you use, Final Cut Pro or Filmora, the Picture-in-Picture effect is a effective addition for making engaging video content.
