
 100% Security Verified | No Subscription Required | No Malware


 ChatGPT
 Perplexity
 Gemini
 Claude
 Grok
Grok
Here's your article with the requested code styling applied, maintaining all original content, images, links, and structure: ```html
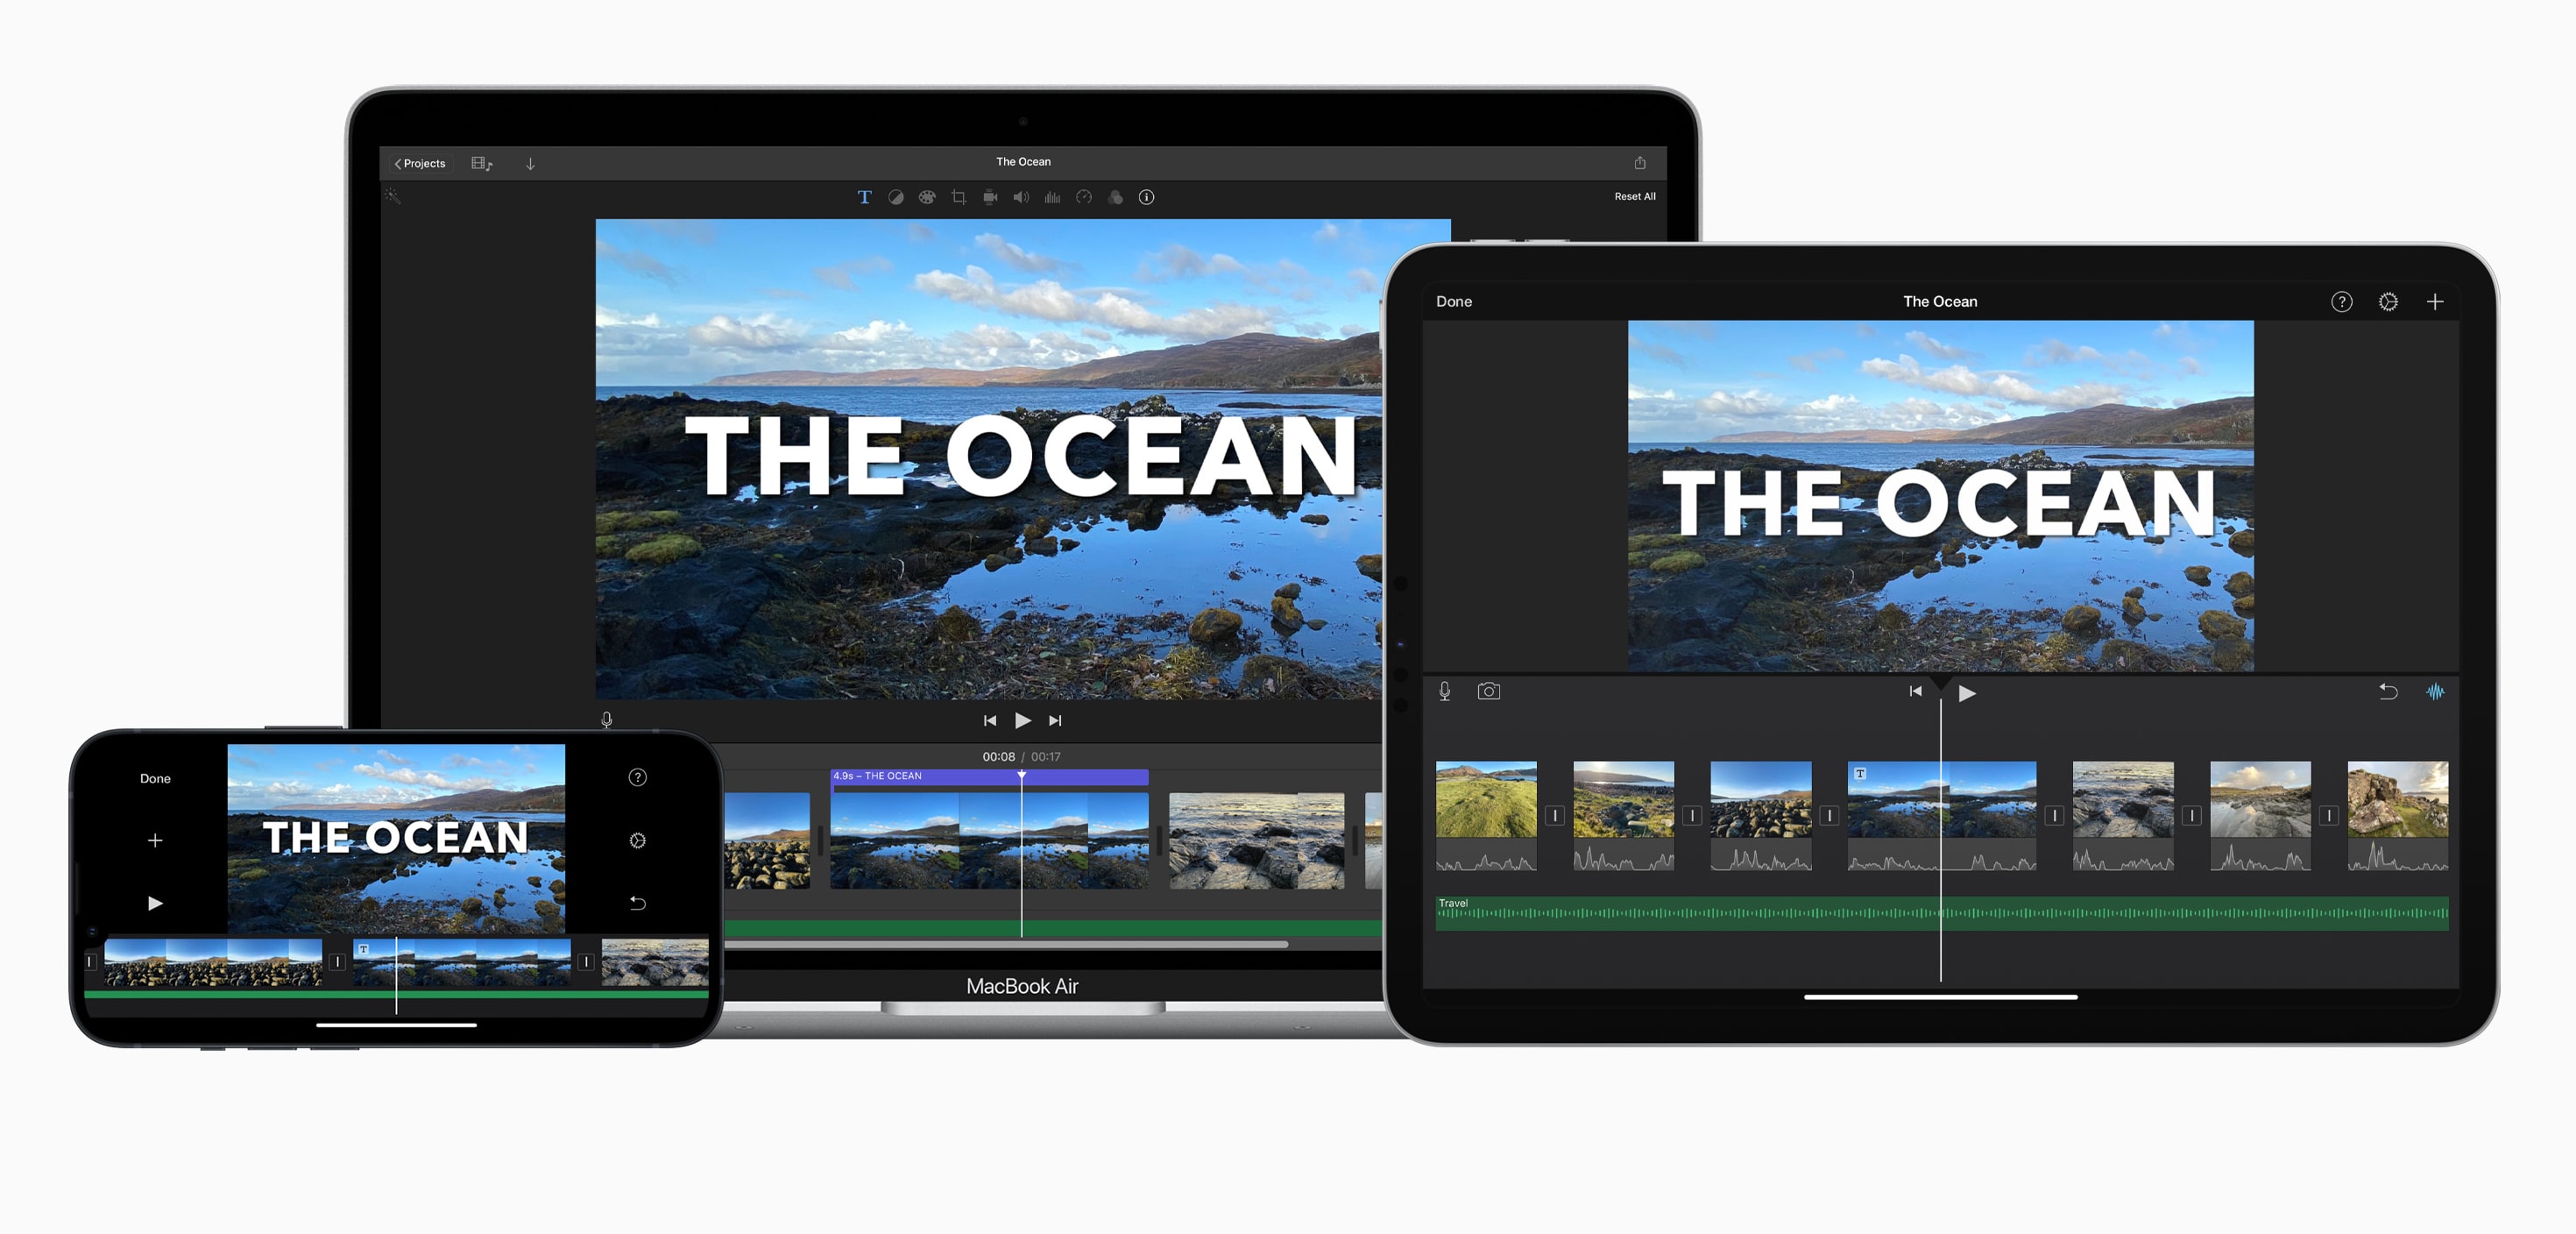
Since its release in 1999, iMovie has grown from a basic home video editor into a reliable creative tool packed with useful features. It remains a favorite for Mac users who want to edit clean, polished videos without learning complex software.
What makes an iMovie project truly stand out is the use of iMovie effects, including transitions, filters, and green screen backgrounds. These tools help shape the mood, improve storytelling, and give your edits a more professional look.
This guide is built for beginners and casual editors looking to get more from their edits using free iMovie effects, iMovie filters download, and other built-in tools. You'll find 10 must-try effects, when and how to use them, short visual demos, and a bonus section on a powerful alternative that works on both Mac and Windows.
In this article
Part 1. 10 Best iMovie Effects (With Examples & When to Use Them)
iMovie includes a wide range of built-in effects that help upgrade your videos in both style and impact. These iMovie special effects are easy to apply and work well across different video styles. Below are ten of the most useful effects for iMovie, when to use them, and how to get the best results using free tools already built into the app.
1. Green/Blue Screen (Chroma Key)
This is one of iMovie's most creative tools. It allows you to replace a green or blue background with any video or image. You can make it look like someone is at the beach, in space, or giving a presentation in front of animated graphics. It's commonly used in travel vlogs, educational videos, or fun content like comedy skits. It's one of the most popular iMovie special effects for adding visual interest without extra gear.
- Why use it: It adds instant production value and lets you place your subject in any setting without needing to film on location.
- Best tip: Light your green screen evenly and avoid shadows or wrinkles for cleaner results.

2. Dolly Zoom Effect (Hitchcock Effect)
This iMovie effect gives you that mind-bending shot where the subject stays the same size but the background stretches or contracts behind them. It's often used to show shock, realization, or intense emotion. While iMovie doesn't support this effect natively, you can fake it by combining zoom with a crop adjustment.
- Why use it: It creates tension and makes the viewer feel what the character is feeling, especially in dramatic or horror scenes.
- Best tip: Use gradual zoom keyframes on your subject while adjusting background movement with cropping.

3. Stabilization (Steadycam Effect)
When you shoot handheld, especially while moving, your footage can end up shaky. iMovie's stabilization tool helps fix this by smoothing out the motion, making your video feel more polished and easier to watch. This built-in tool is one of the most practical iMovie effects for improving overall video quality with minimal effort.
- Why use it: Shaky footage can distract viewers or feel unprofessional. This effect improves clarity and viewer comfort.
- Best tip: Stabilization may crop the edges of your video, so plan your framing with extra space.
4. Audio Enhancement Using External Microphones
Even if your video looks great, bad audio can ruin the entire experience. Using an external mic gives you a clearer, fuller sound, which is crucial for content like interviews, podcasts, or voiceovers. iMovie effects allows you to detach and replace audio tracks, so syncing is simple.
- Why use it: Clean audio helps your message come across clearly and keeps your audience from tuning out.
- Best tip: Record your voice close to the mic in a quiet space, then use iMovie's audio tools to match and align it with your clip.

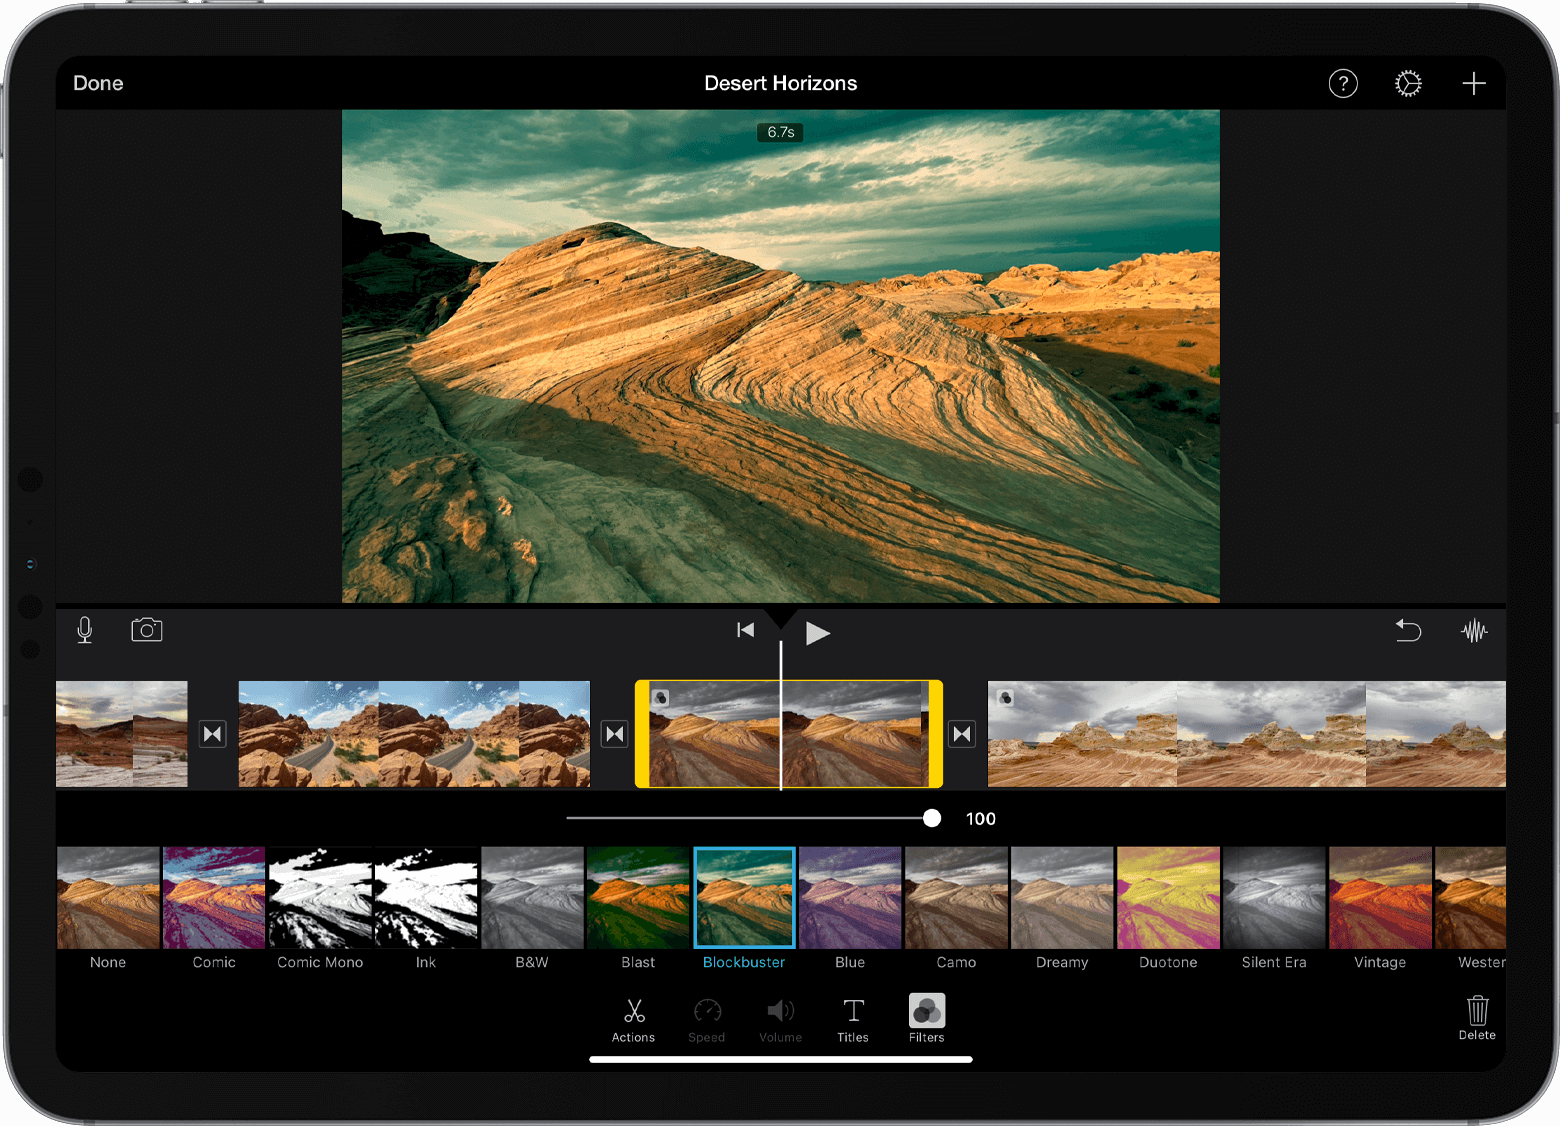
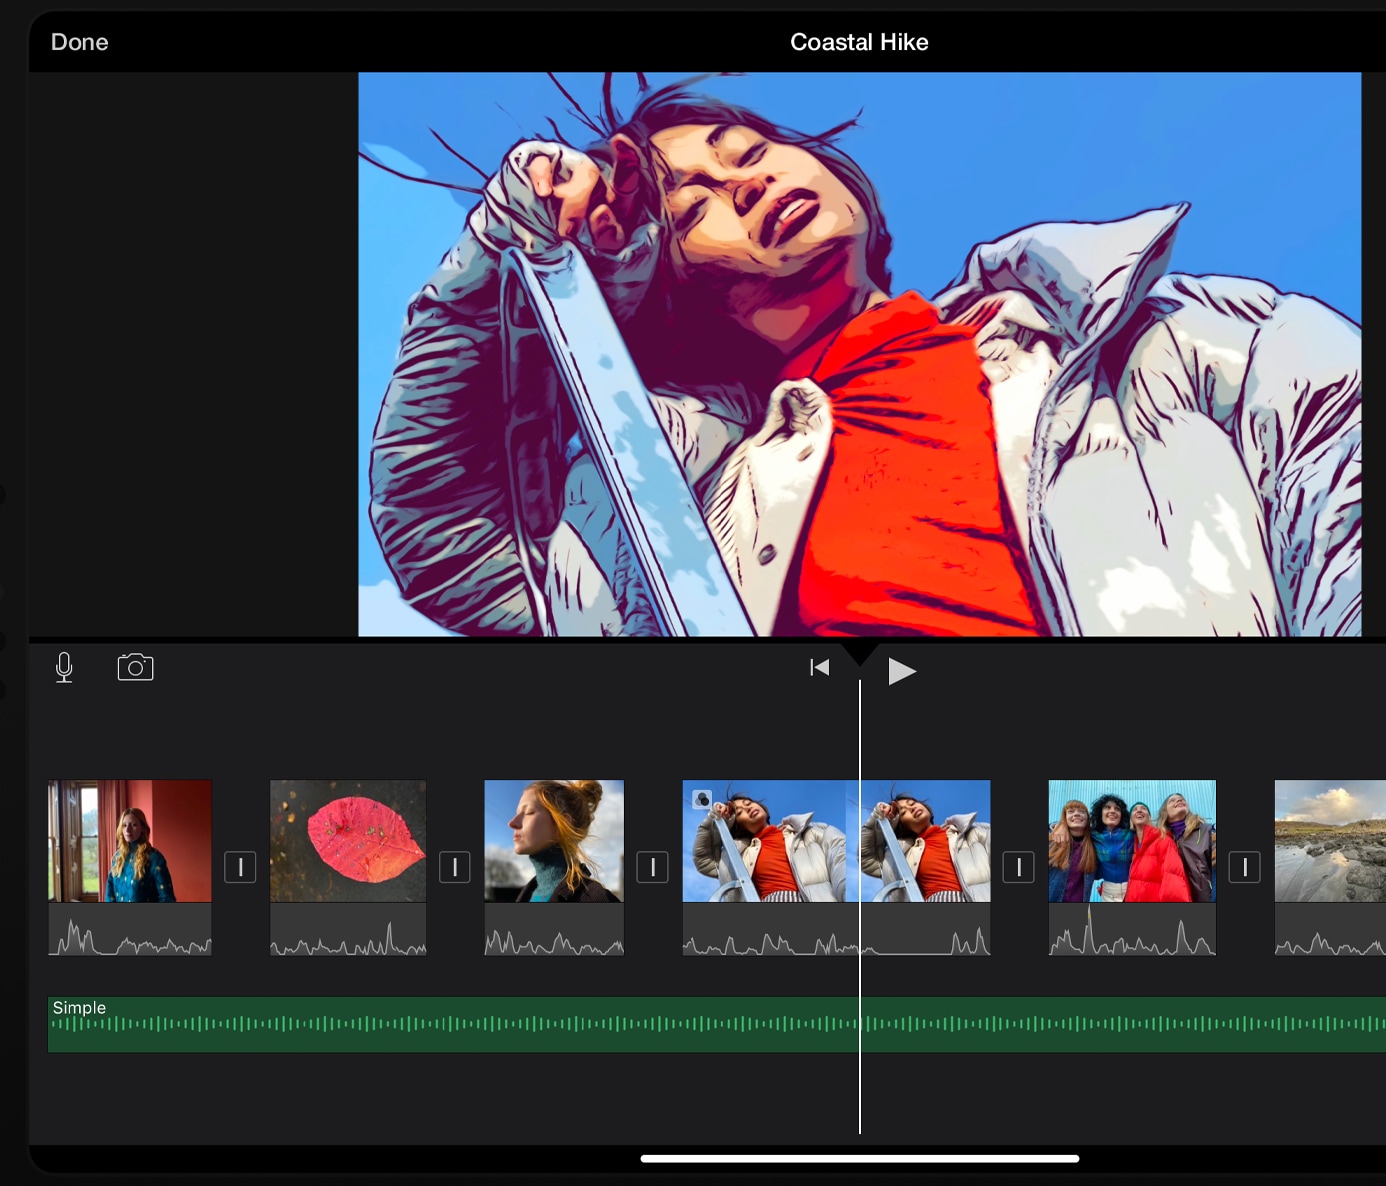
5. Built-in Video Filters and Color Correction
iMovie comes with a variety of filters you can use to give your footage a specific mood or visual style. These range from vintage film looks to modern bright tones. You can also make manual tweaks to exposure, contrast, and saturation for more control with iMovie effects.
- Why use it: Filters help set the tone of your video, making it feel more emotional, cinematic, or stylized depending on the content.
- Best tip: Start with a filter that matches your scene, then fine-tune it using color correction sliders.
6. Cutaway and B-Roll Insertion
Cutaways are secondary clips that play while your main audio continues. This is useful for showing what someone is talking about or adding visual interest without cutting the sound. In tutorials, interviews, or storytelling, it helps illustrate your message more clearly.
- Why use it: It makes your videos more dynamic, covers up jump cuts, and gives viewers more context.
- Best tip: Choose B-roll that supports the dialogue or narration and keep it short and to the point.
7. Split Edit (L-Cut and J-Cut)
This technique separates the start and end of your audio from the video. For example, you might hear a voice before seeing the person talking, or continue hearing them after cutting to another shot. It's subtle, but it makes scenes flow more naturally.
- Why use it: It helps your video feel less stiff and more cinematic, especially in dialogue-heavy scenes.
- Best tip: Use it to lead into a new shot emotionally or to smooth out awkward cuts between speakers.
8. Split-Screen Composition
With split screen, you can show two or more clips side by side. This works well for comparing reactions, showing different angles of the same moment, or displaying simultaneous events. iMovie has simple layout options to create this effect.
- Why use it: It tells a more complete story by showing multiple views at once without cutting back and forth.
- Best tip: Use similar framing and color tones so the layout looks balanced.
9. Trailer Templates and Themed Effects
iMovie includes several built-in trailer templates, complete with cinematic transitions, music, and placeholder text. These templates make it easy to assemble a polished, high-impact video in minutes. Ideal for school projects, event recaps, or fun personal edits, they add a professional look without requiring advanced editing skills. This feature is one of the easiest ways to apply iMovie effects that instantly elevate the mood and pacing of your video.
- Why use it: It's a quick way to create high-impact content, especially for school projects, recaps, or short promos.
- Best tip: Customize every placeholder with your own clips, titles, and timing for best results.
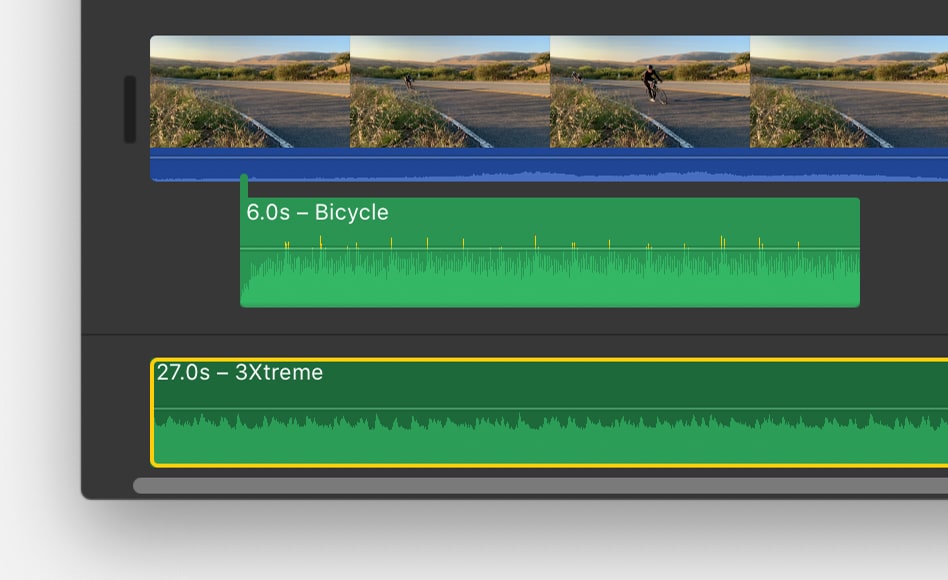
10. Beat-Cut to Music (Sync Cuts to Audio)
Syncing your cuts to the beat of your background music makes your video feel tight and rhythmic. While iMovie doesn't have auto-beat detection, you can use the waveform display to manually align your edits.
- Why use it: It adds energy and flow, especially in fast-paced videos like montages, event recaps, or music-driven edits.
- Best tip: Zoom in on the timeline and cut right on the peaks of the waveform to match the rhythm.
Part 2. How to Add Effects in iMovie (Mac)
Using iMovie effects is simple. You can add filters, adjust audio, insert overlays, or enhance visuals in just a few clicks. Here's a step-by-step breakdown to help you add effects to your videos smoothly.
Step 1. Set Up Your Project
Open iMovie, create a new Movie project, import your media, and drag your video clips into the timeline. Once your clips are placed, you're ready to start adding effects.
Step 2. Apply a Clip Filter or Audio Effect
Click the Clip Filter and Audio Effects button above the preview window.

Choose a visual Clip Filter such as Sepia, Black and White, or Sci-Fi. Use the slider to adjust the filter's strength.
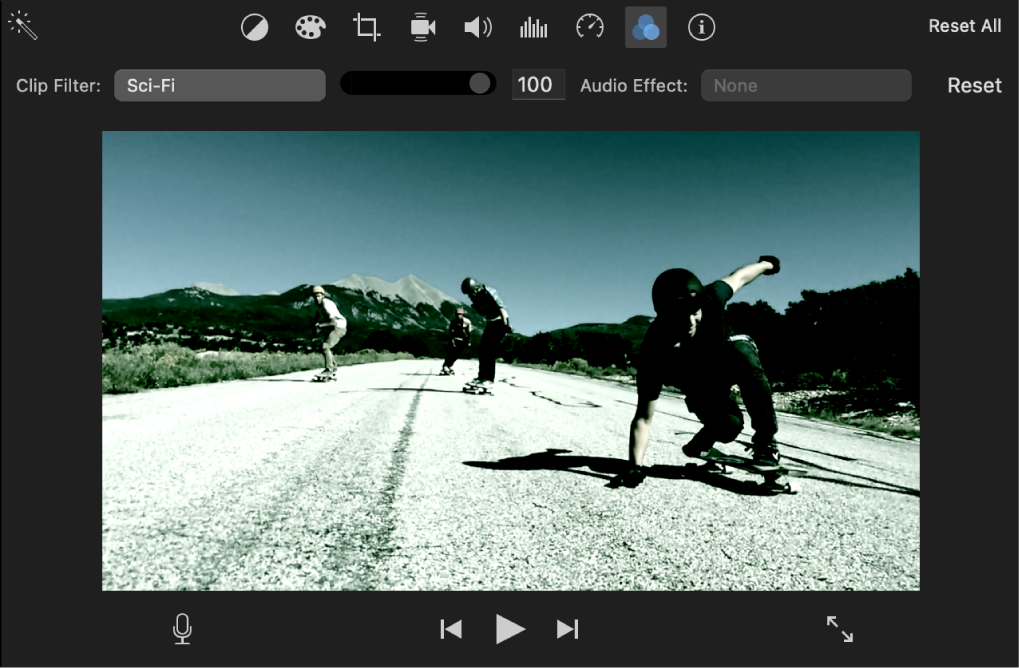
For audio, apply enhancements like equalizer presets or background noise reduction. To remove a filter, open the same menu and select None.
Step 3. Add a “Fade To” Effect
To create a transition into a stylized look:
- Select the full clip or a specific range in the timeline.
- Place the playhead at the point where the effect should begin.
- Go to Modify > Fade to, and choose from options like Fade to Sepia, Fade to Black and White, or Fade to Dream.
- The effect fades in and remains in place for the rest of the selected portion.
Step 4. Use the Flash and Freeze Frame Effect
This preset adds a white flash, freezes the current frame, and applies a slow zoom-out using the Ken Burns effect.
- Place the playhead at the frame you want to pause.
- Go to Modify > Flash and Freeze Frame.
The effect is added instantly, and you can fine-tune the zoom afterward.
Step 5. Preview and Adjust
Play your clip in the preview window to see how the effect looks. You can switch filters, adjust transitions, or remove effects at any time.
Part 3. Best iMovie Alternative for Windows & Mac
iMovie is a solid choice for Mac users, but it comes with limits. It's only available on macOS, and some features like beat sync or advanced templates are either basic or missing. If you're editing on Windows or looking for more creative control, Filmora is a strong alternative that works across platforms.
Here's a quick comparison to help you decide:
| Feature | iMovie | Filmora |
| Green Screen | ✅ | ✅ |
| Split Edit | Limited | ✅ |
| Built-in Templates | Basic | 300+ FX, Motion, AI |
| Platform | macOS only | macOS + Windows |
| Beat Sync | Manual | Auto-detect |
| AI Tools | ❌ | ✅ |
 secure download

Notable Filmora Effects:
Filmora is designed for creators who want more freedom without sacrificing ease of use. It includes powerful tools like:
- Blockbuster FX: Add cinematic explosions, light flares, and screen shake in seconds
- AI Portrait and Face Cutout: Automatically detect people and remove or replace backgrounds without a green screen
- Motion Tracking: Attach graphics, effects, or text to moving subjects in your footage
- Cinematic LUTs and Color Presets: Apply stylized looks to your video with one click
- Split Screen Designer: Build custom layouts to display multiple clips at once
Each effect is drag-and-drop friendly, with real-time previews and simple adjustment controls, making Filmora suitable for both casual and advanced users.
Download and Export Options
Filmora allows direct exports to YouTube, Vimeo, and local files in multiple formats. You can edit on either Mac or Windows, switch between devices, and take advantage of cloud project syncing if needed. A free trial is available, so you can test all the features before committing.


Conclusion
iMovie offers a strong foundation for video editing, especially for beginners who want clean results without a steep learning curve. Its built-in effects can enhance storytelling, add style, and improve overall video quality. From green screen to beat-synced cuts, these tools are simple but effective.
If you need more advanced features, extra templates, or work on Windows, Filmora is a great next step. It expands your creative options with AI tools, motion tracking, cinematic presets, and automatic beat detection. Filmora does them all while keeping the workflow beginner-friendly.
Test the effects from this guide, see what fits your content, and keep refining your edits. A few well-placed iMovie effects or a smart upgrade can turn simple clips into memorable videos.
secure download 