- Vegas Pro
How to Crop a Video in Vegas Pro
Jul 14, 2025• Proven solutions
Sony Vegas Pro remains the go-to choice for professional video cropping, with its powerful event crop/pan tool enabling precise frame adjustments. Whether you need to crop out unwanted elements, create cinematic aspect ratios, or zoom into specific video areas, this 2024 guide will show you exactly how to efficiently crop video in Sony Vegas. We'll also reveal a simpler alternative using Filmora for quick social media edits.
Although Sony Vegas is a most interactive and featured loaded platform for video editing needs of all users but it is very costly as users need to pay $599.00 for its access. Secondly it can be used only on Window devices hence if you are searching for a cost effective and easy to use solution for video editing needs then Wondershare Filmora will be best option for you. This software tool works perfectly on windows as well as Mac devices and possesses all powerful features with easy to use interface that can be accessed by professionals as well as beginners. Those who are just starting out with video editing tricks are advised to download free trial version of WonderShare Filmora.
You may also like: How to Zoom in Videos [2 Ways]
How to crop videos in Sony Vegas (Vegas Pro)?
Below are few simple to follow steps for completion of cropping videos in Sony Vegas Pro:
Step 1: Import video clips
First of all you need to open the software and then add desired video clip into it. It can be added directly by using add video clip button or you can also drag and drop it to software timeline window.
Step 2: Now use Event pan/crop button as below:
- Simple put a vertical line over desired clip that you wish to crop, with this selection the outline colour will automatically change to yellow.
- Now hit the Event pan/crop button on your screen.
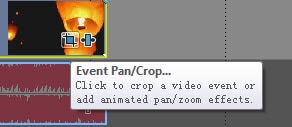
Note: The Event pan/crop button is not available if you are using Vegas pro 11.
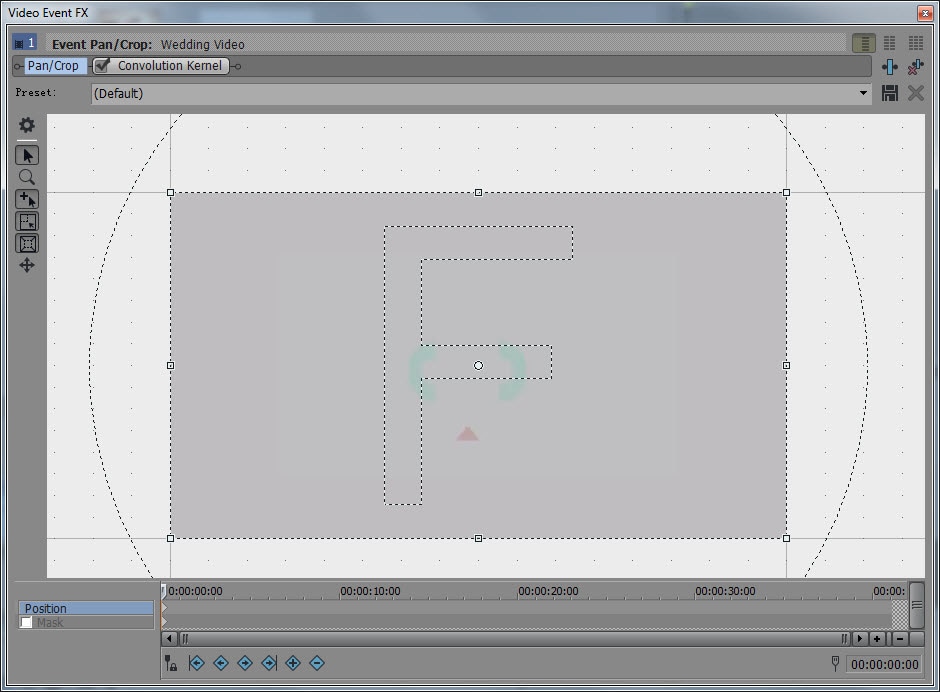
- It is also possible to edit video clip size from the pop up window named as Video Event FX
- You will find a circle and rectangle on your image. In order to zoom any specific object from image you simply need to drag the handle from each corner of rectangle.
Tips:
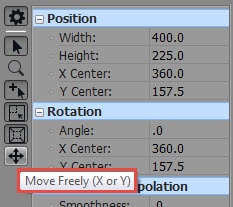
In the Event Pan/Crop window, there are several tools available on the left side. Show Properties shows everything about the video including position, rotation, keyframe interpolation, source, and workspace. The Normal Editing Tool allows you to move stuff around. The Magnifier tool allows you to zoom in and zoom out videos just by left clicking and right clicking.
1. In order to maintain aspect ratio of video file, you simply need to hold the Ctrl button and then override.
2. In case if you wish to move freely over the cropping region then you need to select Move Freely icon from software window.
Here you will observe a little point of white colour at the center of image; place your cursor on the space available between rectangle and circle and then drag it as per need. Your image will start rotating around that little white point.
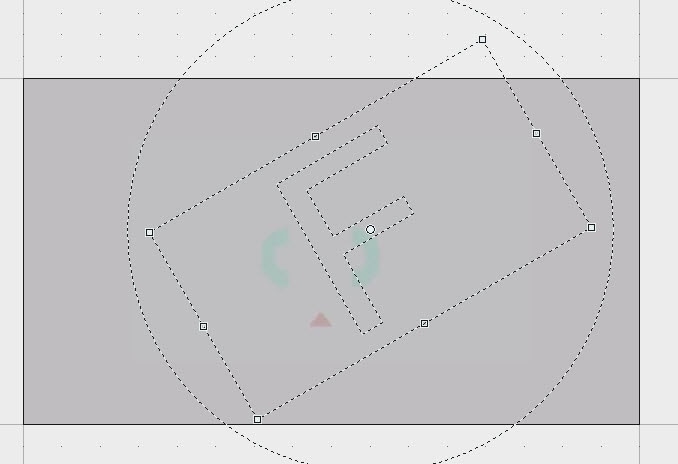
If you do not find the end results good then you have to right click on the image and hit the restore option from drop down menu; it will automatically remove all recent modifications and your actual image will be restored.
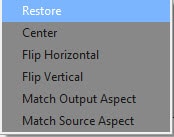
3. This software tool allows users to crop few specific parts of video clip as per need.

Step 3: Save project
Finally, when video editing is complete then hit save button to ensure that changes are saved for future.
If you want to make an animated crop and zooming effect, you can use the keyframe settings at the bottom of the Event Pan/Crop window to establish it throughout the duration of the event.
Below is a video tutorial on how to crop videos in Vegas Pro, you can check the more detailed information in it.
An Easier Way to Crop a Video in Filmora
Filmora is the go-to tool for amateur filmmakers who want to generate beautiful videos. It's simple enough for beginners and strong enough for pros, regardless of skill level. Here’s how to crop using the software:
Step 1: In Wondershare Filmora, open the video you wish to modify. Drag and drop it onto the timeline.

Step 2: Select a segment of the video that requires cropping in your timeline and click the 'Crop and Zoom' option that can be seen at the tools on the top of the timeline. The Crop and Zoom window may be found here, and it allows you to change the crop area. With these settings, you may change the size and format of your movie.

Step 3: When you've finished making your adjustments, click the 'OK' button to apply the crop. As you can see, the movie has been cropped to the designated area.

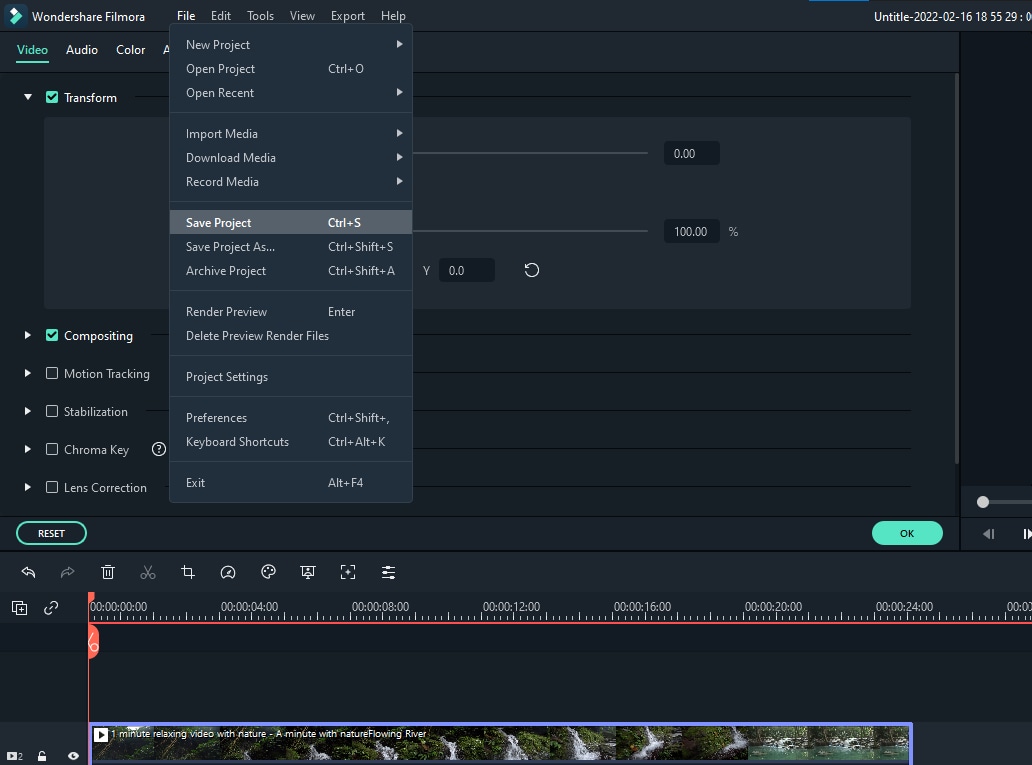
Step 4: Finally, click "Save" to save your cropped video. Your video has been cropped successfully! So there you have it, a step-by-step guide on how to crop films with Wondershare Filmora software. Anyone may easily modify their films and save them in numerous formats without sacrificing quality or data by following these simple steps.


 100% Security Verified | No Subscription Required | No Malware


