- Vegas Pro


How to Speed Up or Slow Down a Video in Vegas Pro

Jul 28, 2026• Proven solutions
 TL;DR:
You can speed up or slow down videos in the Windows-only Vegas Pro by editing the Playback Frame Rate, adjusting the Velocity Envelope for variable timing, or holding the Ctrl key to drag and stretch the clip timeline.
● Playback Frame Rate adjustments are limited to a 4x speed increase and a 0.25x decrease, but you can stack this method with a 200% Velocity Envelope to achieve up to an 8x total speedup.
● Dragging the Velocity Envelope to a zero value freezes the clip and a negative value reverses the frames, but any velocity change requires you to manually adjust the clip length to prevent unwanted video looping.
● Because Vegas Pro requires a $599 purchase, Wondershare Filmora serves as a cost-effective alternative for Windows, Mac, and mobile users that also allows you to detach audio and adjust the pitch of speed-altered clips.
Ask AI for a summary
 ChatGPT
 Perplexity
 Gemini
 Claude
 Grok
Grok
Most youngsters these days love to create funny videos and upload them on social media platforms. If you are also thinking of doing the same and entertaining your friends but are not aware of the software tools that can assist you in the video speedup or slow down process, then spend a little time to read the information below. It is much easier to add time-lapse or slow motion to videos in order to make them funny with Vegas Pro as it provides easy speed adjustment features. All that you need to do is described by three methods as discussed below.
- Method 1: Changing Speed by Setting the Playback Frame Rate
- Method 2: Velocity Adjustment for Selected Parts of Video
- Method 3: Changing Video Speed by Dragging Trim Stretch
Vegas Pro is well known as a professional video editing tool, and it is a costly solution for beginners as you need to pay $599.00 for gaining its complete access. Other than this, you can use Vegas Pro only on the Windows platform, so if you are searching for a cost-effective solution that can work on Windows as well as Mac, then it is good to go for Wondershare Filmora. It is rated as one of the most powerful and easy to use video editing software tools, and users can easily download the trial version from the official website of Wondershare Filmora.

 secure download

You can check our detailed step-by-step tutorial about How to Make a Fast Motion & Slow Motion Videos with Filmora here >>.
3 Ways to Speed Up/Slow Down a Video Clip in Sony (Magix) Vegas Pro:
Method 1: Set the Playback Frame Rate
It is one of the easiest tricks to make a funny video clip. You simply need to set the playback rate for the frame and soon it will appear with an interesting format.
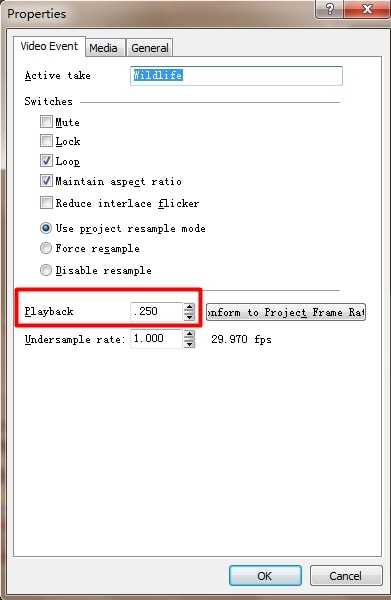
Open your video on Vegas Pro and then right click on it, go to Properties from the drop-down menu and then hit the Playback option. Here you can edit frame playback rate as per need, but note that the software allows you to speed it up by four times as well as slow it down by 0.25x.
Method 2: Velocity Adjustment for Selected Parts of Video
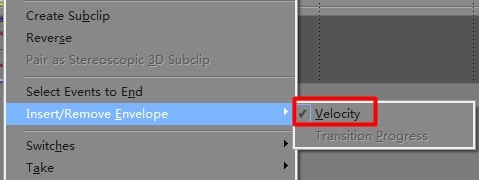
If you wish to access the velocity adjustment option, then simply right click on the video that you wish to edit, and then select Insert/Remove Envelop option from the drop-down menu. From the next menu you have to select the Velocity option.
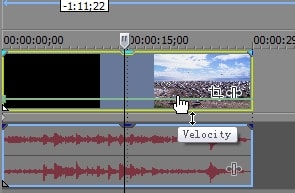
And soon you will find a green line over selected video clip that represents velocity.
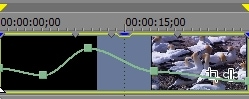
If you want to adjust velocity for the whole clip, then drag your envelope up for an increment in speed and drag it down for decaying its speed. If you drag it to zero value, then the clip will automatically freeze and a negative value of velocity will run frames in reverse order.
For those who wish to edit specific portions of video, double click on the video timeline for generating anchor points and speed up or slow down videos accordingly from different parts of a video.
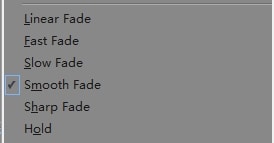
Users can also take benefits from a fade mode that appears with a right click on any point.
Note that: when we slow down or speed up any video with velocity settings, then the length of the clip gets varied automatically, and in order to avoid looping, you need to adjust it manually. When you drag the velocity envelope, then use the Ctrl key to move all settings with fine adjustments.
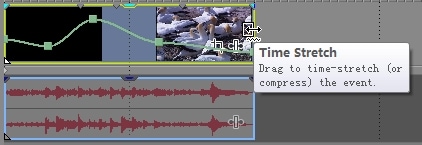
Method 3: Drag Trim Stretch
Here is a fast process for executing method 1, where you need to hold the Ctrl key while dragging any end of your video for speeding it up or slowing it down as per need. In order to verify changes applied by you, prefer to use properties and check the playback rate changes over there.
Note that: Users can also stack all these methods for creating unique effects. For example, you are free to speed up any video 4 times and then adjust the velocity envelope to 200% for another 2x speed up. That will end up with 8 times speed up. Once you have made all the required adjustments, then save your project file and start editing another one in a similar manner.
An Easier Way to Speed Up or Slow Down the Video in Wondershare Filmora
Wondershare Filmora is a famous and easy video editing software that helps the user create videos efficiently. It can also speed up or slow down the videos according to your choice. Even though it allows you to control the volume.
Features:
- Support to GIF
- Tuning of the colours
- Mixing of the audio
- 4K editing support
secure download
Speed Up and Down Videos with Wondershare Filmora [For Win or Mac]:
Step 1: Import the video files in the video editor
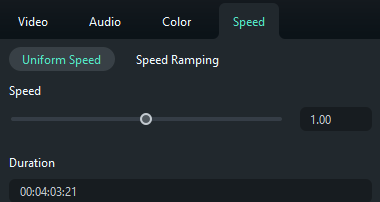
Import the video clip on your timeline, right-click and select the option of Speed > Uniform Speed.

Step 2: Just by one click speeding up or slowing down
After selecting the Uniform Speed option, the video's actual duration is visible, and adjustment is available. You can easily speed up the duration even by entering the value in the field as input. The preview of the video is important for checking the effect of the Speed. Later, save and export your video.
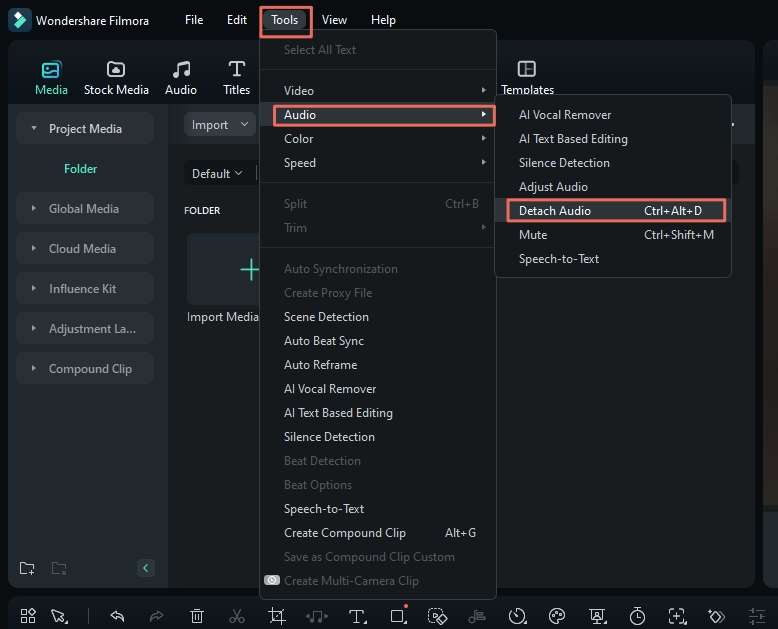
Step 3: Adjustment of the audio sound
You can adjust the audio speed as well present in the video. If you want the audio to remain as the background sound, then detach the audio. After detaching, edit the best pitch for your video—double-click on the audio clip in its panel. Wondershare Filmora also offers you the removal of the background noises present in the video clip.
Step 4: Export the slow or fast motion video
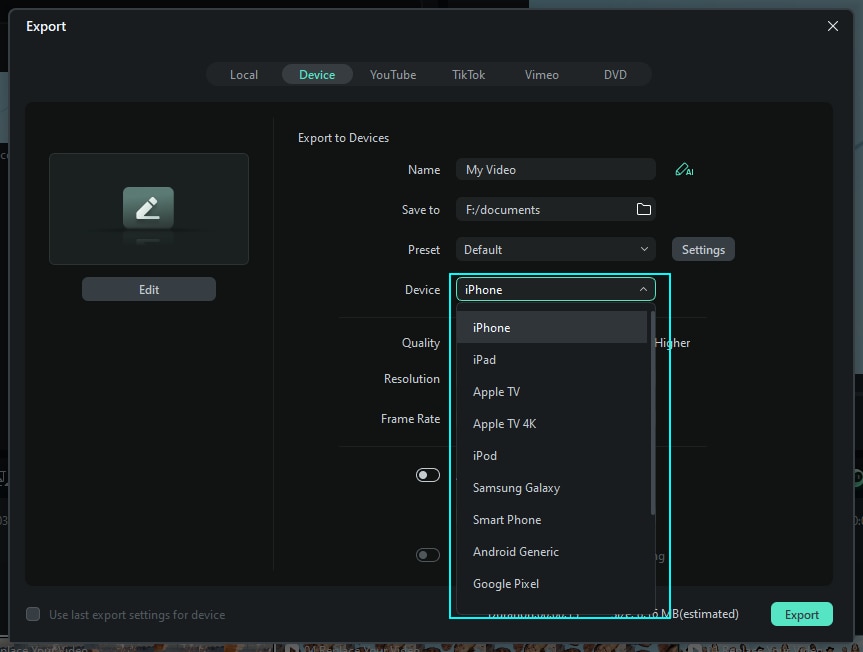
After completing the Speed of the video, click on Export. You can easily play the videos on your devices by clicking on the Device. It also allows you to share the videos even on YouTube and Vimeo, or even burn the video to a DVD Disc.
secure download
Speed Up and Slow Down the Video in Filmora Mobile
The mobile version of Filmora is a user-friendly alternative to Vegas Pro, offering powerful editing tools and intuitive controls. Utilize its speed controller feature to speed up or slow down any clip to match your imagination in just an instant. Change the speed of your video in just an instant by following these steps.
Step 1: Import your video
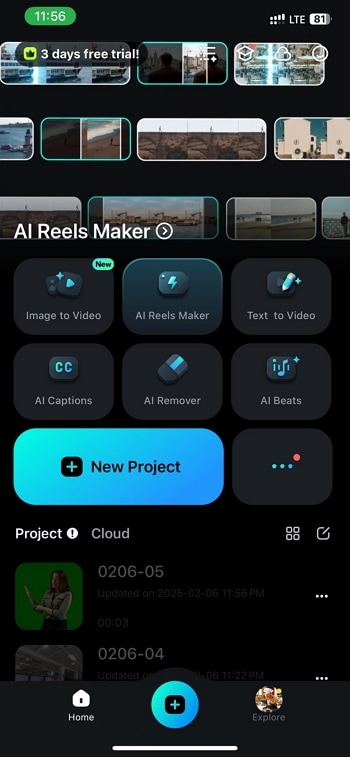
Launch the Filmora Mobile app and start by adding your video. Tap "New Project" or hit the "+" icon at the bottom.
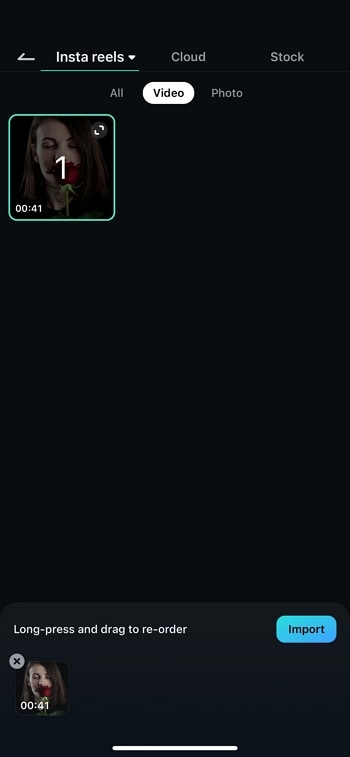
Select the video you want to edit and tap "Import" to load it onto the timeline.
Step 2: Access the Speed Control feature
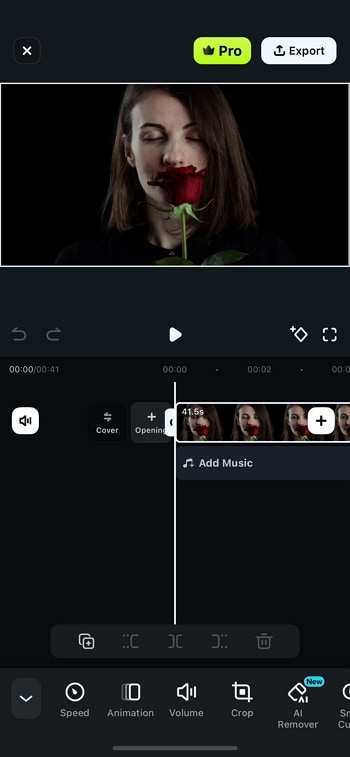
Once your video is on the timeline, tap on it to reveal editing options. Then, select "Trim" from the bottom toolbar.
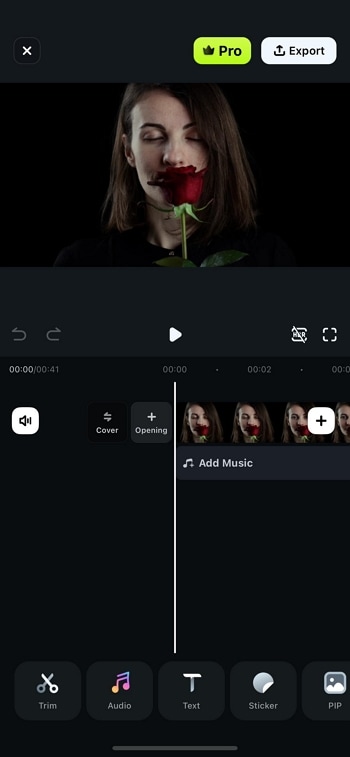
Scroll through the options and tap "Speed" to access the speed adjustment settings.
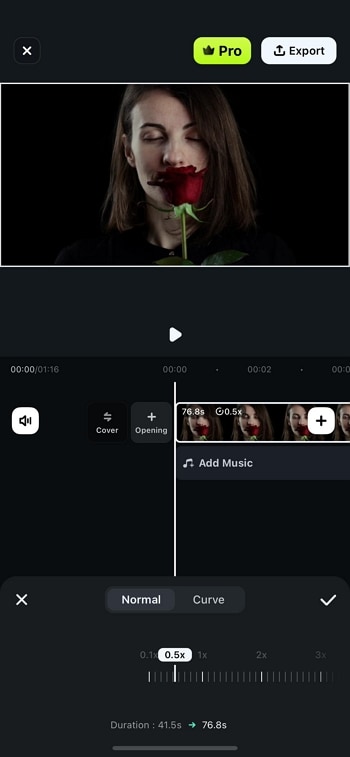
Step 3: Adjust the speed
You'll have an opportunity to experience a speed slider through which you can regulate playing speed. Push the slider to the right to speed up the video or to the left to slow down.
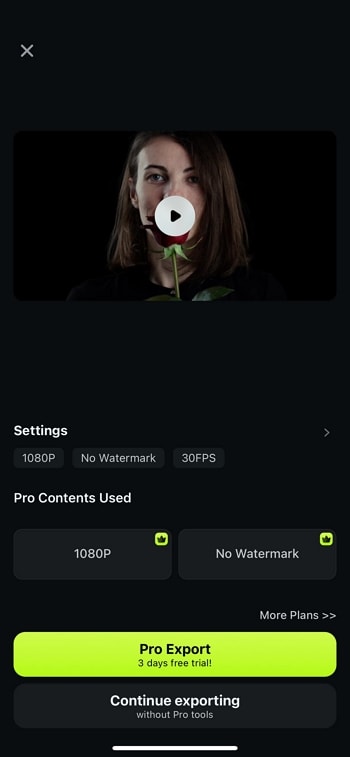
Step 4: Apply and export
Once satisfied with the speed adjustment, tap the "Checkmark" icon to apply the changes. Finally, export your clip by hitting "Export", and now your clip is ready to be posted.
Adjusting video speed in Filmora Mobile is simple to do quickly and efficiently, making this app perfect both for beginners and professionals alike.
secure download
Conclusion
Above are the steps of how to speed up or slow down video with Vegas Pro, hope it helps you to make a slow motion or fast forward video with it easily. In case that you are looking for an alternative which has similar features to Vegas Pro but has a modern user interface and most importantly, an affordable price, we recommend you to try Filmora. The video tutorial below will show you how to edit a video in Filmora step by step. So, don’t miss it.
Benjamin Arango
staff Editor
