
 100% Security Verified | No Subscription Required | No Malware


 ChatGPT
 Perplexity
 Gemini
 Claude
 Grok
Grok
Did you know that subtle transitions can increase viewer retention? When you’re editing a travel vlog from your recent adventure in Bali. The sun sets over the ocean. Instead of a harsh cut to the next scene, a soft cross dissolves smoothly and blends the horizon into the glowing lanterns of a night market.
To apply it, you may need Sony Vegas Pro transitions. It gives you full control over transitions, from basic fades to cinematic effects. Using transitions the right way can make your videos stand out. Ready to upgrade your editing skills? Let’s explore the best Sony Vegas transitions and how to use them like a pro.
In this article
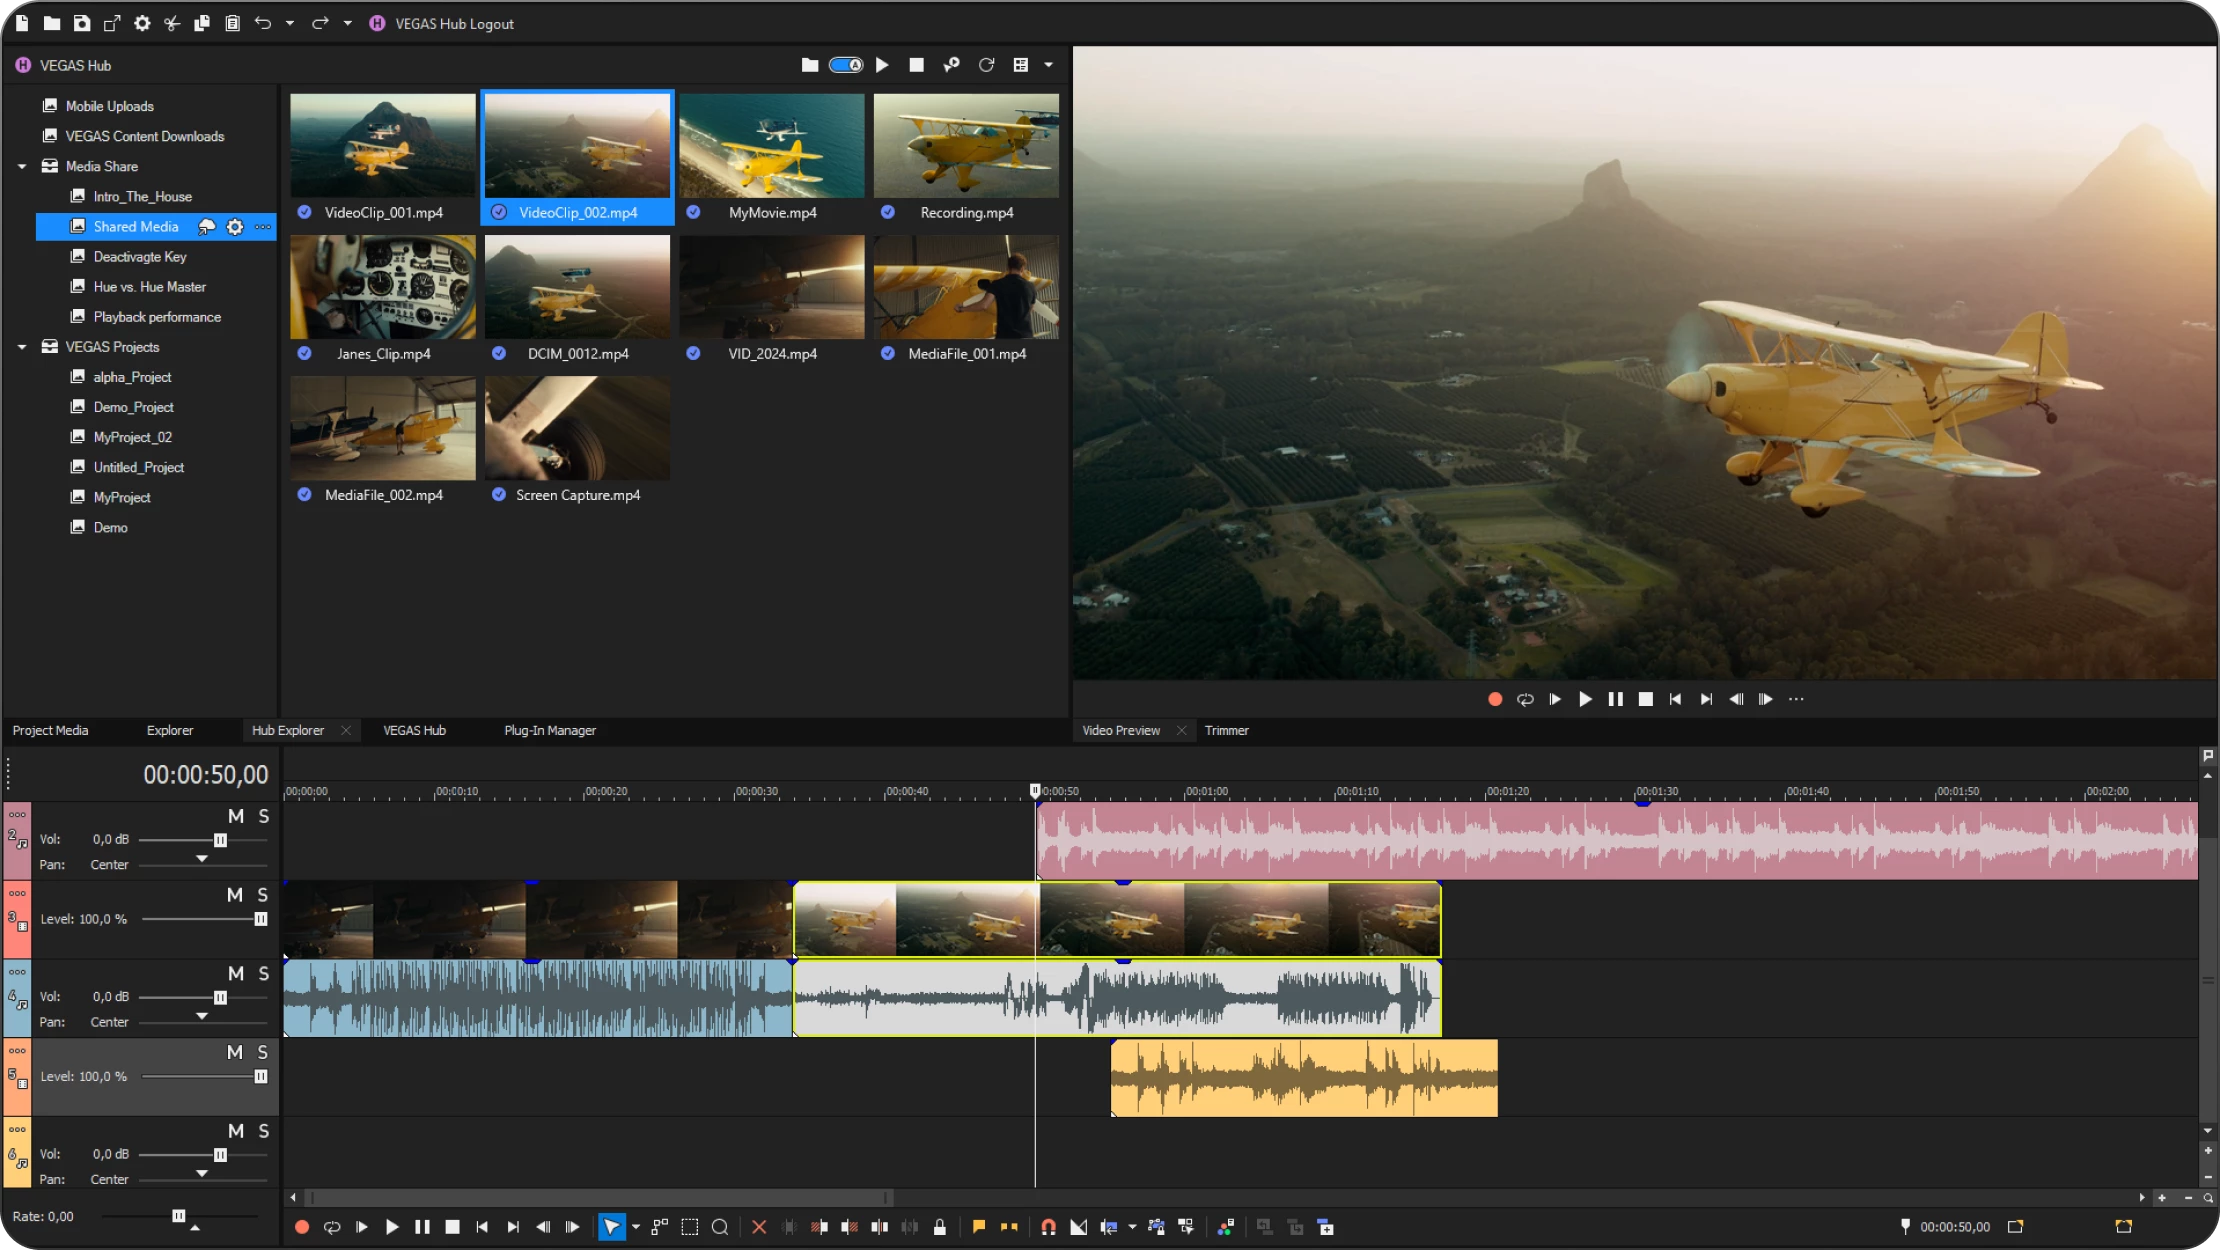
Part 1. The 5 Must-Have Sony Vegas Pro Transitions for Every Editor
Transitions are more than just scene changes. They set the mood, enhance storytelling, and keep your audience engaged. Think of them as characters in your editing journey, each with a unique role to play.
Let’s meet the top five Sony Vegas transitions you need to master.
1. The Smooth Operator (Fade to Black) – The Perfect Ending
This Vegas Pro transition is all about elegance and emotion. It gently fades your video to black. That creates a natural conclusion or signals a shift in time.
When to Use It:
- Emotional endings in vlogs or films.
- The scene changes in documentaries or cinematic edits.
- Slow-paced storytelling creates a sense of closure.
Example: You’re wrapping up a heartfelt travel documentary. The last shot fades to black as your voiceover lingers. It leaves a lasting impact on the viewer.

2. The Showstopper (Cross Dissolve) – Seamless Storytelling
A classic for smooth transitions, the cross-dissolve blends two clips together. This makes it ideal for gradual scene shifts.
When to Use It:
- Fading between similar shots (e.g., different angles of the same scene).
- Creating a soft transition in interviews or wedding videos.
- Enhancing time-lapse sequences.
Example: You’re editing a cinematic wedding video. The couple facing the sunset and slowly dissolves into a shot of them sharing a intimate smile face to face. This is seamless and sentimental.

3. The Energetic Performer (Slide) – Adding Motion and Excitement
Need to inject energy into your video? The slide transition moves one clip in while pushing another out. This kind of Sony Vegas Pro transition makes your edits feel dynamic and fast-paced.
When to Use It:
- Travel vlogs with fast-moving scenes.
- Sports highlight reels or action-packed content.
- Video montages with quick cuts.
Example: You’re creating an exciting travel vlog. A slide transition swipes from a drone shot of a cityscape to a close-up of a street vendor. It would keep the pace lively and engaging.
4. The Dreamweaver (Blur) – Flashbacks & Fantasy
Blur transitions soften the edges of reality, making them perfect for dreamy sequences, flashbacks, or shifts in perspective.
When to Use It:
- Flashbacks or memory sequences in short films.
- Dreamy, surreal effects in music videos.
- Smooth transitions in slow-motion edits.
Example: Your character in a short film remembers their past. A subtle blur transition transports the audience from the present day to a nostalgic flashback.

5. The Spotlight (Light Rays) – Cinematic Drama
Want to add a touch of Hollywood to your edits? The Light Rays of Sony Vegas transition simulates natural lighting effects. It creates a dramatic and eye-catching scene change.
When to Use It:
- Cinematic storytelling with a grand feel.
- Music videos or artistic projects.
- Creating heavenly or mystical visuals.
Example: A musician walks onto a dimly lit stage. As they step under the spotlight, a Light Rays transition brightens the scene. It will make the entrance feel epic and theatrical.
Part 2. The Best Vegas Pro Transitions Packs for Unlimited Creativity
If you want to make your edits stand out, Vegas Pro transition packs are a good tool. These packs offer ready-made transitions that can make your videos look more professional and engaging. Whether you're a beginner looking for free packs or a pro searching for premium cinematic effects, there’s a pack for every style. Let’s explore the best options.

Free Vegas Pro Transitions Packs for Beginners
If you're new to editing, free transition packs can help you get started without spending money. They offer simple but effective effects that make your edits look smoother. This pack is best for beginners, YouTubers, and casual editors who need simple transitions for everyday projects.
Best Free Packs:
- Basic Fade & Dissolve Pack – Great for natural and smooth scene changes.
- Glitch Starter Pack – Adds a digital distortion effect, perfect for tech or action videos.
- Slide & Motion Pack – Works well for vlogs and fast-paced edits.
Premium Vegas Pro Transitions Packs with High-Quality Effects
If you want professional-level transitions, premium packs offer high-quality effects that can enhance your storytelling. These packs provide a wide range of styles, from cinematic fades to dynamic motion effects. It is perfect for professional editors, filmmakers, and content creators who need high-quality effects.
Best Premium Packs:
- Cinematic Film Pack – Designed for seamless transitions in short films and documentaries.
- Glitch & Distortion Pack – Ideal for action sequences and music videos.
- Dynamic Zoom Pack – Adds movement and energy, perfect for social media content.
- Light Leaks & Flares Pack – Soft lighting effects that work well for emotional or artistic scenes.
Quick Tip:
Different projects require different styles of transitions. Choosing the right pack can make your edits look more natural and engaging.
- Corporate & Business Videos – Smooth fades, cross dissolves, and minimal transitions.
- Cinematic Storytelling – Lens flares, light leaks, and film-style effects.
- YouTube & Social Media Content – Fast zooms, glitch effects, and trendy slide transitions.
- Music Videos & Action Scenes – High-energy motion blur, distortion, and speed effects.
Avoid overusing transitions. Too many effects can make a video look unprofessional. The best editors use transitions to guide the viewer’s attention and create a natural flow between scenes.
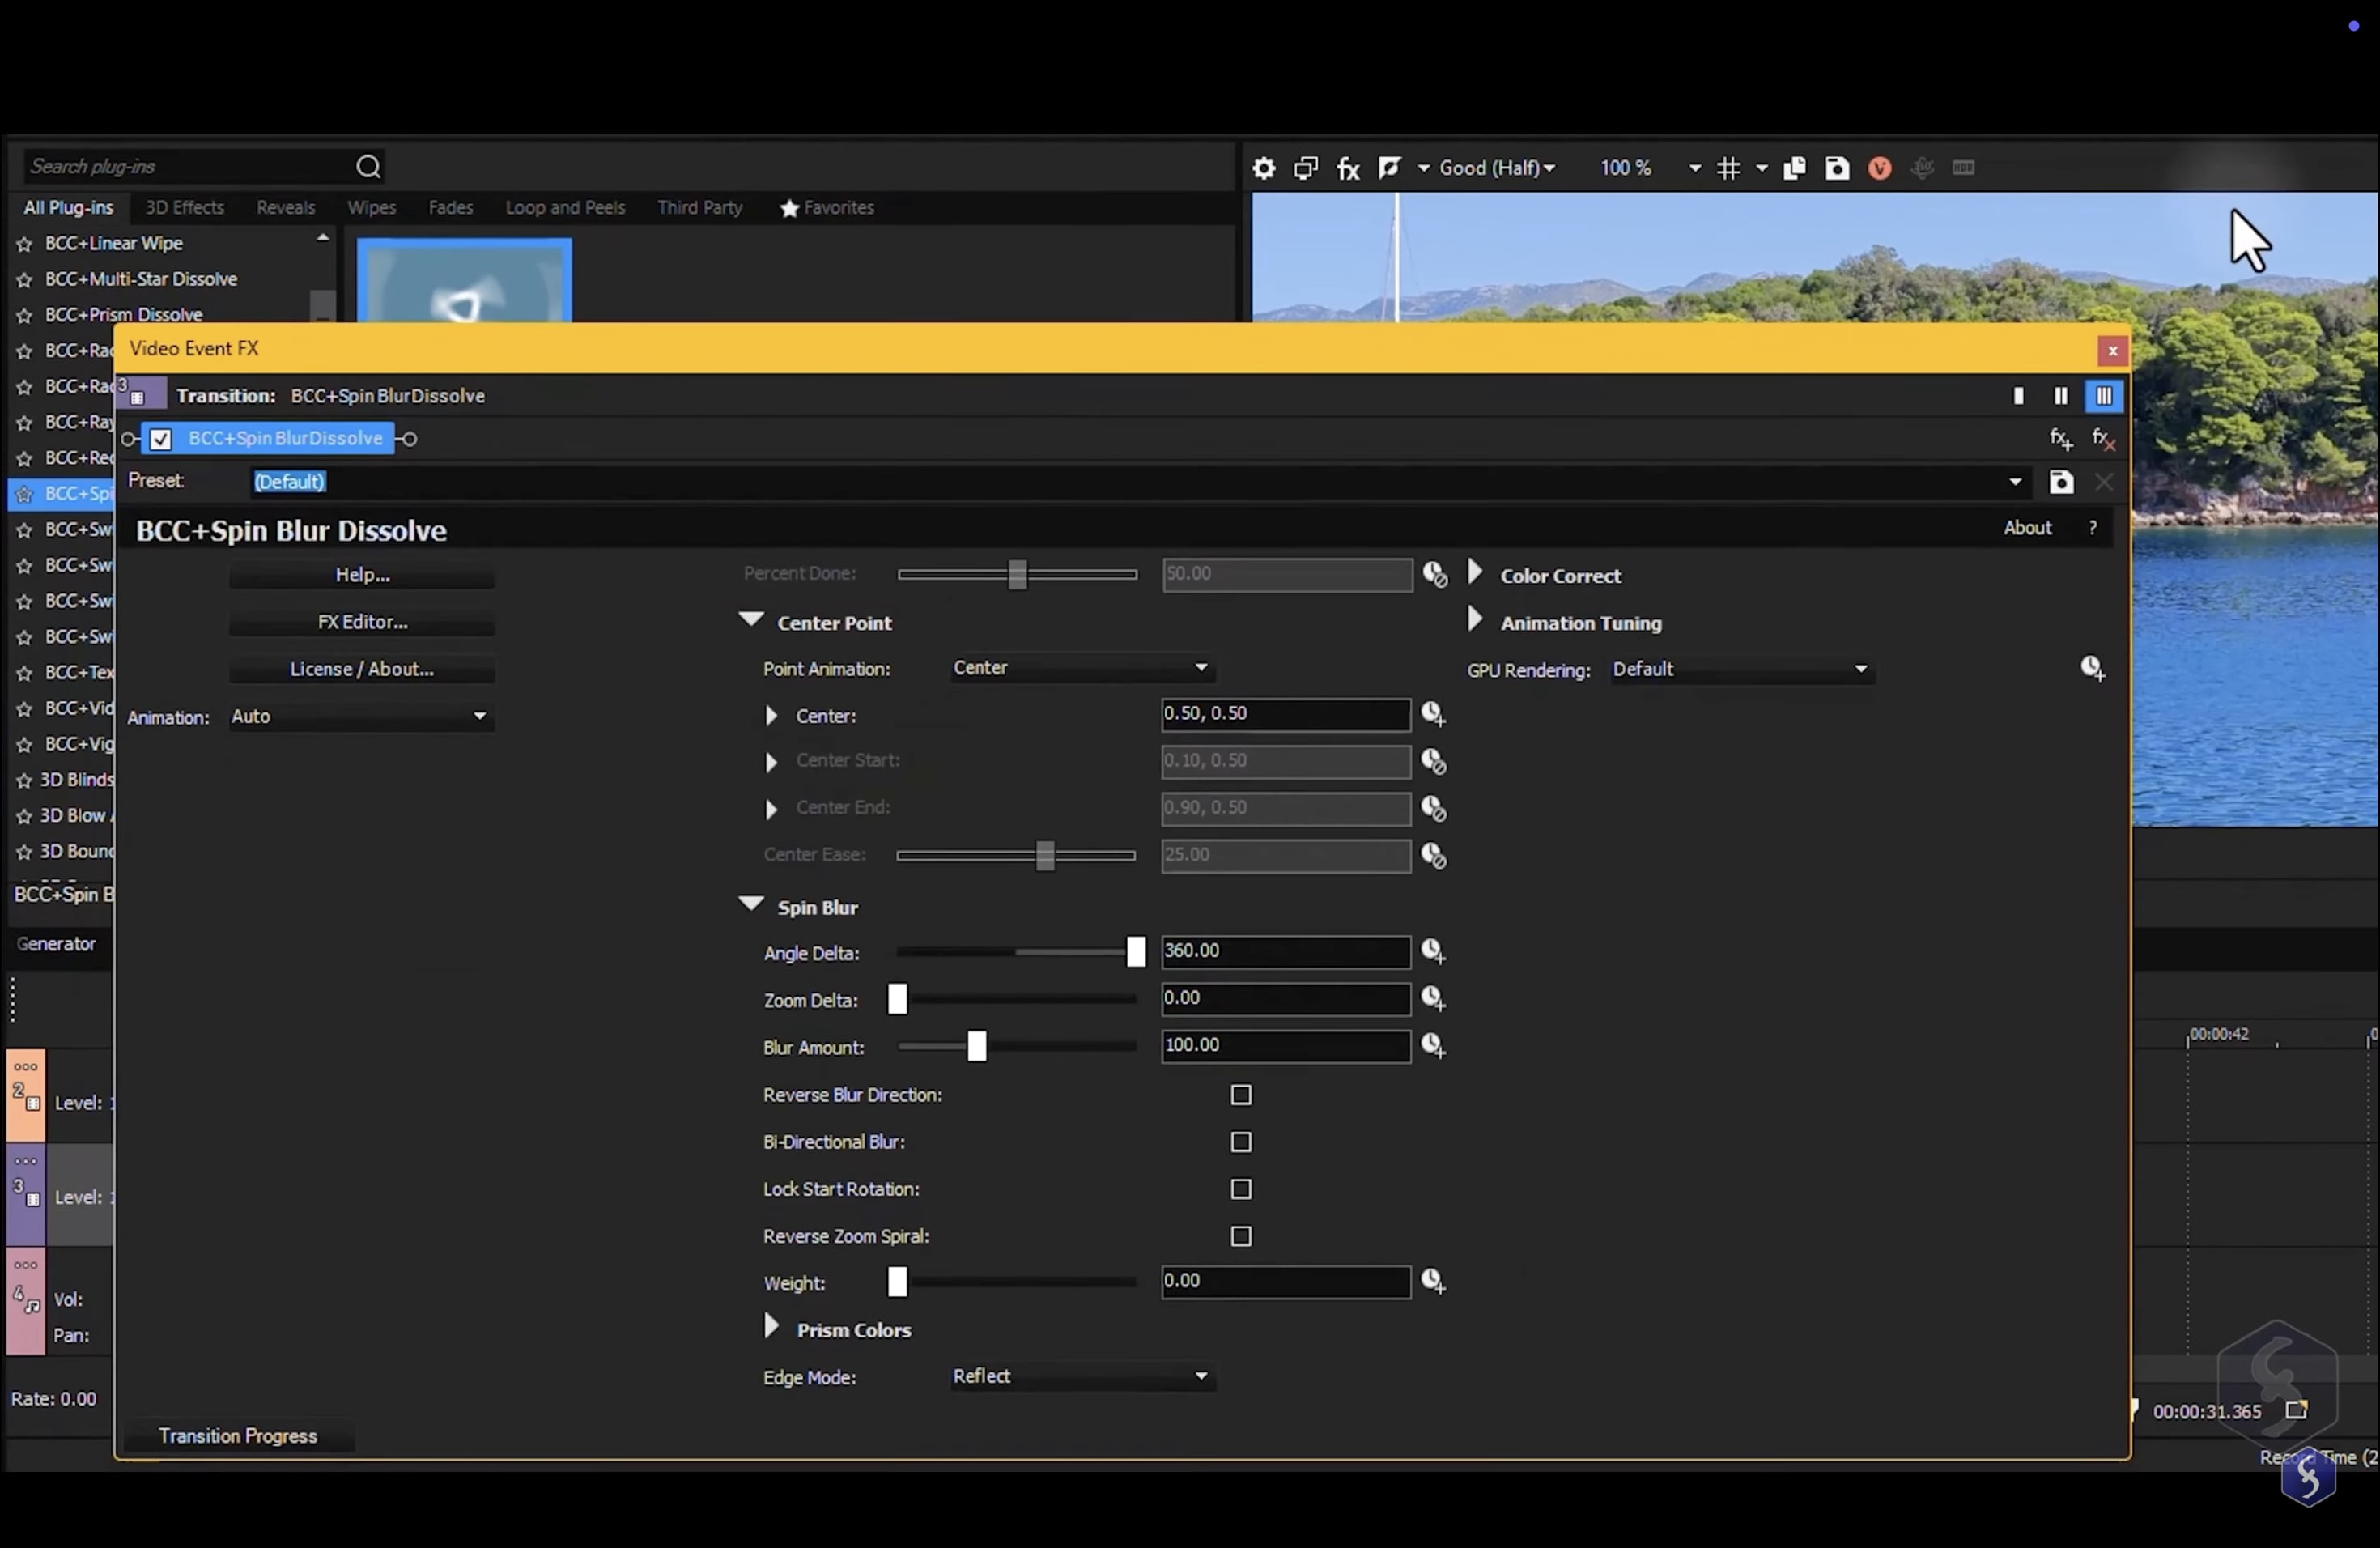
Part 3. Adding and Customizing Transitions in Sony Vegas Pro
Sony Vegas Pro transitions are easy to add and customize. This helps you create smooth and engaging edits. Follow this step-by-step guide to learn how to apply transitions like a pro.
Step 1. Import Your Video Clips
Start by opening Sony Vegas Pro and creating a new project. Drag and drop two video clips onto the timeline. To add a transition, make sure the clips slightly overlap at their edges. This overlap creates the space needed for the effect to blend the two clips smoothly.
Step 2. Open the Transitions Tab
All transition effects are located in the Transitions tab under the Video FX panel. Click on the tab to view different transition styles, such as fades, dissolves, slides, and more. You can preview each transition before applying it.
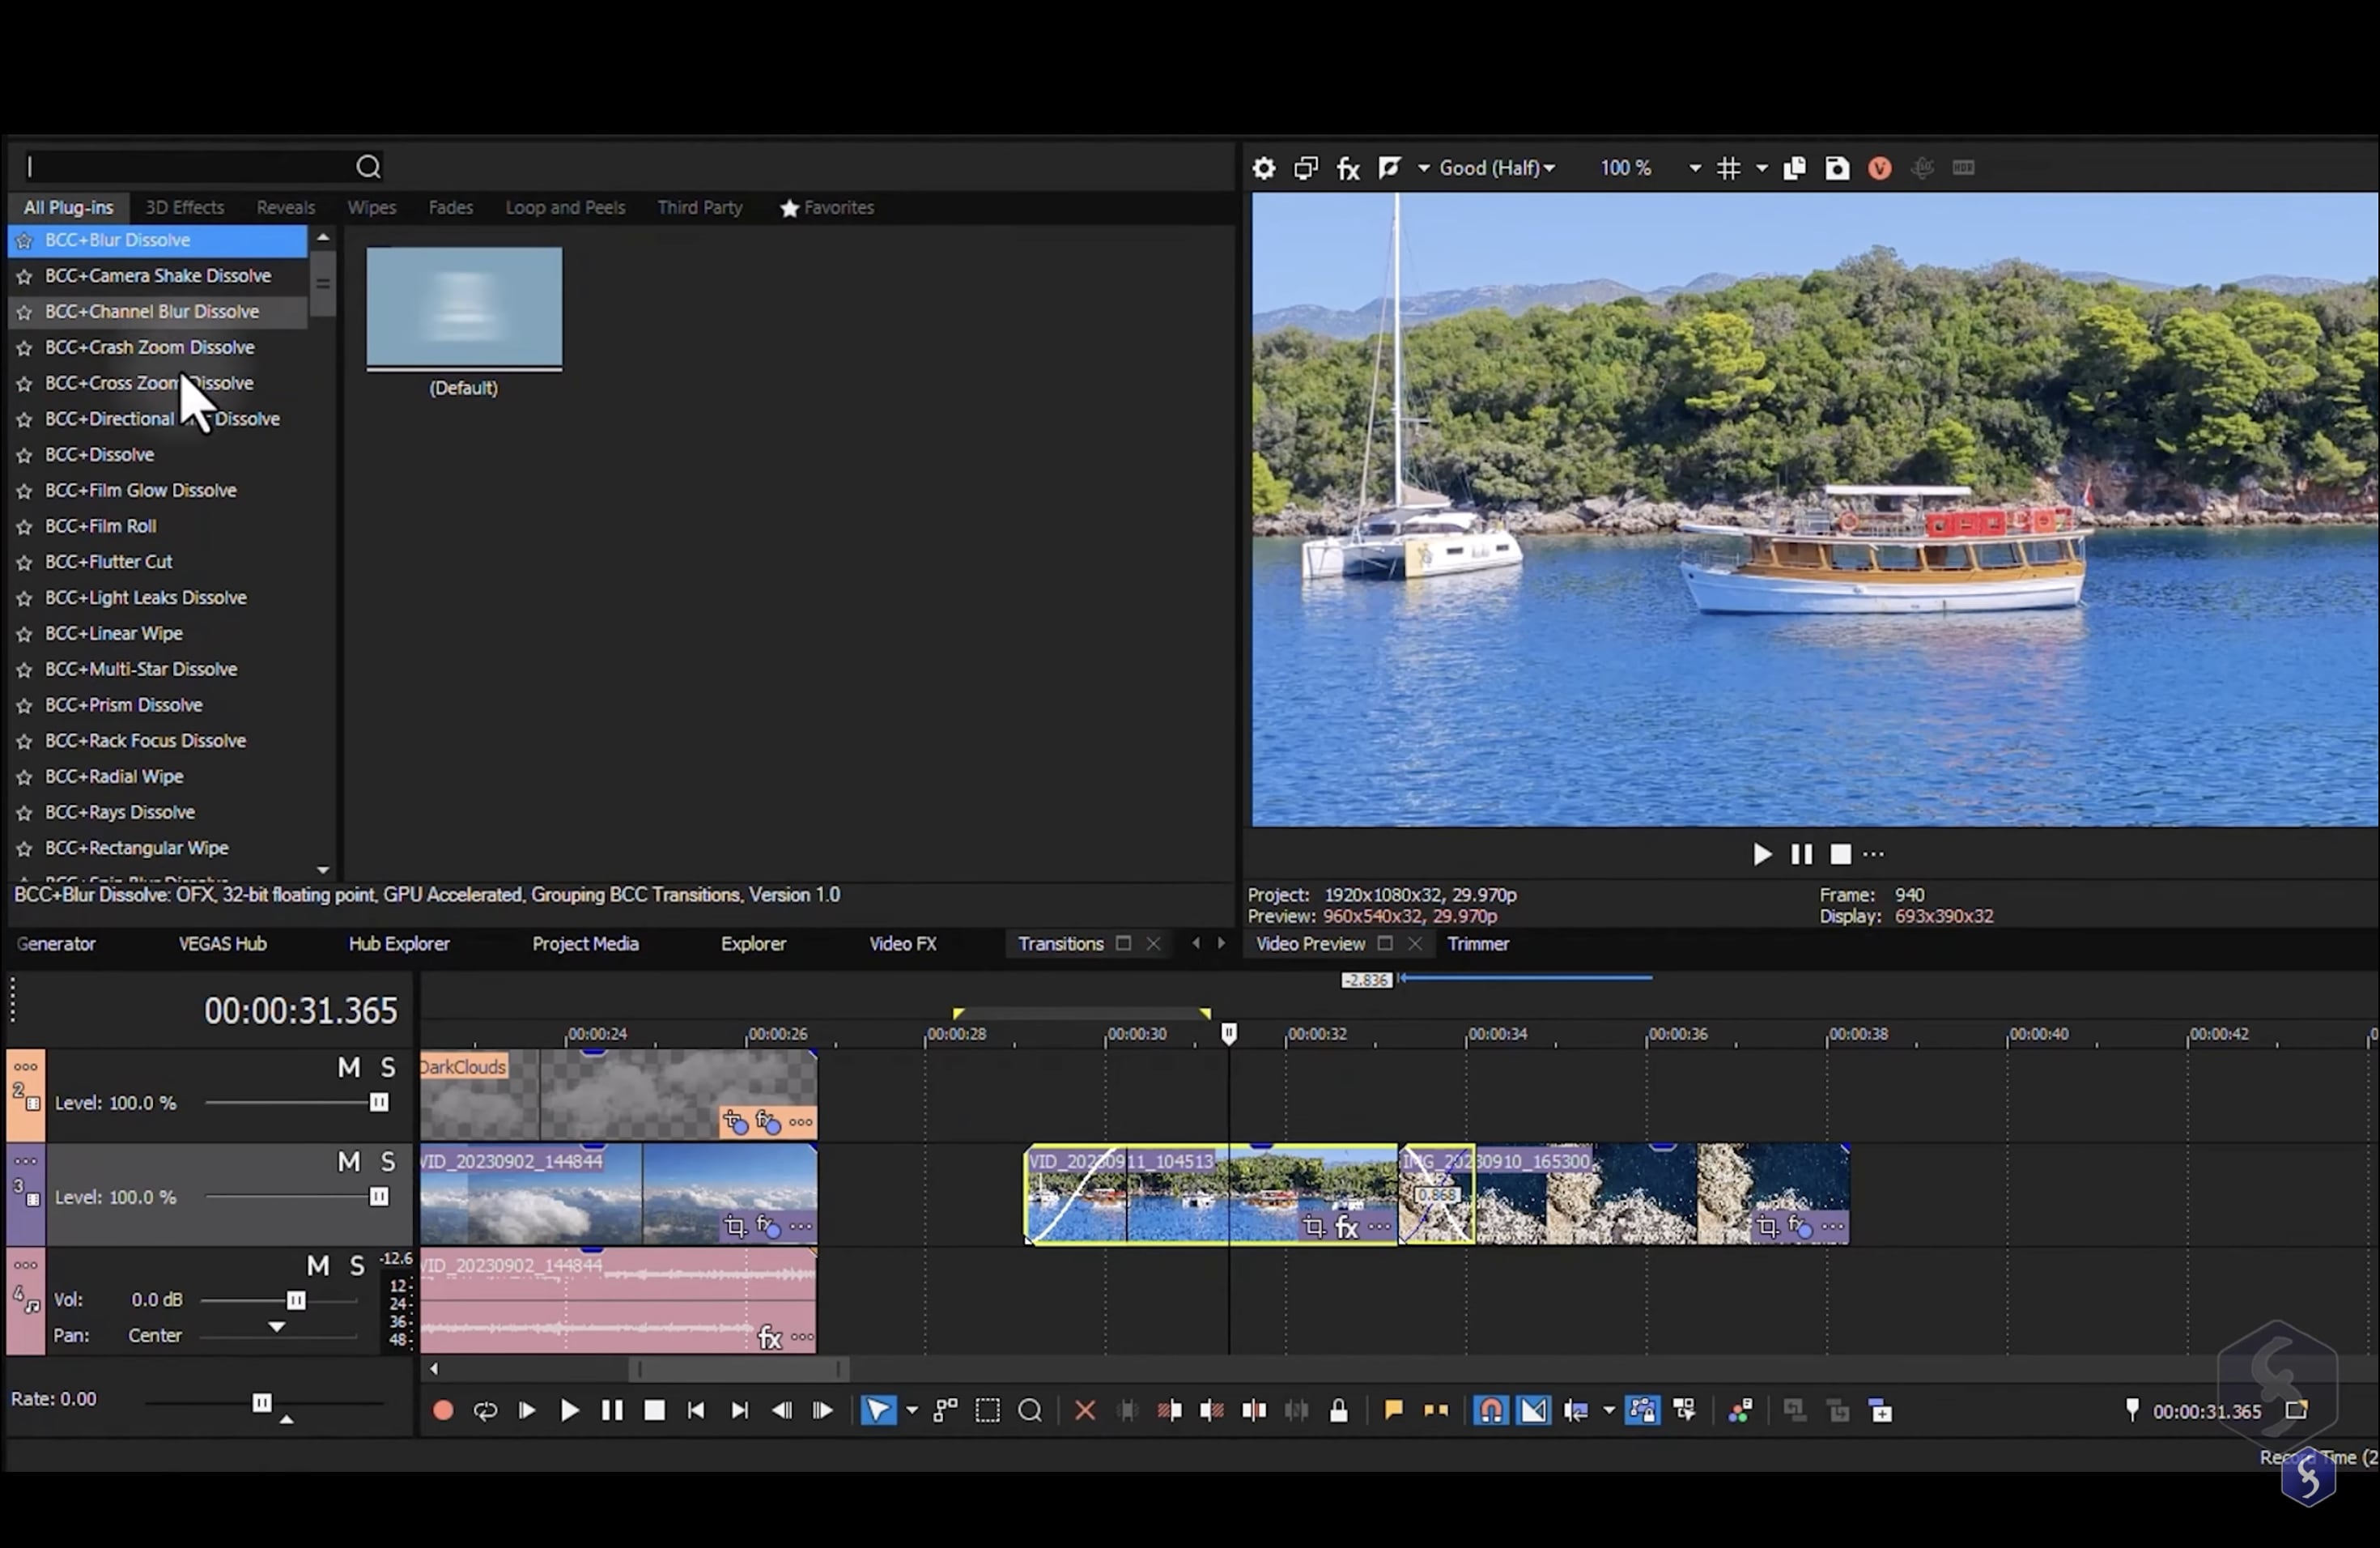
Step 3. Apply a Transition
To add a transition, click and drag your chosen effect from the Transitions panel onto the overlapping section of the two clips. Once dropped, the transition will be applied automatically. You will see a marker on the timeline indicating where the effect has been placed.
Step 4. Customize the Transition
Sony Vegas Pro allows you to adjust transition settings for better results. Double-click on the transition marker to open the Transition Properties window. Here, you can change the duration, effect strength, and motion settings. Preview your edits in real time to ensure the transition looks smooth.
Step 5. Fine-Tune the Timing
If the transition feels too fast or too slow, adjust the clip overlap in the timeline. Drag the clips closer together for a faster transition or pull them apart for a slower, smoother effect. Preview your changes to make sure the timing fits your video.
Step 6. Save and Export Your Video
Once you’re happy with the transitions, go to File > Render As. Choose the right format, such as MP4 or MOV, and adjust the resolution settings. Click Render to export your video with smooth, professional transitions.
Bonus. Sony Vegas Alternative: Use Filmora for Effortless Video Transitions
What if you could achieve stunning transitions with half the effort? While Sony Vegas Pro transitions offer full control, it can take time to fine-tune every effect. If you’re looking for a faster option, Wondershare Filmora is a great alternative.
Filmora simplifies video editing with pre-set transitions that apply in one click. No need to adjust keyframes or tweak settings. You just need to drag and drop, and your video will flow smoothly. It also features AI-powered tools that automate creative effects. They save time while keeping your edits professional.
 secure download

How to Add Transitions in Filmora
Step 1. Import Your Clips
Open Filmora and add your video clips to the timeline.

Step 2. Go to the Transitions Panel
Click on the Transitions tab to browse Filmora’s effects.
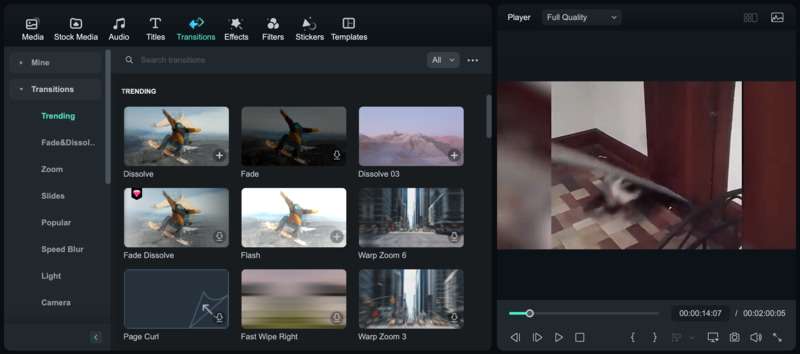
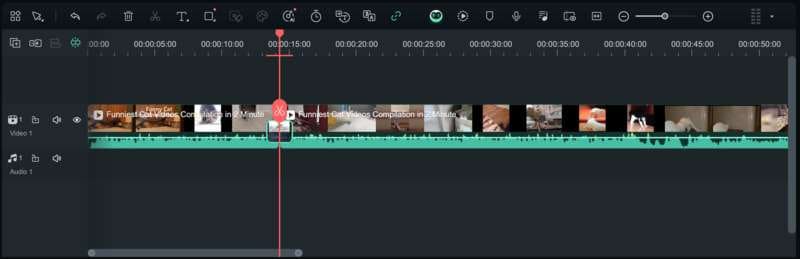
Step 3. Drag and Drop
Select a transition and drop it between two clips.
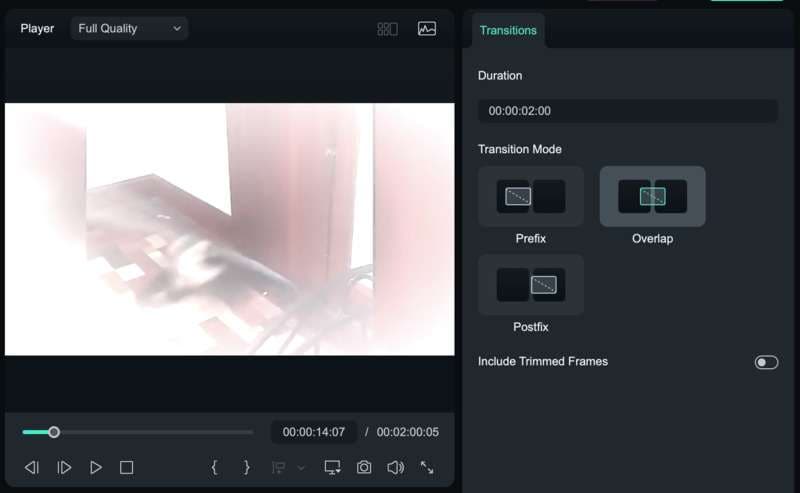
Step 4. Customize (Optional)
Adjust the duration or choose an advanced effect for a unique look.
Step 5. Preview and Export
Play your video to check the transition, then export it in high quality.
Conclusion
Sony Vegas transitions help make your videos look smooth and professional. Simple effects like fade, dissolve, and blur can improve your storytelling. These effects improve storytelling by making videos more engaging and visually appealing. If you want even more creative control, Vegas Pro transition packs offer a variety of advanced effects for different editing styles.
For a faster way to add transitions, Filmora is a great choice. It offers pre-set effects and AI-powered tools to save time. Try different styles and see what works best for your content. Smooth editing starts with the right transitions.
