


DaVinci Resolve is one of the popular video editors comprising many advanced features. This tool allows you to conduct 3D video editing and adjust color grading properties. You can also access its audio library to find out suitable music clips. Moreover, you can add transitions and animations to your videos for more enhancements.
While executing video editing, many people add an adjustment layer (clip) in DaVinci Resolve for convenience. By reading this article, you can discover the DaVinci Resolve adjustment layer and an easy method to add it during video editing.

In this article
Part 1: What is the Adjustment Layer (clip) in DaVinci Resolve?
Do you know the benefits of adding an adjustment layer (clip) in DaVinci Resolve? The adjustment layer (clip) in DaVinci Resolve gives you more control and flexibility during video editing. By adding this particular layer above your other clips, you can apply tons of effects to them.
Due to this ease, you don't have to apply the same effect to multiple clips. Thus, it saves your time and manual effort on DaVinci Resolve. One of the main advantages of adding an adjustment layer (clip) is that it does not modify the original pixels of the video. You can also rename the adjustment layers (clips) in DaVinci Resolve according to your desire.
Hence, adjustment layers in any video editor like DaVinci Resolve provide a non-destructive way to edit and apply effects to the video.

Part 2: How to Add an Adjustment Layer (clip) in DaVinci Resolve?
Are you keen to know how to add an adjustment layer in DaVinci Resolve? By reading this section, you can find easy instructions to apply the adjustment layer (clip) in DaVinci Resolve without hassle.
Step1 To add an adjustment layer in DaVinci Resolve, head to the "Effects Library." From there, click on "Toolbox" and select "Effects."

Step2 From the Effects section, you will have to search for the "Adjustment Clip." Drag and drop the adjustment clip and apply it above the layers that you want to edit.

Step3 Now extend the adjustment clip according to the layers. Once done, you can apply effects and transitions to the adjustment clip to add modifications.

Part 3: Three Ways to Use Adjustment Layers in DaVinci Resolve
Do you want to know how to use the DaVinci Resolve adjustment layer? Read this part of the article to discover how to use the adjustment layer (clip) in DaVinci Resolve.
1. Zoom in
Do you want to give the zoom-in element in your video to emphasize your subject? The zoom-in effect is created to focus on the subject to engage the viewers. On DaVinci Resolve, you can create the zoom-in effect using the adjustment layer (clip). To do so, you can read and follow the below instructions:
Step1 First, add the adjustment layer to your timeline by heading to Effects Library and then Toolbox. Make sure to apply the adjustment layer above your talking head on the timeline.
Step2 Now click on "Inspector" from the top right corner and enhance the "Zoom" value according to your desire. Once done, you can play the video to check the results.

2. Color Grading
Color grading can change the perspective of your video clip. Do you want to give your video an aesthetic, gloomy, or colorful vibe? Change the color grading properties using the adjustment layer (clip) in DaVinci Resolve. To use an adjustment layer for color grading, we have jotted down the simple steps below:
Step1 Drag and drop your clip above on the timeline. Once you are done, head to the "Color Page" given below.
Step2 On the Color page, go to "Library" from the right side and select the effect called "Color Space Transform" from the Resolve FX Color section. After applying this effect, you can enhance the visual appearance of your video.

3. Shake Transition
The shake transition adds a dramatic feel to your video to hook up the audience. If you have recorded a music video, you can add a shake transition to make it more captivating. To add this particular transition to your video, we will use the adjustment layer in DaVinci Resolve to produce accurate results.
Step1 Add the adjustment layer to your timeline. Trim it according to the specific part of your clip where you want to create the shake transition effect.
Step2 Now, from the left side, select "Open FX" library and search "Camera shake" effect. Apply it to the adjustment layer and navigate to the "Effects" tab from the top right corner. From there, increase the values of motion scale, speed scale, and motion blur. You can also make further changes in the "Shake Levels" section.

Step3 Afterward, scroll to the bottom and change the Border Type to "Reflect." Now head back to the Open FX library and select the "Flicker Addition" effect. Apply this particular effect to the adjustment layer. From the "Effects" tab on the right side, select "Flicker Gain" as your flicker type. You can also go to the "Video" tab to enhance the zoom and position value.
Step4 You can also select different composite modes. You can also duplicate the adjustment clip and alter the composite mode of the second clip. Once done, decrease the opacity of the second clip. Now copy and place the adjustment clips on your timeline according to your desire.

Bonus Tips: Use Adjustment Layers in the Best Alternative to DaVinci Resolve
If you are not satisfied with the results of the DaVinci Resolve adjustment layer, you can try Wondershare Filmora. This professional software can prove to be the best alternative to DaVinci Resolve due to its numerous key features. You can find this tool on every major platform, such as iOS, Android, Windows, and Mac. This tool has a clean and friendly user interface so that you can enjoy editing and modifying your videos.
You can also use adjustment layers to edit with great ease on this compatible video editor. Moreover, you can find multiple trending effects in its library that can help you to enhance your video clips. To add an adjustment layer in Filmora, you can follow the below steps.
How To Use Adjustment Layers in Filmora (Desktop)
Step1 Start with New Project
Once done with launching Filmora, hit the "New Project" button and upload the desired video. Drag and drop the added video to the timeline to proceed further.

Step2 Add the Adjustment Layer
Go to the "Media" tab and locate the option "Adjustment Layer." Once done, drag and drop the adjustment layer to the timeline and double-click on it to change its settings.

Step3 Manage the Adjustment Layer Settings
From the opened settings, you can alter the blending mode according to your choice. You can also change opacity and position for more adjustments. Also, you can apply various presets to add a cinematic look. Moreover, you can apply different borders across your video clip for a more enhanced look.

How To Use Adjustment Layers in Filmora Mobile (iOS)
As you can see, the options provided above all require a desktop. However, sometimes you have to make an edit quickly, and you don't have a computer beside you. Thankfully, modern phones can now edit videos as efficiently as desktops so that you can add adjustment layers just like in DaVinci Resolve.
For example, the steps below use Filmora mobile (iOS), a reliable and powerful mobile video editing tool:
Step1 Download Wondershare Filmora from the App Store.
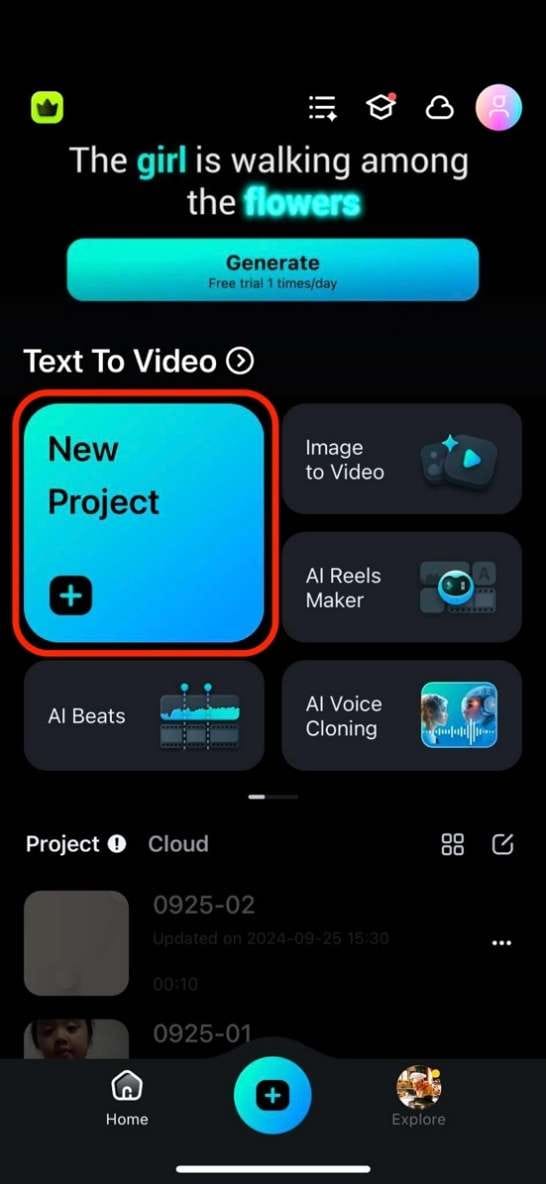
Step2 From the homepage, select New Project.
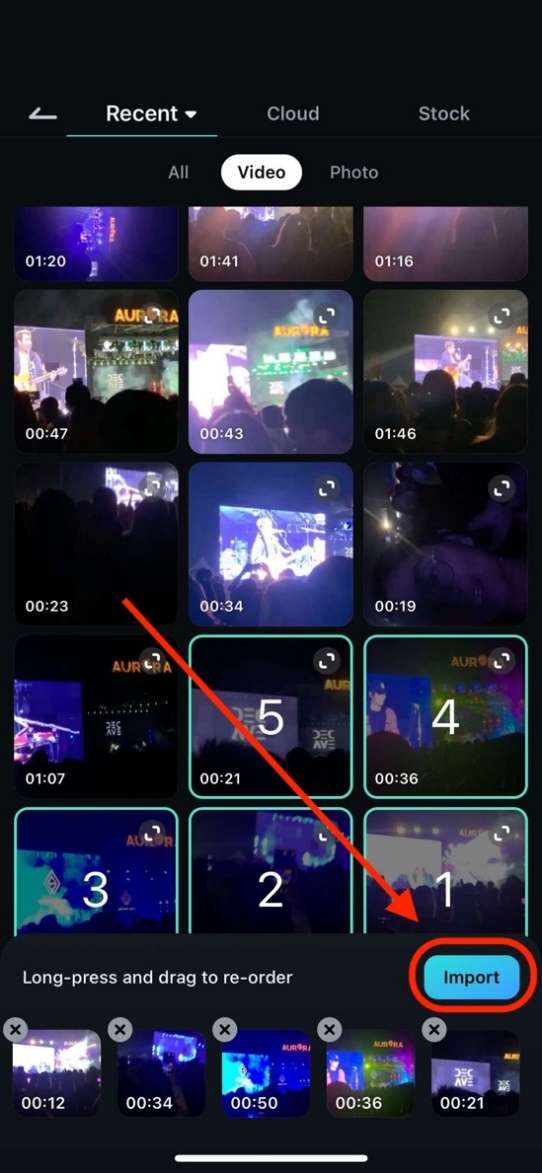
Step3 Select the videos you want to add adjustments to and press Import once done.
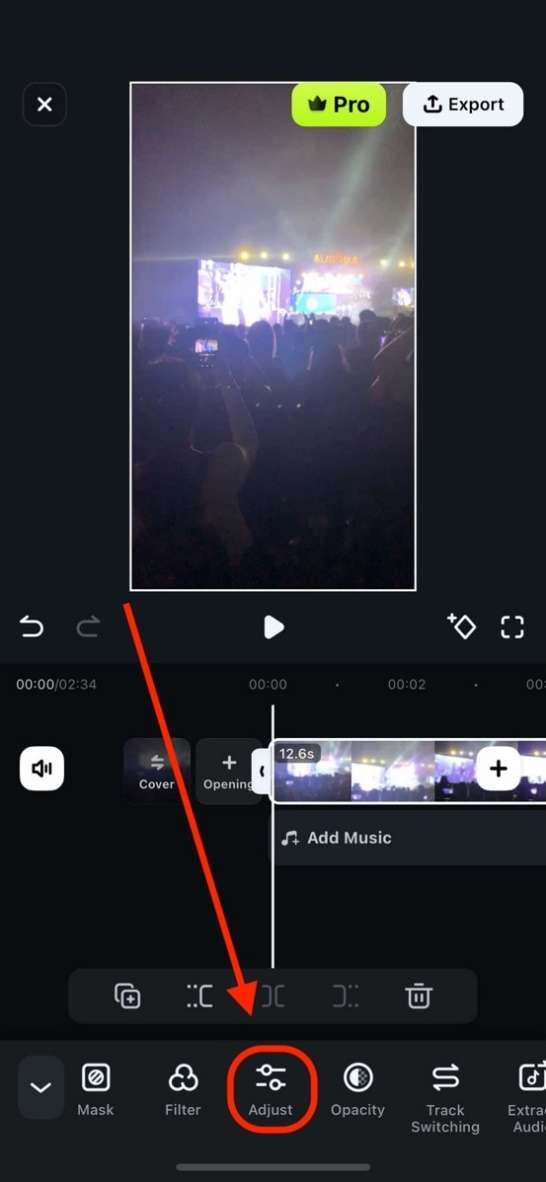
Step4 Select a clip. Then, look for Adjust in the bottom toolbar.
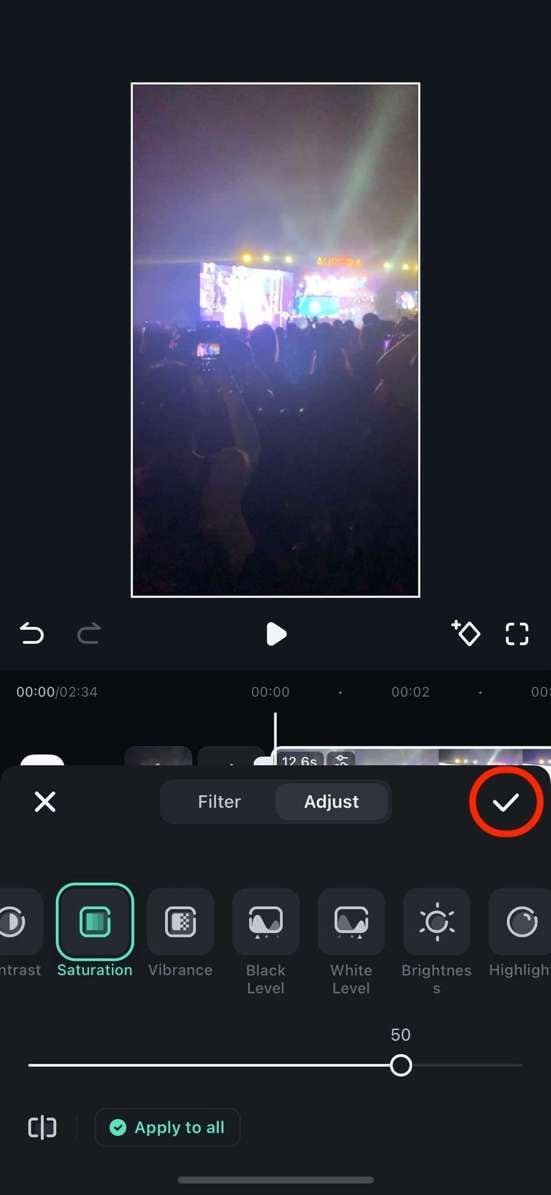
Step5 You can see the different adjustment tools here. Select what you need and adjust its strength accordingly. Afterwards, press the Check button.
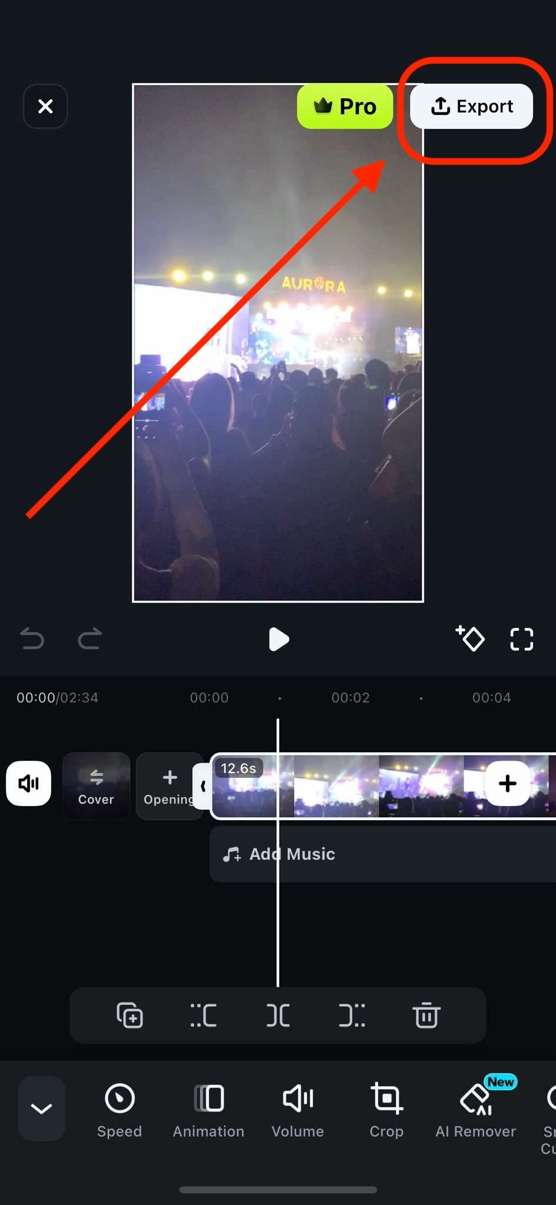
Step6 After adjusting everything, click Export to save your video.
It's easy to create adjustment layers to videos with your iOS device using Filmora. Try it out today and enjoy powerful editing features on the go with your iPad or iPhone.
Conclusion
DaVinci Resolve is one of the most famous video editors among professionals. If you want to become an expert in using DaVinci Resolve, you must know how to add an adjustment layer (clip) to this tool. For your help, this article has provided complete guidelines on how to add an adjustment layer in DaVinci Resolve.
Moreover, we have also highlighted a better option than DaVinci Resolve, known as Wondershare Filmora. Using this software, you can apply the adjustment layers to your video to generate more precise and accurate results.
