


 100% Security Verified | No Subscription Required | No Malware

Truly, color LUTs come in very handy when editing videos and producing similar content. Well, why not? Imagine applying certain color effects to your materials with just the snap of a finger. That’s indeed a whole new level of convenience. Meanwhile, you can also do the same thing if you come up with stunning video filters while editing your material. Yes. Creating LUTs is generally a walk in the park. You can experiment with the color settings and export your configurations later on. Don’t worry. There are tons of tutorials out there that can help you get started.
In this article, we will talk about the highlights and benefits of creating custom LUTs. We will also discuss the three important elements you should consider when doing such procedures. Lastly, we will provide a short guide on how to create a LUT in simple steps. Continue reading below to learn more.
In this article
How to Create a LUT Using Wondershare Filmora?
As indicated earlier, creating LUTs is not as complicated as it looks. You can make configurations and export your combinations in a breeze. No need to have a strong design background or formal training in this regard. Just ensure that your video editing software supports such procedures. Don’t worry. If you’re using Wondershare Filmora, creating LUTs is indeed a doddle. Do you wish to give it a try? If that is so, then check out the details provided below to learn more.

Key Features
Wondershare Filmora is filled with video editing tools that can help you produce stunning video content. Below are some of them. Check out the provided list.
- 3D LUTs: It allows you to apply existing and imported LUTs to your video projects. By default, Wondershare Filmora offers several selections. You can use any of them if you wish to. On the one hand, you may import from external sources or save your own configuration as a custom preset.
- Simple and advanced video editing: It is equipped with numerous features that you can use to facilitate a variety of video editing techniques in a snap.
- Useful creative assets: It offers a large library of creative resources that you can access and insert into your video projects. Among them are stock pictures, video clips, audio bits, filters, effects, and many others.
- Custom-tailored video templates: It has tons of ready-made video templates that you can easily customize if you don’t wish to edit videos from scratch.
- Artificial intelligence: It provides access to a variety of AI-powered tools that you can integrate into your creation process. To name a few, these are AI Copywriting, AI Smart Cut Out, AI Text-To-Video, AI Voice Enhancer, and many others.
- Flexible video export options: It allows you to render and export videos in different formats. Among the supported file types are MP4, WMV, AVI, MOV, F4V, MKV, 3GP, MPEG-2, WEBM, GIF, and MP3.
Step-By-Step Guide
Wondershare Filmora is very easy to use and navigate. If you need to create a LUT for your video, you will not have a hard time, for sure. Do you wish to try it on your end? If that is so, then check out the tutorial written below. Read the instructions very well and follow the indicated steps accordingly.
Step 1: Download the Wondershare Filmora app from its official website. Right after, install it on your computer.
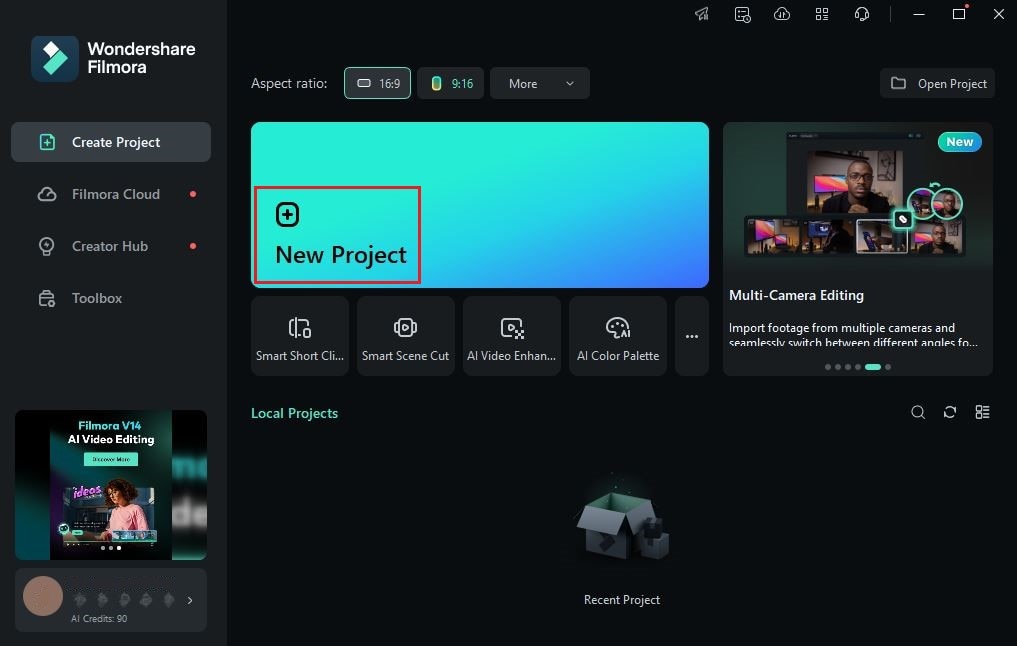
Step 2: Launch the newly installed video editing software on your desktop afterward. Once it fully loads up, head over to the main dashboard and tap New Project to start editing. Alternatively, scroll down a little to the Local Projects section and open an existing session if there is any available.
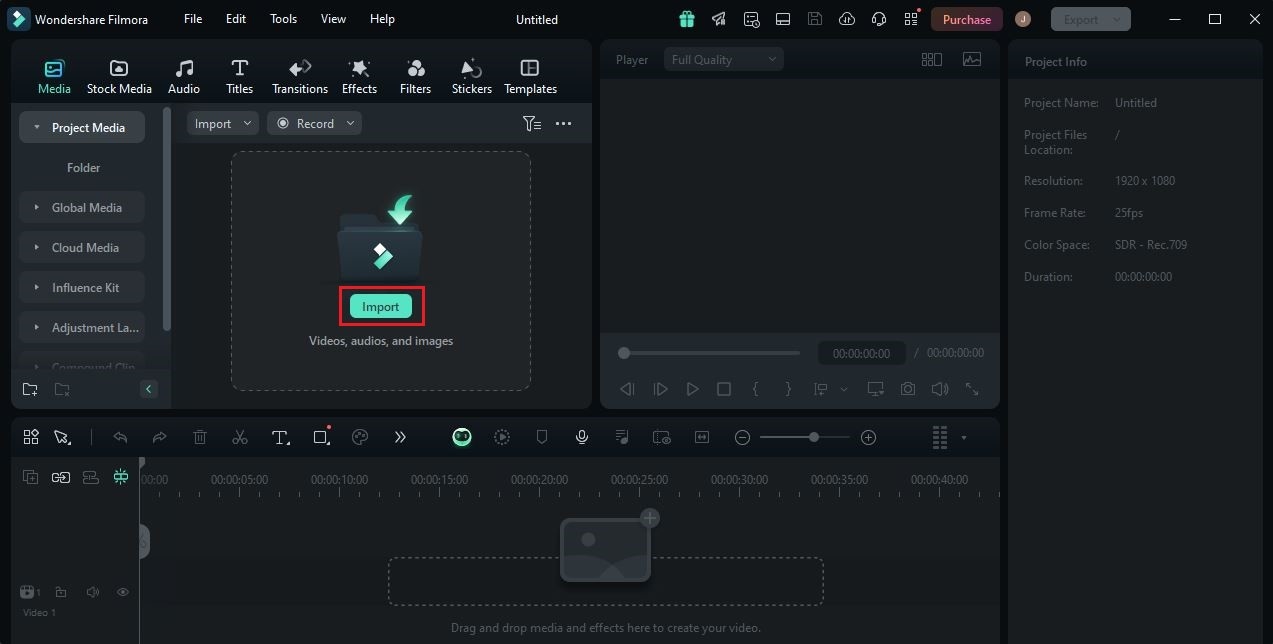
Step 3: After that, navigate to the Elements Panel and click Import under the Media tab. Select all the files you are going to use and upload them to the platform. Once completed, grab the files one by one and drag them from the Elements Panel to the Editor Timeline.
Step 4: At this point, you may now commence the actual video editing. Start by finalizing the arrangement of the assets according to your preferred style and structure. Simultaneously, make all the necessary adjustments to your video project. For instance, you may trim or split the clips, fix audio timing, and the like.

Step 5: Once done, you may now proceed with the LUT configuration. Don’t worry. If you want to create LUTs, you’ll not have a hard time. It’s a piece of cake. To get started, navigate to the Editor Timeline and select a video asset.
Step 6: A new panel will then appear on the right-side corner of your workspace. From there, click the Color tab to access all the settings related to this configuration. Under Basic, you can customize an existing LUT or configure color and light settings to come up with your own video effects. If you need more advanced tools, you may go to the HSL, Curves, or Color Wheel tab. Access all the available options and make your desired changes until you achieve a great outcome.

Step 7: Once done, click Save as Custom at the bottom section of the panel. Assign a unique label to your newly configured LUT, and then tap OK.

Step 8: You may now use your custom preset and apply it to your video content. Simply go to the Basic tab of the Color settings and then switch on the toggle button next to LUT. Click the LUT Preset menu and select your LUT from the list of options.

Step 9: Finally, it’s time to play and review your output. If you’re satisfied with the result, click the Export button right above the Preview Panel to render the video and save a copy to your computer. Otherwise, continue making adjustments until you achieve a desirable outcome.
Should You Create a LUT For Your Own Video Projects?
The majority of video editing platforms nowadays have a built-in library for video LUTs. You just basically have to explore its collections and select a particular preset you wish to use. Convenient, right? But somehow, many cinematographers recommend custom LUTs. Well, they have a point. You can assume more control over your project if you create a LUT on your own. That is one benefit. But apart from that, there is more to it. Do you want to know what those are? If that is so, then check out the list below for more details.
It helps you stay consistent with a specific style or design.
When you create a LUT, you’re at liberty to integrate all your ideas into the output. You can choose your preferred palette, insert specific elements you wish to use, and the like. That being the case, your overall output will appear to be more coherent and consistent with the particular look you wish to achieve.

It saves you time and effort.
Of course, you have to go through the actual process first when you create a LUT. But don’t worry. After you save the configuration, applying LUTs to your video content will be a lot easier. All you need to do by then is find the custom LUT from the list of options and select it. It’s just a click or two.
It gives you a chance to add personal touches.
Most of the time, applying an existing color LUT designed by other creators doesn’t capture your personal ideas. Sure. You can make adjustments in certain ways. However, it’s not enough sometimes, especially if your ideas are quite complex. That’s why you should create a LUT on your own if you wish to fully personalize your output.

It helps you achieve the exact look you want.
Lastly, creating LUTs helps you create a video filter that meets your preferred standard. You just probably need to make a few adjustments from time to time. But overall, it’s quite more effective in this regard than applying the default LUTs from your video editing software.
Elements You Should Prioritize When You Create a LUT
From the discussions earlier, you can see that creating LUTs is indeed a walk in the park. It only takes a few easy steps to come up with one and save the final configuration. However, there are some important calibrations that you should prioritize when working on this task. Do you want to know what those are? If that is so, then check out the list below. Read the items carefully and keep them in mind always.

Exposure
First on the list is exposure. It is generally the amount of light present in your video that affects its brightness, contrast, and color. If you’re creating LUTs, make sure that the exposure settings are calibrated very well. Don’t set it too high or low. Keep it at the right balance. Otherwise, the quality of your custom LUTs might be distorted and lose certain value.
White Balance
In a nutshell, white balance basically determines the purity of the white color in your video. It is a very important configuration because most colors interact with white. If the white balance is set poorly, your custom LUTs might not look their best.
Tint
Last but not least is tint. As the name suggests, tint is responsible for the color balance, specifically the green and magenta tones. By adjusting this setting, you can fix color imbalance, add specific hues to your videos, or create visual effects. That’s why you should not forget to revisit this calibration when creating LUTs and make certain adjustments. For sure, it can help you form the specific style you have in mind.
Conclusion
There is no doubt that LUTs elevate the quality of video content. That’s why you should not brush off the idea of exploring and using some of them when editing videos. At first, you can try the default selections that video editing apps offer to users. Just choose the style that perfectly matches your preferences. After a while, try to create a LUT on your end. Don’t worry. It’s not as hard as you think. To get started, download Wondershare Filmora. It’s a powerful video editing software packed with highly advanced features that can help a lot in this respect. Explore this platform and take advantage of its amazing benefits. Who knows? It might help you create a LUT that will forever change the world of content creation.
