


Suppose you are a video editor looking for professional opportunities or want to have stunning videos for your business's Instagram page. In that case, you should learn the basics of Instagram video cutting. You do not need technical knowledge to use it if you choose the right tool. So, you can immerse yourself in Instagram video cutting, which is crucial for optimal content creation that complies with the restrictions and peculiarities of the selected platform. Cutting videos for Instagram offers several benefits: It reorganizes the content for a small attention span, focuses on key segments, and abides by Instagram's video restrictions.
In this article
Part 1: Understanding 3 Instagram Video Formats for Professional Video Cutting
Before you start cutting your videos, it's crucial to understand the different video formats and lengths that Instagram supports. This knowledge will help you tailor your content to fit seamlessly into each format.
Feed Posts:
- Length: Up to 1 minute.
- Aspect Ratios: 1:1 (square), 4:5 (portrait), or 16:9 (landscape).
Stories:
- Length: Up to 15 seconds per clip.
- Aspect Ratio: 9:16 (vertical).
Reels:
- Length: Up to 90 seconds.
- Aspect Ratios: 9:16 (vertical) or 4:5 (portrait).
Understanding these formats will guide your video editing process, ensuring your content is perfectly optimized for each type of Instagram post.
Part 2: How to Trim your video with a Desktop Video Editor For Longer Videos & All Formats (Like Filmora)
For more extensive video cutting, trimming, and splitting of professional-level videos, a desktop video editor such as Wondershare Filmora is a better option due to more advanced capabilities and AI features. Filmora is not only an application for mobile devices, it is more of a software that can be easily downloaded and used on Windows or Mac, it goes beyond basic trimming with advanced features such as:
Key Features:
- Cut and Trim: Optimize cutting and trimming of audio and video media by cropping the selected media.
- AI Copywriting: Incorporate captivating captions or descriptions to your videos based on the content of your video. Understand how AI Copywriting works in Filmora.
- Scene Detection: Analyze various scenes in your video which will help you when you are editing the video.
- Transitions and Effects: Your video can include a wide variety of transitions and visual effects.
- Audio Editing Tools: Some of these are audio normalization, background noise elimination, and voice changing.
Steps for Cutting Videos for Instagram with Wondershare Filmora:
Step1Download and Install Filmora

Go to the Wondershare Filmora website and download this Windows or Mac OS software. Then, follow the following steps to install Filmora on the computer.
Step2Import Your Video
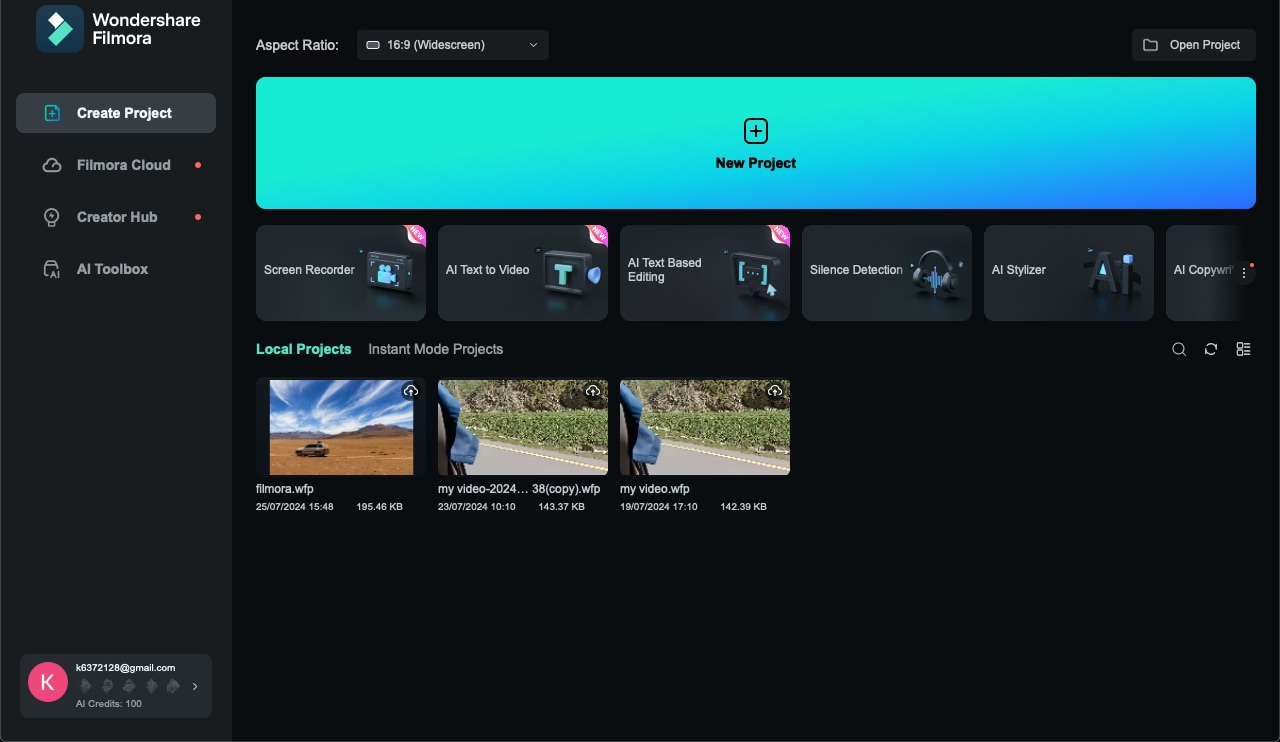
Open the Filmora and create a new project by clicking on 'New Project.' Go to 'Importing' or drag the file directly into the library to import the video.
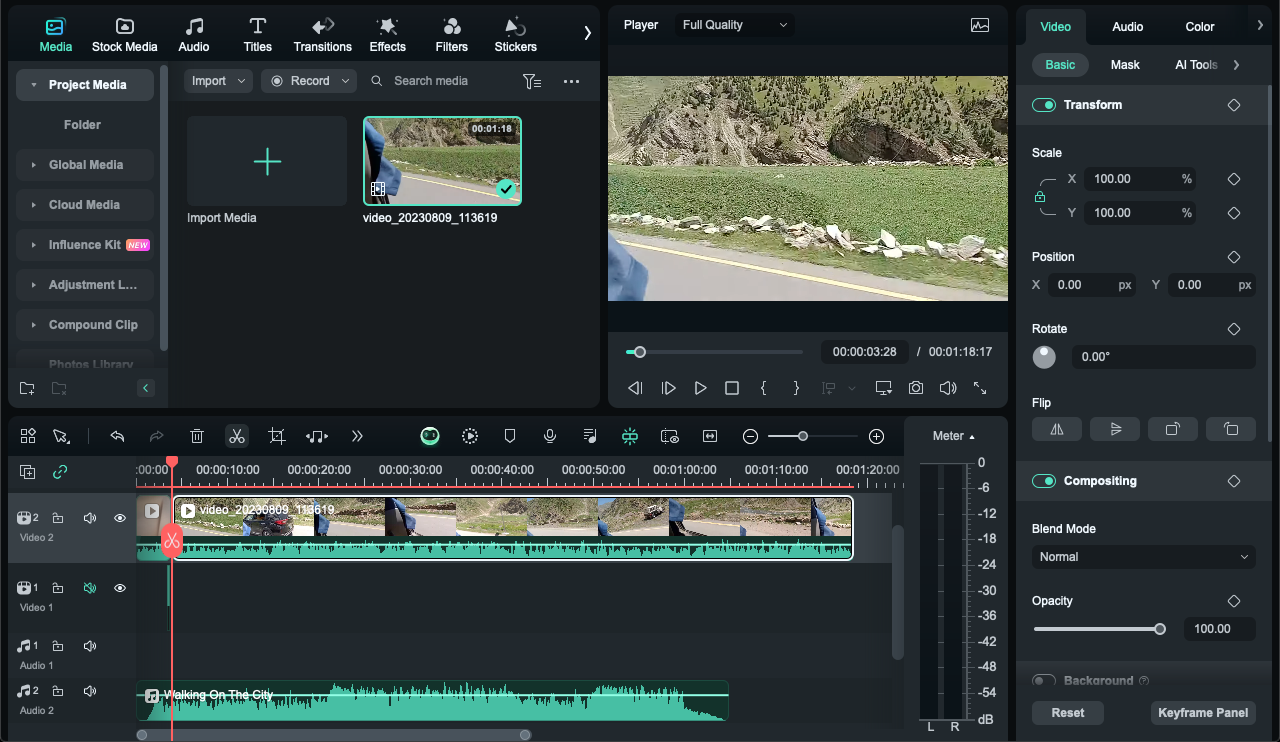
Step3Add Video to Timeline

Click and drag your video from the locations in the middle of the website labeled 'media library' down to the line at the bottom of the page labeled 'timeline.'
Step4Change aspect ratio of a video
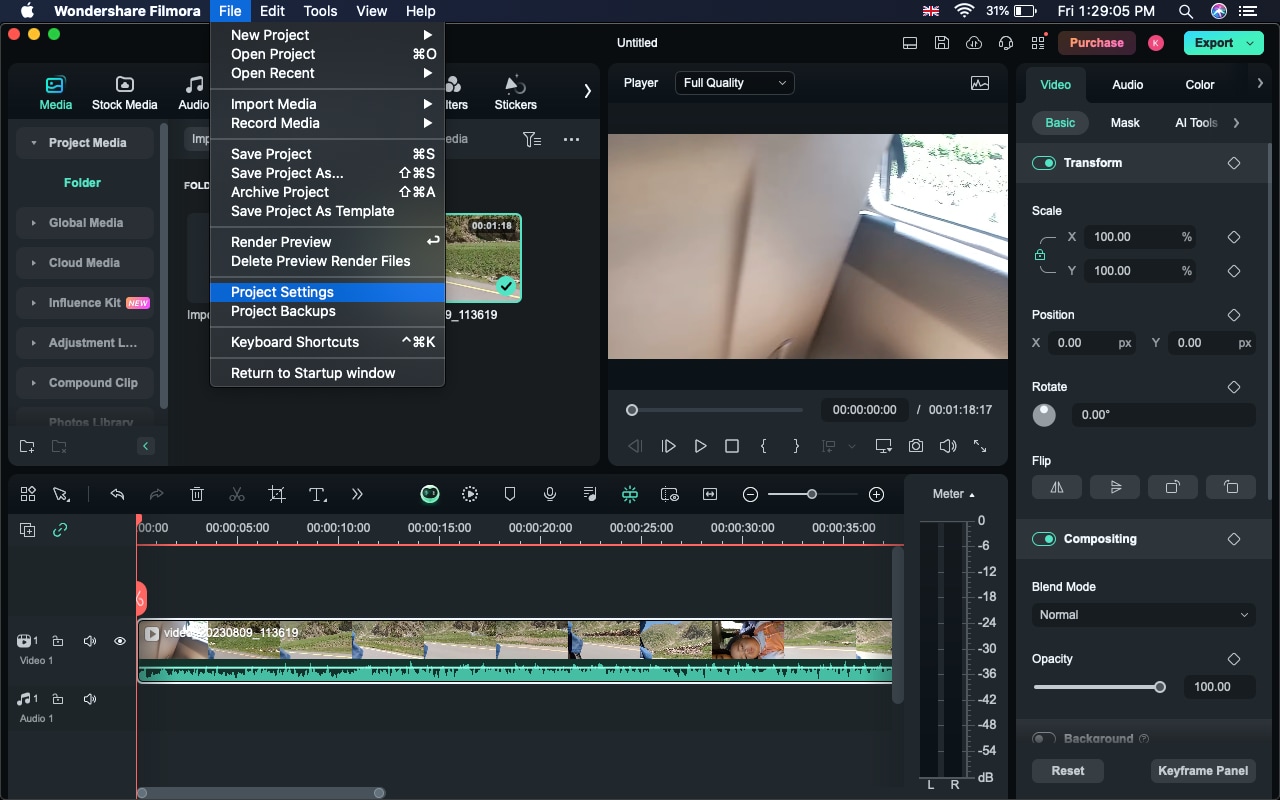
You need to make an aspect ratio 1:1 for Instagram videos. For this purpose, go to “File” at the top of the screen and click on project settings.
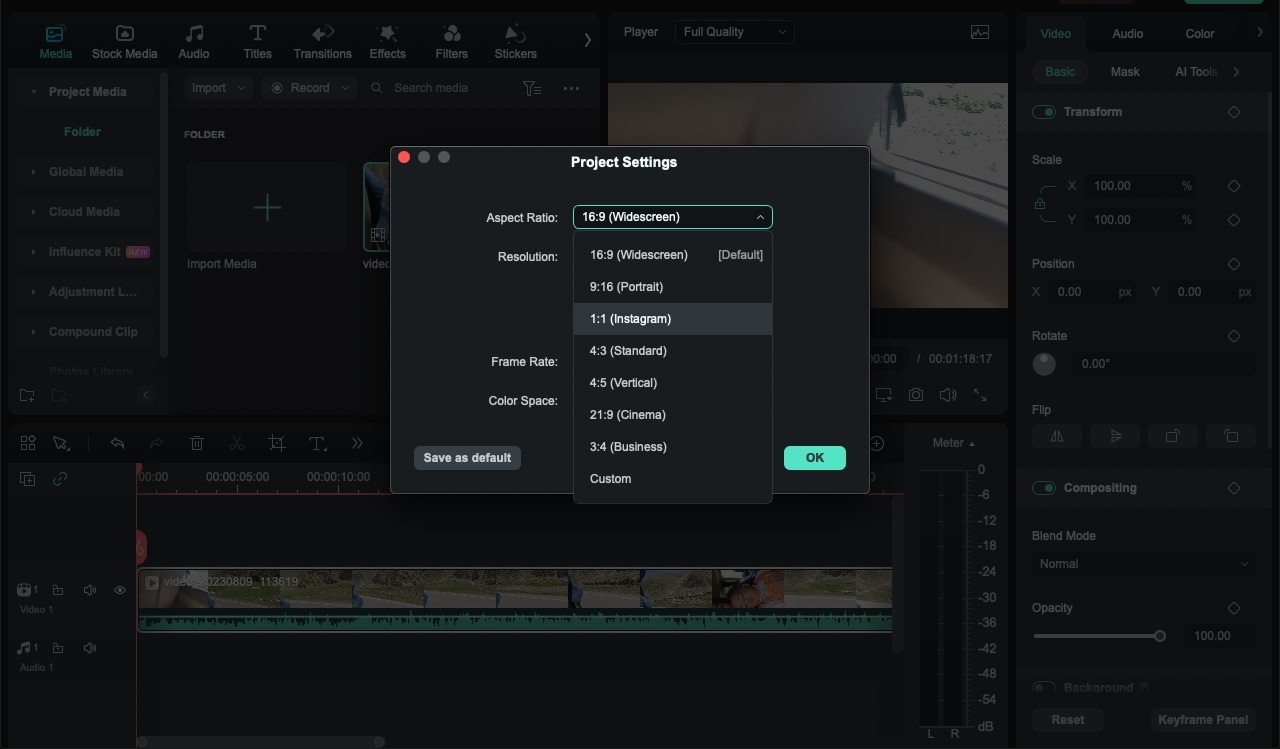
After clicking on project settings, you will see options to change aspect ratio. Change it to Instagram (1:1).
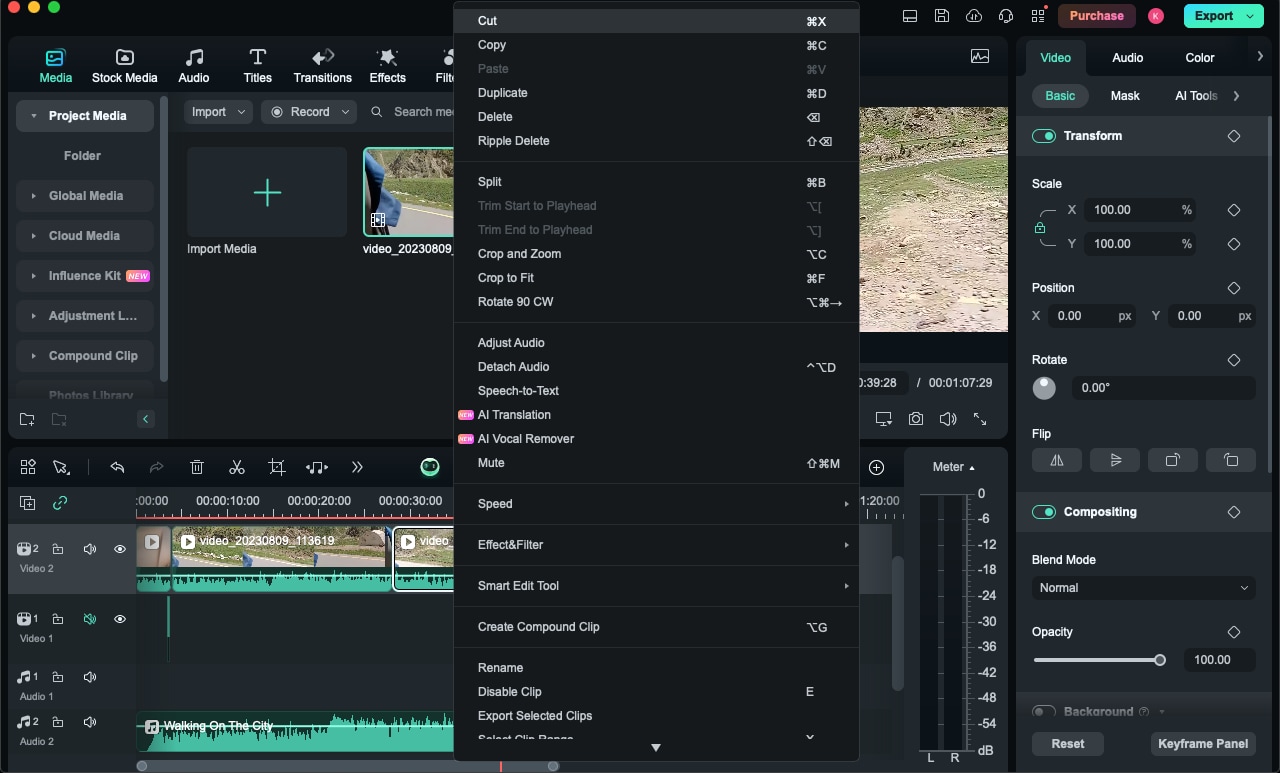
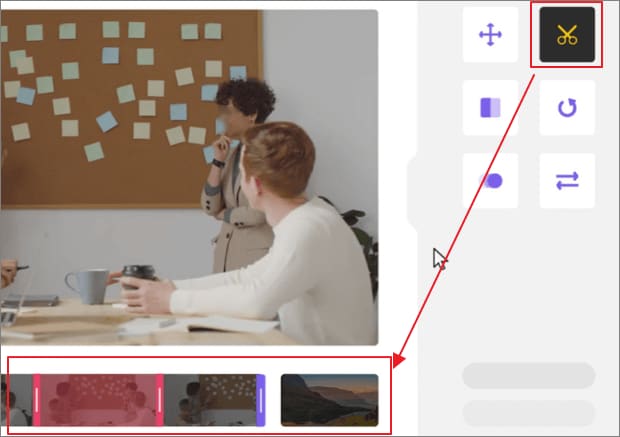
Step5Cut and Delete Unwanted Segments
The procedure is to position your playhead to the part where you wish to create a cut. To cut the video there just place the mouse pointer over the split icon which looks like Scissors. Repeating the same process, you can continue cutting the potatoes till you need more portions.
Right-click the unwanted segment in the image and the delete option will appear and you should press the delete button.
Use AI Copywriting for Captions:
Once you have edited your video, use the AI Copywriting tool to get appealing captions and description for the video. There are four operations to open and use AI Copywriting in Filmora respectively on the startup interface, the title interface modification, the export setting interface, and the export success interface.
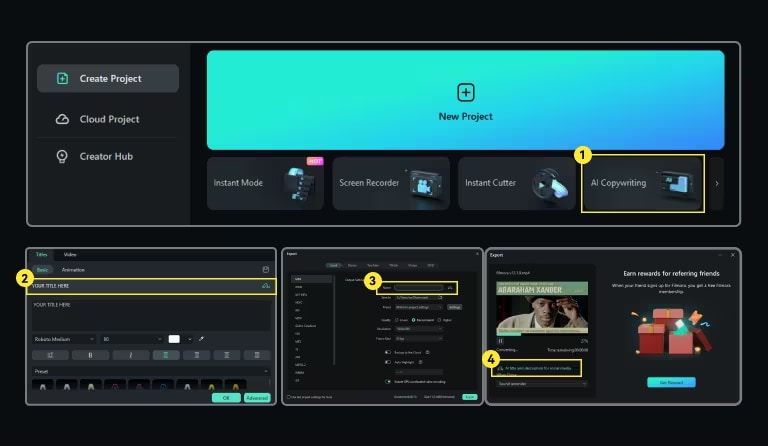
Input the recommendation source, which has to be a couple of keywords or overview of the video for the system to give captions and descriptions ideas. Edit the text generated by the AI as you wish and insert it into the video under the final part for a better and more professional look.
Step6Add Transitions (Optional)
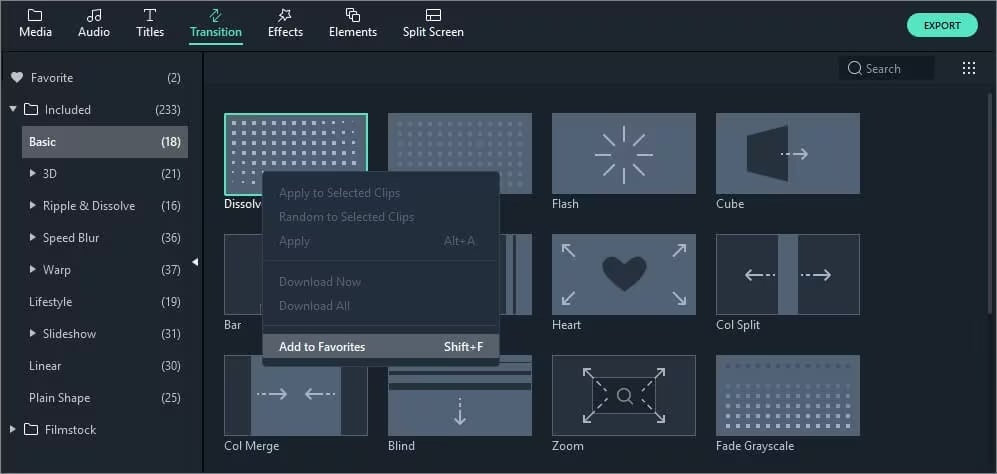
Once you are in the video compilation mode you can increase its appeal by inserting transitions between cuts in the "Transitions" menu.
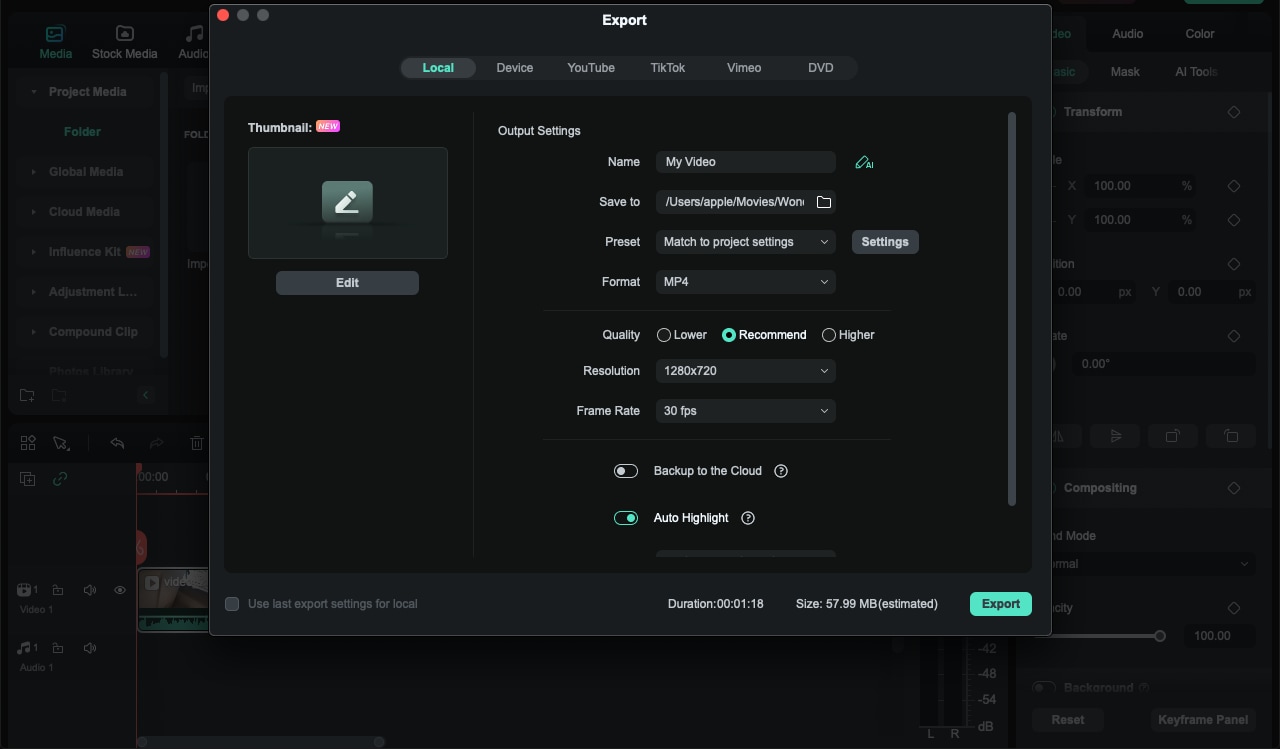
Step7Export Your Video
When you are through with your adjustments, go to the 'Export' tab and click on it. Select the correct format for Instagram and save the video.
Incorporating Wondershare Filmora's AI Copywriting function will let you create excellent captions and descriptions in the end, making your videos both aesthetically appealing to viewers and interesting to read.
Part 3: How to Cut Instagram Videos on Online Tool For All Devices (Like Animaker)
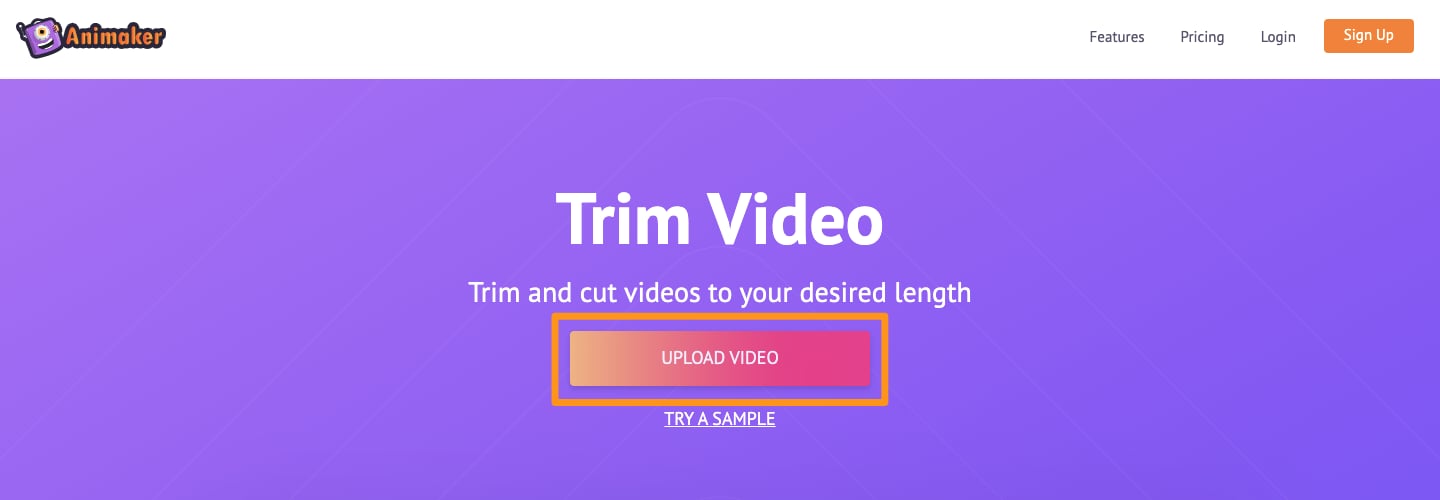
Cutting videos posted on Instagram can be done using the online tools. For instance, Animaker Trim tool is a web-based software and can be run from any device with an internet explorer; it is easy to use. Especially when cutting a video becomes very easy, it is convenient for fast editing without downloading different software.

Key Features:
- Easy-to-use interface: Focus on basic dragging and dropping tools.
- No downloads are required: It can be used with any device with access to the world wide web.
- Supports multiple video formats: This tool is perfect for working with numerous file extensions.
- Allows precise trimming: Crucial framing and editing on every frame.
Step-by-Step Instructions:
- Go through Animaker’s online trim tool.
- To do this, press the “Upload Video” button and choose the video file you want.
- To segment the desired video clip, you need to use on-screen controls with handles, sliders, and other similar resources.
- Use the sliders to change the start and end positions.
- Review the chosen segment to warrant the correctness of selecting the related element.
- To save your changes, click the "Trim Video" button in the lower part of the panel.
- After fixing the video and removing the watermark, use the “Download” button to get the video with no watermark.
Part 4: How to use Cut Instagram video by Using Instagram Built-in App (For Mobile Users)
One of the great features of the Instagram app for sharing videos is that it has a trimming tool. This tool allows one to edit videos without needing to download any other additional application on the smartphone. It is very suitable for the minor editing that people do when they are on the move, especially for the Stories and Feed section.

Key Features:
- Direct access within the app: There is a need to cross different applications to deliver the information requested.
- Simple trimming interface: Easy and easy-to-use control sliders developed for easy customization.
- Instant preview of edits: Observe the changes as and when they occur.
- Integration with Stories and Feed posts: Dictate, revise, publish, and more – all without ever having to leave the application.
- No additional apps needed: Various distributed integrations are at the core of Instagram.
Step-by-Step Guide:
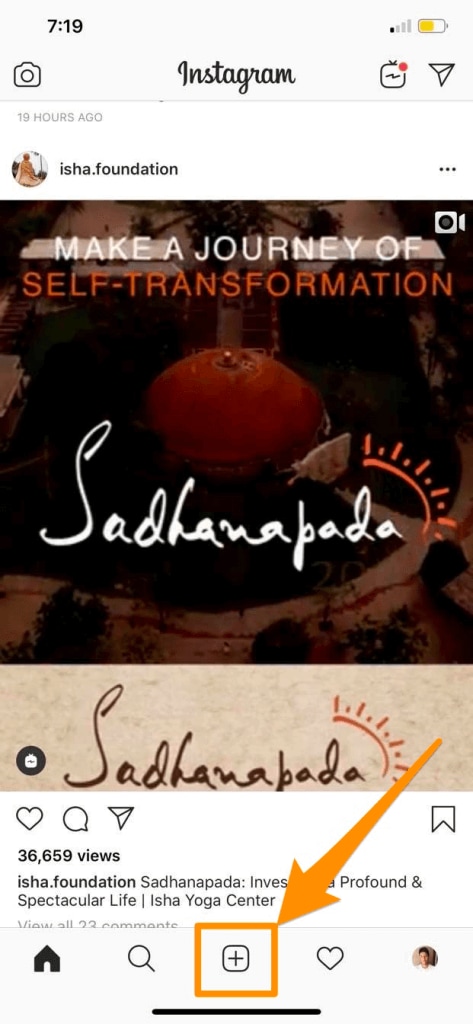
- Go to the Instagram application and click on the camera icon at the top right corner of the home screen if you intend to post in the Story section, or click on the plus icon (+),, also located at the top right corner, to post in the Feed section.
- For Stories, you can directly swipe your fingers from the right side of your mobile screen or tap the camera icon at the top left side.
- Feed posts can be done using the “+” icon at the Home tab's bottom center.
- Choose the video from the gallery you want to upload to your account.
- When the video is loaded, go to the bottom of the screen to search for the “Trim” tab.
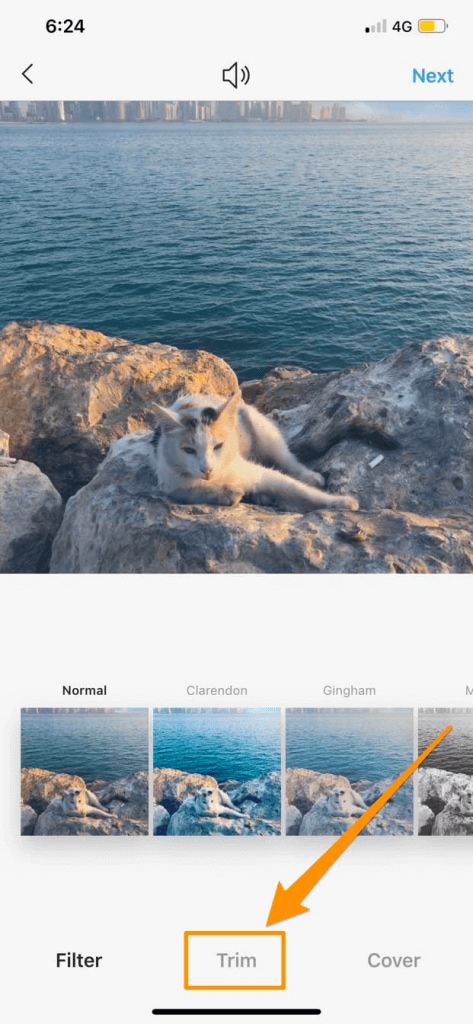
- To navigate through the video, use the sliders below and set the range where the selected part of the video is located.
- This starts by dragging the left slider to select the scale's beginning.
- Slide the right slider to determine how far the line should extend.
- Check the final segment chosen to ensure the main points are covered well and concisely.
- Following the cropping process, tap on the option ‘Done’ if you optimize a Stories video or ‘Next’ if it is a Feed post to save the trimmed video within the application.
- Expand on it with additional edits or captions, and then upload your video.
Conclusion
Getting acquainted with techniques of cutting the video for an Instagram account is crucial when it comes to making posts. With the help of various formats and utilizing optimal tools, multiple improvements can be made to the posts regardless of whether the person is a professional video editor or the owner of a company.
This guide has described to you the processes of cutting videos using Wondershare Filmora, Animaker and the Instagram app. All of these methods are designed to provide specific features to allow for the creation of videos tailored to Feed posts, Stories, and Reels. However, we recommend Filmora if you want highly customized, advanced and professional-level cutting, trimming and merging of instagram videos.
