
 100% Security Verified | No Subscription Required | No Malware


 ChatGPT
 Perplexity
 Gemini
 Claude
 Grok
Grok
In this article
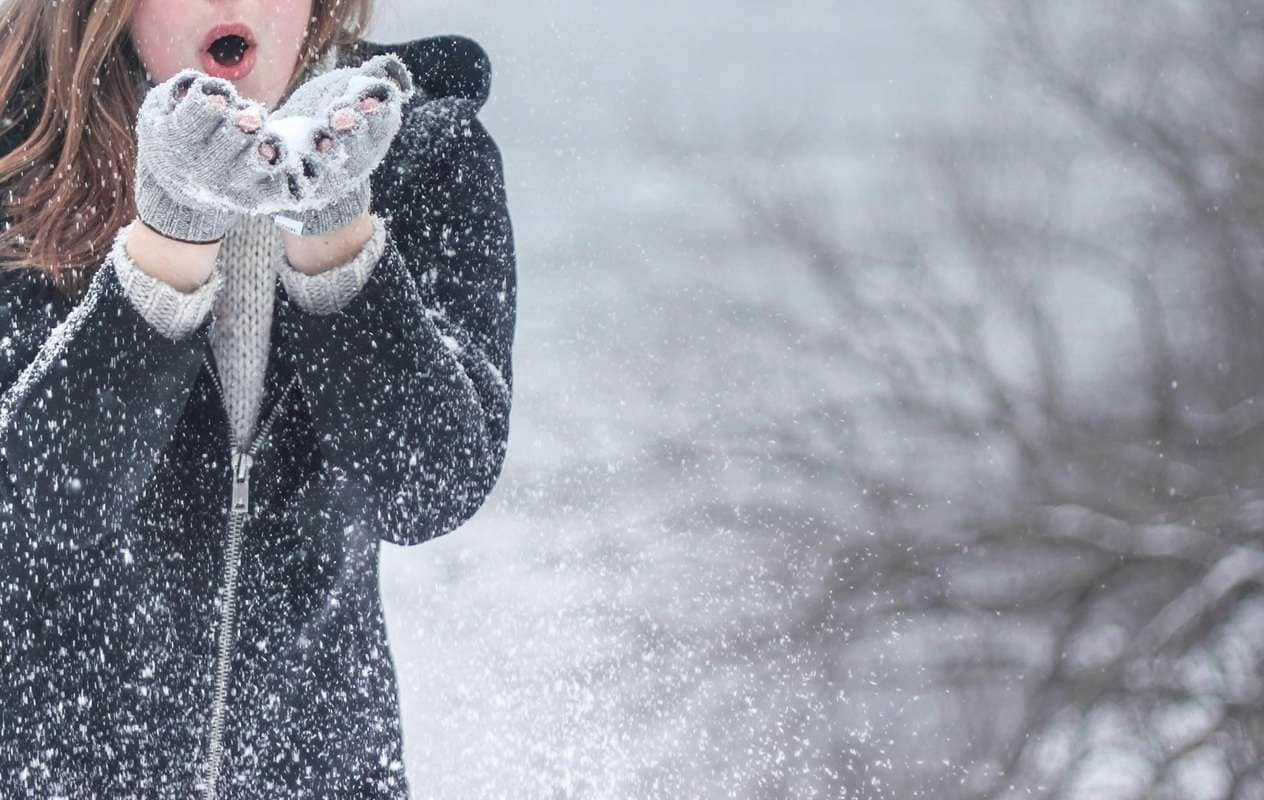
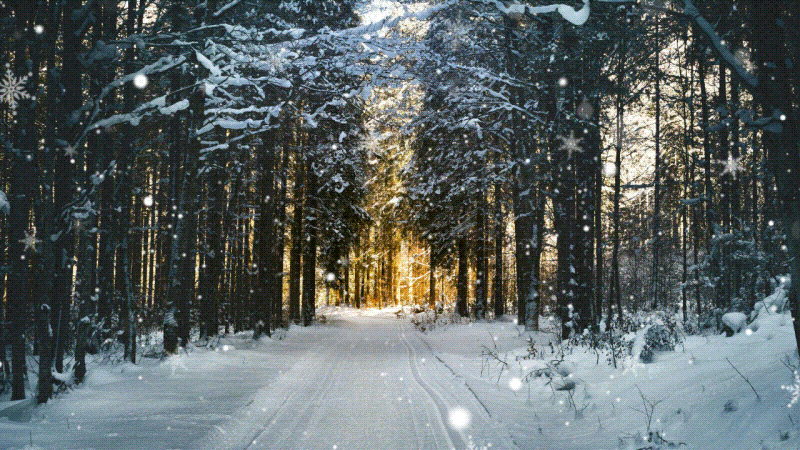
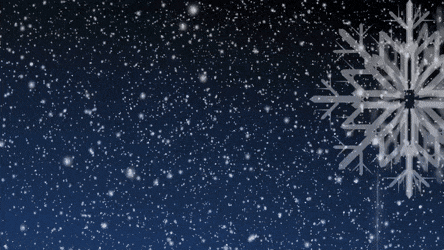
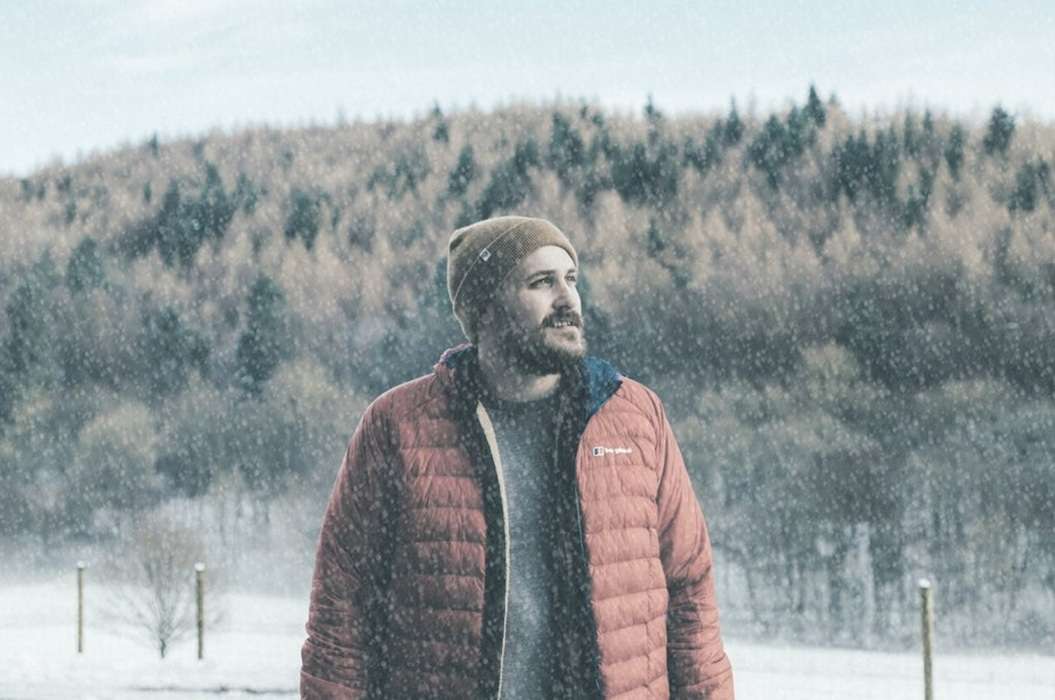
Snow effect video editing is a simple way to add a touch of magic to your content. The gentle movement of snowflakes in a winter vlog, a festive snowfall in a holiday commercial, or a dramatic blizzard in a short film can all be created instantly with snowfall effects.
In this guide, we'll cover practical methods for adding snow effects to videos and photos, including everything from beginner-friendly online editors to advanced desktop software, so you can find the approach that best suits your project and skill level.
Part 1. Why Use Snow Effects in Video Editing?
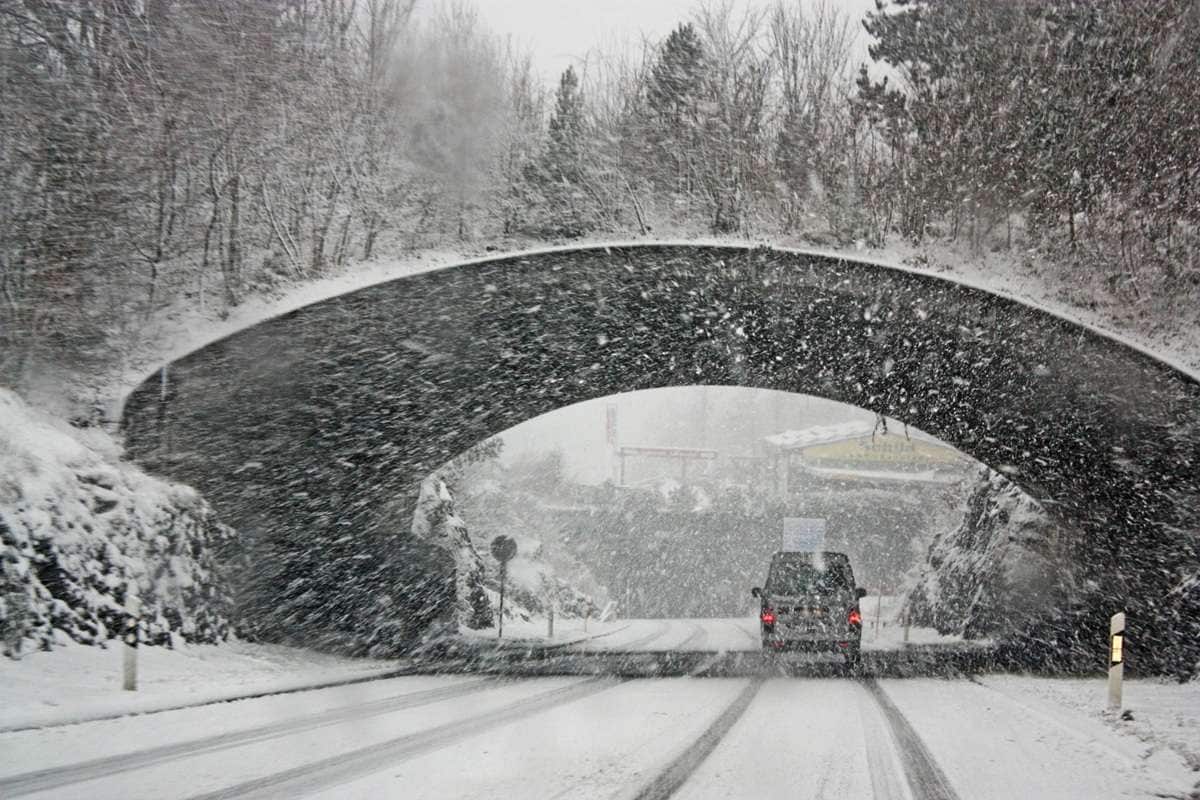
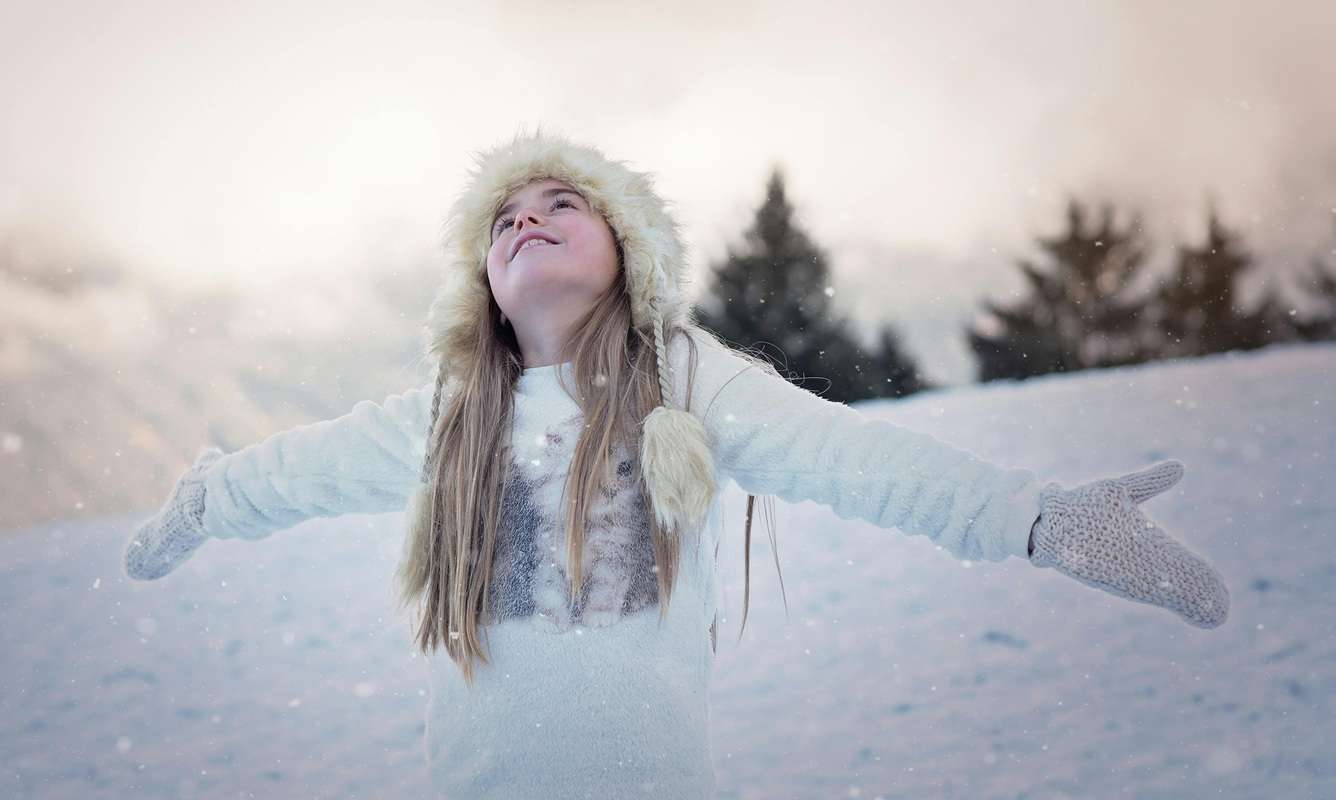
Snow effects have a unique way of setting the tone for a story. They can evoke warmth and nostalgia, capture the excitement of the holidays, or create a serene, cinematic atmosphere. Even a light snowfall can instantly transform ordinary footage into something more emotional and visually striking.

These effects are popular for various projects, including video intros, holiday promotions, travel vlogs, seasonal product ads, and short social media clips. Whether the goal is to inspire, entertain, or add a seasonal touch, snowfall visuals help connect with audiences on an emotional level.
Many creators are seeking quick and simple ways to achieve this look without learning complicated visual effects software. This has made user-friendly editors and ready-made snow overlays increasingly popular for anyone who wants professional-looking results in less time.
Part 2. How to Add Snow Effect to Videos (Desktop and Online Tools)
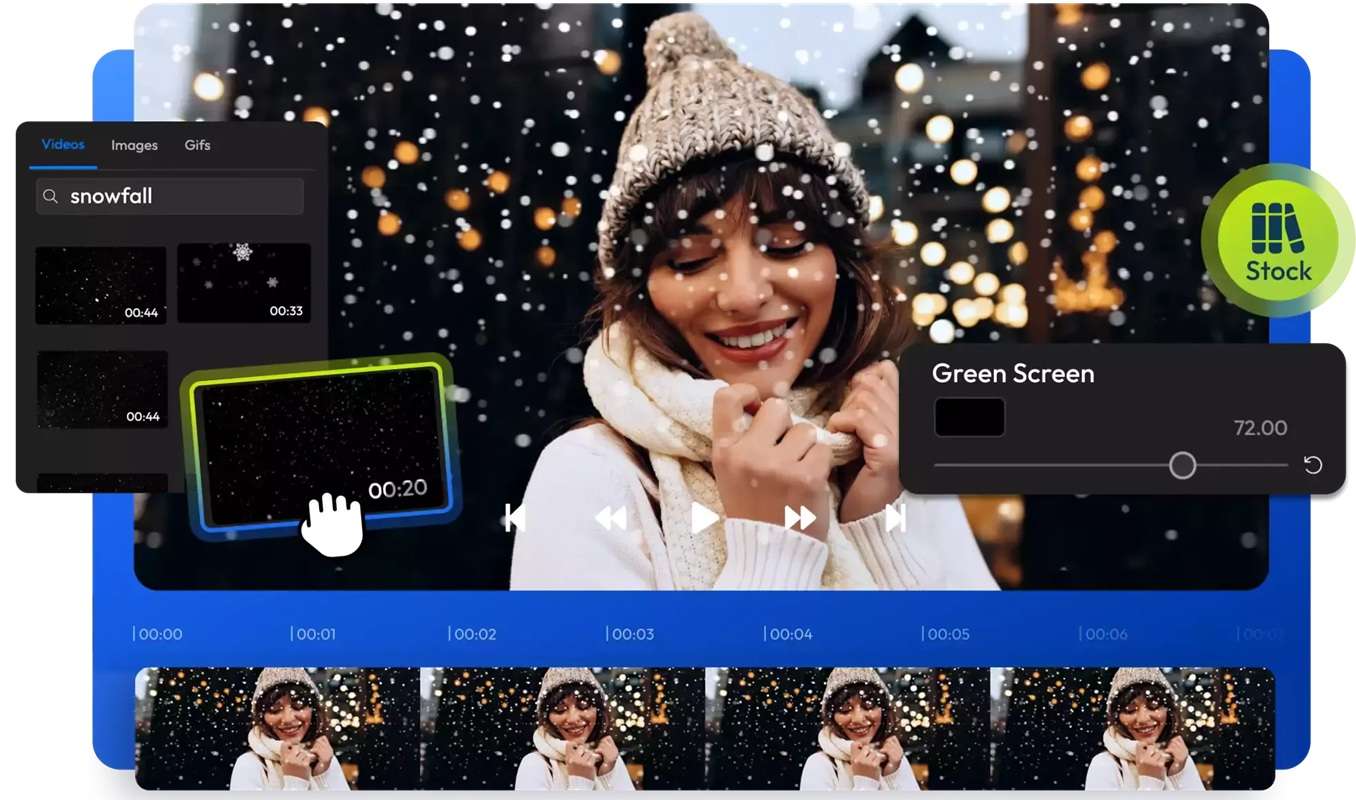
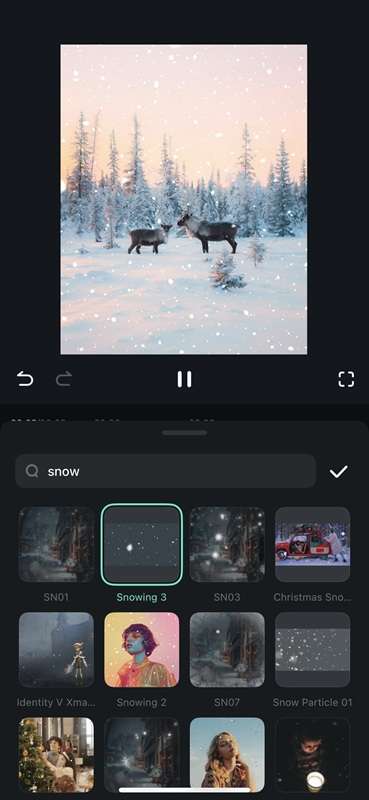
For beginners who want professional results without a steep learning curve, Wondershare Filmora is a great place to start for snow effect video editing. Its drag-and-drop interface makes it easy to apply built-in snow effects or browse seasonal asset packs such as Winter Wonderland or Christmas Snowball.

You can adjust the snowfall's speed and opacity to match the mood of your project, whether it's soft snow or a dramatic winter storm.
 secure download

How to Add a Snow Effect in Filmora
Step 1. Open Filmora and import your video clip.
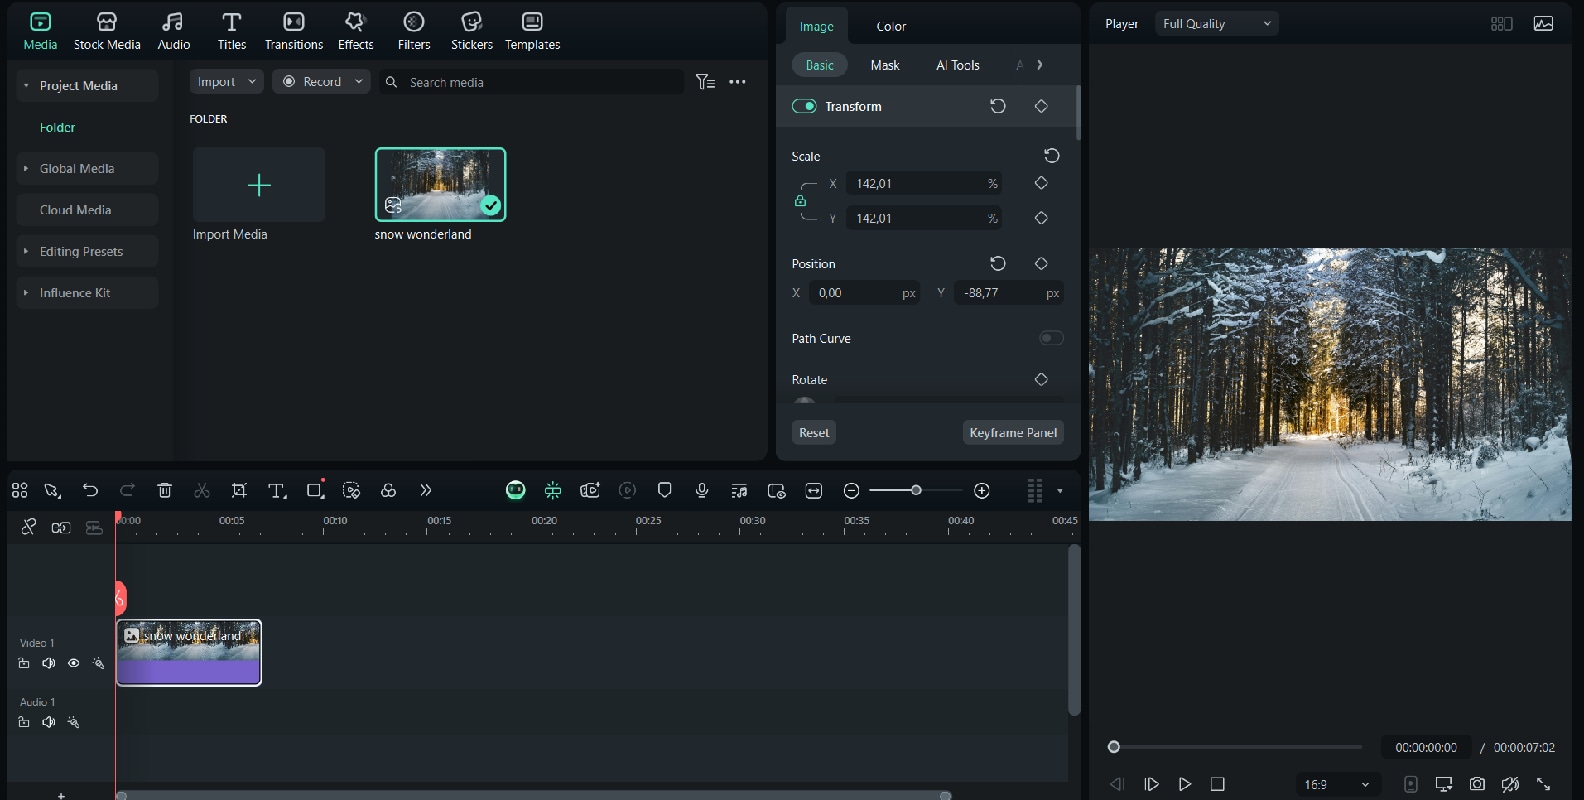
Step 2. Go to the Effects tab and search for "Snow."
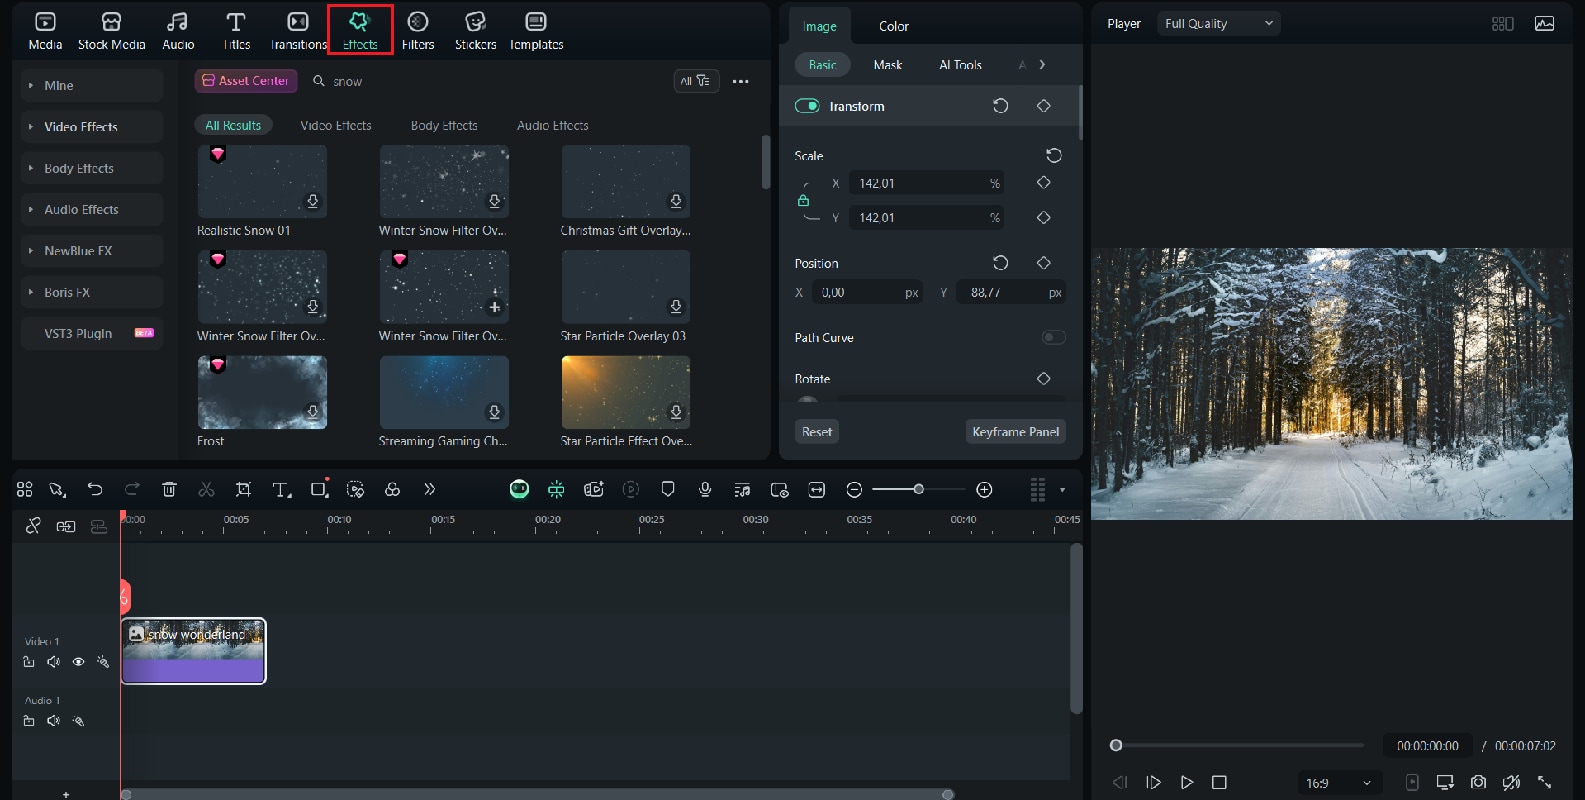
Step 3. Drag your chosen snow effect or overlay onto the video track. Adjust the opacity if needed.

Step 4. Preview and fine-tune until you get the desired look.
If you prefer working directly in your browser, VEED.IO and Flixier offer quick and convenient options. Both platforms let you upload your video, apply snow overlays or filters, and adjust the effect without installing software. This makes them ideal for creators who need to add a seasonal touch on the go or finish edits quickly for upcoming holidays and events.
You May Also Like:
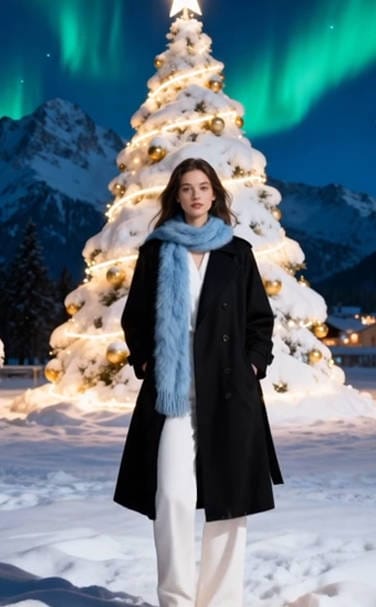
Make Yourself Into a Snowman With AI
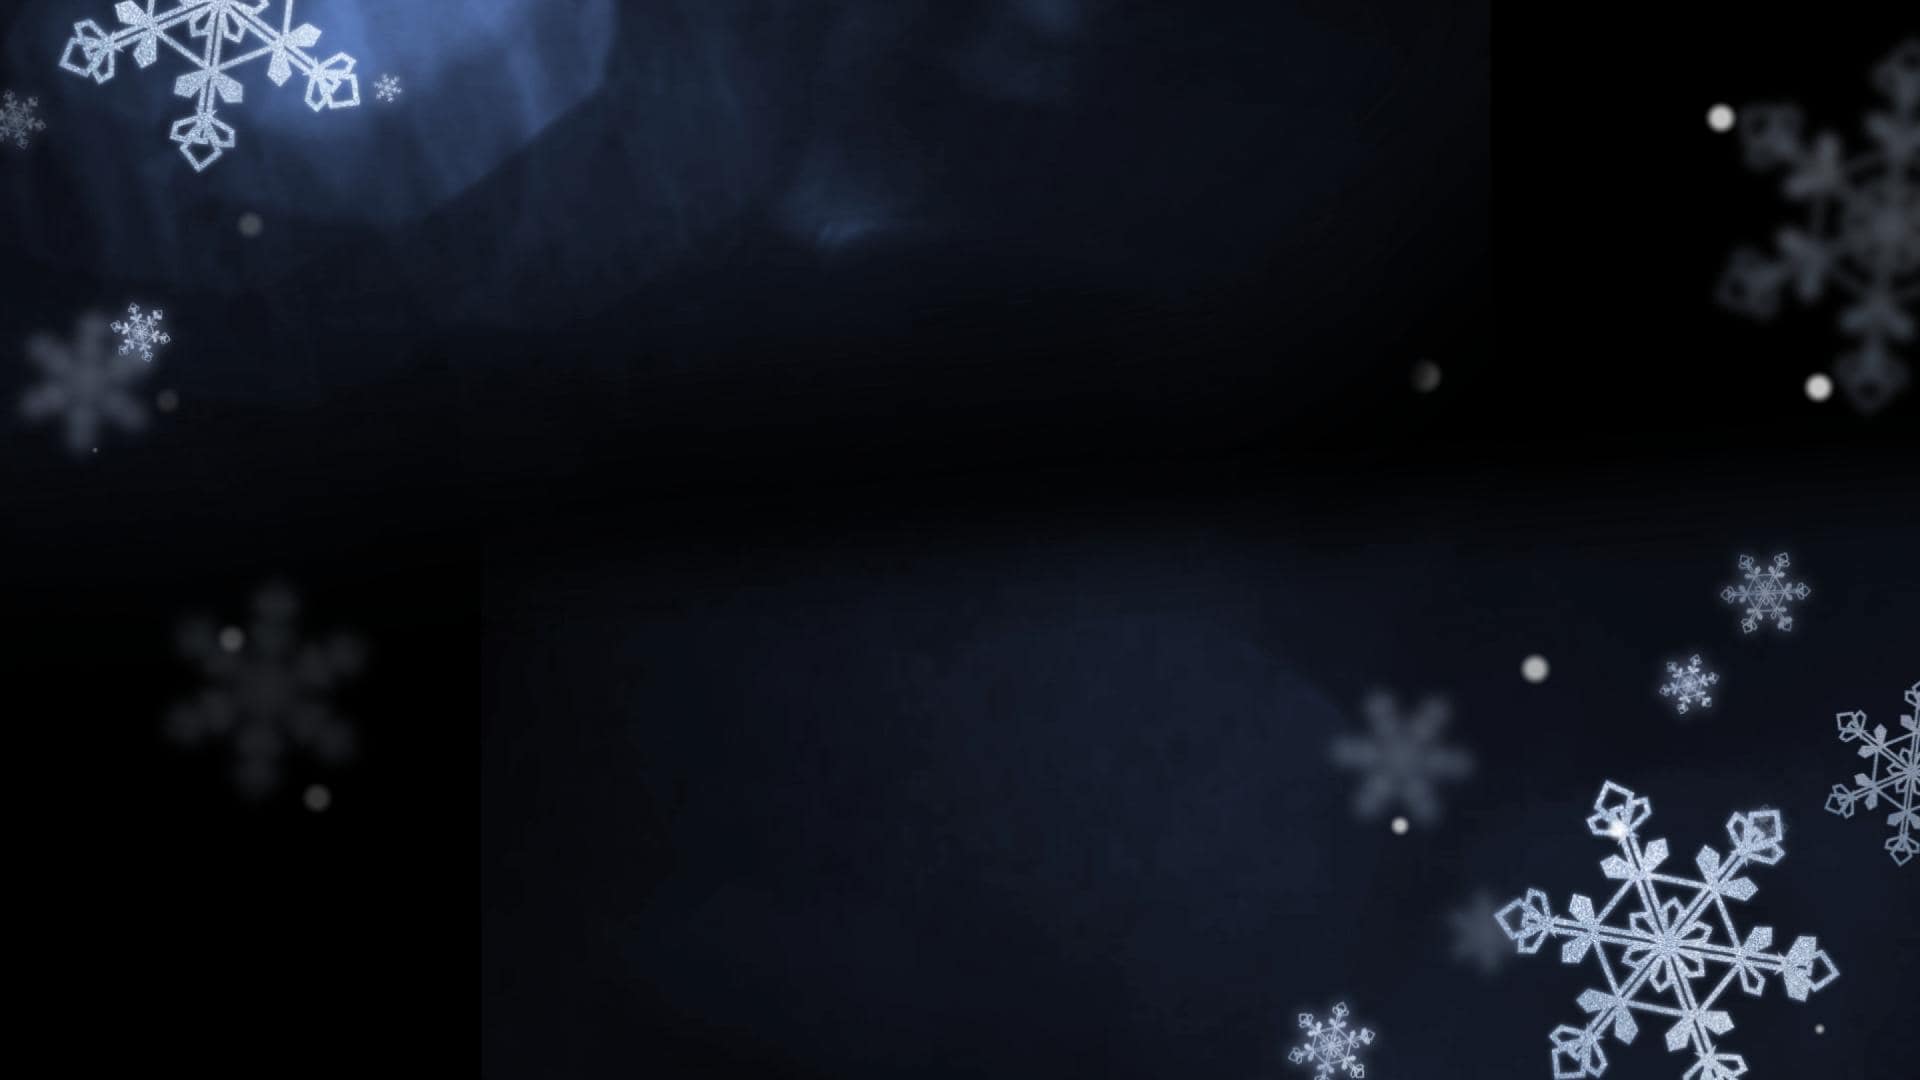
Part 3. Snow Transitions in Premiere Pro and After Effects
Snow effects can also be created in professional video editors, making them a great choice for experienced users who want more control. In tools like Premiere Pro or After Effects, snow transitions can become a powerful storytelling element. With these platforms, you can go beyond simple overlays and design transitions where scenes dissolve into a snowfall or snowflakes sweep across the frame to reveal the next shot.
Here are some popular approaches:
- BCC Snow by Boris FX – A professional plugin with full control over particle size, speed, density, wind direction, and layering for a highly realistic snow transition.
- CC Snowfall in After Effects - A built-in effect that quickly simulates falling snow, with options to adjust depth and motion.
- CC Particle World - Allows you to design complex and dynamic snow systems with 3D particle movement.
- Animated snowflake layers - Custom graphics or pre-made elements that you can animate for a stylized or artistic snow transition.
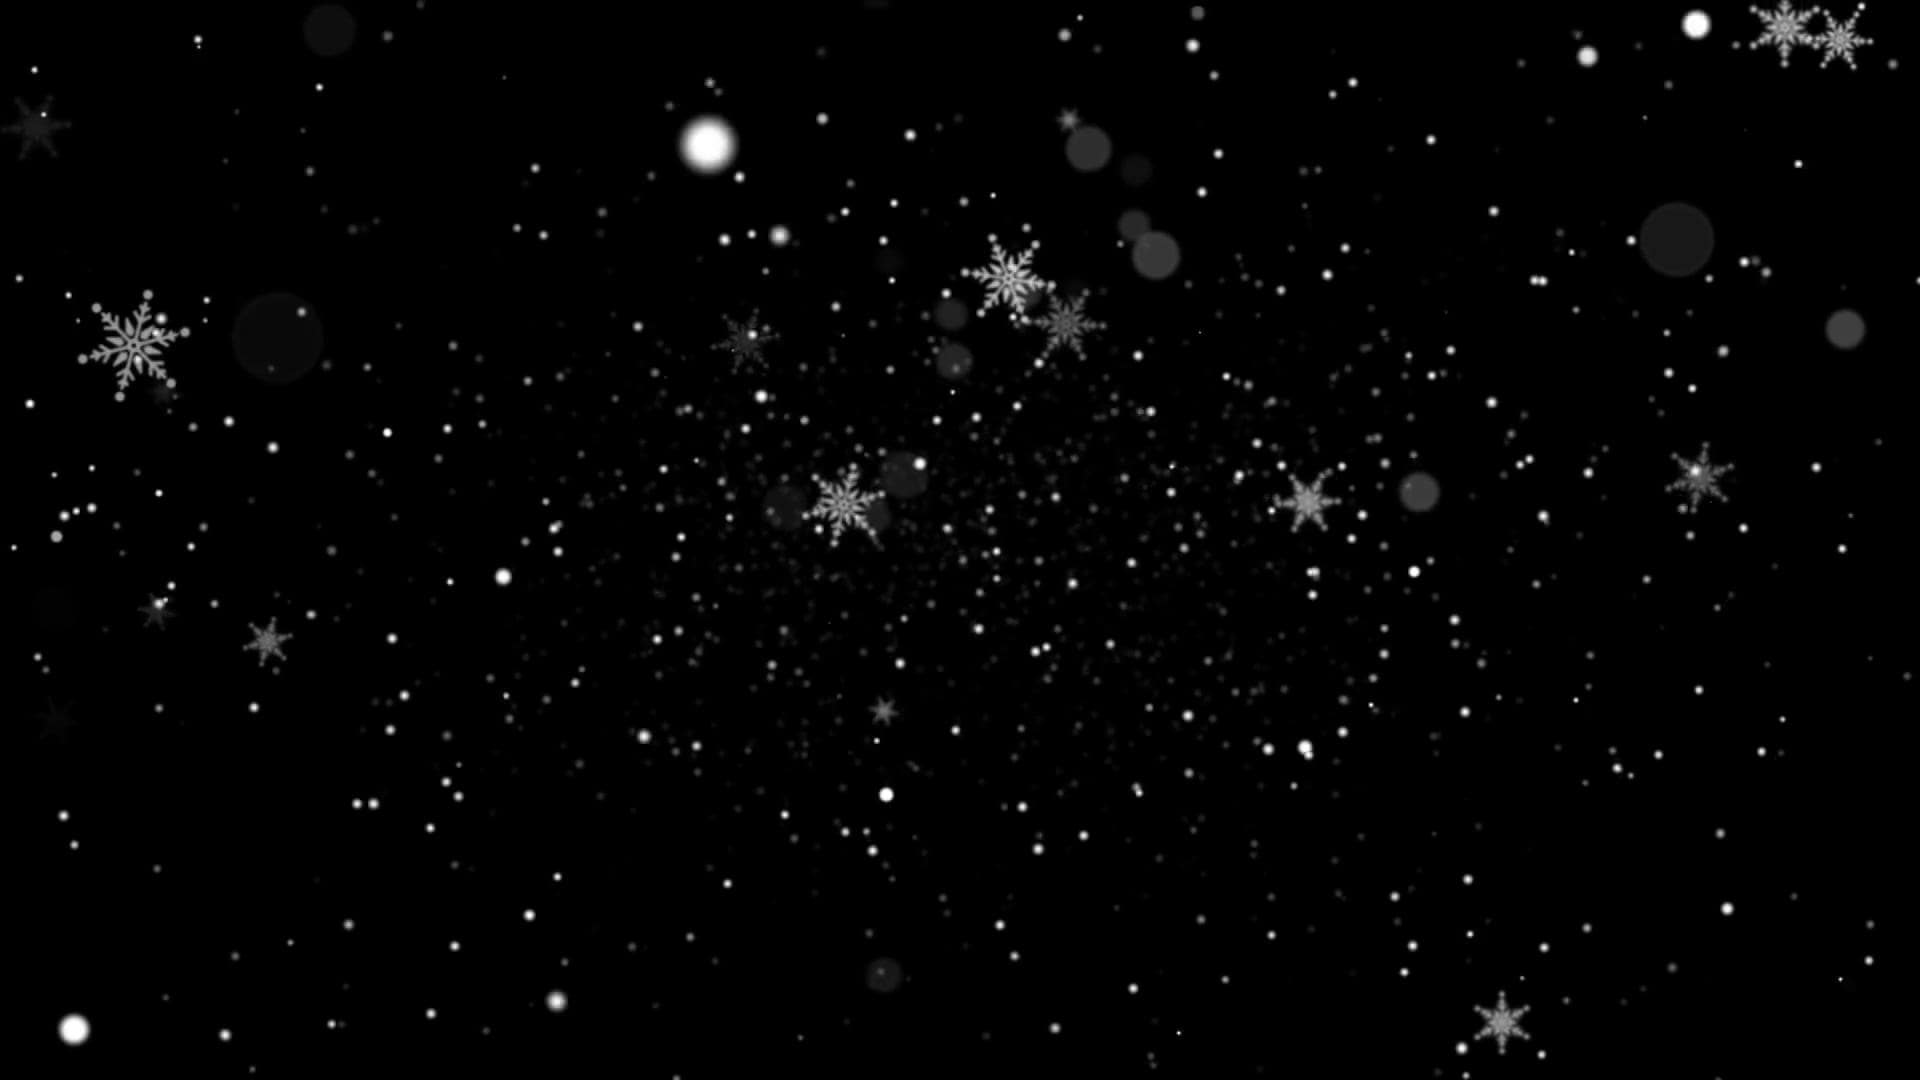
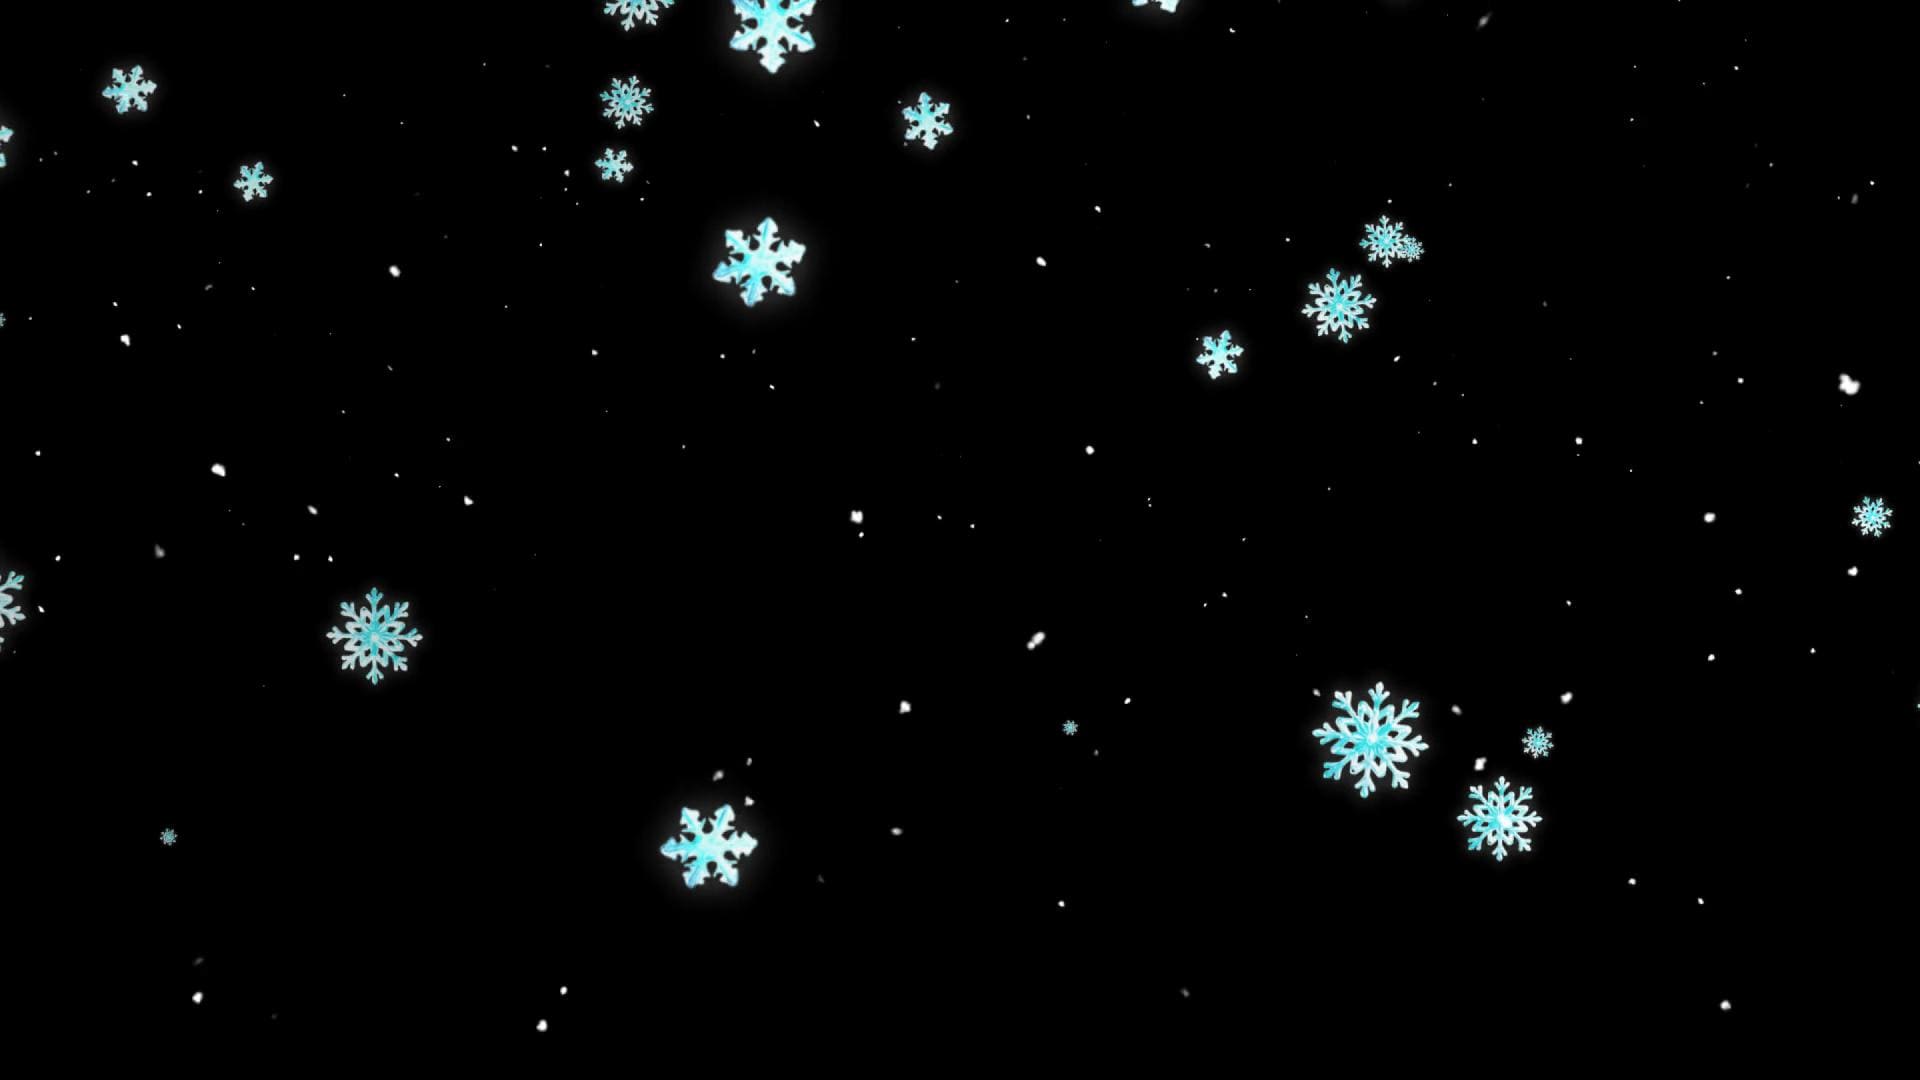
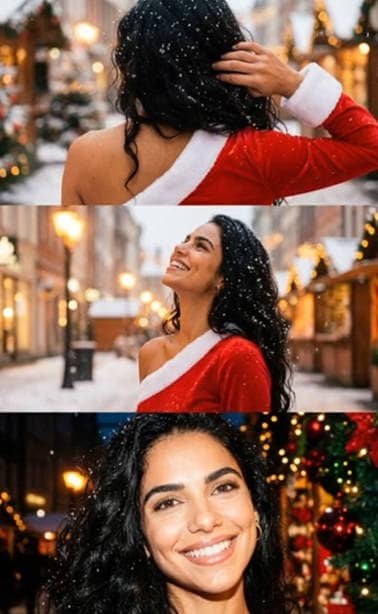
Part 4. Snow Falling Reels for Social Media
Snowfall effects are especially popular on TikTok, Instagram, and YouTube Shorts during the winter season. These visually engaging clips are perfect for adding a festive or cozy touch to short content, such as reels.
While you can find built-in TikTok snow effects in the seasonal and Christmas categories, using a dedicated video editor like the Filmora mobile app gives you even more control, options, and creative flexibility. Filmora offers:
- Snow overlays instantly create a wintery atmosphere
- Text and transitions designed for festive or seasonal themes
- Pre-made mobile templates for quick reel creation
- Quick export settings optimized for TikTok, Instagram, and YouTube Shorts
- With these tools, you can create standout seasonal reels in just a few minutes
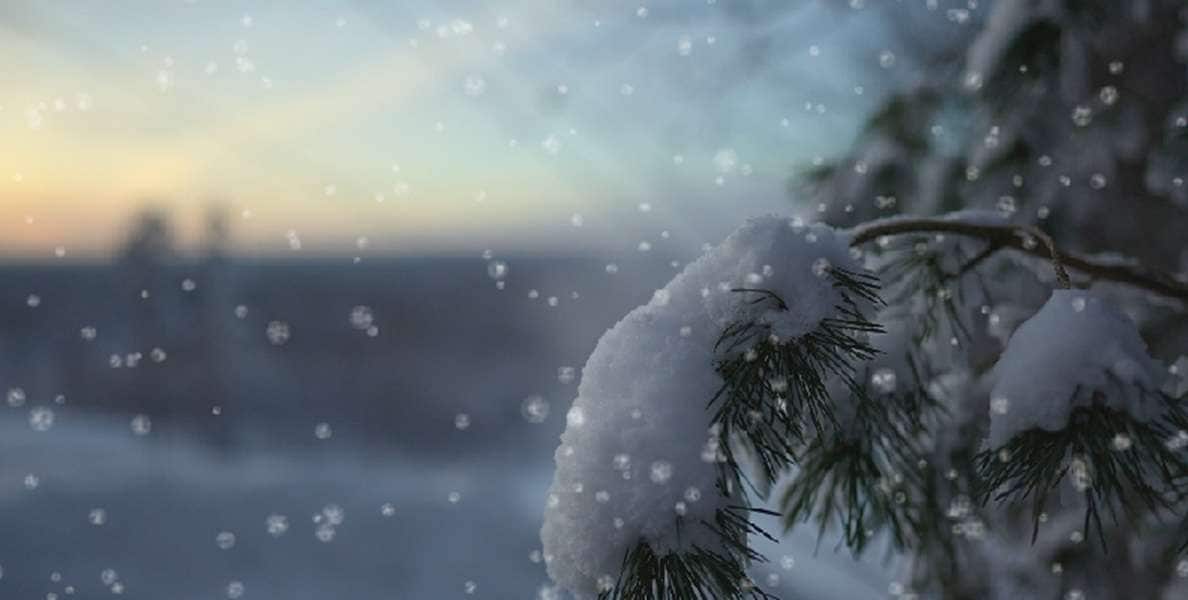
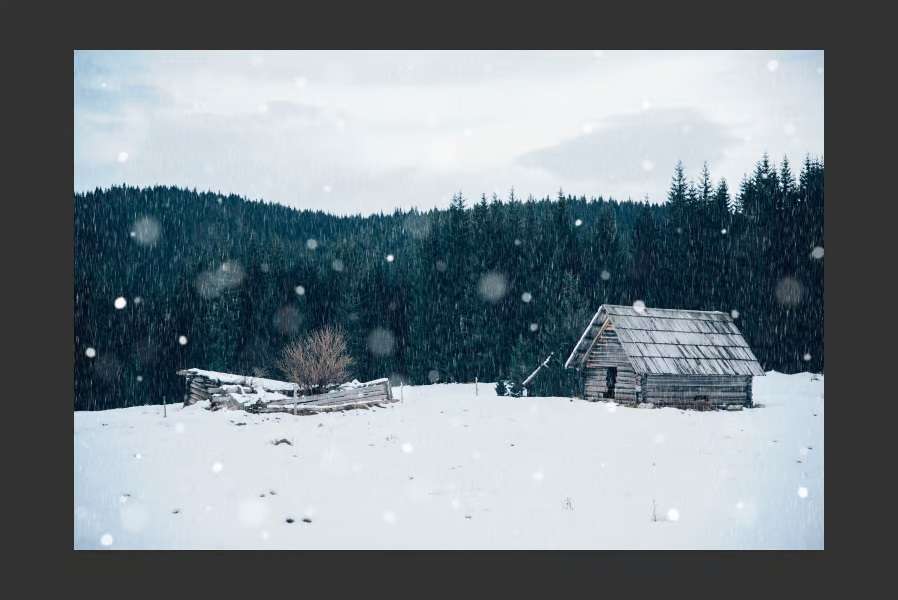
Part 5. Add Animated Snow Effect to Photos
Snow effects aren't just for video. You can also make still images feel more dynamic with a gentle snowfall animation. In Photoshop, this can be done by creating a noise layer, applying a motion blur, and using blending modes to achieve a realistic look.
Repeating the process with different blur levels adds depth, so that some snowflakes appear closer and others further away.
How to create a snow effect in Photoshop
- Create a new layer above your image.
- Fill it with black and add Noise.
- Apply a Motion Blur to create a snowy effect.
- Change the layer's blending mode to Screen so the snow appears over the image.
- Repeat with different blur amounts to create a layered effect.
For a quicker approach, free browser-based tools make the process easy for beginners. Websites such as LunaPic and BeFunky allow you to upload an image, apply a snow overlay or animation, and save the result without downloading software.
How to Add Snow Effects with Free Browser Tools
- Upload your photo to the site.
- Select a snow or winter effect.
- Adjust the intensity or style to your preference.
- Download the finished image.
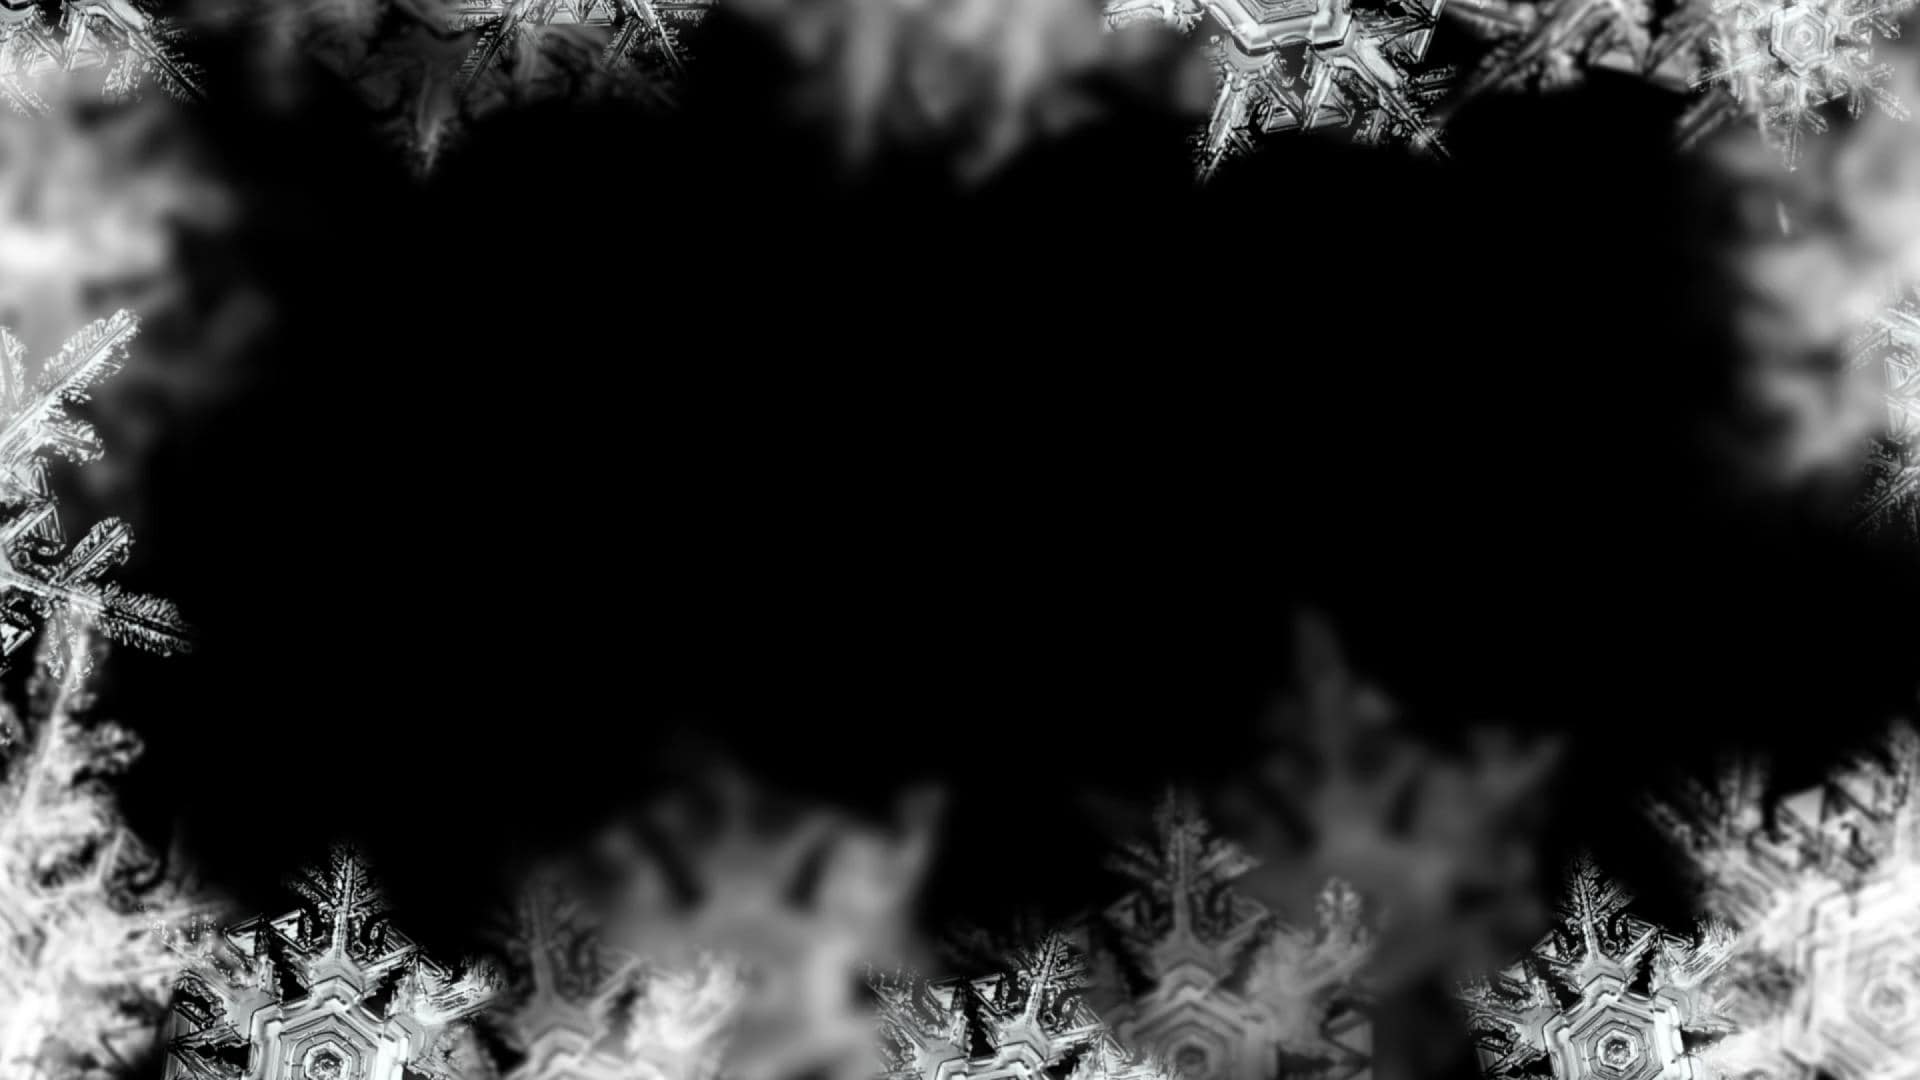
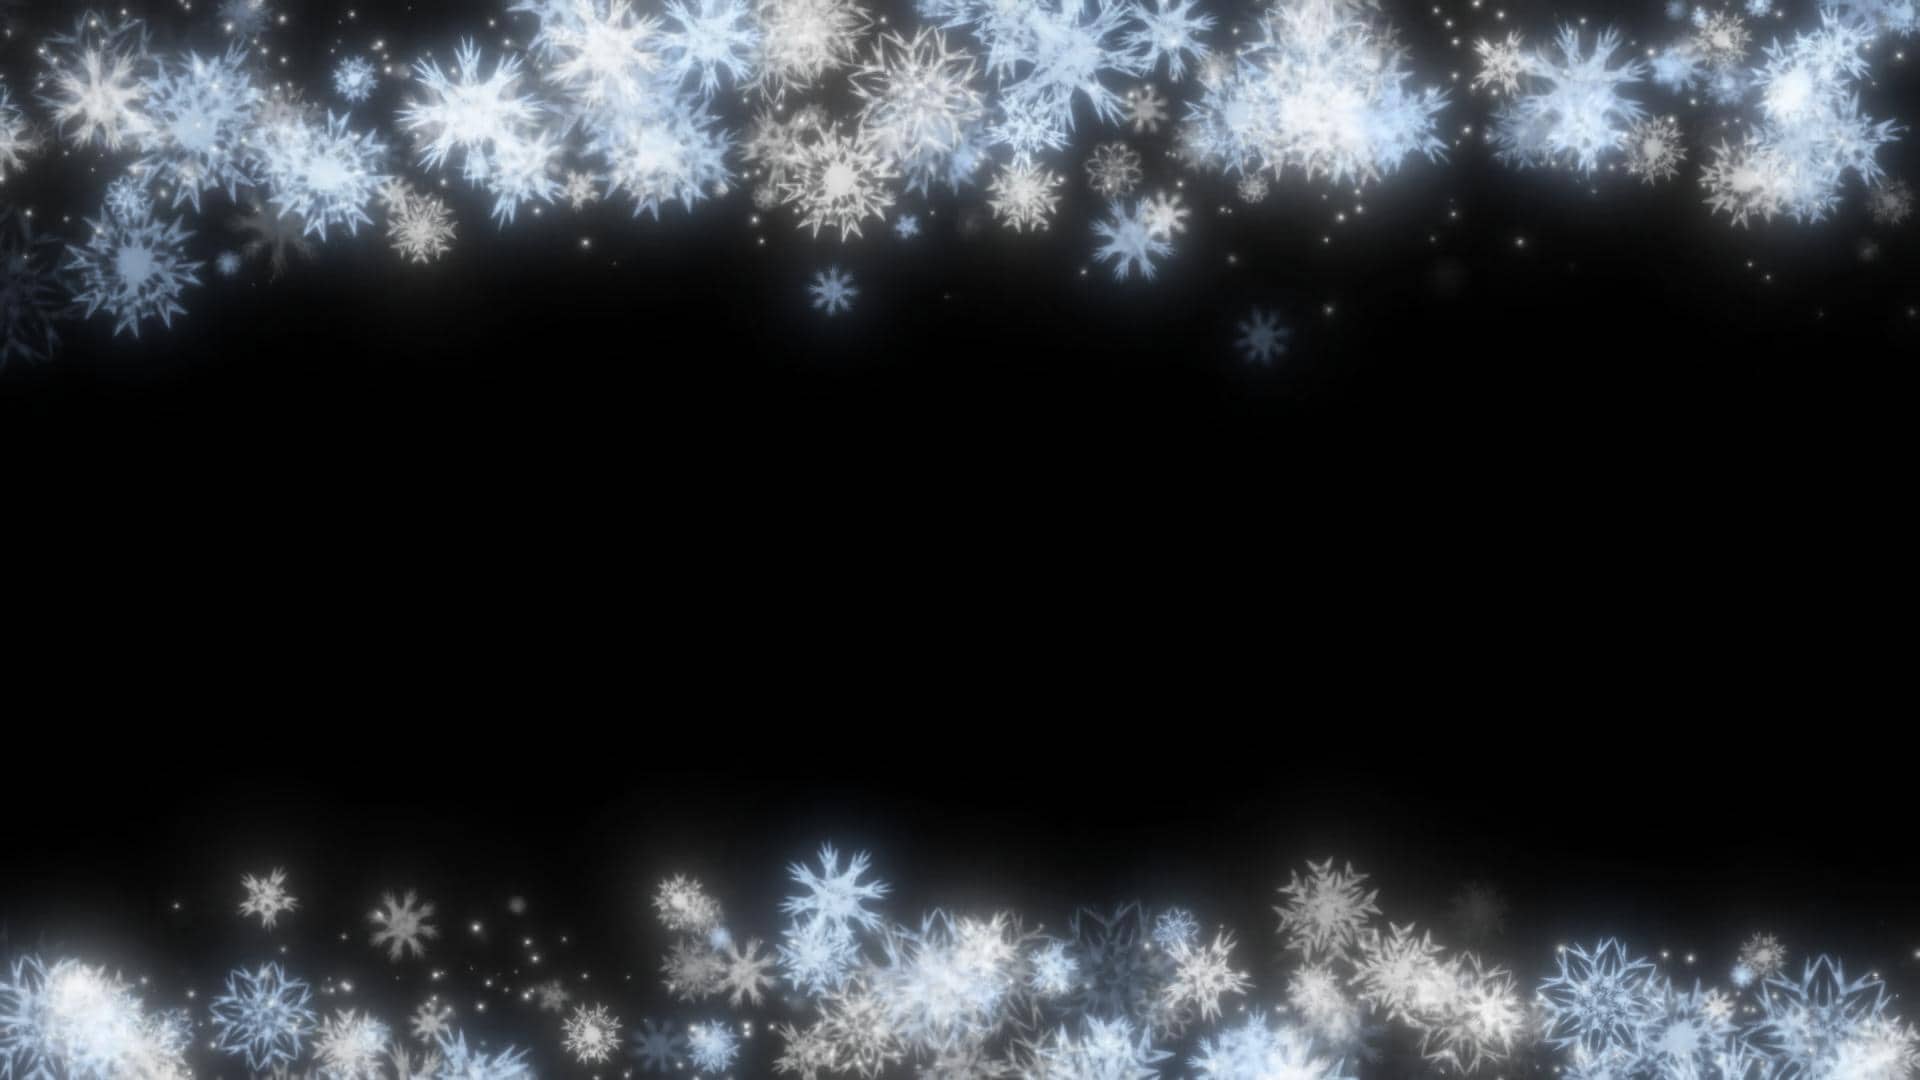
Part 6. Where to Find Royalty-Free Snow Videos
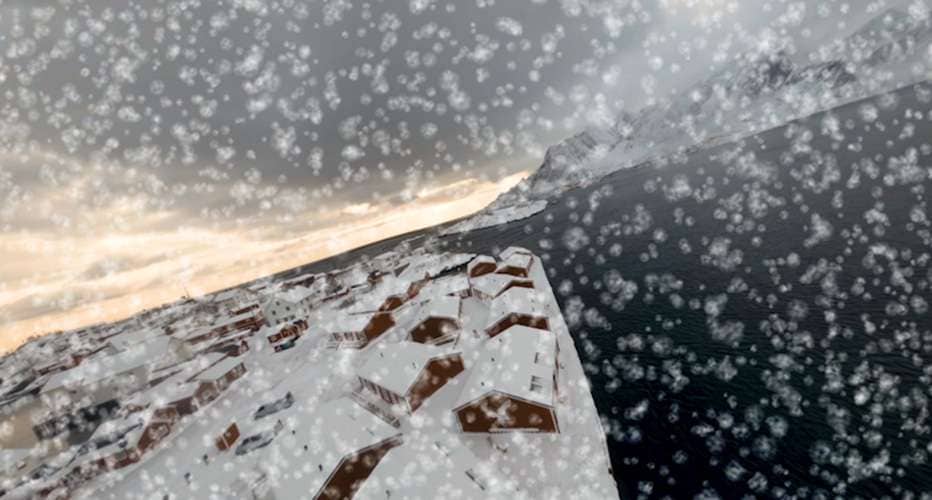
If you want to add realistic snow effects to your video without having to create them from scratch, royalty-free snow clips are the perfect solution. These clips can be layered over your existing project as overlays, giving you an instant winter atmosphere with minimal effort. Many sites offer high-quality snow videos that are free to use for personal or commercial projects.
Popular Sources for Royalty-Free Snow Footage:
- Pixabay - A large library of free snow videos, from gentle snowfall to heavy blizzards.
- Pexels - High-resolution winter clips perfect for YouTube intros, social media posts, or holiday ads.
- Videezy - A wide selection of cinematic snow overlays and background footage.
- Vecteezy - Includes animated snow effects as well as realistic stock footage for creative projects.
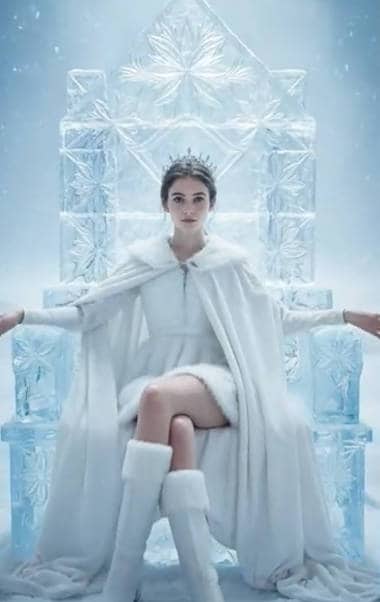
Related AI Snow Templates For You to Try


Conclusion
Snow effect video editing opens up endless possibilities for adding charm, mood, and storytelling power to your content. You can create a short festive reel, enhance a winter travel vlog, or add subtle snowfall to a product promo; the right tools can make the process simple and fun.
From beginner-friendly platforms to advanced editing suites, there is an option for every skill level and creative goal. With the resources and techniques shared in this guide, you can transform ordinary videos and photos into enchanting winter scenes, allowing viewers to experience the magic of the season.
