
 100% Security Verified | No Subscription Required | No Malware


 ChatGPT
 Perplexity
 Gemini
 Claude
 Grok
Grok
How do you track tricky surfaces like faces, skin, or fabric that bend and shift in every frame? That's where Mocha Mesh Tracking changes everything.
Standard tracking tools usually struggle with organic or non-rigid surfaces. Mesh tracking Mocha offers a smarter solution by breaking the surface into a mesh. It allows for more accurate and flexible tracking, even with the trickiest motion like stretching, twisting, or rotating.
In this guide, you'll get a clear breakdown of what mesh tracking is. You'll also learn how to use Mocha Pro's PowerMesh tool as a plugin inside video editors like Wondershare Filmora. Plus, you'll get tips to make your videos more realistic. Let's dive in!
In this article
Part 1. What Is Mocha Mesh Tracking?
Mocha mesh tracking is a flexible tracking method that follows surfaces that bend, stretch, or twist throughout a video. It's useful for editing footage where regular planar tracking can't keep up. For instance, on faces, skin, loose fabric, or any surface that moves in a non-rigid way.
In Mocha Pro, this feature is called PowerMesh. It expands on Mocha's famous planar tracking system by building a mesh grid over the surface you want to track. Each tracking point in the mesh will move independently to follow surface changes more closely.
So, how is it different from regular planar tracking?
- Planar Tracking: Follows flat and rigid surfaces like signs, walls, or screens. This method is best for simple camera movement.
- Mesh Tracking: It adapts to non-rigid, bending, or wrinkling surfaces like skin, faces, clothes, and muscles. It's great for more detailed and natural motion.
Because of its flexibility, mesh tracking in Mocha Pro is ideal for creating more advanced and realistic VFX. Here are a few creative ways to apply it in your videos:
- Add a digital tattoo that stays in place and stretches naturally on a moving arm or back.
- Apply animated makeup that follows facial expressions, even as the face turns or smiles.
- Replace a logo or graphic on wrinkled clothing or a flowing dress that shifts during movement.
If your project includes flexible surfaces or close-up human motion, mesh tracking Mocha gives you the precision you need. You can use it as a plugin inside supported video editors like Wondershare Filmora.
Part 2. How to Use Mocha Pro Mesh Tracking in Your Video Projects
Mocha mesh tracking gives you the power to track and follow flexible surfaces in video footage. It might seem too advanced at first, but the workflow is simpler than you'd think. You can run Mocha Pro as a plugin directly inside supported video editors like Wondershare Filmora.
How to Use Mocha Mesh Tracking in Filmora
Follow the step-by-step guide below to apply the Mocha mesh tracking in Filmora:
 secure download

Step 1. Start a New Project and Import the Video
- Download and open Filmora on your computer and make sure you're using the latest version to access the newest Mocha Filmora features.
- Go to the Create Project panel and click on the New Project button from the main screen.
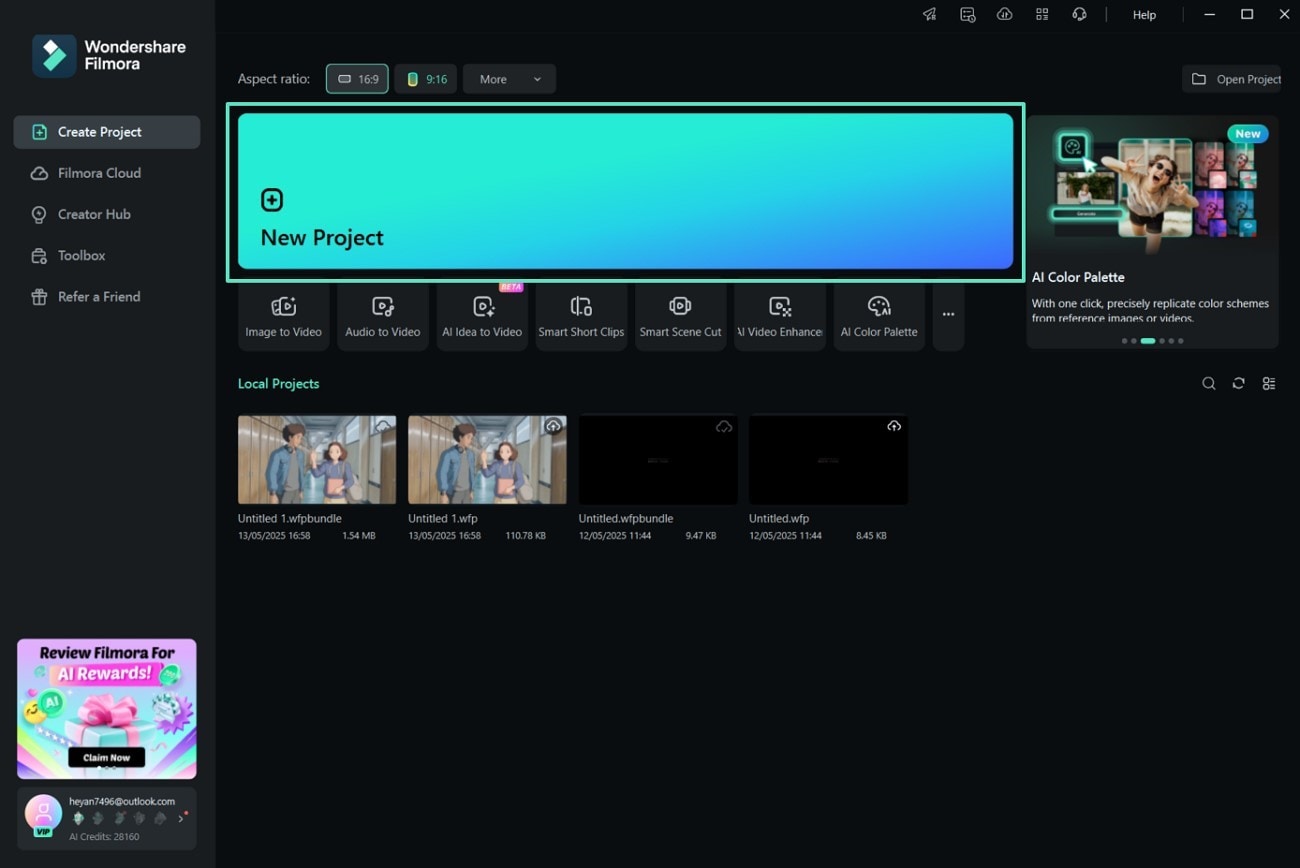
- Import your footage by going to Media > Project Media > Import. Then, drag the imported videos onto the timeline so you can start editing.

Step 2. Access the Mocha Filmora Effect
- Go to the Effects tab > Boris FX > Mocha Filmora.Click Download Now to download and install the plugin if you haven't already.
- Then, click the Plus (+) icon to apply it to your video clip.
- Open the Effect panel and select Launch Mocha UI to enter the Mocha interface.
Step 3. Create an X-Spline Layer
- Inside the Mocha interface, go to Tools > Create X-Spline Layer to draw a new tracking layer on your footage.
Step 4. Define the Tracking Area
- Use your cursor to trace around the moving, non-rigid area in your video, such as a face or piece of fabric. To complete the shape, click back on the starting point.
- Then go to the Track panel and check the options for Translation, Scale, Rotation, and Mesh.
- After that, click Generate Mesh to build a detailed tracking grid over your selection.
Step 5. Start the Track
- To begin tracking, click the Track Forward button. This allows Mocha to analyze the movement of the mesh across frames.
Step 6. Remove the Selected Object
- Remove the selected object throughout the video by going to the Input dropdown menu. Then, click the “Matte for (Layer Name)” option.
Step 7. Save Your Work
Before returning to Filmora, save your progress in Mocha. Click on File > Save Project to make sure all your tracking and masking changes are stored. Then, close the Mocha window.
Part 3. Creative Tips to Level Up Your Mesh Tracking Projects
Once you've mastered the basics of Mocha Pro mesh tracking, it's time to get creative. Mesh tracking gives you the freedom to match subtle surface movement with impressive accuracy. But, pairing it with a few smart tricks inside Filmora can make your results more flawless.
Here are some tips to take your mesh tracking Mocha to the next level:
- Use a higher mesh density for fine detail tracking
When tracking small and subtle movements like facial wrinkles, eye shifts, or tight fabric folds, increase the mesh density. A tighter mesh will capture these subtle deformations more precisely and make your inserts aligned as the motion changes frame by frame.
- Add motion blur or glow in Filmora for realism
After placing your insert or graphic on a tracked surface, enhance it using Filmora's built-in effects. Effects like motion blur, glow, or drop shadows can help your elements blend more naturally into the scene.
secure download
- Use the Insert Module to attach graphics or textures
After mesh tracking your surface, switch to the Insert Module in Mocha Filmora. It lets you stick a logo, image, or video onto the mesh-tracked area. Filmora will auto-match the movement, distortion, and perspective, making your insert feel like it's part of the original footage.
- Match lighting and color tone with Filmora's color tools
Once your insert is applied using the Insert Module, use Filmora's Color Match, LUTs, or Color Correction tools. These features can help blend the insert with the original footage. Matching brightness, shadows, and contrast helps your insert feel more realistic, especially in outdoor or low-light scenes.
Conclusion
Mocha mesh tracking lets you track complex movement in your videos. It helps you track non-rigid surfaces like skin, fabric, or faces with high accuracy.
With mesh tracking Mocha built into Filmora, you can use the PowerMesh tool without switching platforms. Try applying mesh tracking in Filmora for your next video project today!
FAQ
-
Do I need advanced skills to use the Mocha mesh tracking?
Not at all. Mocha mesh tracking looks complex, but the version built into Filmora simplifies the workflow. You can apply mesh tracking, track motion, and use the Insert Module with just a few clicks, perfect for beginners or anyone new to VFX.Not at all. Mocha mesh tracking looks complex, but the version built into Filmora simplifies the workflow. You can apply mesh tracking, track motion, and use the Insert Module with just a few clicks, perfect for beginners or anyone new to VFX. -
Is mesh tracking better than planar tracking?
It depends on the surface you're tracking. Planar tracking works well for flat and rigid surfaces like signs or walls. Mesh tracking, on the other hand, is better for flexible and non-rigid surfaces like skin, clothing, or faces. It captures more detail and handles complex motion more accurately.It depends on the surface you're tracking. Planar tracking works well for flat and rigid surfaces like signs or walls. Mesh tracking, on the other hand, is better for flexible and non-rigid surfaces like skin, clothing, or faces. It captures more detail and handles complex motion more accurately. -
Is Mocha mesh tracking available in the free version of Mocha Pro?
No, mesh tracking is part of the PowerMesh feature, which comes with Mocha Pro. In Filmora, it's available through the Mocha plugin included in the paid versions. No, mesh tracking is part of the PowerMesh feature, which comes with Mocha Pro. In Filmora, it's available through the Mocha plugin included in the paid versions. Grammarly:
