Have you recently purchased a new iPhone or are you simply trying out filming with an iPhone camera? Maybe you have tried cinematic video editing, which is a fantastic feature on the iPhone. Surely the iPhone cinematic mode helps to achieve a bokeh effect like a true DSLR quality in footage. But those new editors always struggle to edit the iPhone's cinematic footage to give perfection. Not to worry, here are all the solutions for you.
Let's help you learn about this wonderful feature of the iPhone and what could be the best way to give a personal touch to cinematic videos.
In this article
Requirements for iPhone Cinematic Mode Filming and Editing
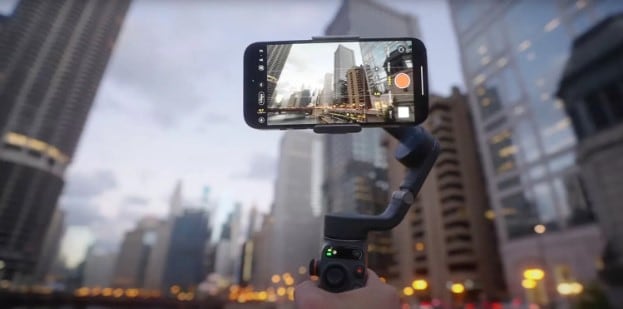
Surely you have an iPhone above 13; that's why you can use cinematic mode. But you also need to edit the cinematic footage. The best thing about the iPhone is that it allows you to edit and give your personal touch on the iPhone; you do not require any third-party tool for basic editing. Here are a few things that you should keep in mind while adjusting your iPhone's cinematic video.
- Cinematic Mode is supported on iPhone 13 and the latest versions.
- Must check the settings of resolution, depth of field, and focus.
- For editing, you can utilize the Photos app and can use the Mac. For advanced editing, you can utilize third-party apps like iMovie and Wondershare Filmora.
Points to Consider While Shooting:
- While shooting video in cinematic mode, you must care about the lighting. The perfect lighting does all the magic.
- You also need to pay attention to composition to create visually appealing shots.
- Avoid shaking footage. Use a tripod or any other tool while shooting video.
- For better-quality sound, always use a microphone.
By meeting these requirements and following the tips and techniques discussed in the subsequent sections, you can create stunning cinematic videos using your iPhone.
How to Edit Cinematic Mode Videos Shot on the iPhone and Mac
So now that your footage is ready, you want to make some edits to bring a flawless experience.
Use the full potential of the iPhone. The cinematic mode offers a blurry background and cool focused transition to your iPhone footage but to make it more interesting, you need to apply the below steps.
Follow the Quick Steps on the iPhone:
Step 1: To edit the video, open the Photos app on your iPhone.
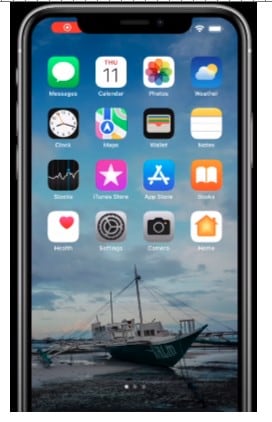
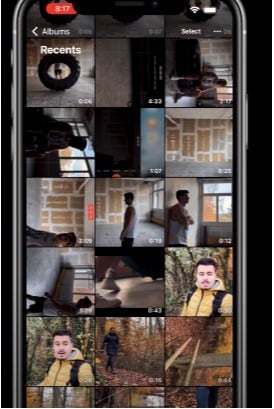
Step 2: Choose the footage that you want to edit.
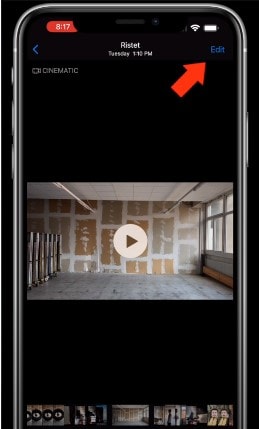
Step 3: Click on the Edit option.
Step 4: Remove any unwanted portions of the timeline.
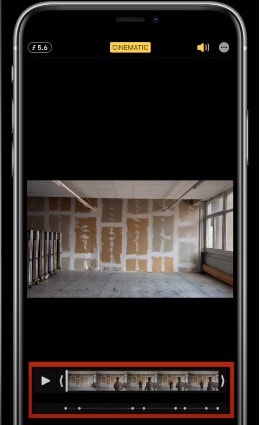
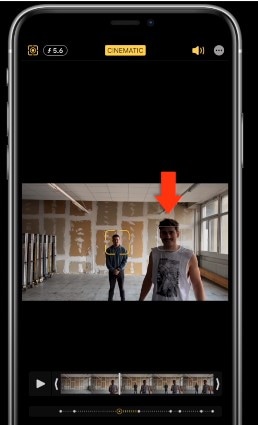
Step 5: Click on the left side of the yellow focus feature to change the focus point of the footage.
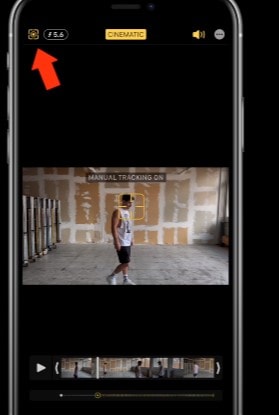
Step 6: To manually change tracking, simply tap the yellow focus point.
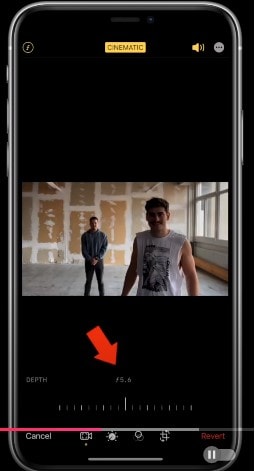
Step 7: To adjust the depth of field, click in the right corner of the depth feature.
Let's learn about how easily you can edit the iPhone cinematic footage of Mac.
Steps on Mac:
So if you like to edit the cinematic video on Mac, then follow the steps below. To do this, ensure that your iPhone and Mac systems are synced.
Step 1: Simply open up the Photos app on the Mac system.
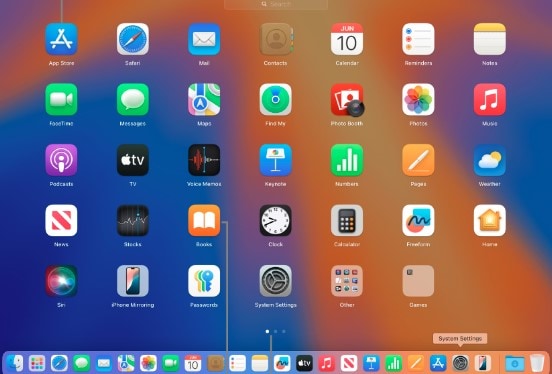
Step 2: Now double-click on the cinematic video you want to edit. Click edit on the toolbar and start to explore the editing features.

Step 3: Change the focus point manually. Play the video and adjust accordingly.
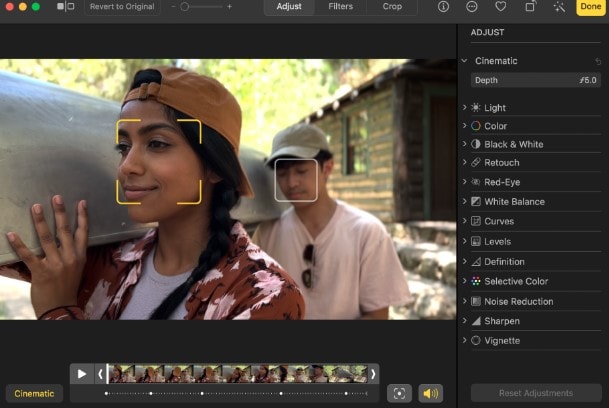
That is how you can alter and edit cinematic mode footage on your iPhone and Mac system, but for more advanced editing, you will need to use third-party applications such as iMovie and Wondershare Filmora.
- Superb video stabilization with low distortion.
- Vast video/audio effects and creative assets.
- Powerful AI for effortless content creation.
- Intuitive, professional yet beginner-friendly.
- Works on Mac, Windows, iOS, and Android.

Part 3: Enhancing the Cinematic Video with Third-Party App: Wondershare Filmora
However, editing cinematic video on iPhone and Mac is very easy and convenient. But for making more advanced editing of cinematic footage, you should try Wondershare Filmora. This is one of the most popular video editors for professionals and is also very useful for beginner editors. The best thing about Wondershare Filmora effortlessly compatible with Mac system. It is a wonderful tool for those who want more editing on their iPhone cinematic videos. Have a look at what you can do more with Wondershare Filmora.
Utilize the Cinematic Templates: With the help of Wondershare Filmora, you can try versatile cinematic templates on your iPhone footage and make it more interesting.
AI Color Palette: To make it more eye-catching and grab the attention of the audience, you can also try the color-grading features of Wondershare Filmora. It allows you to offer the best cinematic look to your videos.
Multi-Camera Editing: The best thing about Wondershare Filmora is that it allows you to easily combine and sync multiple cameras in a single frame. Users can import and switch between footage from multiple cameras, and clips are synced automatically using timecodes or audio.
AI Video Enhancement: You can also use Wondershare Filmora's AI video enhancer to improve the quality of low-quality footage by sharpening it.
These are only a few wonderful features we have explained. However, Wondershare Filmora offers everything that you must experience in cinematic video editing software.
Conclusion
No doubt the cinematic mode of the iPhone is wonderful for making high-quality cinematic videos effortlessly. However, there are only a few editing options available for iPhone and Mac.
To achieve perfection on your iPhone footage, you should keep smart filming and apply thoughtful editing techniques. For doing more advanced editing and making iPhone footage more eye-catching, you can consider professional editor tools like Wondershare Filmora. The AI advanced feature simplifies your efforts and allows you to perfect your editing skills. To create better cinematic videos, always experiment with different shooting styles and techniques.


 100% Security Verified | No Subscription Required | No Malware

