
 100% Security Verified | No Subscription Required | No Malware


 ChatGPT
 Perplexity
 Gemini
 Claude
 Grok
Grok
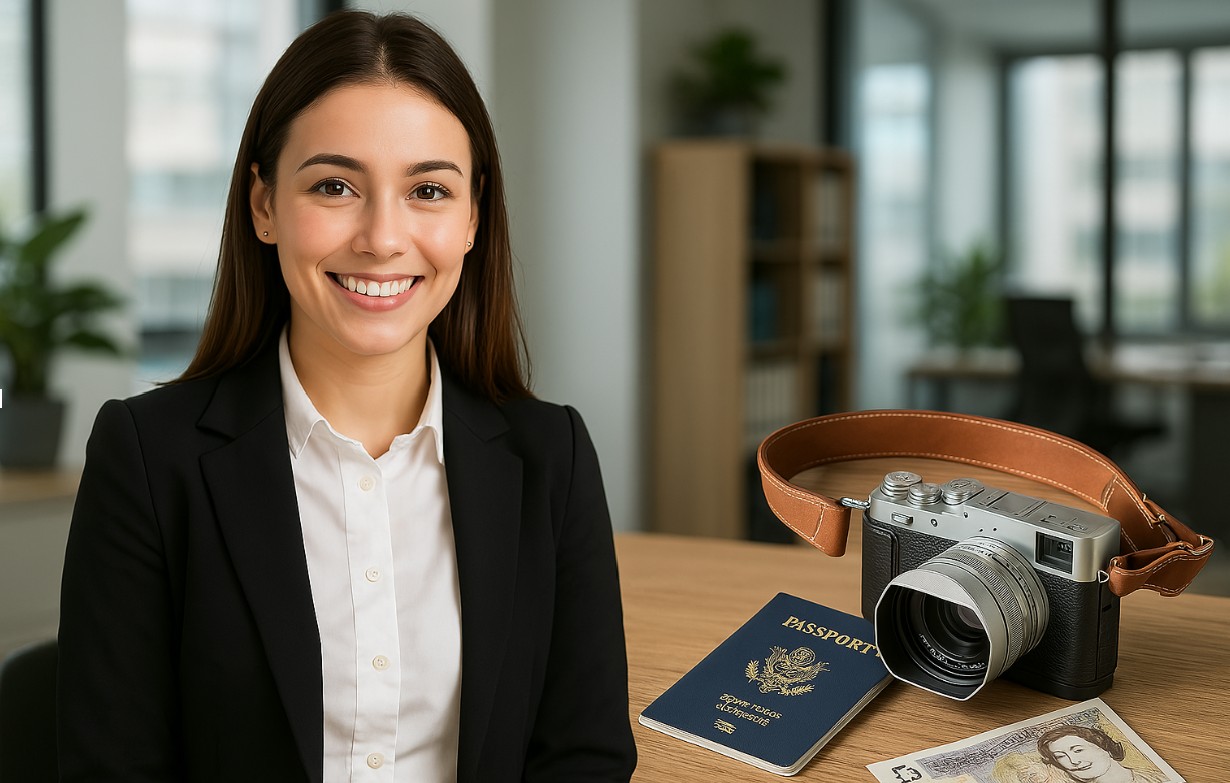
Modern facial recognition systems depend on clean, high-contrast images to accurately map facial features. A distracting or textured background can interfere with this process, leading to delays or failed submissions.
Removing the background ensures that the face remains the focal point. Mastering background removal has become a practical skill in today's digital-first documentation process. That's where the passport photo background remover comes in. This guide will show you how to remove background for a passport photo.
In this article
Part 1: Passport Photo Background Requirements
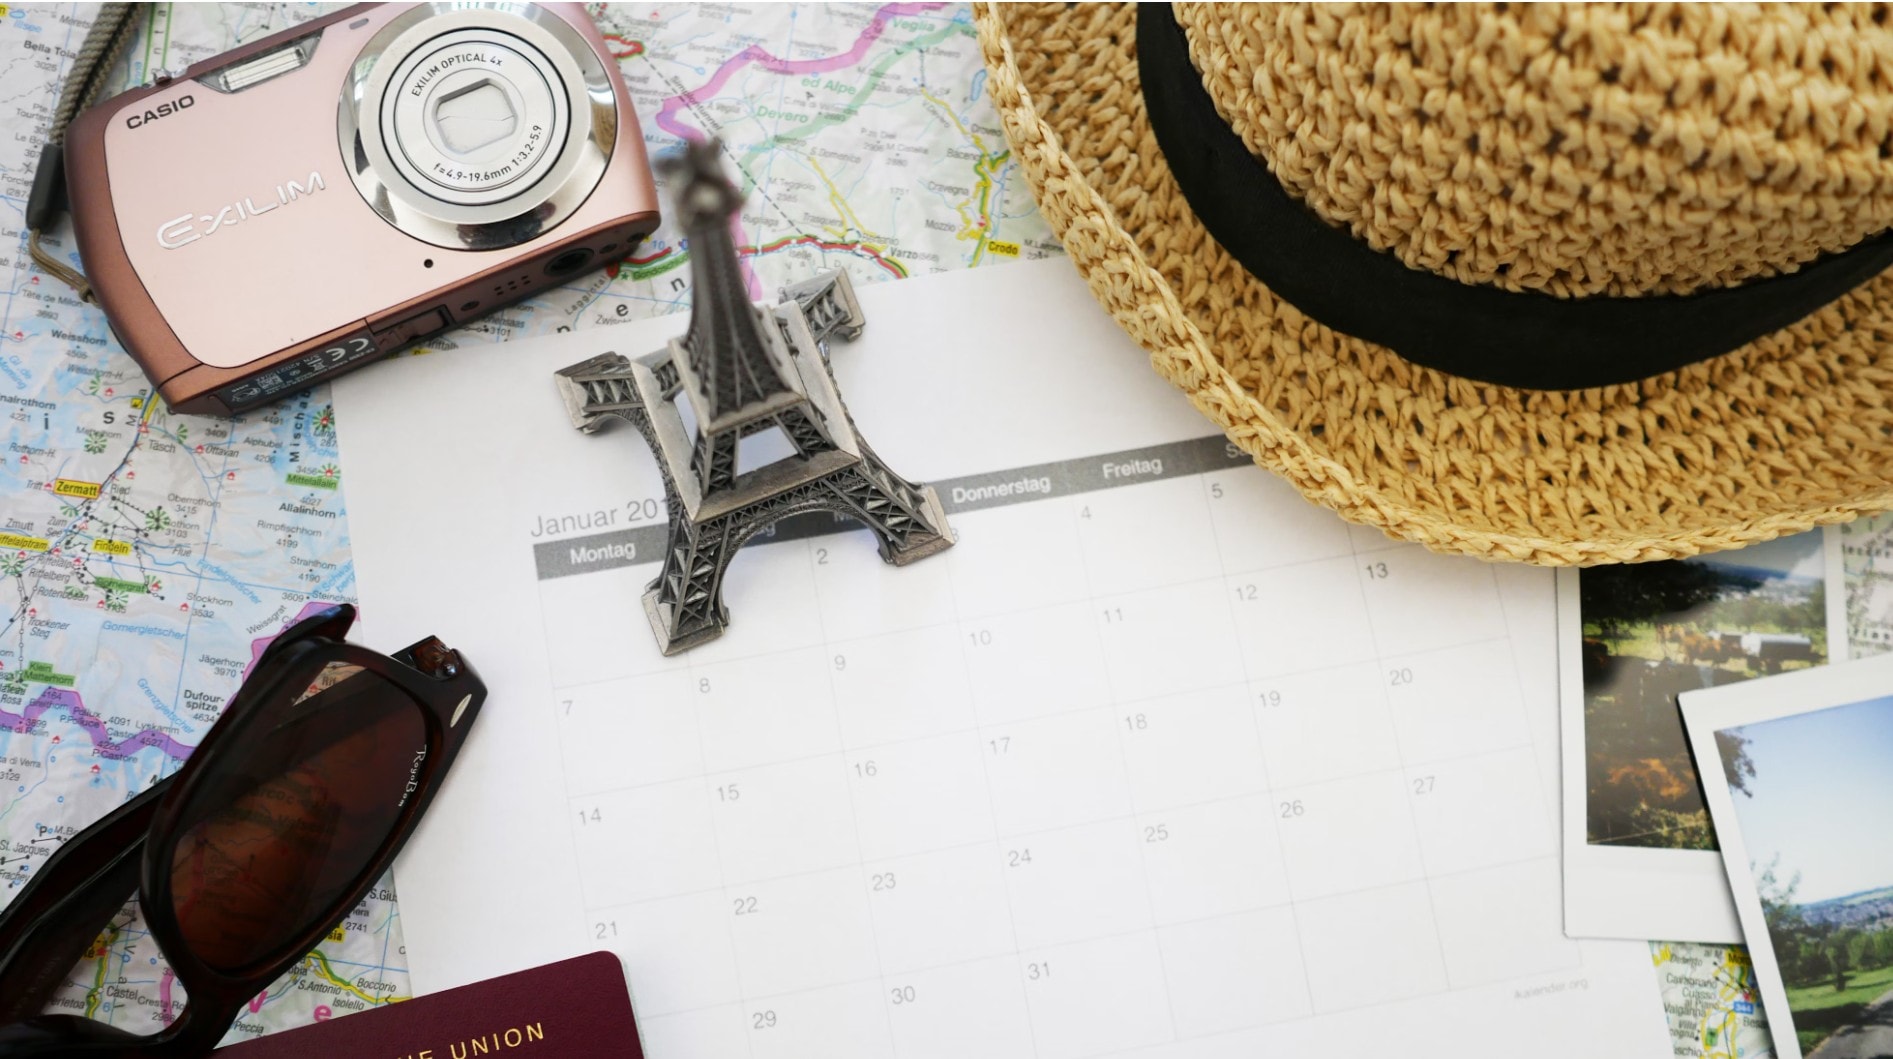
A rejected passport photo often leads to longer processing times and added costs. Each country sets unique rules for photo backgrounds, but most require plain white or off-white. For example, the UK and US require a white background with even lighting and no shadows.
Furthermore, Canada accepts light grey or white, but backgrounds must remain smooth and free from texture. Again, India and Australia also demand light, neutral backdrops with no patterns or furniture. In a nutshell, each country has its own passport background requirements.
In cases where your passport does not meet the criteria for the purpose you plan to use it, a passport photo background remover can help correct issues with passport backgrounds.
Part 2: What is the Fastest Way to Remove Background Passport Photo

While there are different background removers for passport photos, present software integrates AI, and this makes them faster and more efficient. An example is the Wondershare Filmora, a video and photo editing platform.
Filmora integrates AI for most editing tasks. It has a reliable built-in passport background remover. This feature is recognized as AI Portrait Cutout.
Filmora's AI Portrait Cutout simplifies background removal by automatically detecting human subjects. This feature allows users to isolate individuals without needing a green screen.
Consequently, it saves time and effort in the editing process. After isolating the subject, users can replace backgrounds or add creative effects. Moreover, the tool offers both Advanced and Quick Cutout Modes. These modes cater to different editing needs and skill levels.
Key Features
- Automatic Detection:The AI algorithm identifies human figures in footage, allowing for one-click background removal.
- Advanced Cutout Mode:This mode enhances precision by accurately detecting complex elements like hair and semi-transparent objects, ensuring a natural appearance.
- Creative Effects:After isolating the subject, users can replace backgrounds, add visual effects, or incorporate new environments to enhance their content.
- Vast video/audio effects and creative assets.
- Powerful AI for effortless content creation.
- Intuitive, professional yet beginner-friendly.
- Works on Mac, Windows, iOS, and Android.


Part 3: How to Remove Background for Passport Photo

Using an advanced passport photo background remover like Filmora AI Portrait Cutout makes passport background removal faster. Here is how to remove a background from a passport photo.
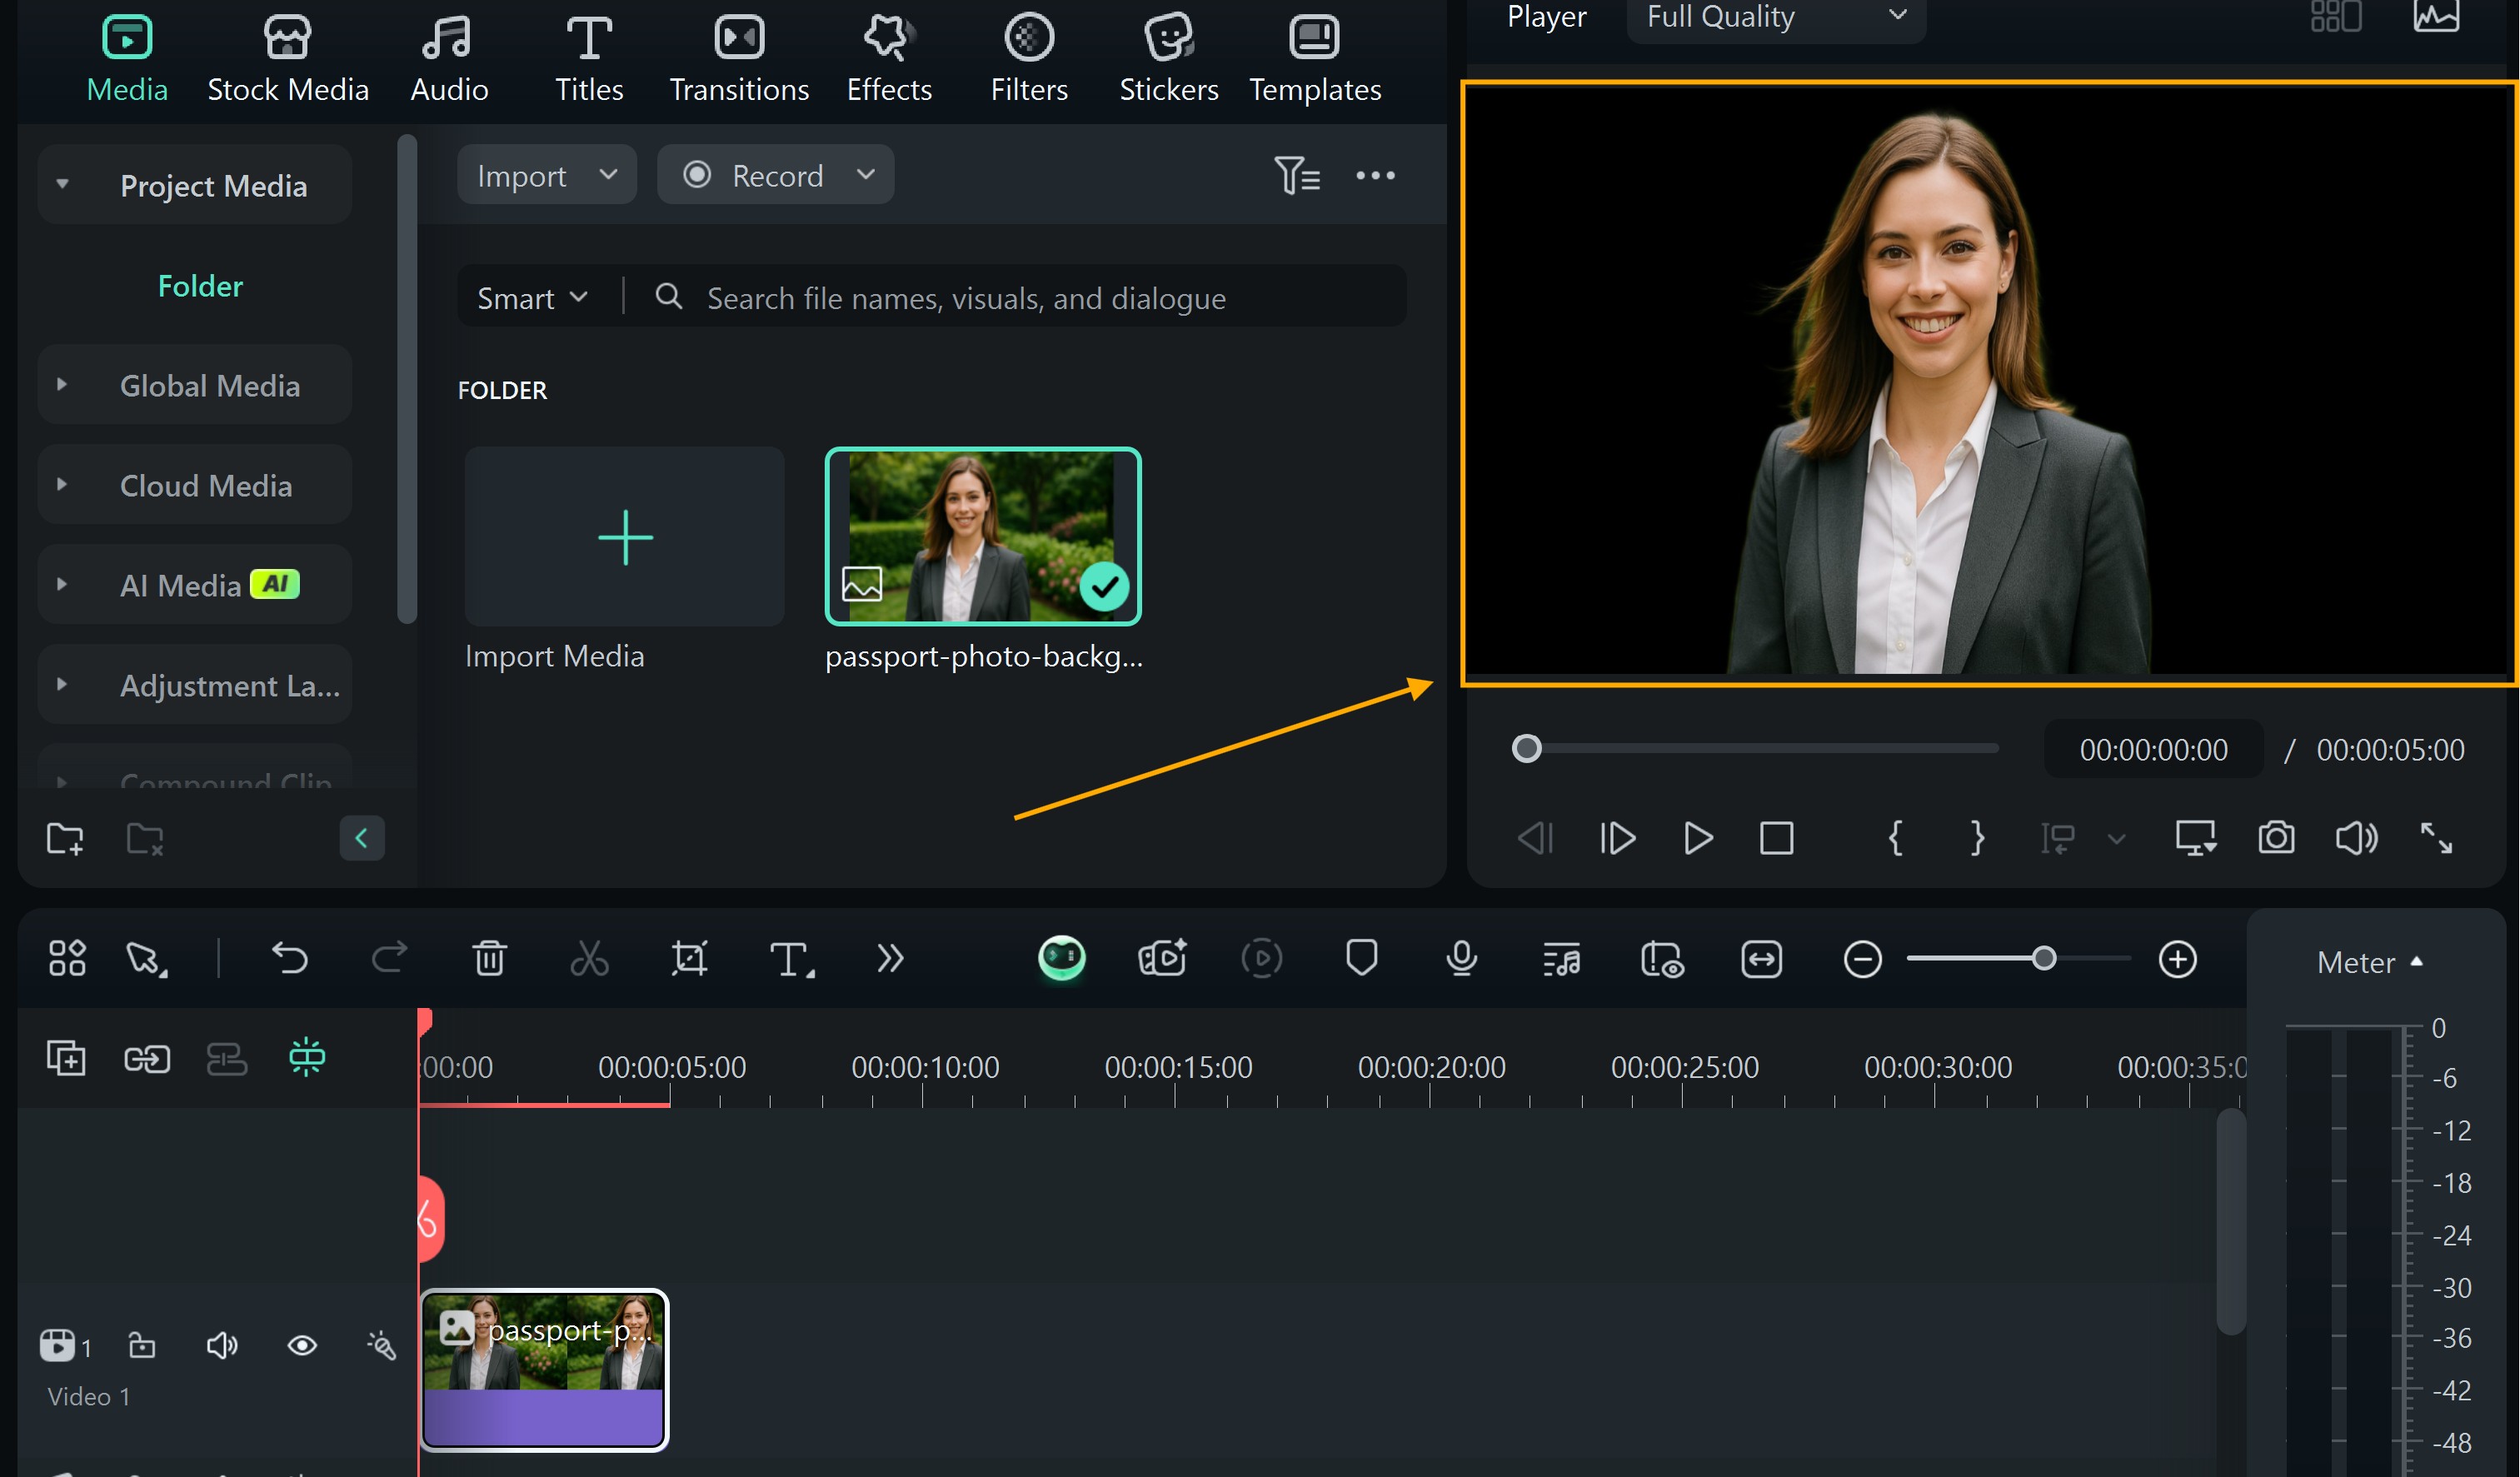
- Step 1: Launch Filmora and add your desired video or image to the timeline.
 secure download
 - Step 2: Select the media clip, navigate to the 'Video' panel, and activate the AI Portrait Cutout feature.

- Step 3: After the ‘passport photo remove background' process is completed, replace the background with a solid white or off-white color. These are commonly accepted in passport photo standards across most countries.
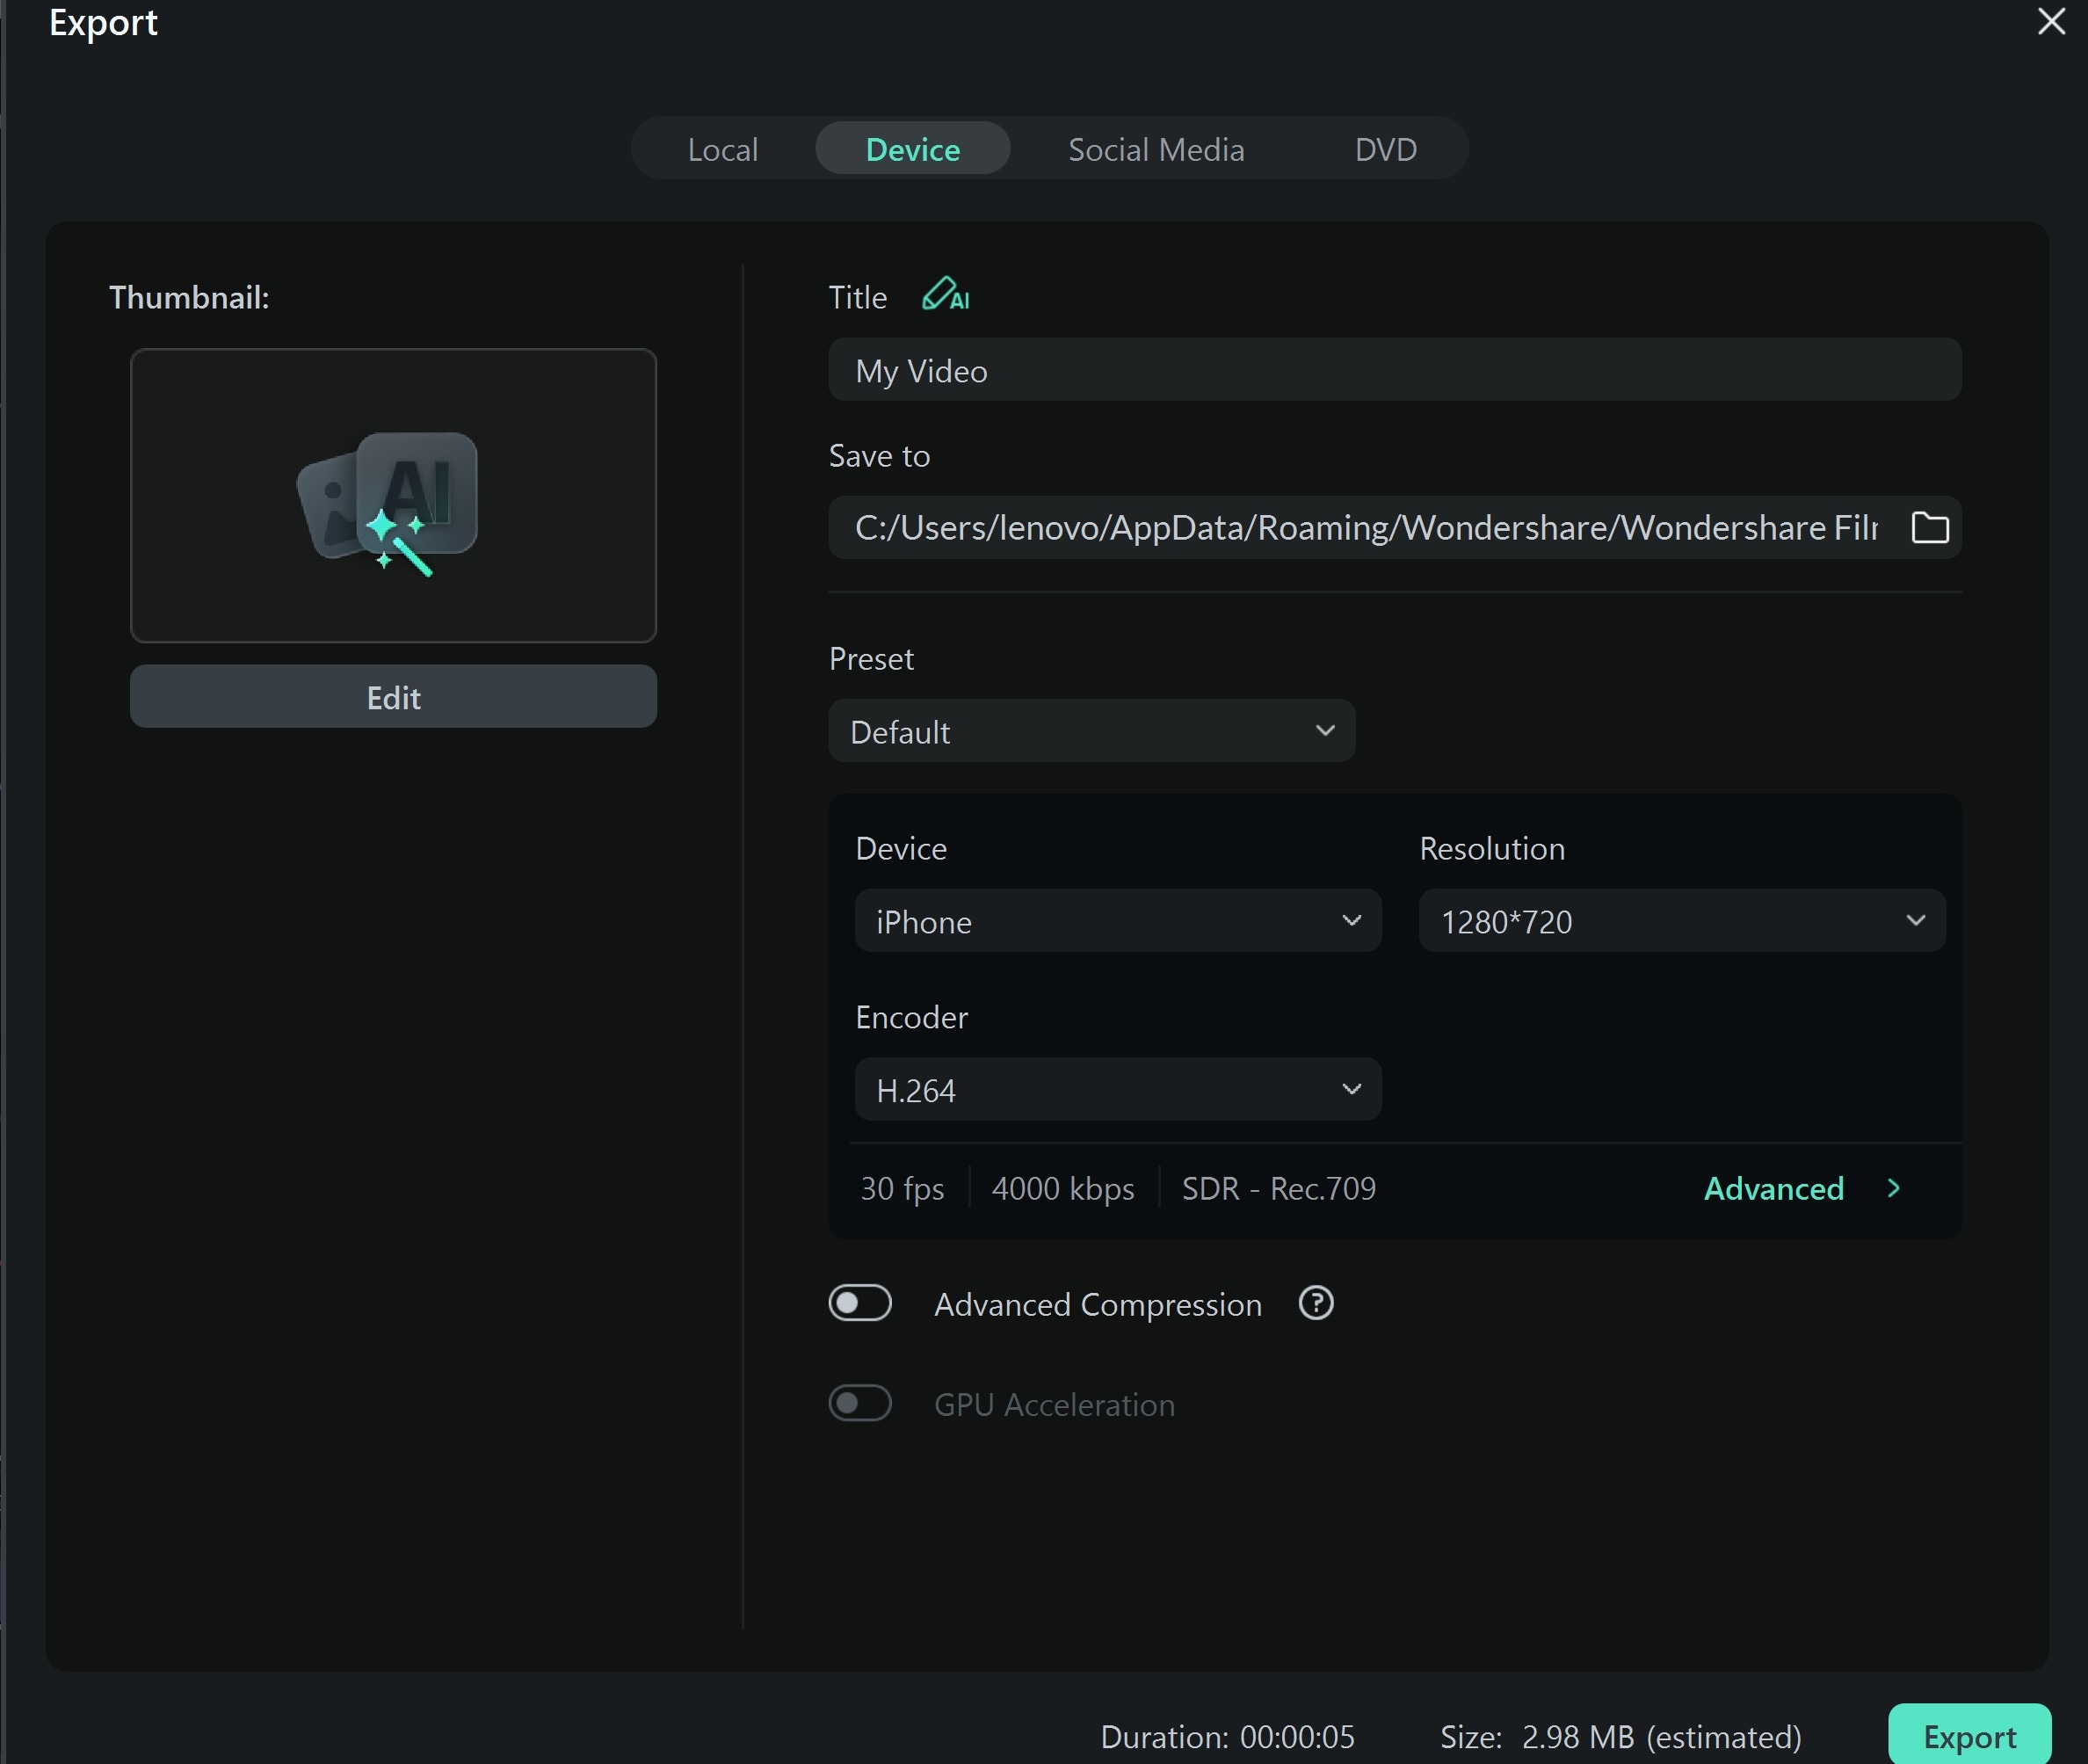
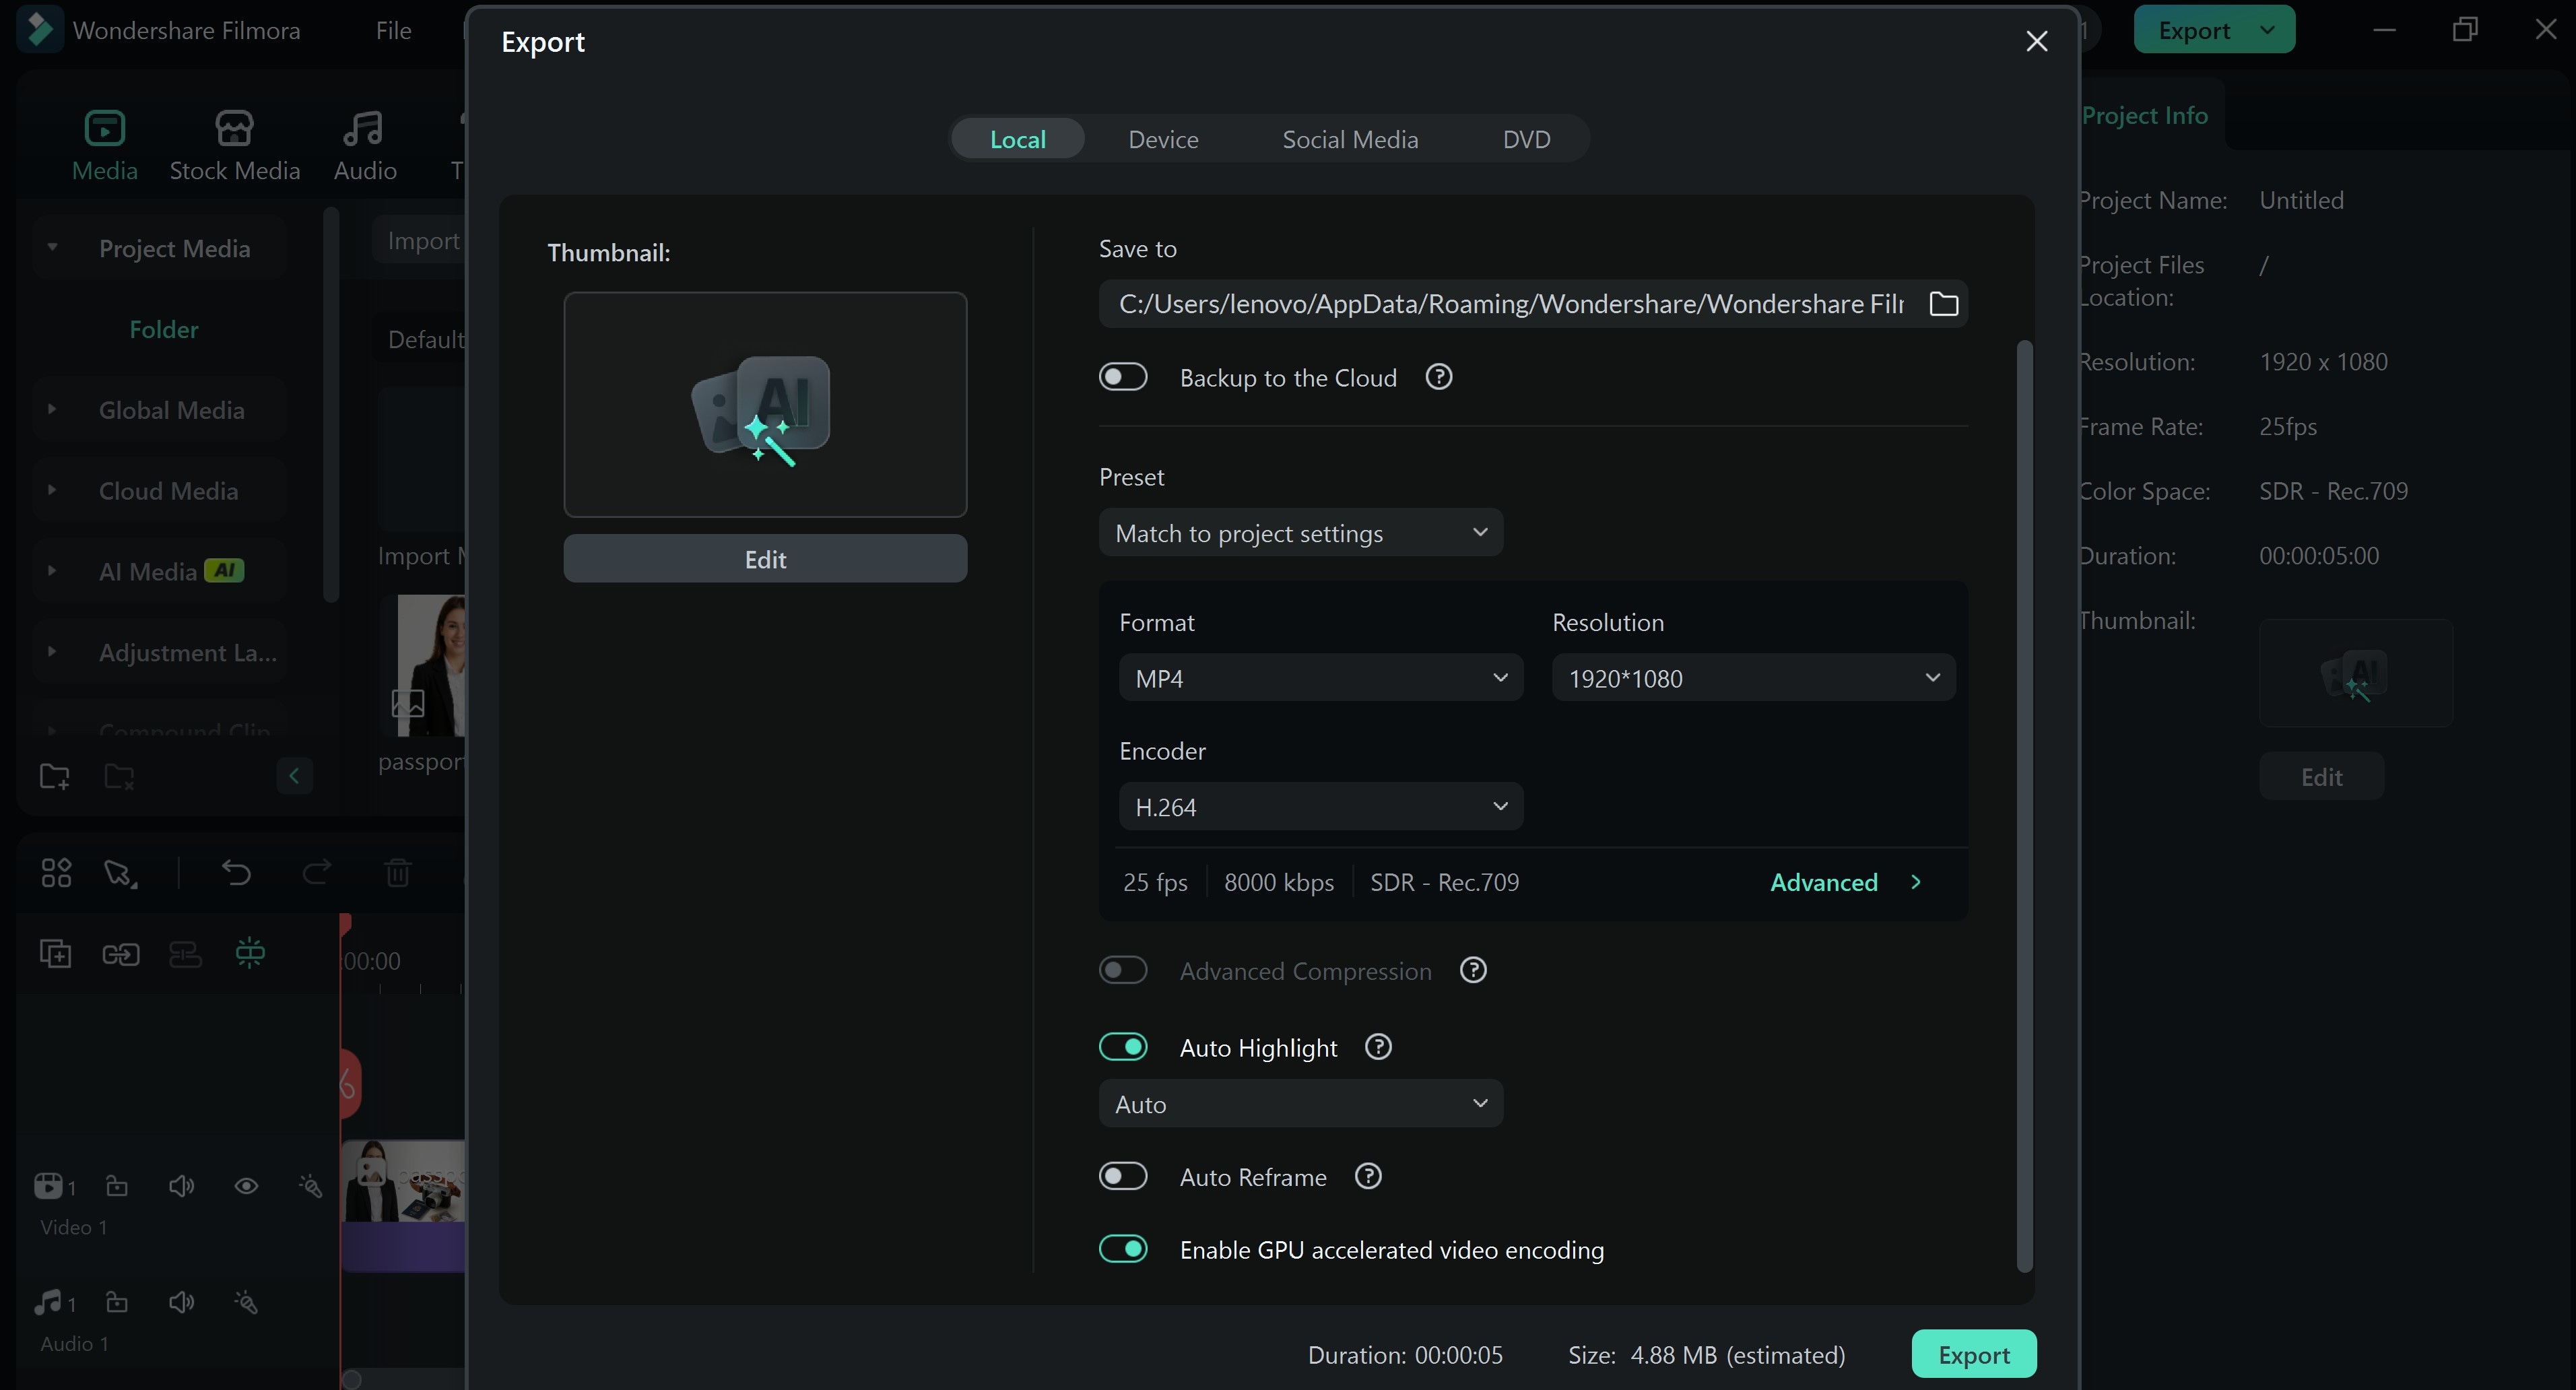
- Step 4: Click ‘Export,' choose high-quality output, and save the file in JPEG or PNG format.
How to Make the Image Have a White Background
After completing the AI portrait cutout process, you have your image in a dark background. If it happens that what you need for your image is a white background, then you have to do more, as the AI portrait cutout might not be doing that automatically for you. So how do you remove the background of passport photos and make it white? The example below will show you how.
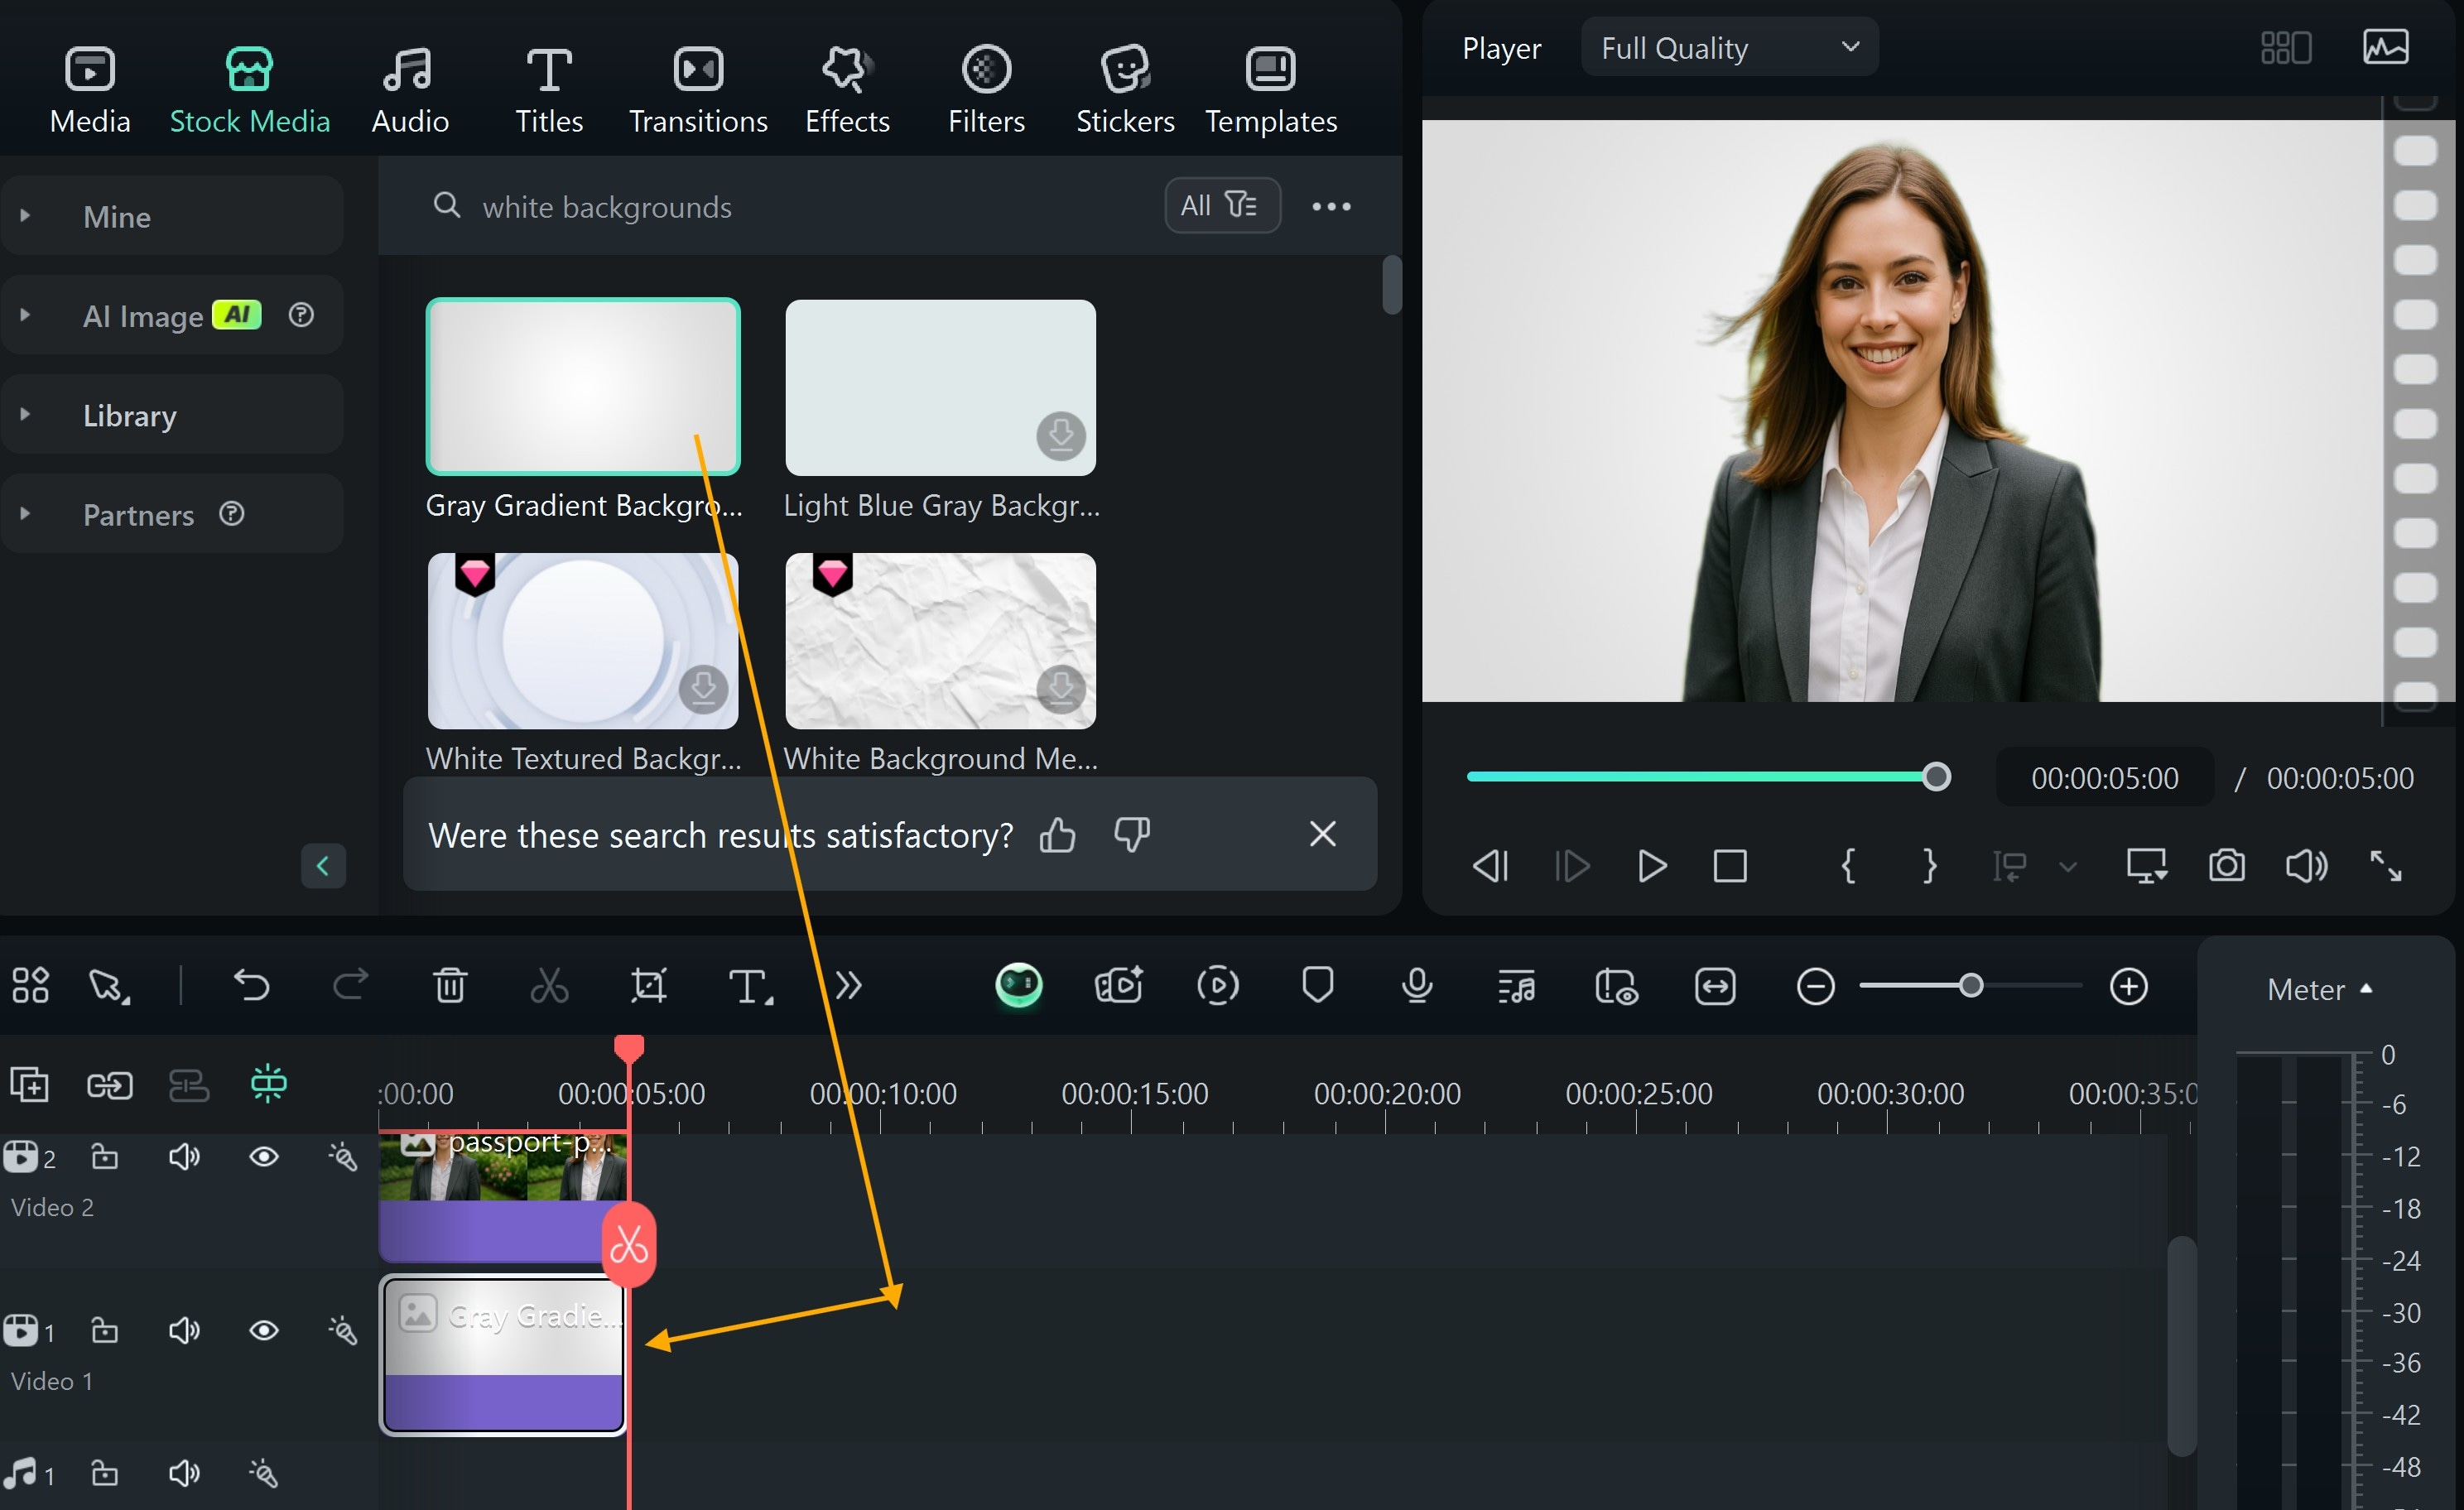
- Step 1: Navigate to the stock media and search for ‘white background.'

- Step 2: Download and import the blank white image to your timeline. Ensure that the white image is placed under the original image in the timeline.
Finally, export and save your file.
Part 4: How to Remove Objects from Passport Image Backgrounds

Not all images need a background remover for passport photos. Sometimes, it's just a small item causing issues.
A misplaced lamp, a shadow, or a wall mark can lead to rejections. Here, you won't need the Filmora passport photo background remover feature. What you need to get this done is Filmora's AI Object Remover.
It lets you clean up images with a single brushstroke. You can erase one object without damaging the rest of your background. This tool is built for those quick, professional edits that still follow strict photo rules. You just highlight the object, and the remover blends it away; no harsh edges or visible patches.
For example, if your photo has a white wall but includes a light switch, you don't need to start over. You just mark the object, and Filmora fills in the space.
How to Use the AI Object Remover
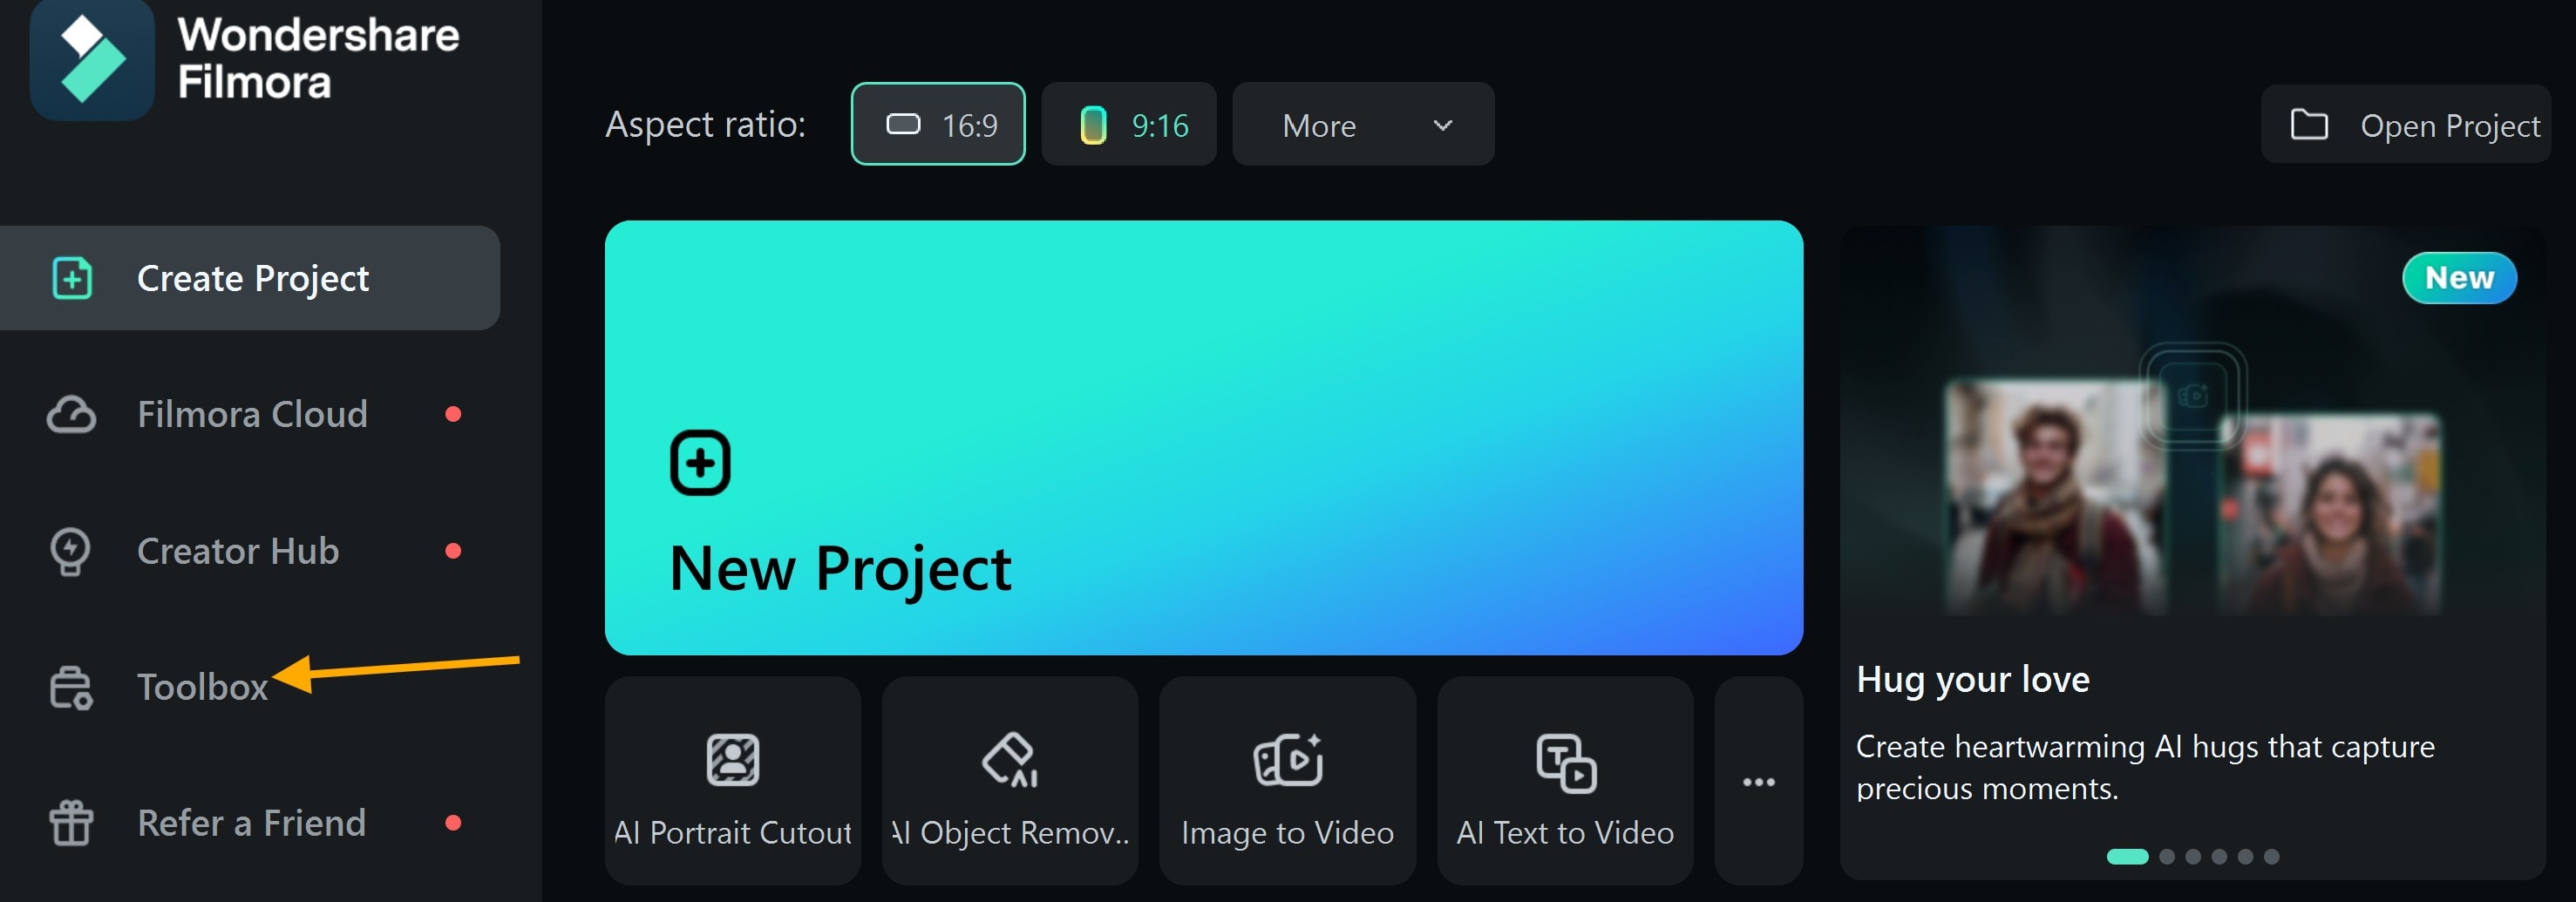
Using the AI Object Remover in Filmora on PC is not complicated. Once you launch Filmora, you'll find the tool readily available in the Toolbox. So, whether you're cleaning up a passport photo or removing minor imperfections, Filmora makes the process quick and accurate. With its powerful AI technology, you can easily eliminate unwanted objects while preserving the sharpness and professional quality of your images.
Below is how to eliminate objects from images on your PC using Filmora.
- Step 1: Launch Filmora and select the AI object remover from the toolbox.
 secure download
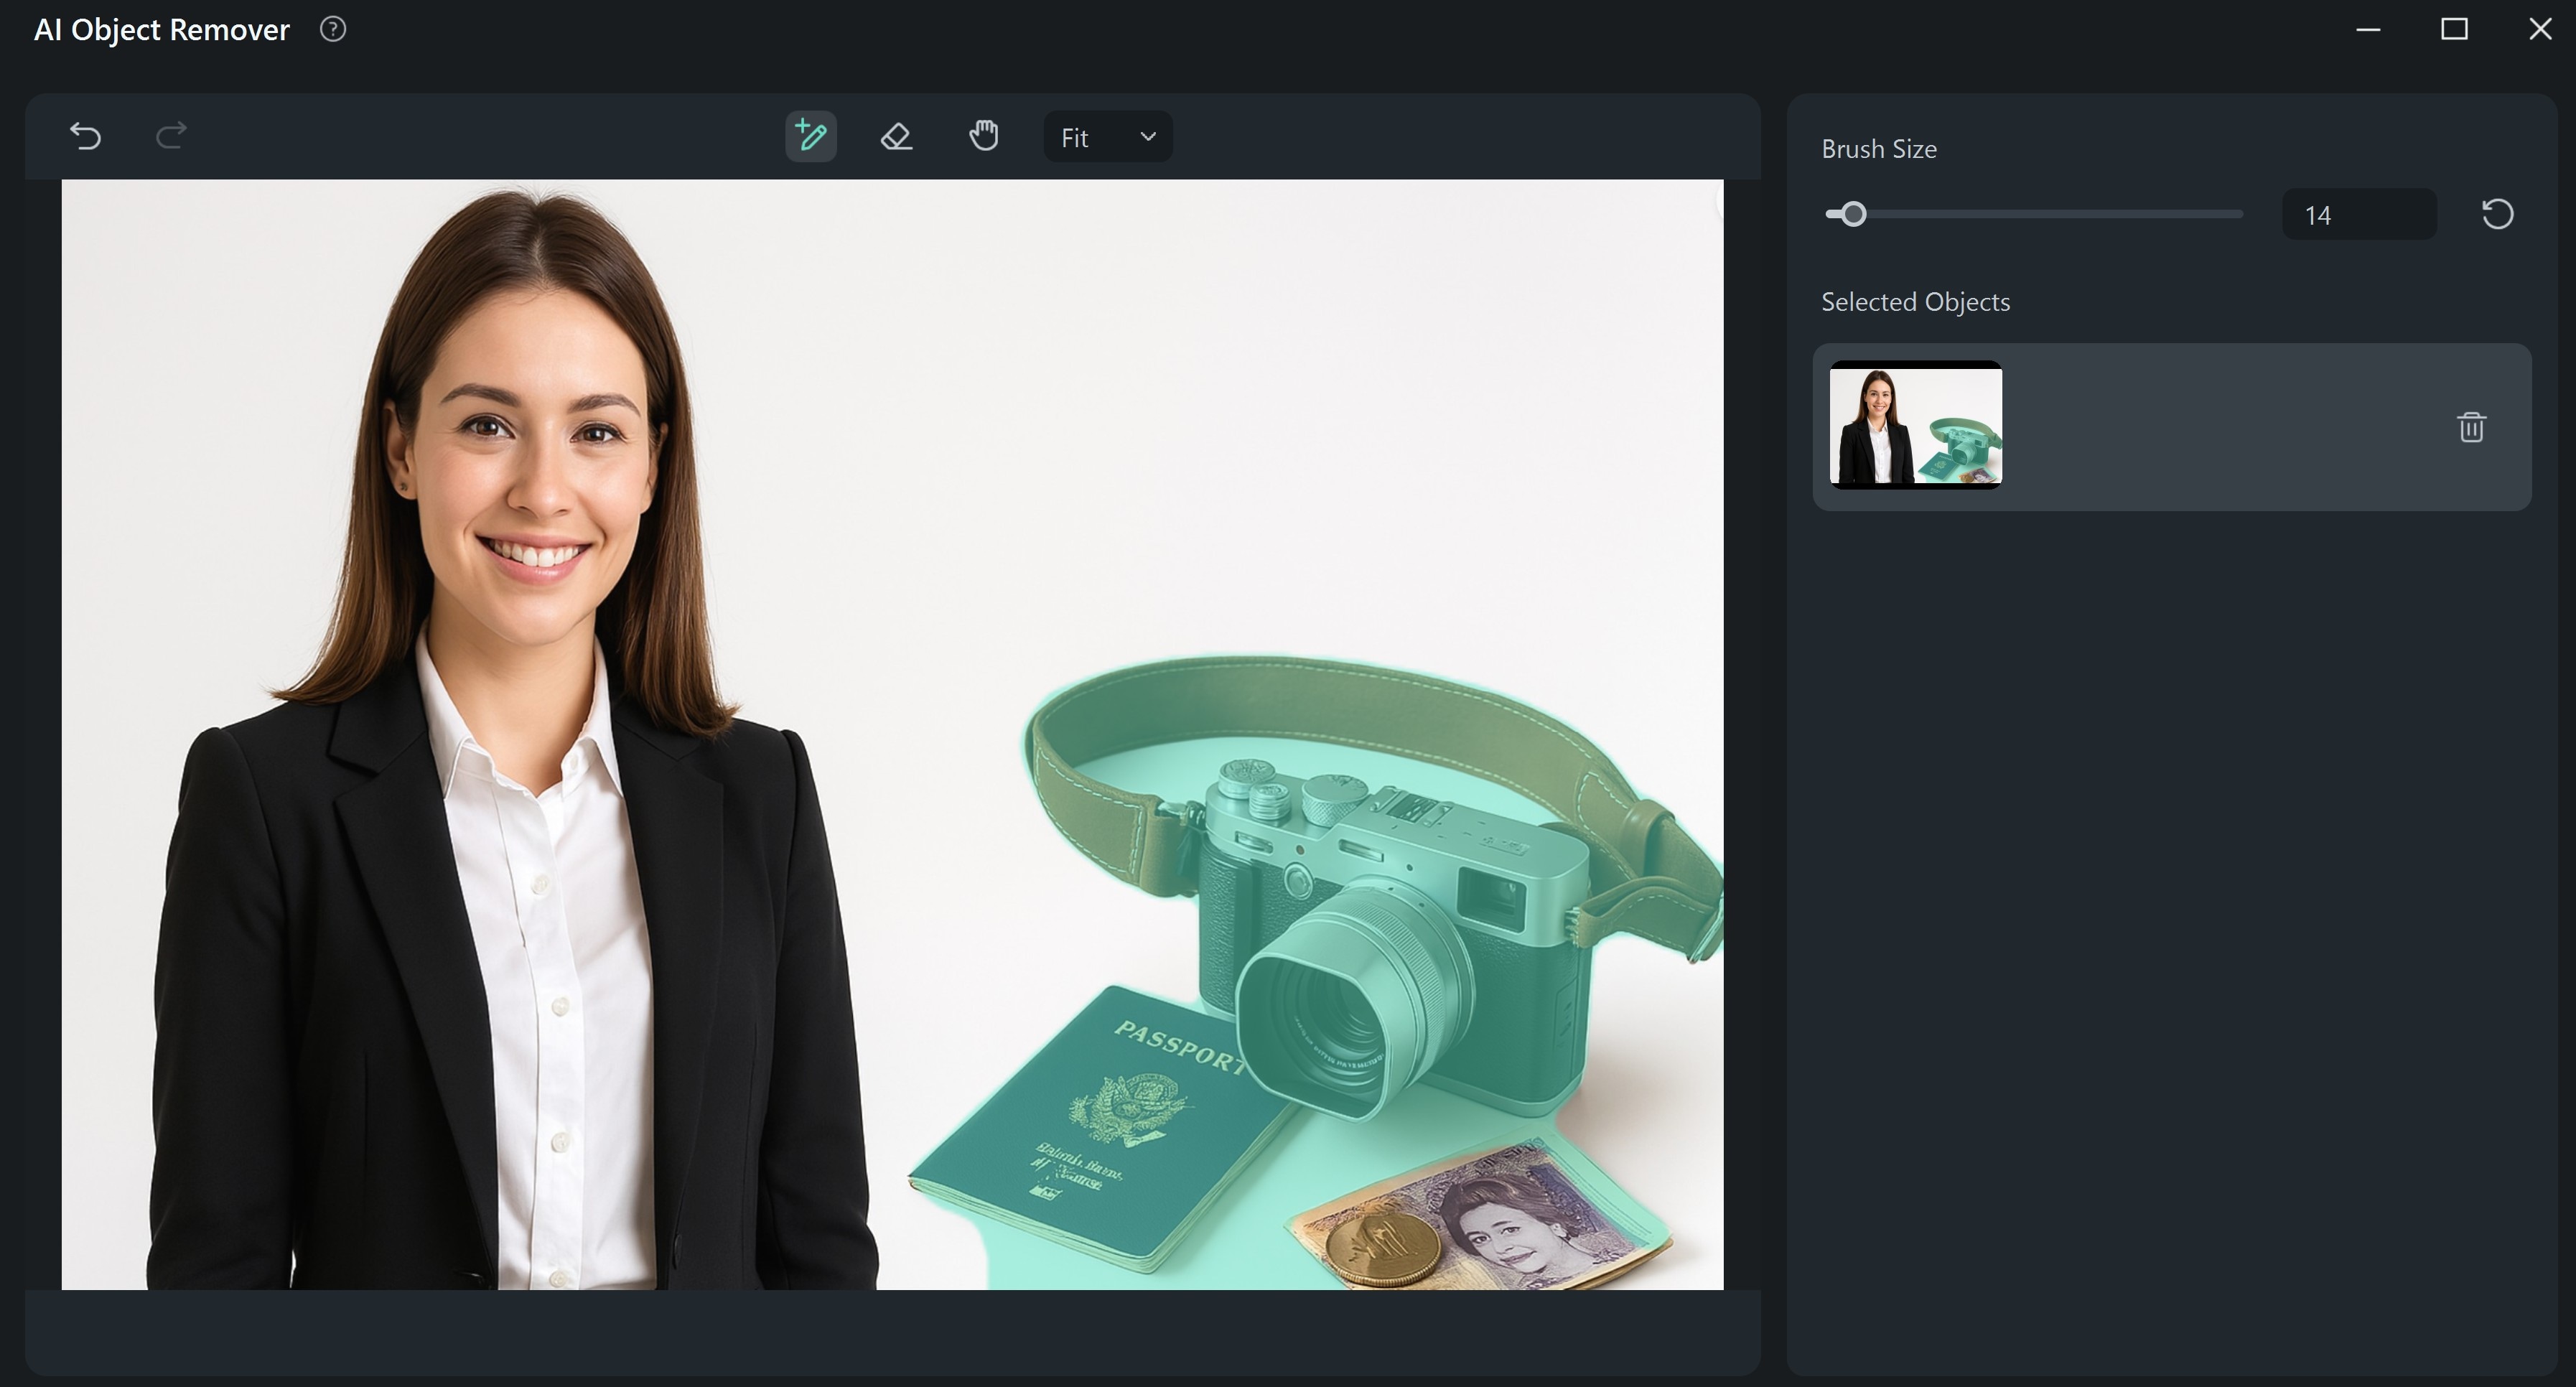
 - Step 2: Add your image and highlight the object that you want removed. Use the brush to paint over the object you want to delete. Zoom in for better control. Click on Remove and wait for the process to complete.
- Step 3: On the next screen, you can choose whether to repeat the process or edit the image using the numerous features available on Filmora. Click save to have this image stored or posted on your social media platforms.
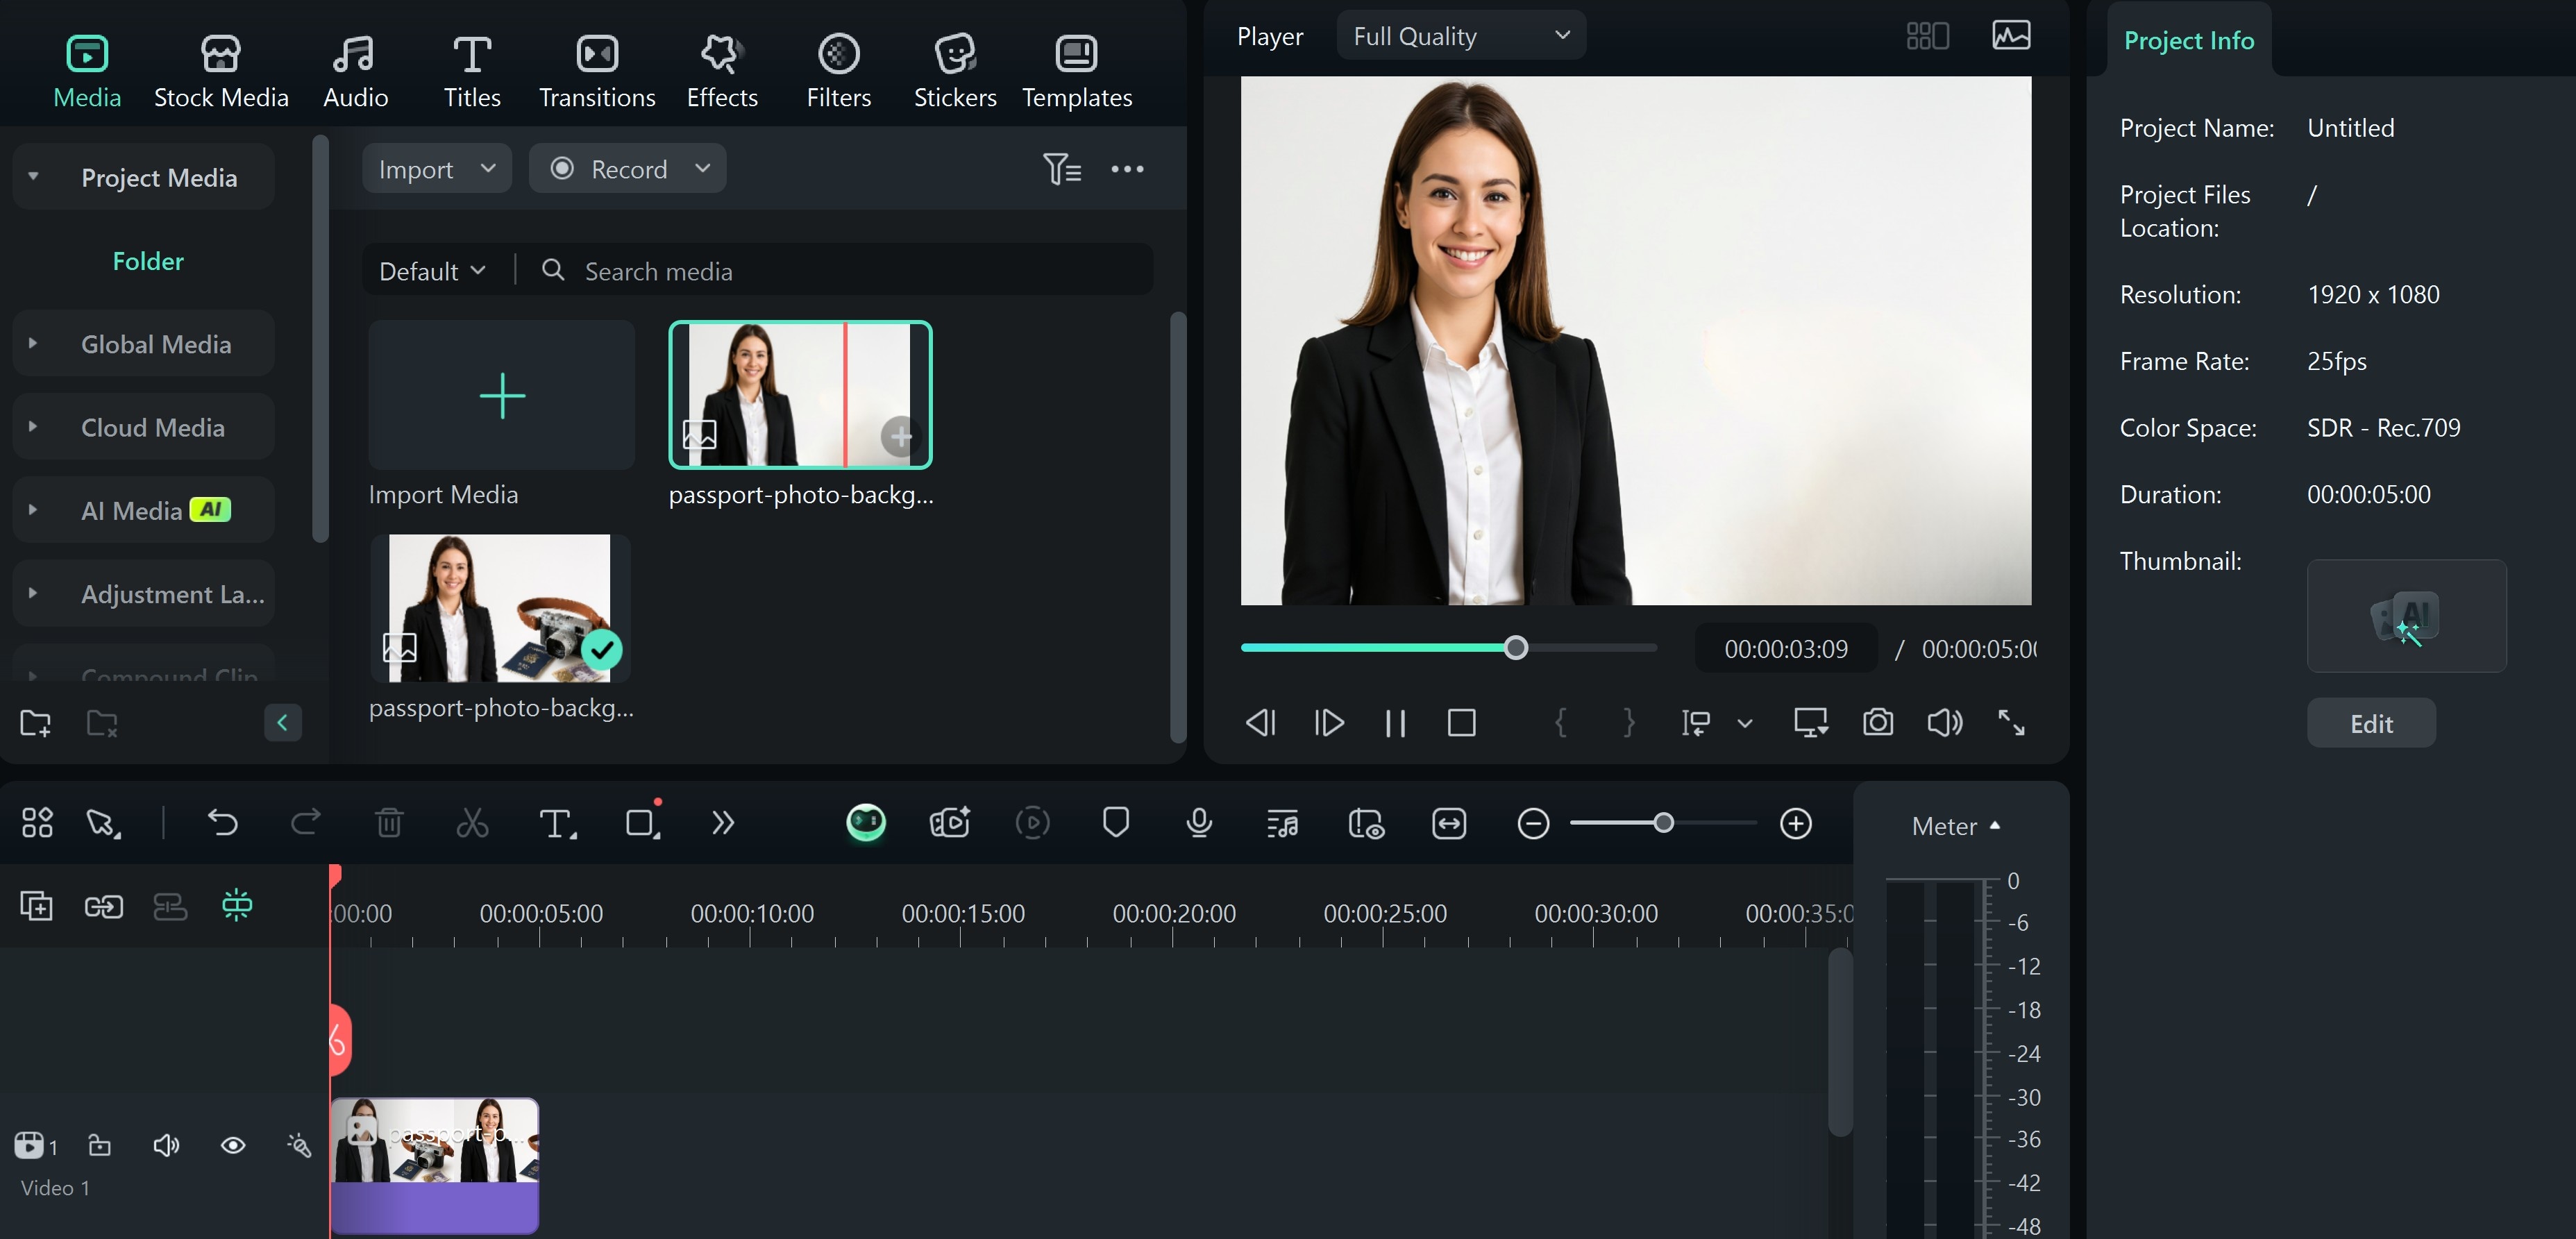
- Step 4: Click Export to store or post this image on your social media platforms.
- Step 5: Here is a preview of the image before and after
Conclusion
Perfecting a passport photo doesn't have to involve reshoots, studio visits, or settling for an image that almost meets official requirements. With background remover for passport photo tools like Filmora's AI Portrait Cutout and Object Remover, you gain full control over your photo's background.
So, whether you're eliminating a distracting lamp or converting a textured wall into a clean white backdrop. These features, powered by intelligent detection, allow you to isolate your image subject and remove or replace backgrounds with ease. The process is simple: highlight, erase, and export in high-quality formats like JPEG or PNG, preserving clarity for official use.
If you're preparing a photo for the U.S., where a stark white background is mandatory, Filmora ensures you stay compliant without technical friction. This tool removes the guesswork and empowers you to create submission-ready images, even on mobile.
However, mastering how to use a passport-size photo background remover is no longer optional; it's strategic. Filmora doesn't just meet the rules; it elevates passport removal through smart editing.
