
 100% Security Verified | No Subscription Required | No Malware


 ChatGPT
 Perplexity
 Gemini
 Claude
 Grok
Grok
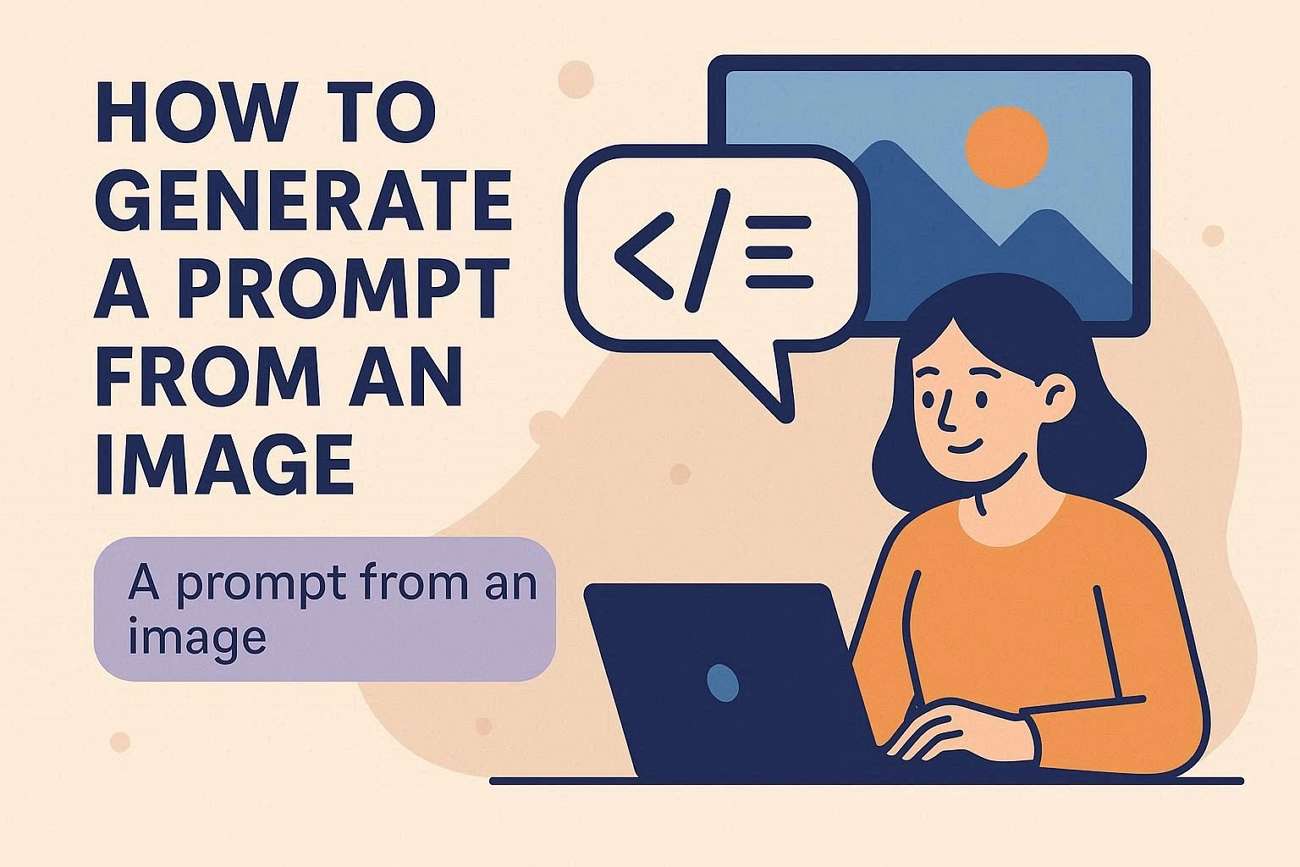
You're scrolling through your gallery and find a stunning image you wish you could recreate with AI, but you don't know how to describe it. That's where learning how to generate a prompt from an image becomes incredibly useful. Instead of guessing details, you can turn visuals into accurate, structured text prompts that AI tools understand.
Whether you're a content creator, designer, or beginner exploring AI art, this process saves time and improves results. In this guide, you'll discover step-by-step methods and tools that help you convert any image into a powerful, detailed prompt with ease.
In this article
Part 1. Why Generate a Prompt from an Image?
Before diving into the methods, it's important to understand why many creators choose to convert an image into a prompt rather than write prompts from scratch. This approach simplifies the process while improving both accuracy and creative control:
- Better Accuracy: Detailed elements such as objects, colors, lighting, and composition are captured more precisely. This reduces the chances of missing important aspects when describing visuals manually.
- Time-Saving Workflow: Trial-and-error is significantly reduced during prompt creation. As a result, the overall process becomes faster and more efficient, especially for beginners.
- Consistent Style Replication: A uniform style, tone, or aesthetic can be maintained across multiple AI outputs. This consistency is valuable for branding, storytelling, or visual campaigns.
- Enhanced Creativity: A structured foundation makes it easier to refine and expand ideas. This allows creators to build strong prompts without having to start from scratch.
- Improved AI Results: Well-organized prompts guide AI tools to produce more accurate, high-quality outputs. This increases the likelihood of achieving the desired result quickly.

Part 2. What You Need Before You Convert an Image to a Prompt
Before you start to turn an image into a prompt, having the right setup can make a big difference in the quality of your results. A few essential elements ensure that the generated prompt is accurate, detailed, and useful for AI tools:
- A High-Quality Image: Clear visuals with high resolution help capture finer details, such as textures, lighting, and objects. Blurry or low-quality images may lead to incomplete or inaccurate prompts.
- A Reliable Image-to-Prompt Tool: Choosing the right tool ensures better analysis and structured output. Advanced tools can detect styles, scenes, and even artistic elements more effectively.
- Basic Understanding of Prompt Structure: Familiarity with how prompts are written improves the final output. Knowing elements such as subject, style, lighting, and composition helps refine results.
- Defined Purpose or Goal: Clarity about what you want to achieve makes prompt generation more focused. Whether it's for art, marketing, or content creation, the goal shapes the output.
- Editing and Refinement Approach: Generated prompts often need slight adjustments for better accuracy. Reviewing and tweaking the output ensures it aligns with your expectations.
Part 3. How to Generate a Prompt from an Image with Filmora
When looking for a beginner-friendly yet powerful way to convert visuals into prompts, Wondershare Filmora stands out with its built-in Image-to-Prompt feature. Designed for creators of all levels, Filmora simplifies the process by automatically analyzing your image and turning it into a structured, AI-ready prompt.
Filmora's Image to Prompt Tool
Instead of manually describing every detail, Filmora Image-to-prompt detects key elements such as objects, background, lighting, style, and mood. This makes it especially useful for content creators, designers, and marketers who want fast and accurate results without technical complexity. Another advantage is its seamless integration within the editing workflow. You can upload an image, generate a prompt from the image, and directly use it for AI video or image generation.
 secure download

Comprehensive Steps to Use Filmora Image to Prompt
Having learned about the image-to-prompt function of Filmora, let us now move to the step-by-step guide on how to use it:
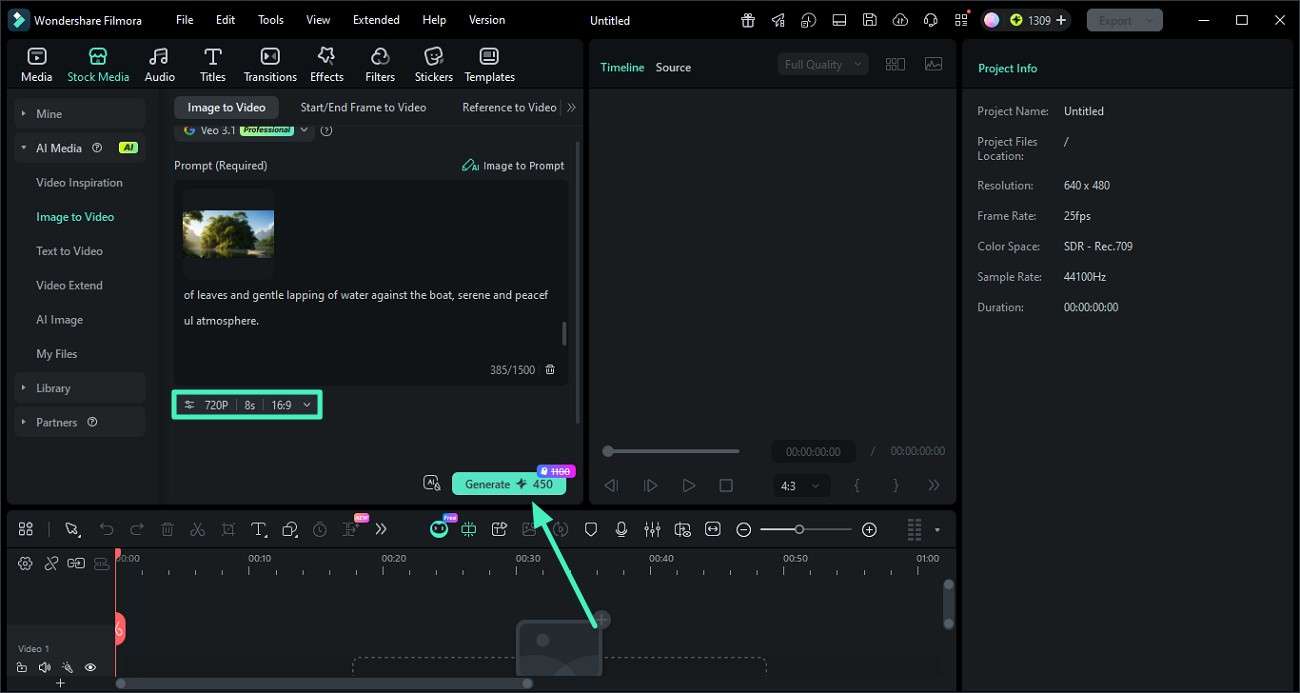
Step 1. Import Your Image into Filmora
Start by opening a new project in Filmora. Navigate to the left panel, click on the "Image to Video" section, choose your desired mode, and upload your image either by dragging it in or selecting it from your device.
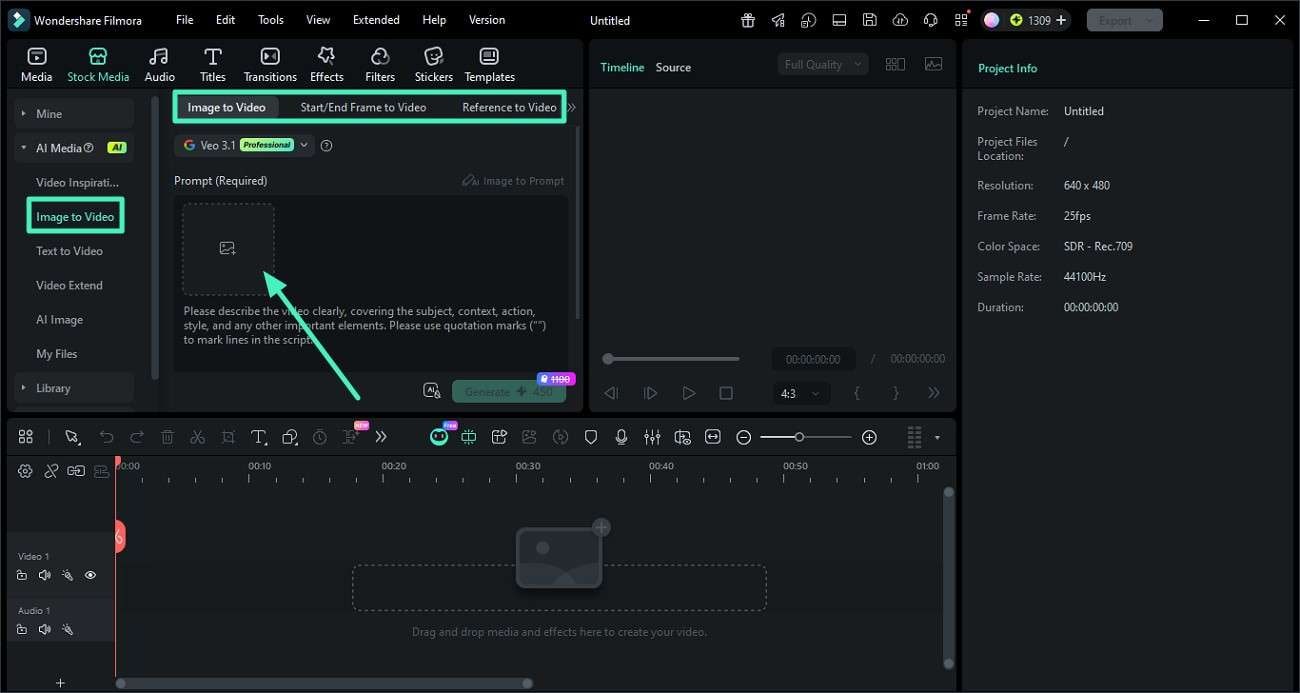
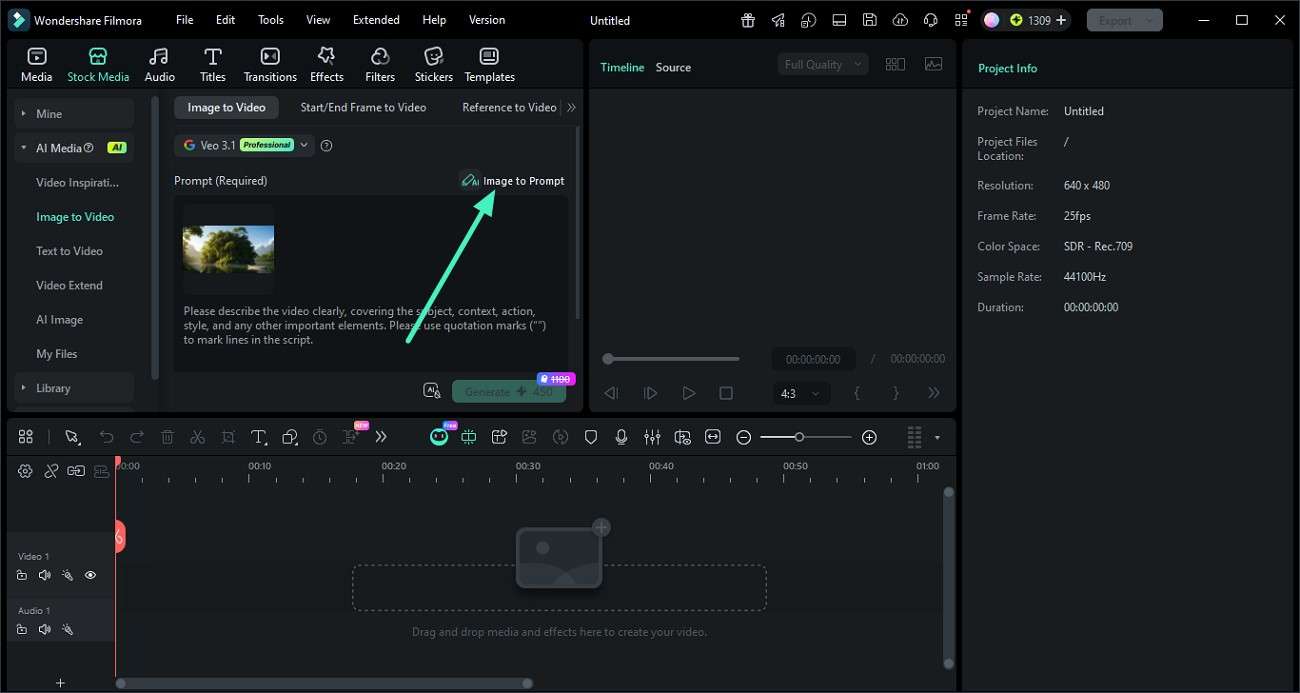
Step 2. Generate a Prompt Using AI
Once your image is uploaded, locate the "Image to Prompt" feature and click on it. Filmora will scan the image and automatically produce a well-structured AI prompt based on the visual details.
Step 3. Customize and Create the Video
Go through the generated prompt and make any necessary adjustments, such as refining style, tone, or specific descriptions. After finalizing the prompt, press the "Generate" button to turn it into a video.
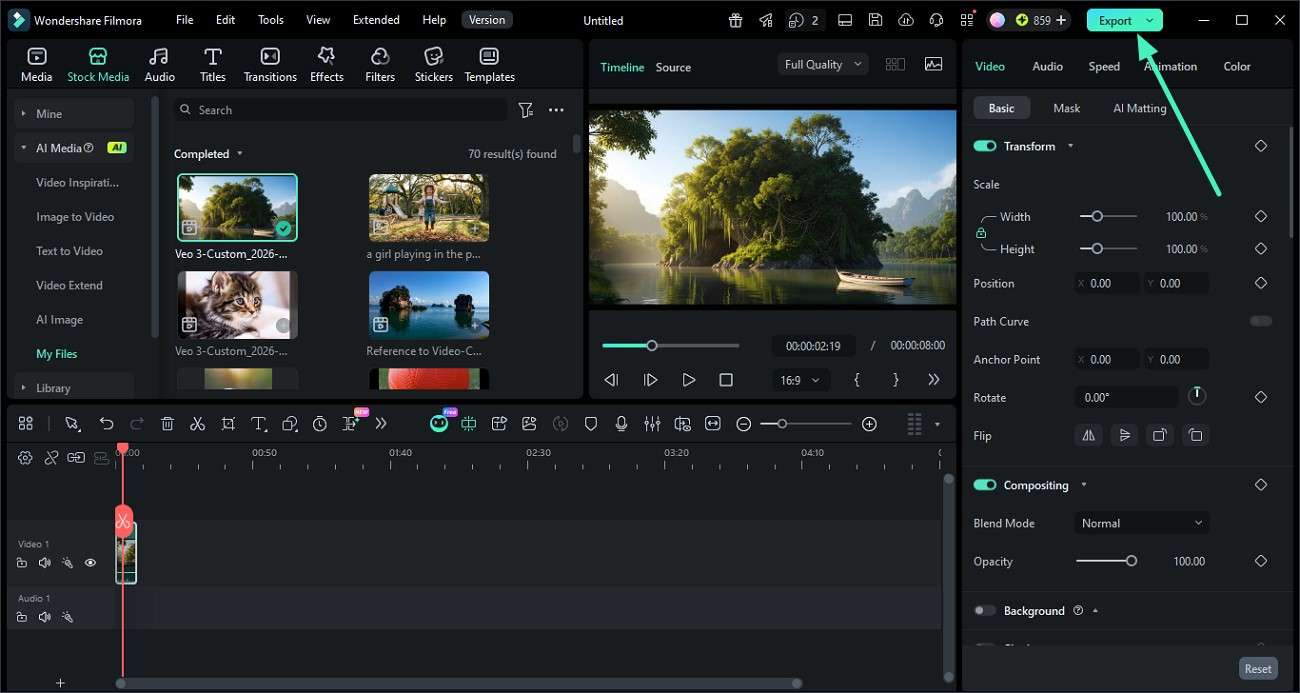
Step 4. Review and Save Your Output
Preview the generated video to check if it meets your expectations in terms of visuals and motion. When everything looks good, click on "Export" in the top-right corner to download the video in your preferred format.
 secure download
 Part 4. Tips to Extract a Better Prompt from an Image
As you move forward, knowing how to properly extract prompts from images can make a noticeable difference in the final results. A few smart techniques can help you get more accurate, detailed, and creative prompts from any visual:
- Use Clear and Detailed Images: High-resolution images with good lighting provide more visual information. This helps AI tools identify elements more accurately and generate richer prompts.
- Focus on the Main Subject: Images with a clear focal point produce more relevant descriptions. Avoid cluttered visuals where multiple elements compete for attention.
- Define Style and Mood Manually: AI may not always fully capture artistic style or emotional tone. Adding details like "cinematic," "minimalist," or "vintage" improves the final prompt.
- Refine the Generated Output: Initial prompts are a starting point, not the final result. Editing and enhancing descriptions ensures better alignment with your creative goal.
- Include Context When Needed: Adding background information or intended use can improve prompt relevance. This is especially helpful for storytelling, marketing, or themed content.
Conclusion
To sum it up, this article provided a complete guide on how to generate a prompt from an image. By following the steps and tips shared above, you can easily transform any visual into a structured and useful AI prompt for creative projects. For a faster and more accurate experience, Filmora is a great option. Its built-in Image-to-Prompt feature simplifies the entire process, making it ideal for beginners and professionals alike.
secure download Frequently Asked Questions
-
1. What is the easiest way to generate a prompt from an image?
The easiest way is to use an AI-powered tool that automatically analyzes the image and creates a structured prompt. Tools like Filmora simplify this process with built-in Image-to-Prompt features. -
2. Can beginners convert images into AI prompts without technical skills?
Yes, beginners can easily do this using user-friendly platforms. Filmora is especially helpful because it guides users through the process with minimal effort. -
3. Why is my generated prompt not very accurate?
This usually happens when the image is low quality or lacks clear details. Refining the prompt manually after generation can significantly improve accuracy. -
4. Do I need special software to extract prompts from images?
While manual descriptions are possible, AI tools make the process faster and more precise. Using a dedicated tool like Filmora can help generate more structured and usable prompts.
