
 100% Security Verified | No Subscription Required | No Malware


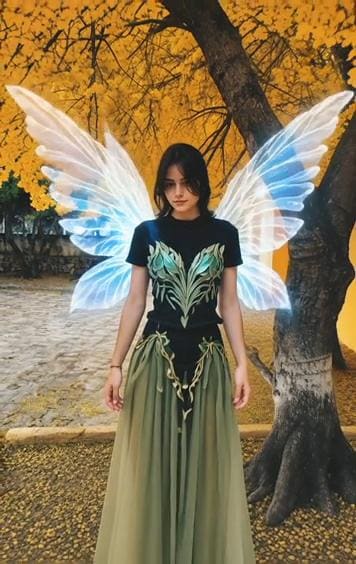
 ChatGPT
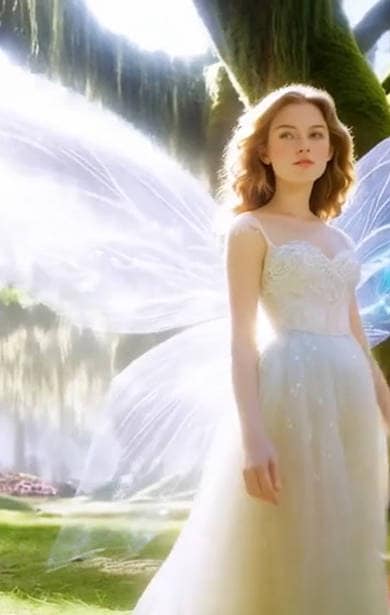
 Perplexity
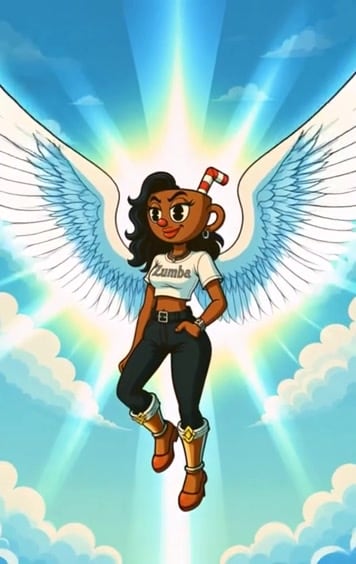
 Gemini
 Claude
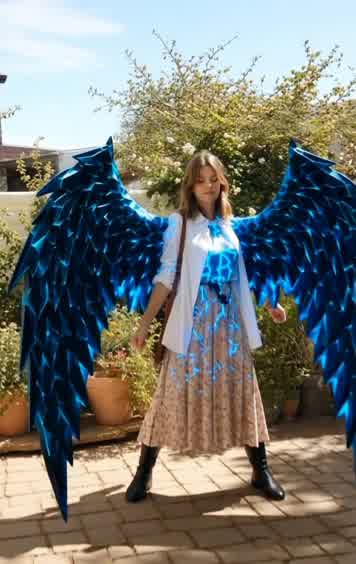
 Grok
Grok
Ever caught yourself wondering what you would look like as a fantasy character? Maybe as an angel, an elf, or something that reminds you of Barbie: Fairytopia. Sounds cool, doesn't it? Yet, most people fail when they try to add angel wings to a photo. Either the wings look flat, or they float awkwardly.
Good wing photo editing should add depth, proper positioning, and a sense of movement, so the wings feel connected to the person instead of pasted on. That's why we're here to guide you step-by-step on how to use an angel wings photo editor to create realistic, expressive, and animated wing edits using photos and video tools.

In this article
Part 1: Angel Wings Photo Editing Styles You Can Create
Why do some angel wings photo editors work well while others fail to look right? This is because not all angel wings photo editors are built for realistic blending. Angel wings photo editors used to rely only on static stickers or flat overlays.
However, modern editors, especially those powered by AI, now support lighting adjustment and even animation that make the result feel more realistic. These capabilities define today's wings photo editing standards.
Difference Between Basic Photo Overlays and Layered Visual Editing
| Aspect | Comparison |
| Editing Method | Basic overlays place wings directly on the image, while layered visual editing uses separate layers. |
| Depth Awareness | Overlays lack depth handling; layered editing supports proper front-back depth control. |
| Subject Interaction | Layered editing visually separates the subject and wings, avoiding unnatural overlap. |
| Realism | Basic overlays look flat and artificial, whereas layered editing appears natural and realistic. |
| Motion Support | Layered visual editing supports animation and movement instead of static effects. |
| Use in Photo Wing Edits | Layer-based editing is a core requirement for realistic angel wings. |
| Suitability for Video | Designed for photo-to-video workflows rather than static-only use. |
While there is nothing wrong with either method, it really comes down to personal preference and the look you want to achieve. Below are some popular angel wings photo edits you can create later:
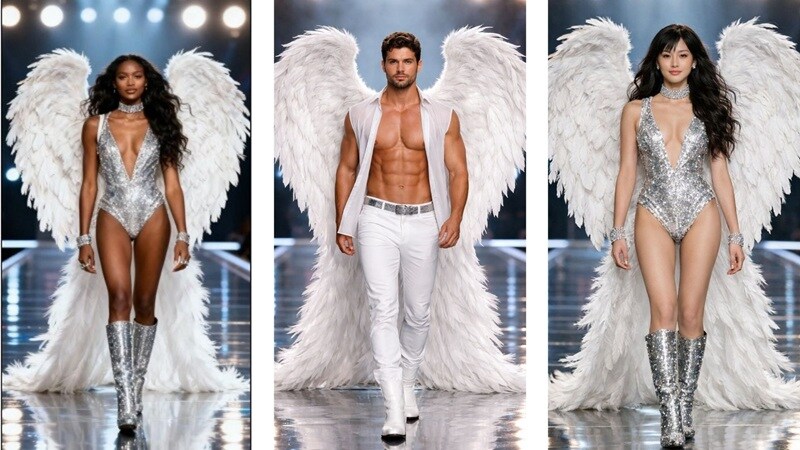
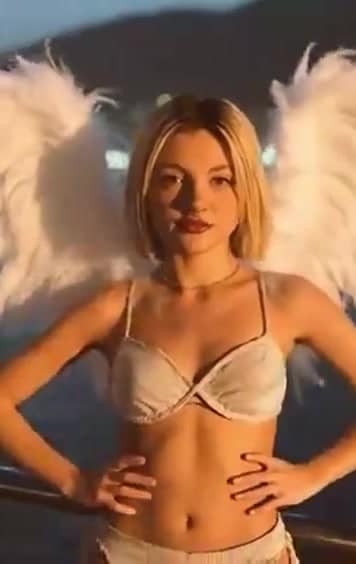
Classic White Angel Wings
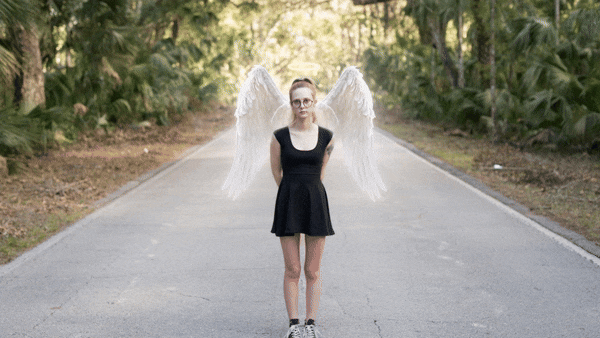
Soft, white, feathered wings placed naturally behind the shoulders. This style is often used when people want to add angel wings to a photo that gives off a pure and good vibe.
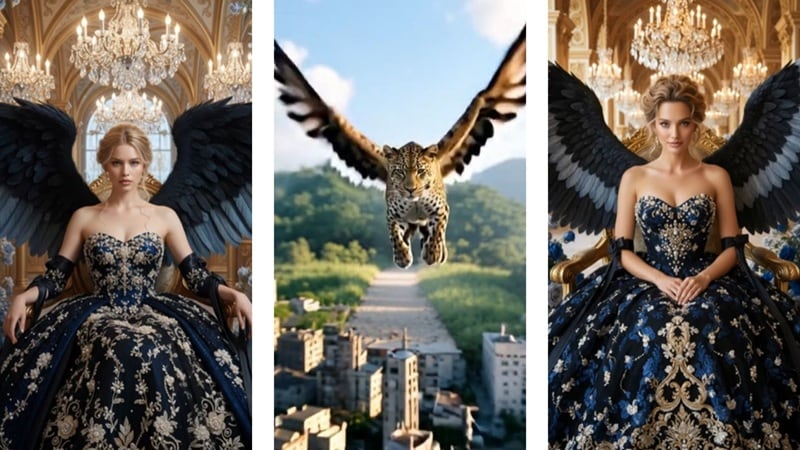
Dark or Fallen Wings
Black wing's photo edit style, on the other hand, is often used to create a vibe that feels dark, powerful, and a little intimidating, yet in a cool way. It feels less angelic and more mysterious, like someone who knows their strength and isn't trying to be soft about it.
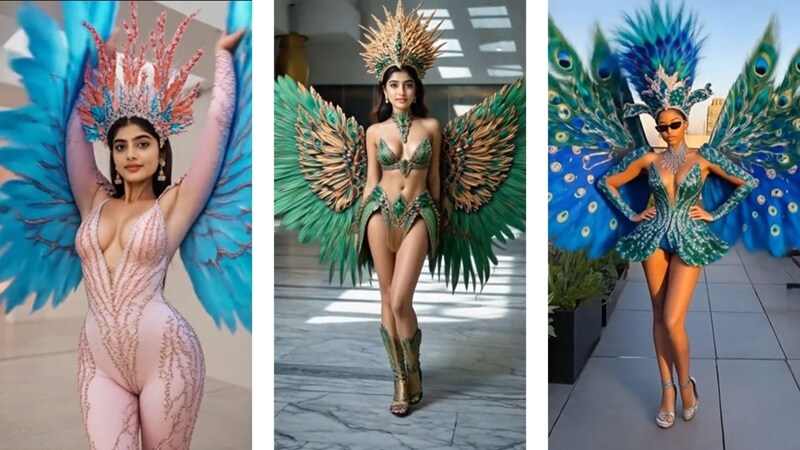
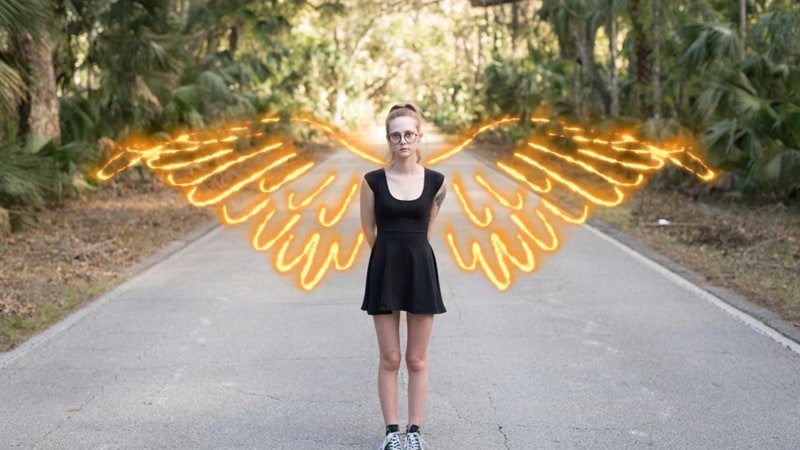
Fantasy or Mythical Wings
Besides the typical “black” or “white” wings, you can also show your “bold” side through fantasy wings. This style leans more into imagination and is often inspired by creatures like peacocks. They are more colorful and are commonly used in creative wings photo editing for fantasy portraits, cosplay photos, or artistic profile images.
Animated Wings for Short Videos and Reels
While you can keep the wings static, you can also create animated wings that add motion and emotion to the edit. It works better for social media clips, reels, and short-form video content where movement helps the wings feel more expressive and instantly grabs attention.
Once you have a clear idea of the visual style you want, the next step is deciding how you will bring it to life. The tools you choose, the level of realism you aim for, and whether the edit is for a photo or a short video will all shape the final result.
Part 2: How to Create Angel Wings Photo Edits and Videos
Creating angel wings that look natural requires more than simply placing an overlay on a photo. Lighting, depth, and movement all play a role in whether the effect feels realistic or artificial.
With Wondershare Filmora, you can go beyond static edits. The tool allows you to fine-tune wing placement, add subtle motion, and even turn a single image into a short video. This flexibility helps angel wings blend seamlessly into the scene, resulting in edits that feel more alive and emotionally engaging.
 secure download

Why Filmora Fits Angel Wings Editing Needs
- Supports stickers for wings overlays with flexible sizing.
- Allows layered timeline editing to place wings naturally.
- Transforms a single image into a short video using AI-powered angel wings animation templates.

Filmora is also available as a mobile app, allowing you to add angel wings to a picture on your phone. At present, the mobile version saves results as Live Photos or videos. Let's break down the methods, one-by-one:
Method 1: Add Angel Wings to a Photo Using Stickers (Manual Control)
This method gives the highest level of control for precise edits.
Key Advantages
- Full control over size, position, rotation, and opacity.
- Works for static images and light animation.
- Ideal for clean, realistic photo edit wings.
Best For
- Portrait photos.
- Profile images.
- Carefully styled wings photo edit.
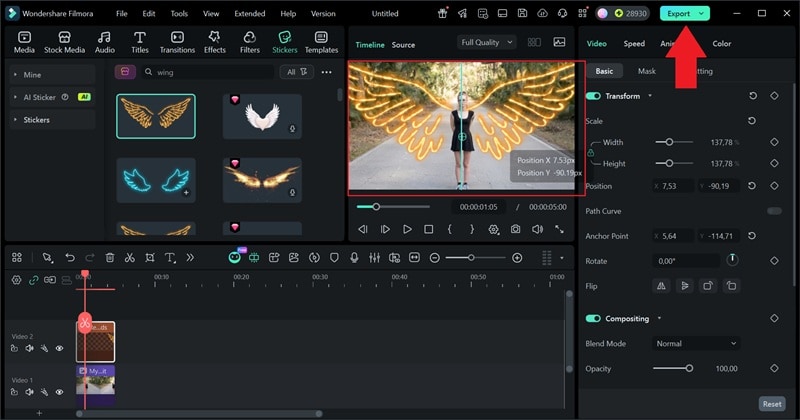
How to Add Angel Wing to a Photo with Stickers
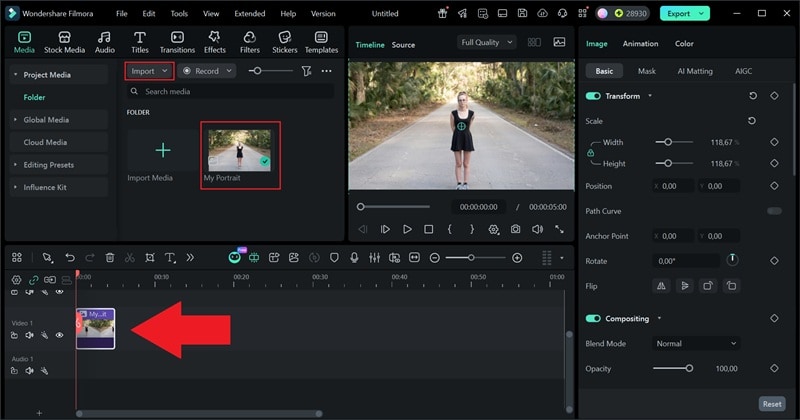
Step 1: Open Filmora and create a new project. Import your photo and place it on the timeline.
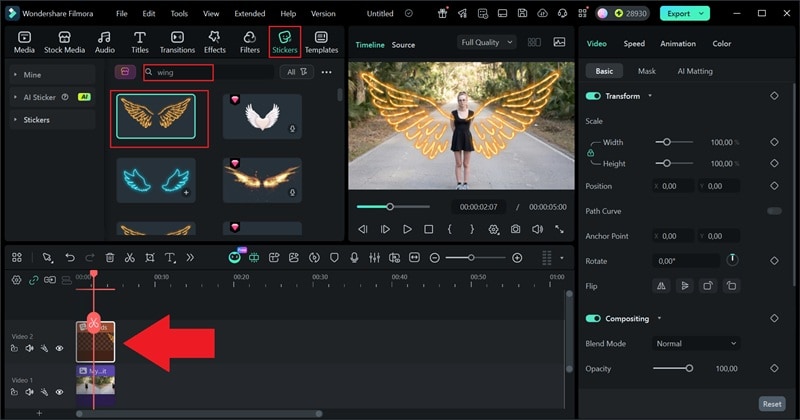
Step 2: Go to Stickers. Search for angel wings or browse the wings stickers, then drag your chosen sticker directly onto the timeline.
Step 3: Adjust the position, scale, and rotation so the wings sit naturally behind the shoulders. Click Export to save your result as a photo or video.
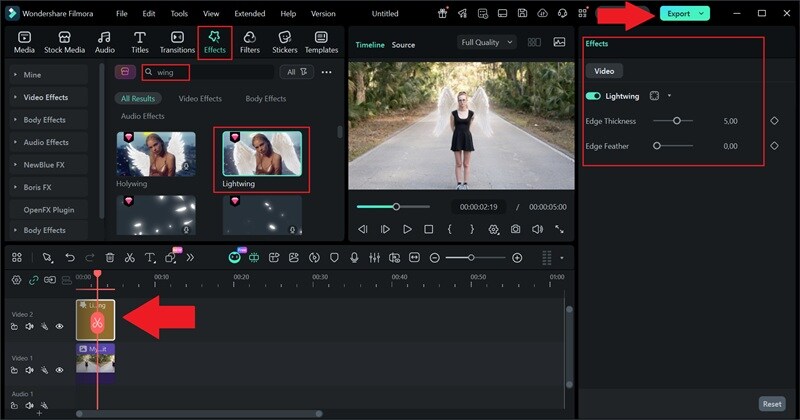
Method 2: Automatically Add Angel Wings with Effects (Fast Method)
This is the quickest way to apply wings with minimal adjustment. Unlike adding stickers, which requires manual adjustment, the angel wings effect in Filmora automatically detects the subject in your photo or video and positions the wings correctly.
Key Advantages
- Automatic subject recognition.
- Faster than manual sticker placement.
- Consistent results with less effort.
Best For
- Beginners.
- Quick edits.
- Short-form wings photo editing.
How to Add Angel Wing to a Photo with Effects
Step 1: Open the Effects tab and search for wings. Drag the wings effect onto your clip on the timeline.
Step 2: Use the right-side panel to adjust edge thickness and feathering. Preview the result, then export your photo or video.
Method 3: Animate Wings with Image-to-Video AI Templates
This method uses Filmora'sAI Image-to-Video templates, where wings are not just added but animated as part of a visual scene. Wings appear to move naturally, transforming static wings photo editing into short cinematic videos.
Key Advantages
- Turns a single image into a moving clip.
- Adds camera motion and atmosphere.
- Strong emotional impact for social video.
Best For
- Reels and Shorts.
- Fantasy or tribute visuals.
- Expressive wings photo edit videos.
How to Add Angel Wing to a Photo with AI
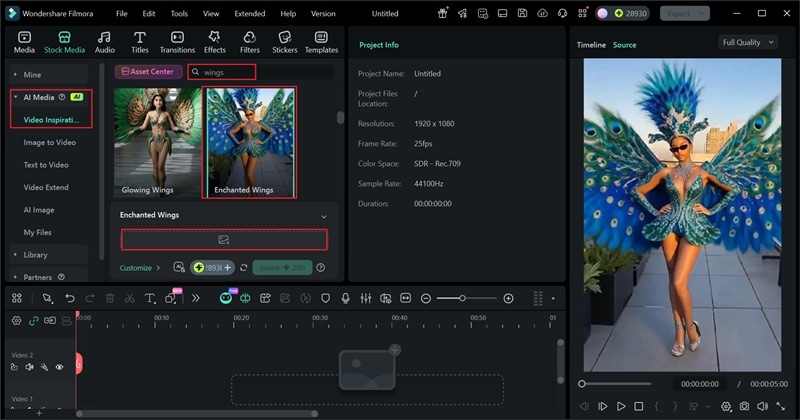
Step 1: Open Filmora and go to Stock Media > AI Media > Image to Video.
Step 2: In Video Inspiration, search for wings. Choose an angel wings template, upload your image, and click Generate.
Part 3: Pro Tips for Realistic Angel Wings Photo Editing
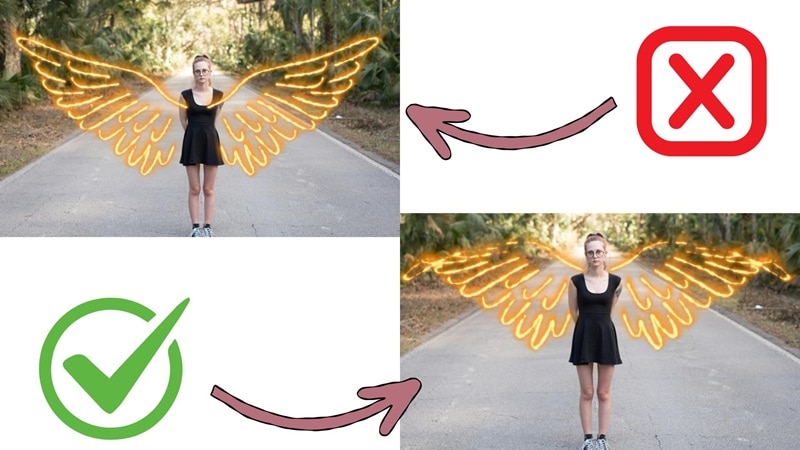
Good results in wing photo editing usually come down to a few small details, including angle, scale, and color. The wings may be well designed, but if they do not follow the body, the edit falls apart.
And to make sure your edits turn out well, you can follow the tips below that focus on helping you add wings to a photo in a way that feels natural:
1. Use a Front-Facing Photo
Front-facing photos show both shoulders evenly. This makes it easier to add angel wings to a photo with correct balance and symmetry.
2. Adjust Wing Size and Perspective
Wings should match the body's width and posture. Oversized or misaligned wings look detached. Proper scaling improves realism in the wings photo edit.
3. Keep Colors Consistent
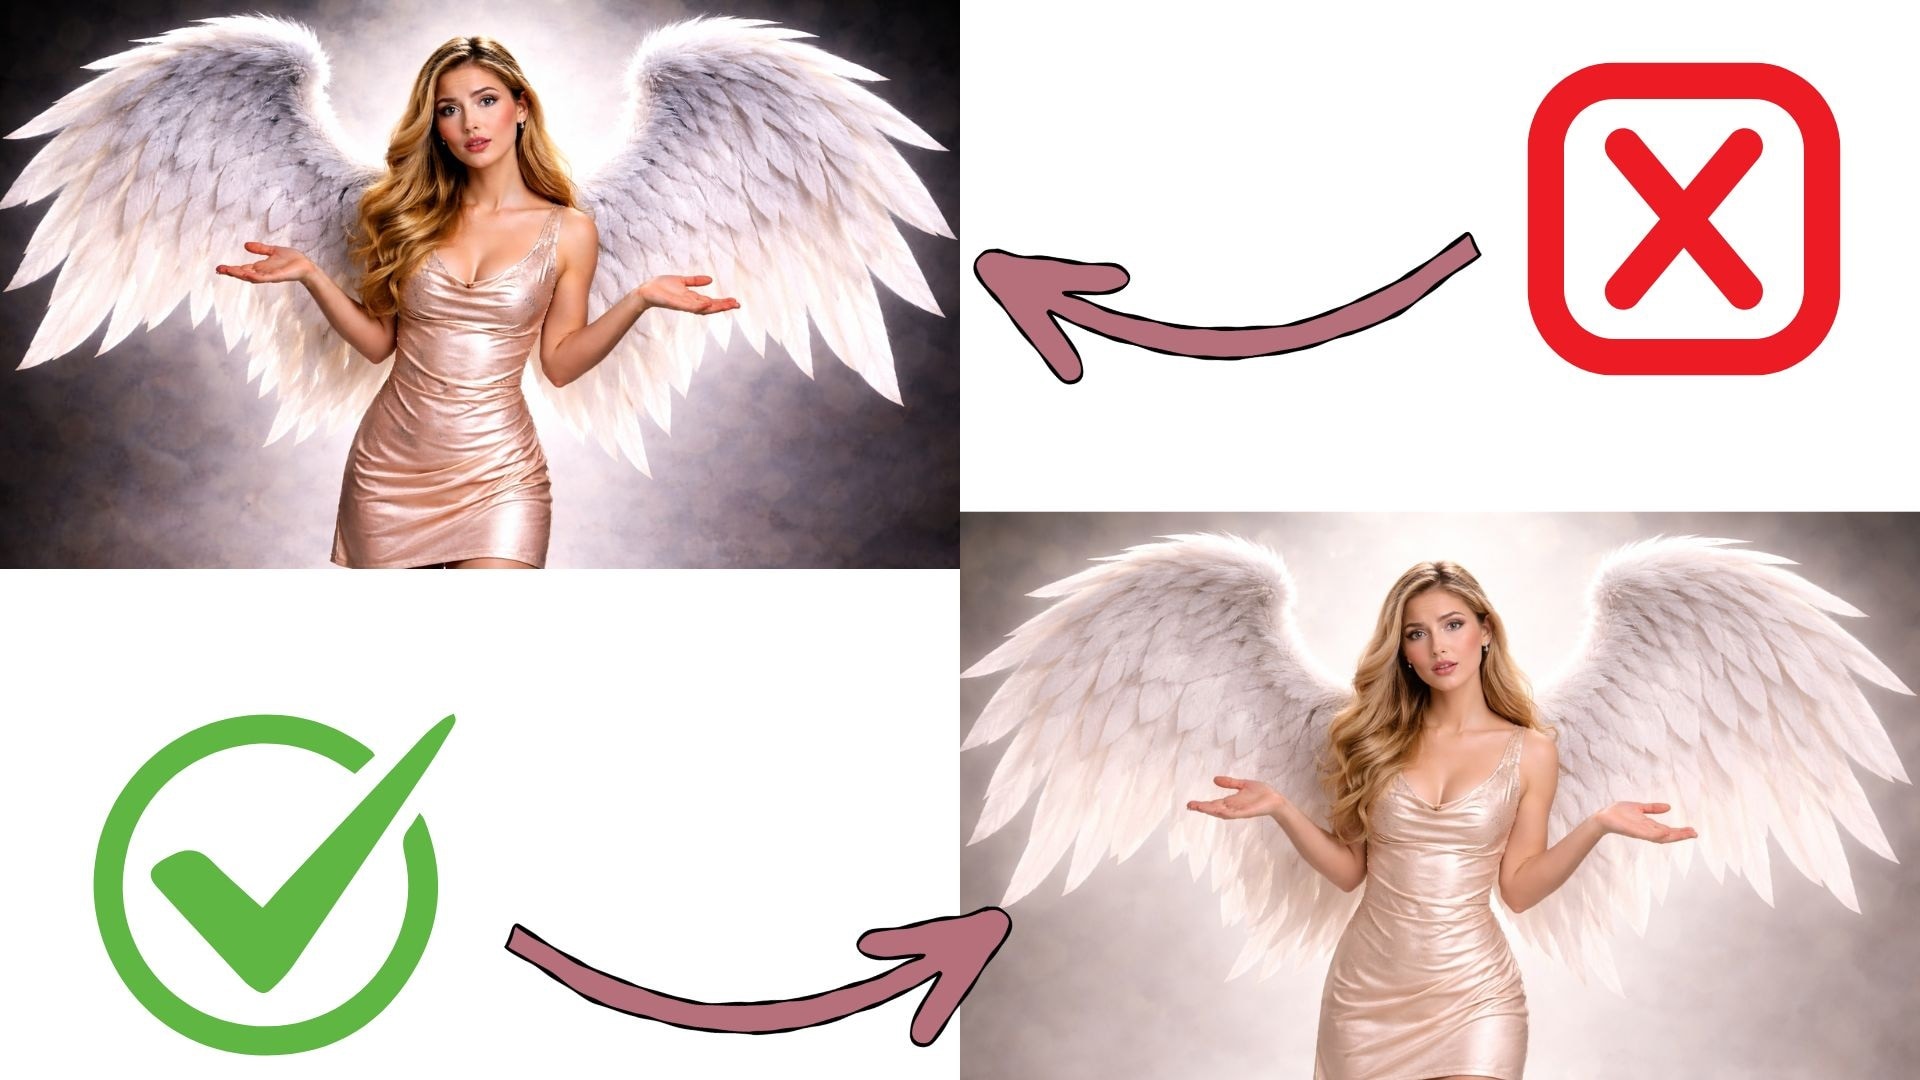
Match the wing brightness with the photo's lighting. Avoid harsh contrast. Balanced tones are essential for natural-looking angel wings for photo editing.
Conclusion
Angel wings edits succeed when they carry intention, not just decoration. Throughout this guide, we covered different styles, practical techniques, and simple ways to add wings to a photo that actually fit the subject. From basic sticker placement to animated results for short videos, each approach works for a different creative goal.
A capable angel wings photo editor should make this transition smooth, without breaking focus or flow. Filmora fits naturally into this process by letting creators refine, animate, and export in one place, keeping the emotion intact from start to finish.
secure download 