

 ChatGPT
 Perplexity
 Gemini
 Claude
 Grok
Grok
Final Cut Pro, often abbreviated as FCP or FCPX, is a professional non-linear video editing software that was initially developed by Macromedia and has been managed by Apple since 1998. It is a powerful tool that enables users to import, edit seamlessly, and process video footage efficiently. It offers a broad range of output formats that cater to various production needs.
Final Cut Pro is compatible with macOS and cannot run on Windows. The system requirements are macOS 13.5, 8-16GB RAM, a metal-capable graphics card, and 5.9GB of available disk space.
When adding titles in Final Cut Pro, you might face some challenges, like an error message at the end of your editing. To avoid this, you must know how to add text in Final Cut Pro adequately. Luckily, we will explain three methods to do so in this guide. Keep reading to find out more!

In this article
Part 1: Setting Up Your Project in Final Cut Pro
Setting up your project is the first step before adding text on Final Cut Pro. It is important to set up before learning how to add a title in Final Cut Pro because it helps you organize your media and editing options, thereby improving efficiency. Also, when you set up, your editing actions and media are recorded, thus preventing data loss.
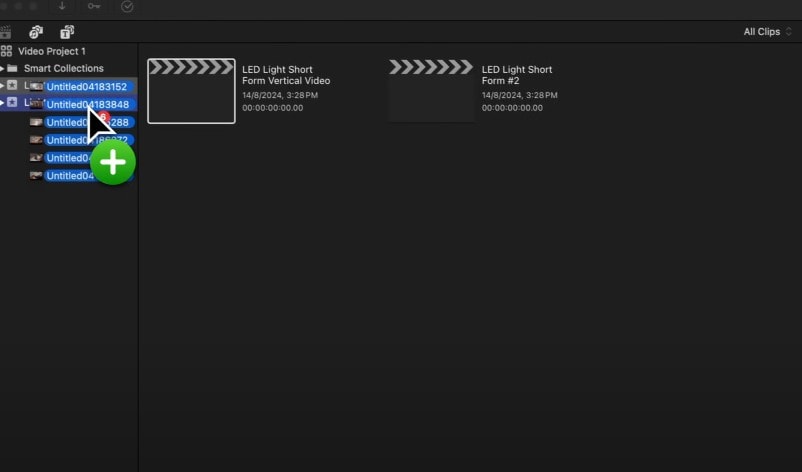
Setting up on Final Cut Pro involves creating a project by importing media from your device and setting up the editing suite for use. Below is a step-by-step guide on how to set up your project before you add text on Final Cut Pro.
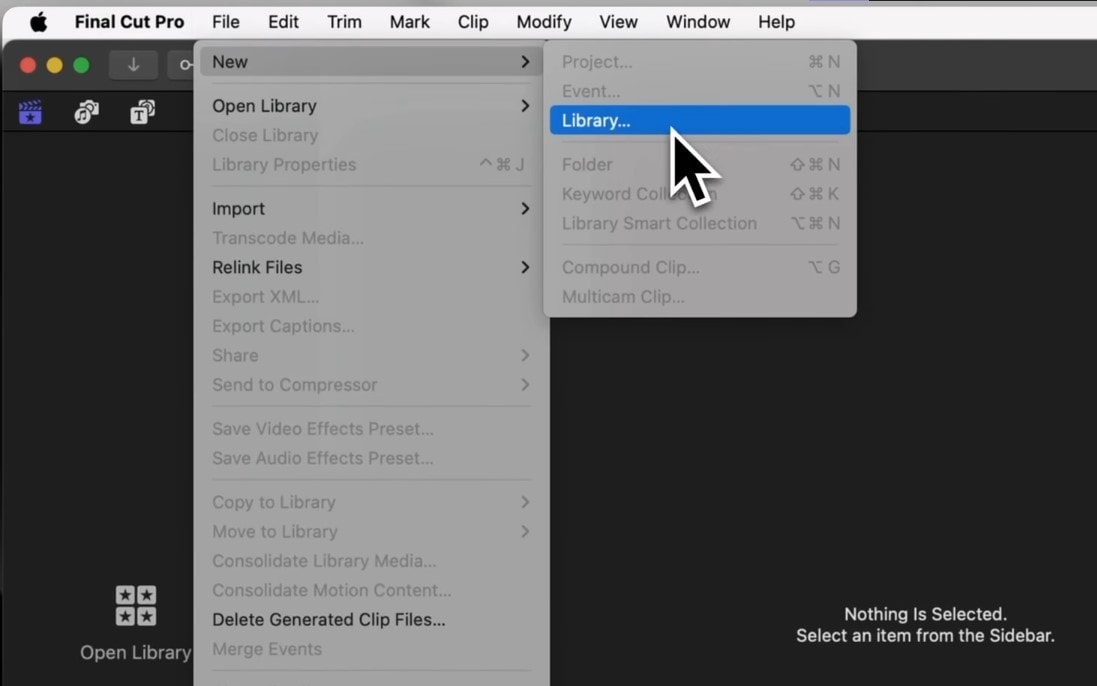
Step 1: Launch Final Cut Pro. Then, go to File at the top of your screen, select New, and then choose Library. This creates a folder called a library where you can contain all the media for your project.
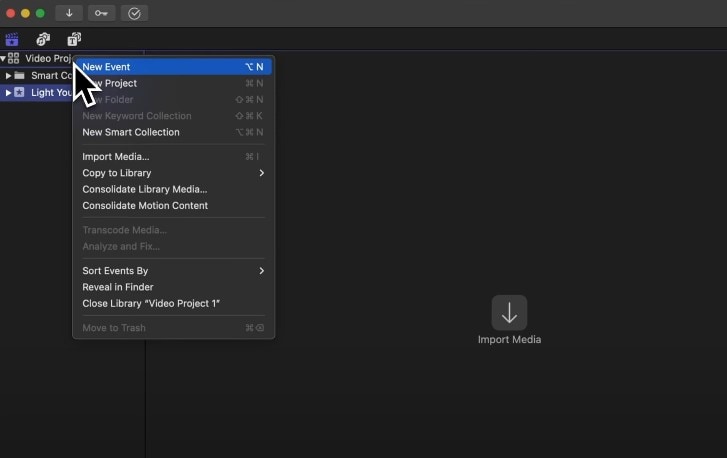
Step 2: Now edit the library’s properties, like the name, and select where you want it to save. Now, you can create an event within your library to add new projects. Right-click on the library and click on New Event to do this.
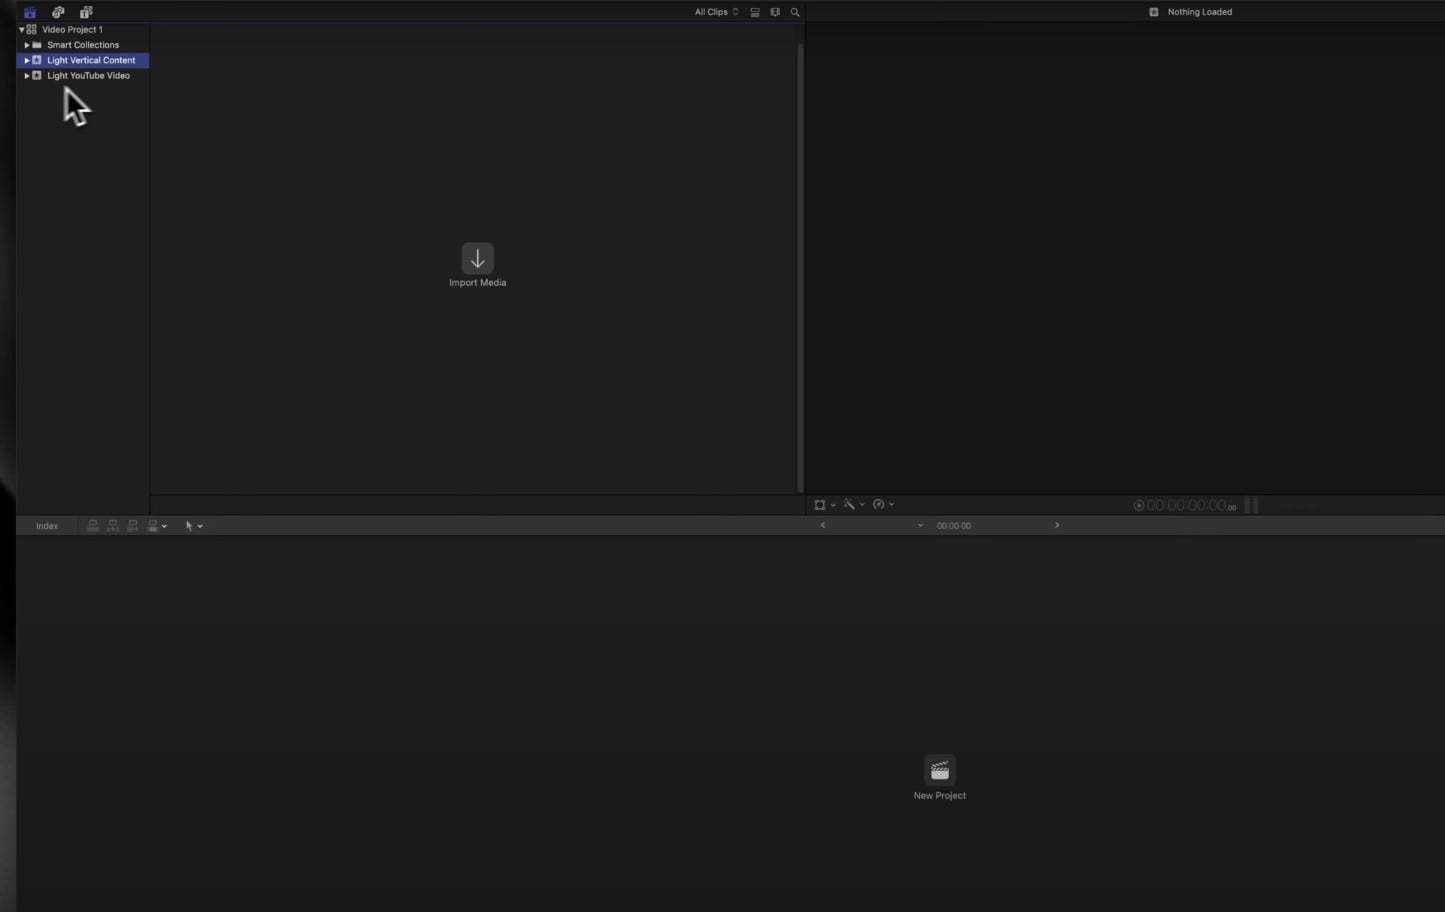
Step 3: To create a new project, click on your desired folder from the left sidebar and tap New Project at the bottom of the editing suite.
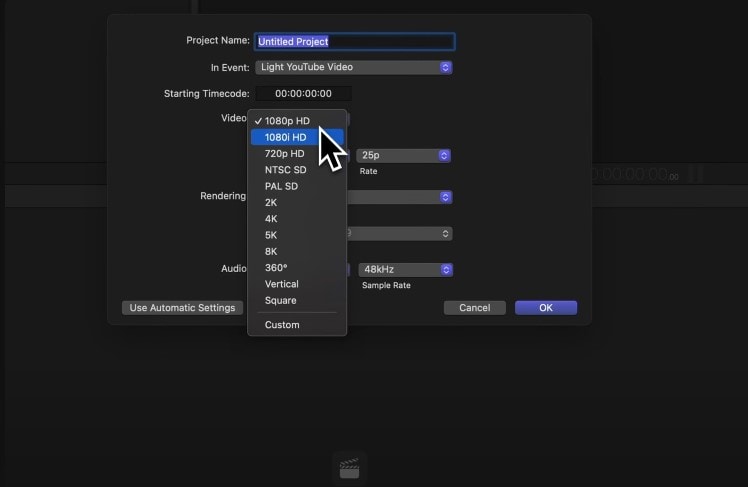
Step 4: Edit the parameters of your new project, including the name and resolution, before proceeding.
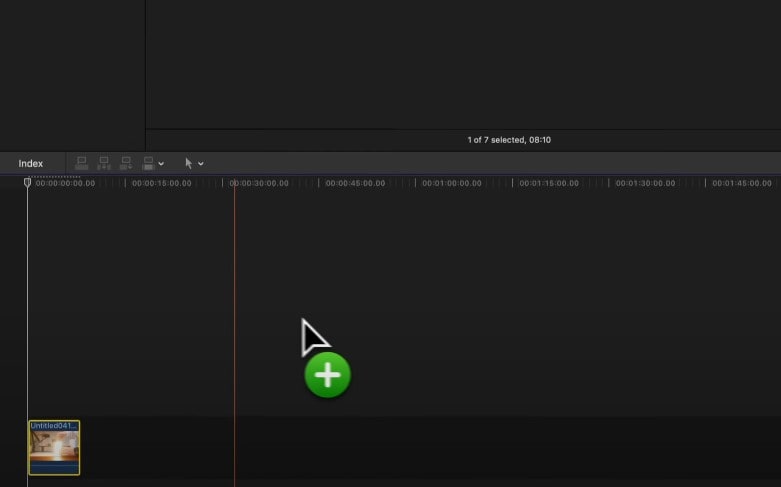
Step 5: Now, you can add the imported clips to an existing event by dragging and dropping them into the timeline of the event you want. You can also use Keyword Collections to organize the media after importing.
Step 6: At this stage, you can edit the media by dragging and dropping it into your timeline.
Part 2: How to Add Text in Final Cut Pro Using Titles
One of the effective methods to add text to your project in Final Cut Pro is by using Titles. Here is how to use this feature to add text on Final Cut Pro with ease:
Step 1: Drag and drop the video you want to edit onto the timeline from your project folder.
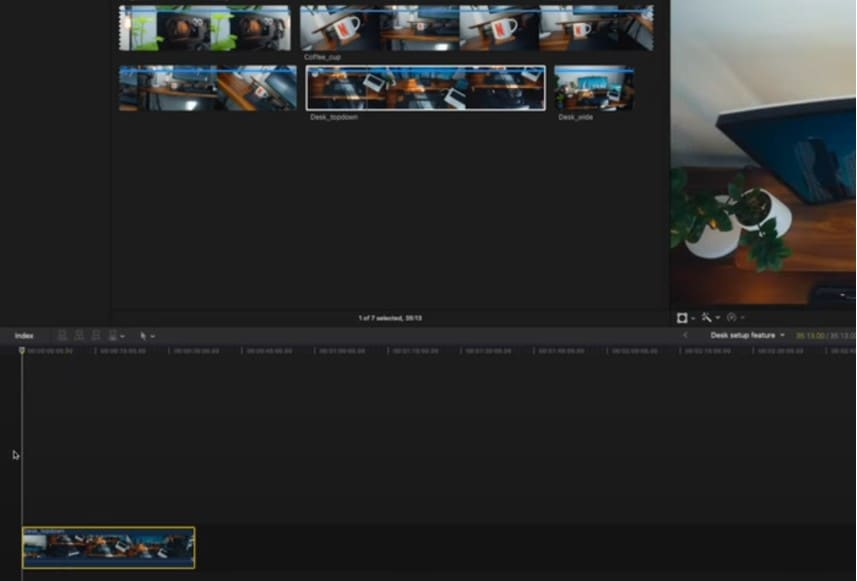
Step 2: Click the Titles button on the sidebar, click and drag the title you want onto the timeline, and then edit it to your taste.
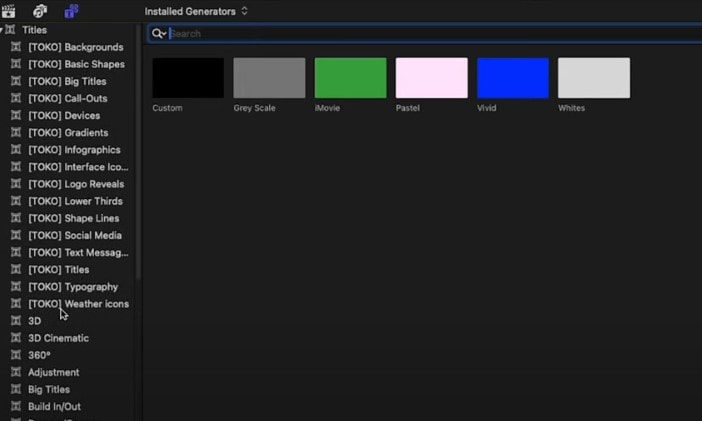
Step 3: To browse a single category of titles, click a title category below Titles in the sidebar. To view the title categories, click the Titles disclosure triangle.
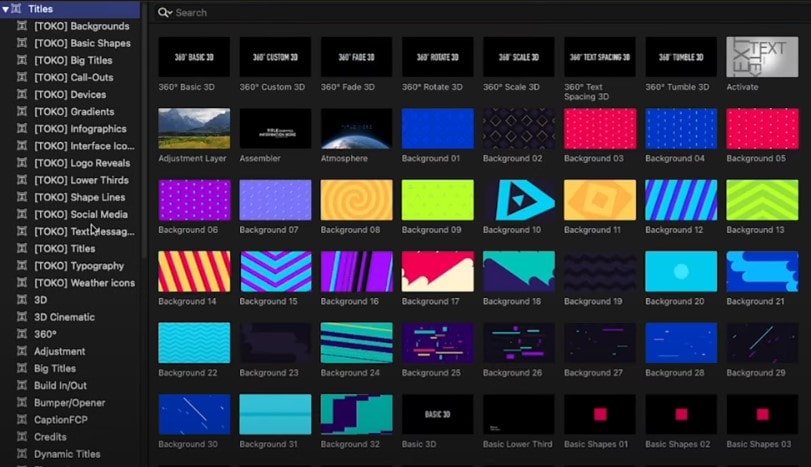
Pro Tip: If you don’t see the title you’re looking for, you can use the Filter pop-up menu at the top of the browser to check for it in other locations.
Remember: When you add text on Final Cut Pro, keep it short and sharp, choose the right font and size, and use contrasting colors. Also, find the right placement and be mindful of the duration of the video.
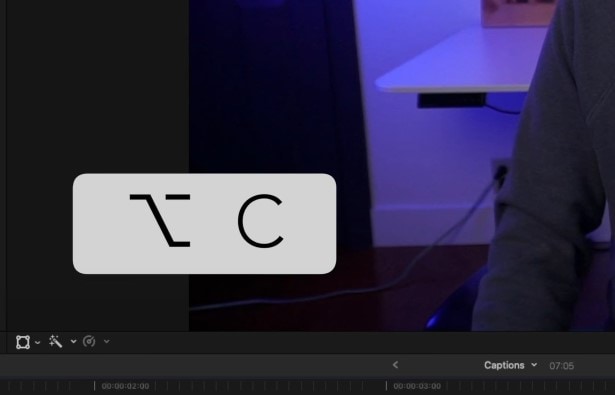
Part 3: How to Add Text in Final Cut Pro Using Captions
Aside from basic texts and titles with effects, you can also add the text in the form of captions for videos. Once this is done, you can post the video to social media platforms like YouTube and Instagram. Here’s how to add text in Final Cut Pro using this method:
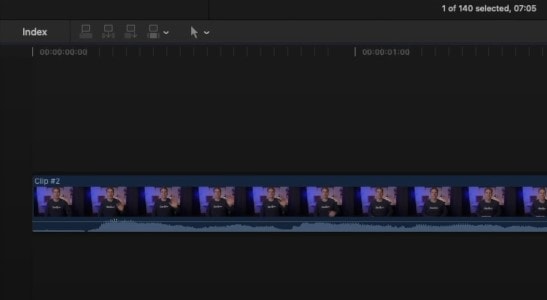
Step 1: Drag and drop your media into the timeline. Then, click on Index at the top left of the timeline.
Step 2: Next, tap Edit Roles and select Captions.
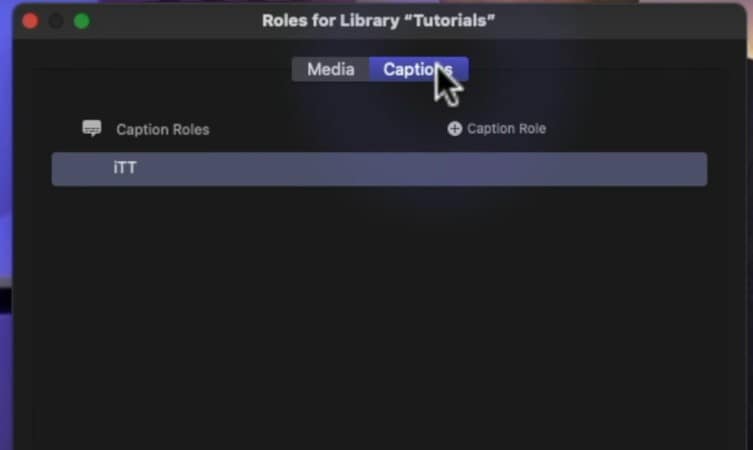
Step 3: Now, click on Caption Roles and select the format you want. iTT is great for iTunes, YouTube, and Vimeo content, while SRT is for Facebook, YouTube, and Vimeo. The CEA format is a standard for broadcast videos.

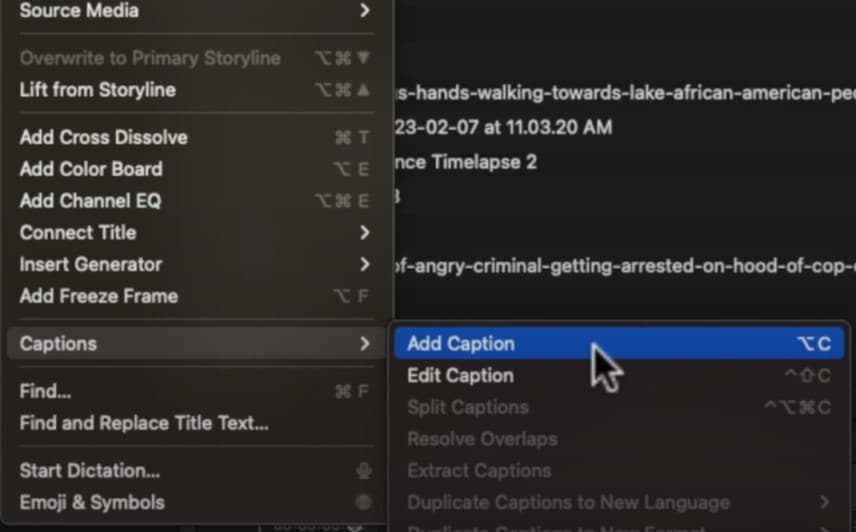
Step 4: After editing the caption properties and setting the language to your standards, continue. Then, you can take your play head to the position you want the captions to start on the timeline and click Edit at the top of your screen.
![caption properties[a]](https://images.wondershare.com/filmora/article-images/add-text-in-final-cut-pro-14.jpg)
Step 5: Select Captions and choose Add Captions. You can now use Final Cut Pro to add titles accordingly.
Part 4: How to Add Text in Final Cut Pro Using Keyboard Shortcuts
Final Cut Pro uses a large number of keyboard shortcuts to carry out tasks easily on the app. To use a keyboard shortcut, press all the keys in the shortcut at the same time. Here's a list of some of these keyboard commands that may come in handy when editing:
- Command-A — Select All
- Command C — Select Clip
- Command-B — Blade Tool
- Command-V — Paste
- Command-C — Copy
- Spacebar— Play/Pause
- Command+Z — Undo
- Ctrl-T — Add a basic title to the primary storyline
- Ctrl-X — Cut
- Ctrl-Shift-T — Add Basic Lower Third
- Command-N — New Project
Here's the step-by-step process for adding text in Final Cut Pro using the keyboard shortcuts:
Step 1: Open Final Cut Pro
Step 2: Use the Ctrl-T command to add a basic title clip to the selected clip on the timeline
Step 3: Ctrl-Shift-T adds a lower-third title clip to the selected clip on the timeline
Step 4: Click on Titles Inspector to customize the text and animate the text.[b][c]
Whether you're a professional or a beginner, these shortcuts will help you save time and make editing easier and faster. To learn keyboard shortcuts, you can pick one shortcut for an action you do regularly and use it every time you complete that action. You could also customize your keyboard by changing commands or creating new ones of your own.
Part 5: Who Does Final Cut Pro Work Best For?

Users can easily add titles to Final Cut Pro by following the guide provided in this article, but while Final Cut Pro is definitely effective, it might not be the best fit for all users. Since the tool is an Apple-owned software, it is only available for Mac users. Users for whom Final Cut Pro is well suited include:
- Mac Users
- Video Editors
- Content Creators
- Animators
- Beginner Editors
- Professional editors
Trying to add titles in Final Cut Pro may be a challenge to users who do not have access to a Mac but wish to do advanced editing. For this reason, we recommend using Wondershare Filmora.
- Superb video stabilization with low distortion.
- Vast video/audio effects and creative assets.
- Powerful AI for effortless content creation.
- Intuitive, professional yet beginner-friendly.
- Works on Mac, Windows, iOS, and Android.


Filmora is a great option as it is accessible to almost all devices, including Mac PCs. It is a great tool for advanced editing because it uses professional tools and features that make editing seamless. Some of the core features of Wondershare Filmora are:
- Templates: Filmora has numerous title presets at your disposal, which could be used to create high-quality videos.
- Motion tracking: After you add text to a video, the motion tracking feature can make the text follow the moving parts of the media.
- Speech to Text: Another one of Filmora's AI features is the Speech to Text feature, which can easily convert audio to written text. This is perfect for adding captions to YouTube videos or regular social media content.
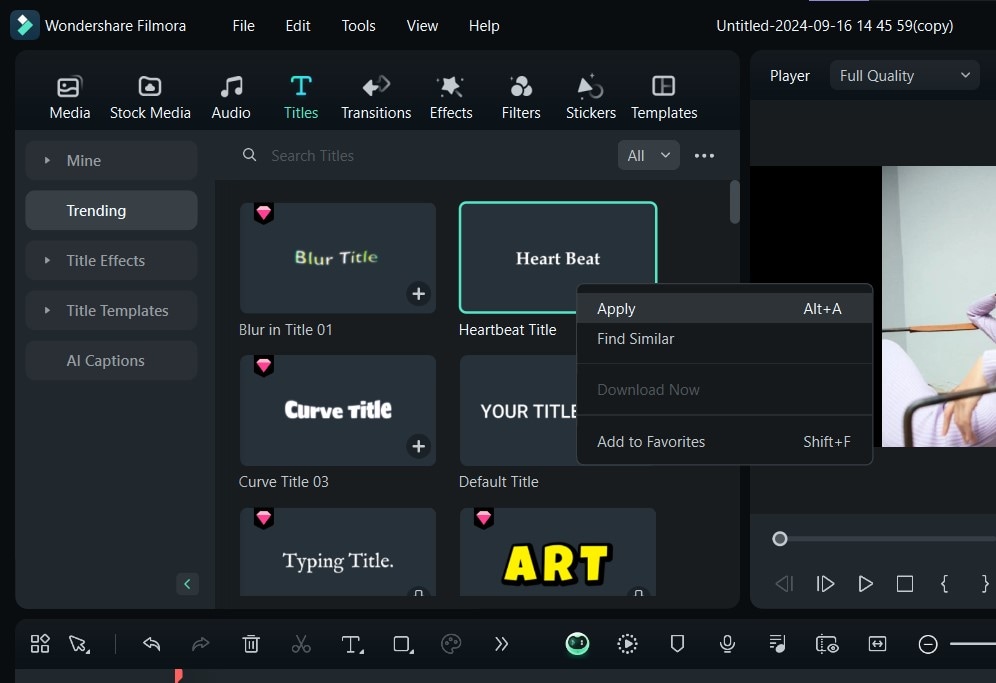
Just like Final Cut Pro, you can also add titles on Filmora using one of the customizable premade templates. Here's how to do it:
Step 1: After installing and launching Fiilmora on your device, go to the Titles tab and find a title you like. You can see what the title looks like in the Preview window before adding it to your video.

Step 2: After that, you can drag it from the Titles library onto the timeline to add it to your video.
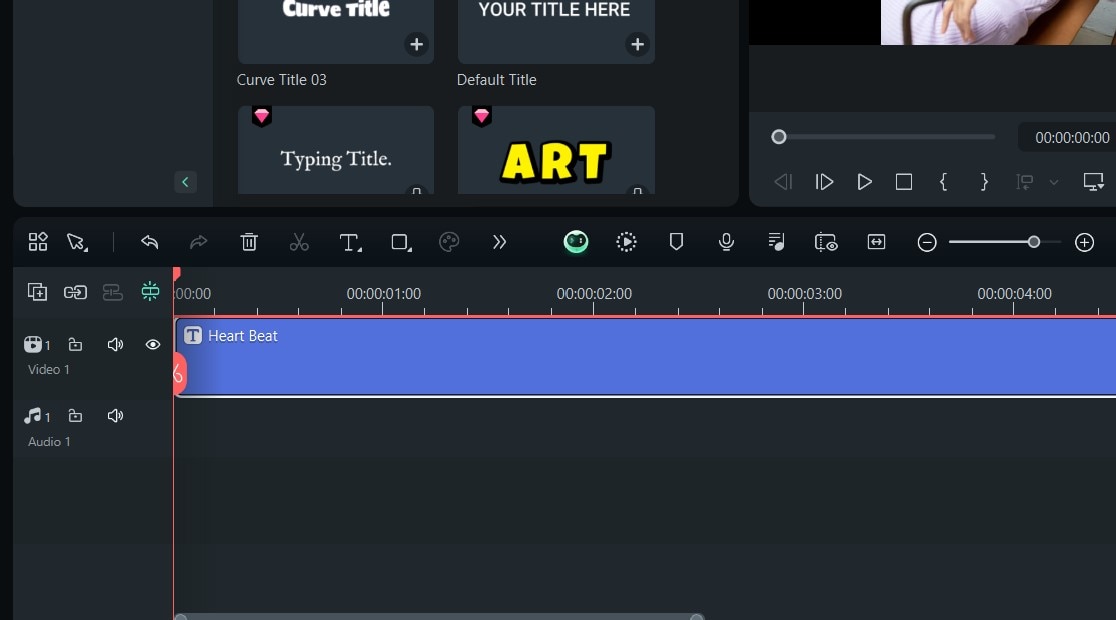
Step 3: You can also right-click on the title effect you want and select Apply to add it to the timeline.
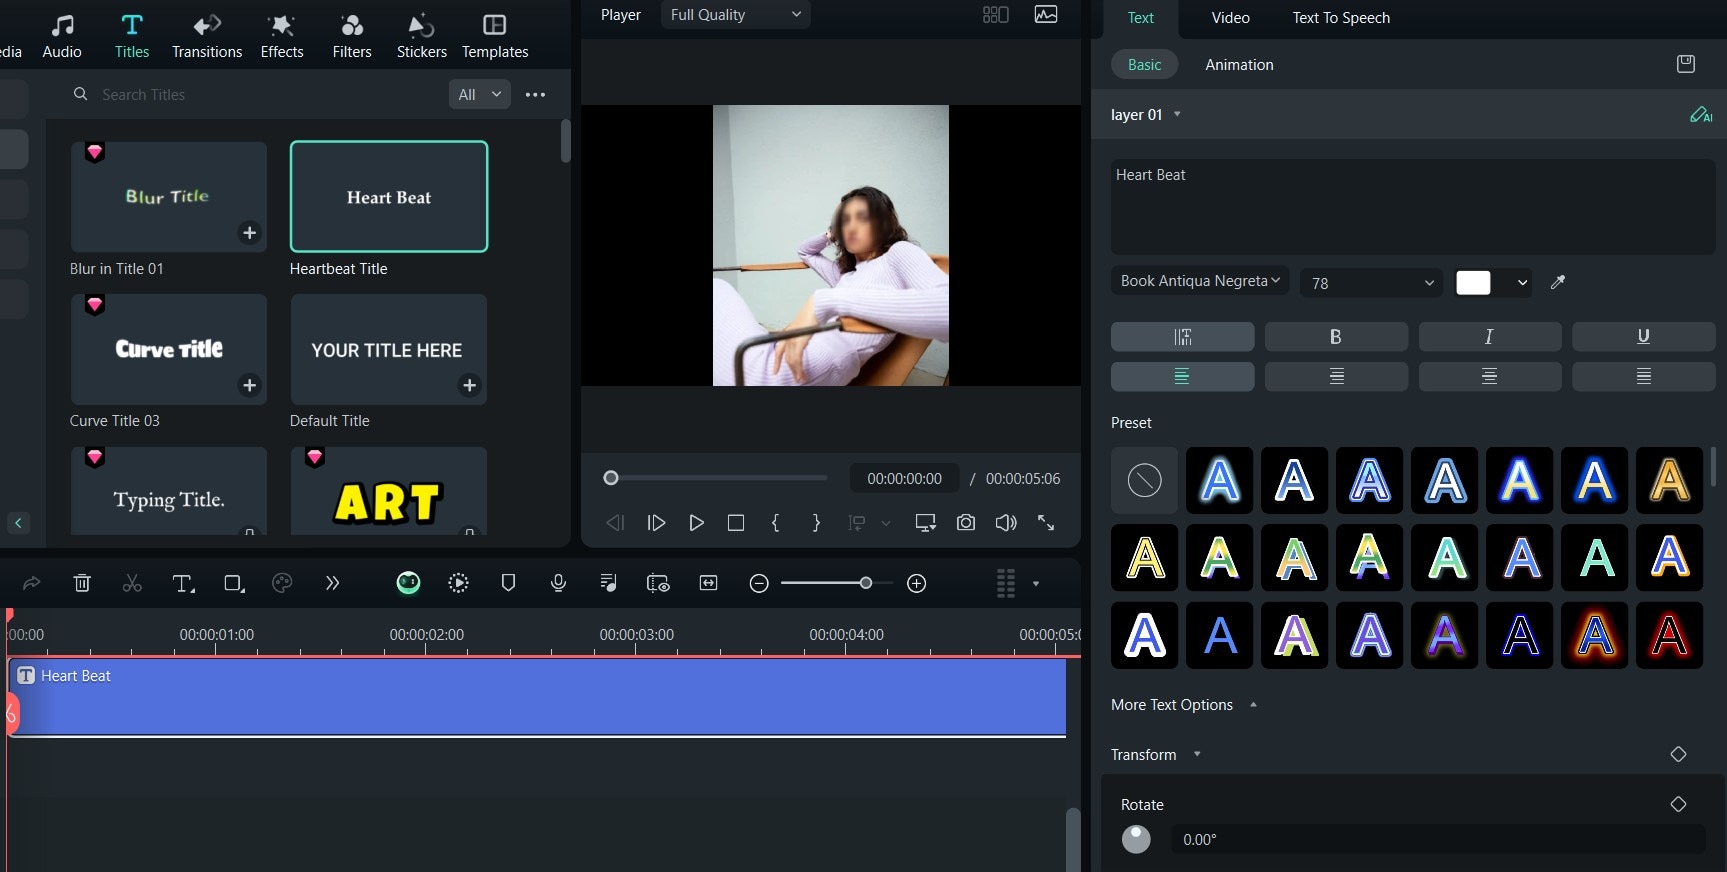
Step 4: To edit a title effect, double-click on it in the timeline to open the Text editing panel. From here, you can change the style and animation of your text.
Conclusion
In all, you can add titles in Final Cut Pro using basic titles, captions, and keyboard shortcuts. Out of these three methods, one of the most straightforward is using the titles button. However, you can also use keywords to save time. The only catch is the Final Cut Pro is best for people using Mac laptops as it doesn’t support Windows systems. To curb this, we recommend using another video editing tool like Wondershare Filmora.
Filmora is AI-powered video editing software that is suited to practically anyone, as it supports almost all devices. It also uses advanced features like title effects and AI speech-to-text functions to make it extremely easy to add titles to videos. So what are you waiting for? Download Filmora now to get started!
