
 100% Security Verified | No Subscription Required | No Malware


 ChatGPT
 Perplexity
 Gemini
 Claude
 Grok
Grok
Photoshop is the leading raster graphics editor for fine-tuning and creating images from scratch. It is, hands down, the best image editing software for pixel-level perfection. Its transform controls, filters, retouching tools, non-destructive layers, and other extensive features make it the go-to choice for photographers, graphic designers, and other creative professionals.
If you are curious about converting photos into Black and White in Photoshop, check out our detailed guide below to master the process.
In this article
How to Turn Images Into Black and White With Photoshop?
You can use several methods to turn an image to black and white in Photoshop. The best include applying a B&W filter in Camera Raw Filter settings and adding a Black & White adjustment layer.
You can also convert your Photoshop document to Grayscale mode, but that process is destructive, permanently removing color information. It gives you no control over color adjustment, making a flat black-and-white picture. Still, it's helpful for printing, reducing file size, and ensuring tonal accuracy.
Here's how to convert a Photoshop image to black and white using these methods:
- Launch Photoshop and click Open to import a picture (or use drag-and-drop functionality).

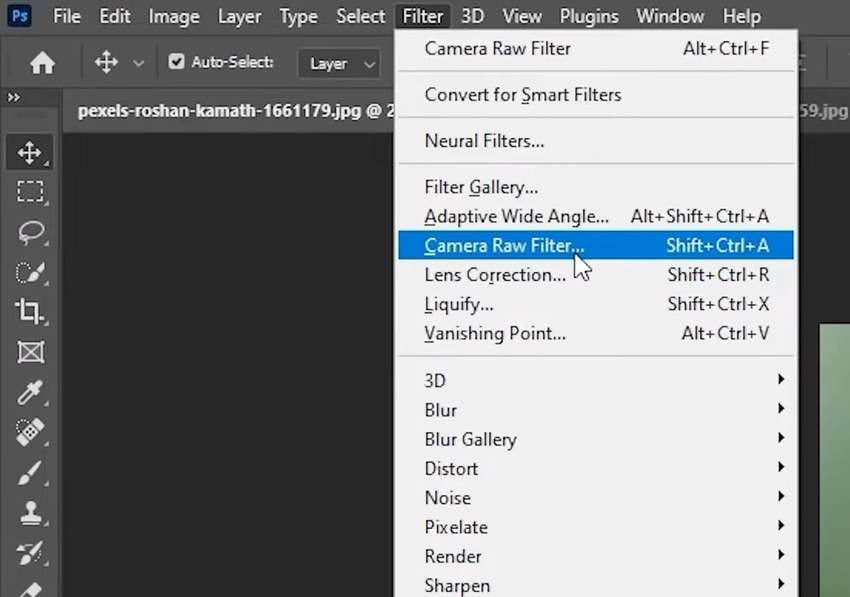
- Go to Filter > Camera Raw Filter.
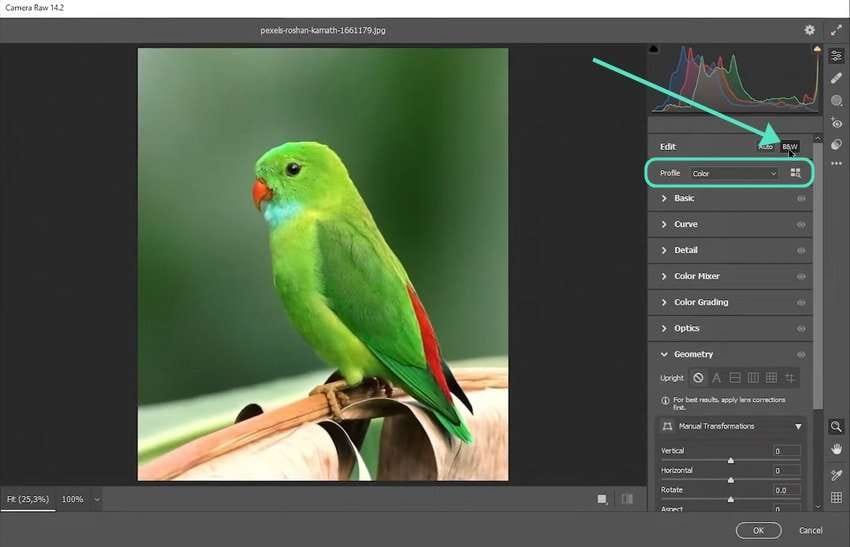
- Click the B&W button in the Camera Raw dialog box to convert the color to black and white automatically. Alternatively, change the Profile from Color to Monochrome (the result is the same).
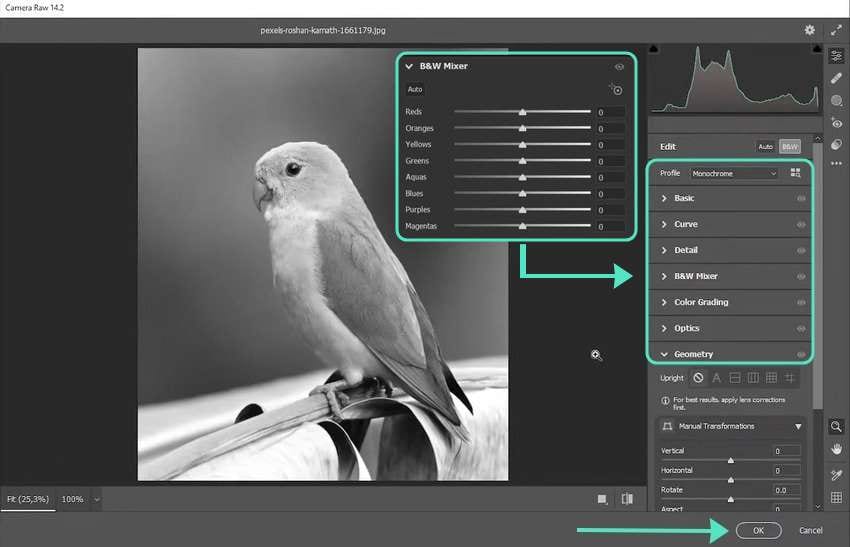
- Expand the Curve, Detail, B&W Mixer, Color Grading, and other options for advanced color adjustment (e.g., the exposure, contrast, sharpness, clarity, etc.). The B&W Mixer is excellent for modifying the monochrome values of individual color channels. Click OK once you fine-tune the details.
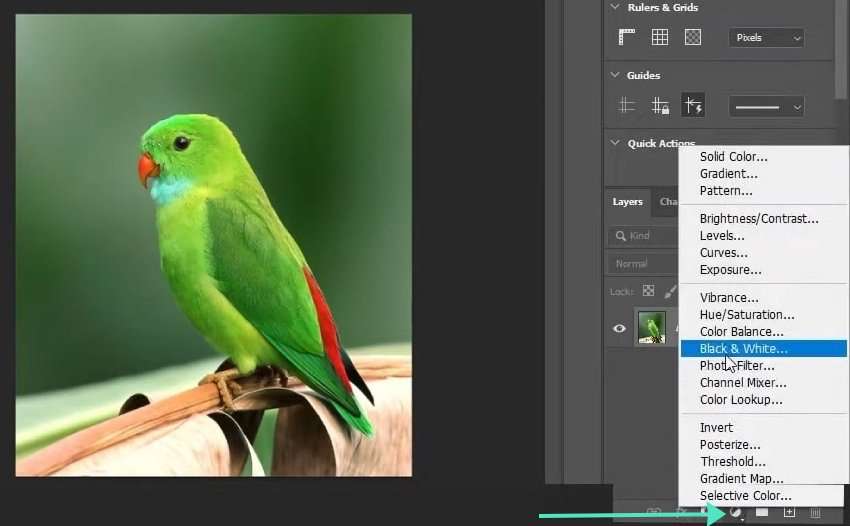
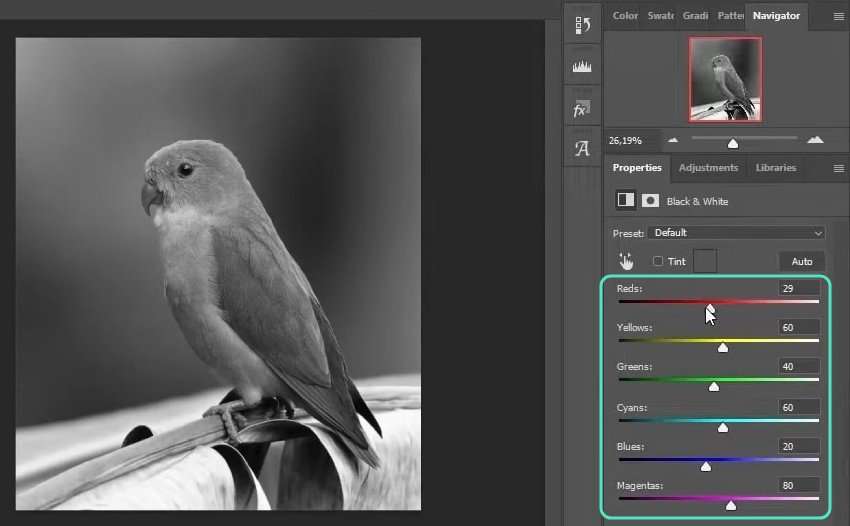
- For non-destructive image editing, click the New Adjustment Layer button at the bottom of the Layers panel (go to Window > Layers if you haven't opened that panel) and select Black & White (or go to Layer > New Adjustment Layer > Black & White in the top navigation bar).
- Drag the sliders in the Properties panel to modify individual colors' shades of gray. Unlike the B&W Mixer in Camera Raw Filter adjustments, you have six instead of eight color channels (no orange and purple).
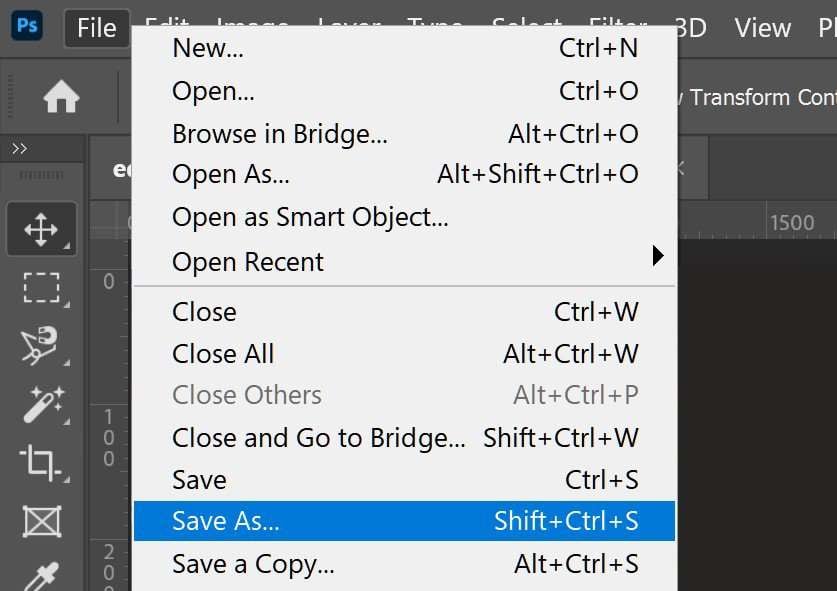
- Go to File > Save As and pick a name and location for your black-and-white image.
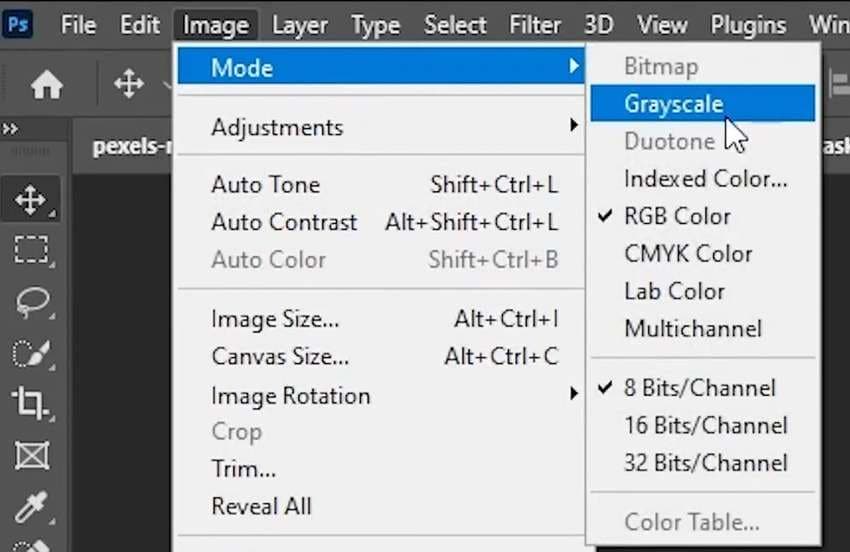
- Once you have a copy, go to Image > Mode > Grayscale to change your Photoshop document to grayscale if you need a classic black-and-white picture without color shifts for printing.
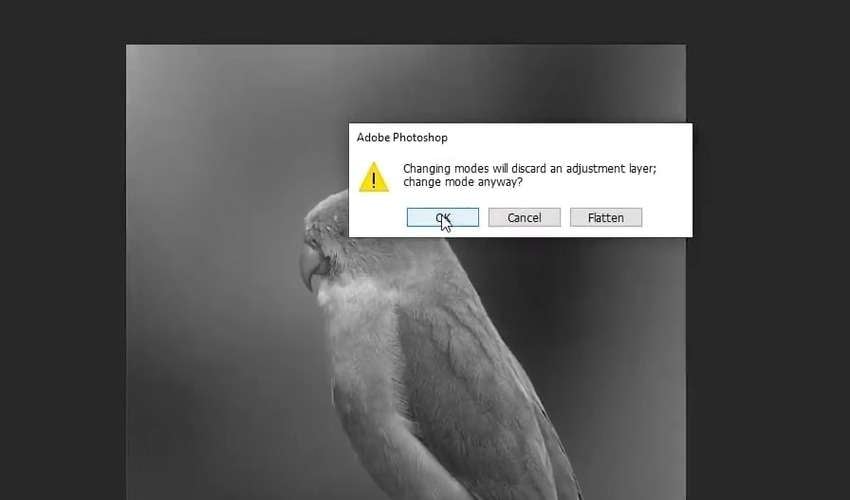
- Click OK to confirm the change. You'll see the Flatten option if your picture has multiple layers. It merges them but removes their adjustments.
You can convert an image to black and white in Photoshop with other methods. However, although the workflows differ, each offers identical adjustments, letting you move color-channel sliders to customize how colors map to shades of gray. Let's see how to use filters and effects in a more intuitive app than Photoshop.
An Easier Alternative to Photoshop Turning Images to B & W
Filmora is a user-friendly video editor with audio and image editing features. It has fewer tools for fine-tuning pictures than Photoshop, but its countless effects and filters (including for making images black and white) are perfect for retouching.
Unlike Photoshop, Filmora allows you to convert colorized photos into black-and-white ones with direct filters, which can be achieved with clicks, making Filmora an easier alternative to Photoshop.
 secure download

It also has AI capabilities that transform images. For instance, you can cut out objects to change their color with LUT presets and apply color palettes from videos or pictures. Download Filmora for Windows or Filmora for macOS to explore all the features.
Here's how to turn images into black and white using Filmora's filters and effects:
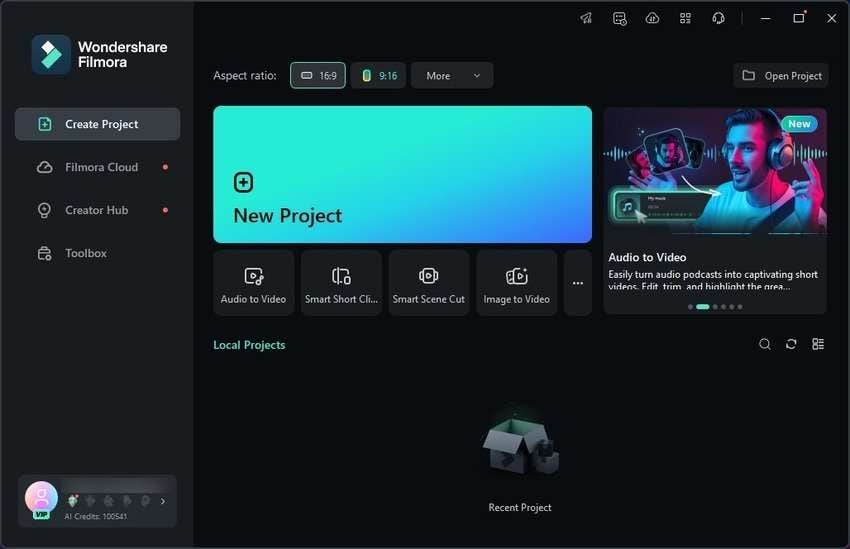
- Launch Filmora and create a New Project.
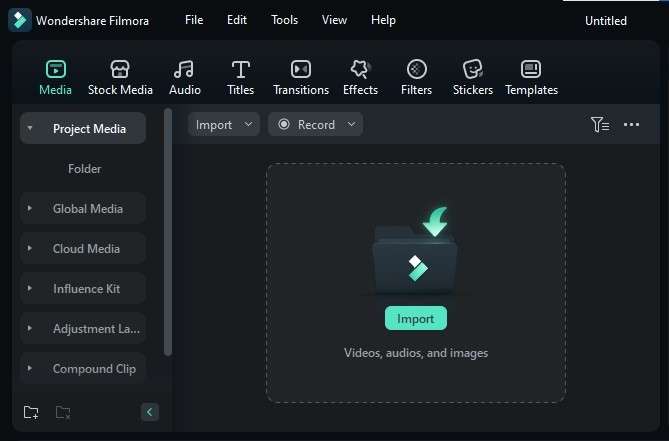
- Click Import and select a picture from your computer.
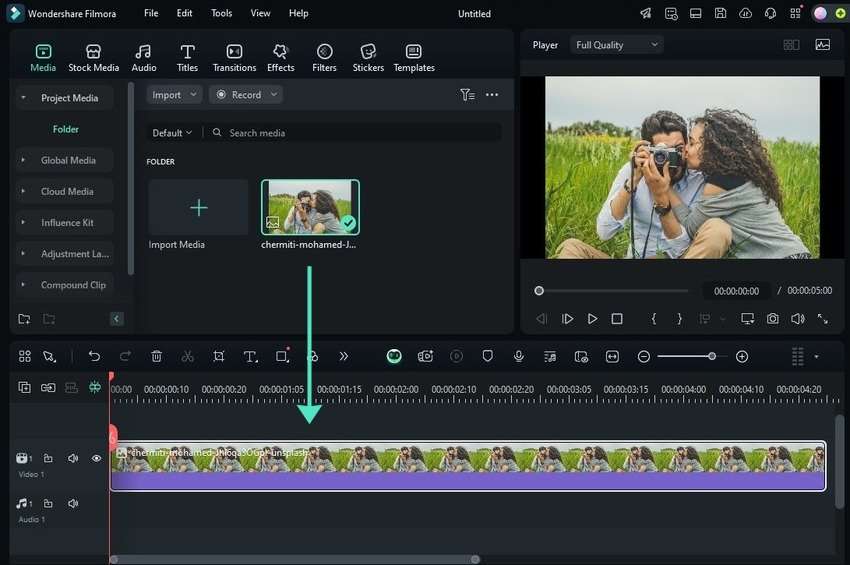
- Drag the image to the Timeline panel.
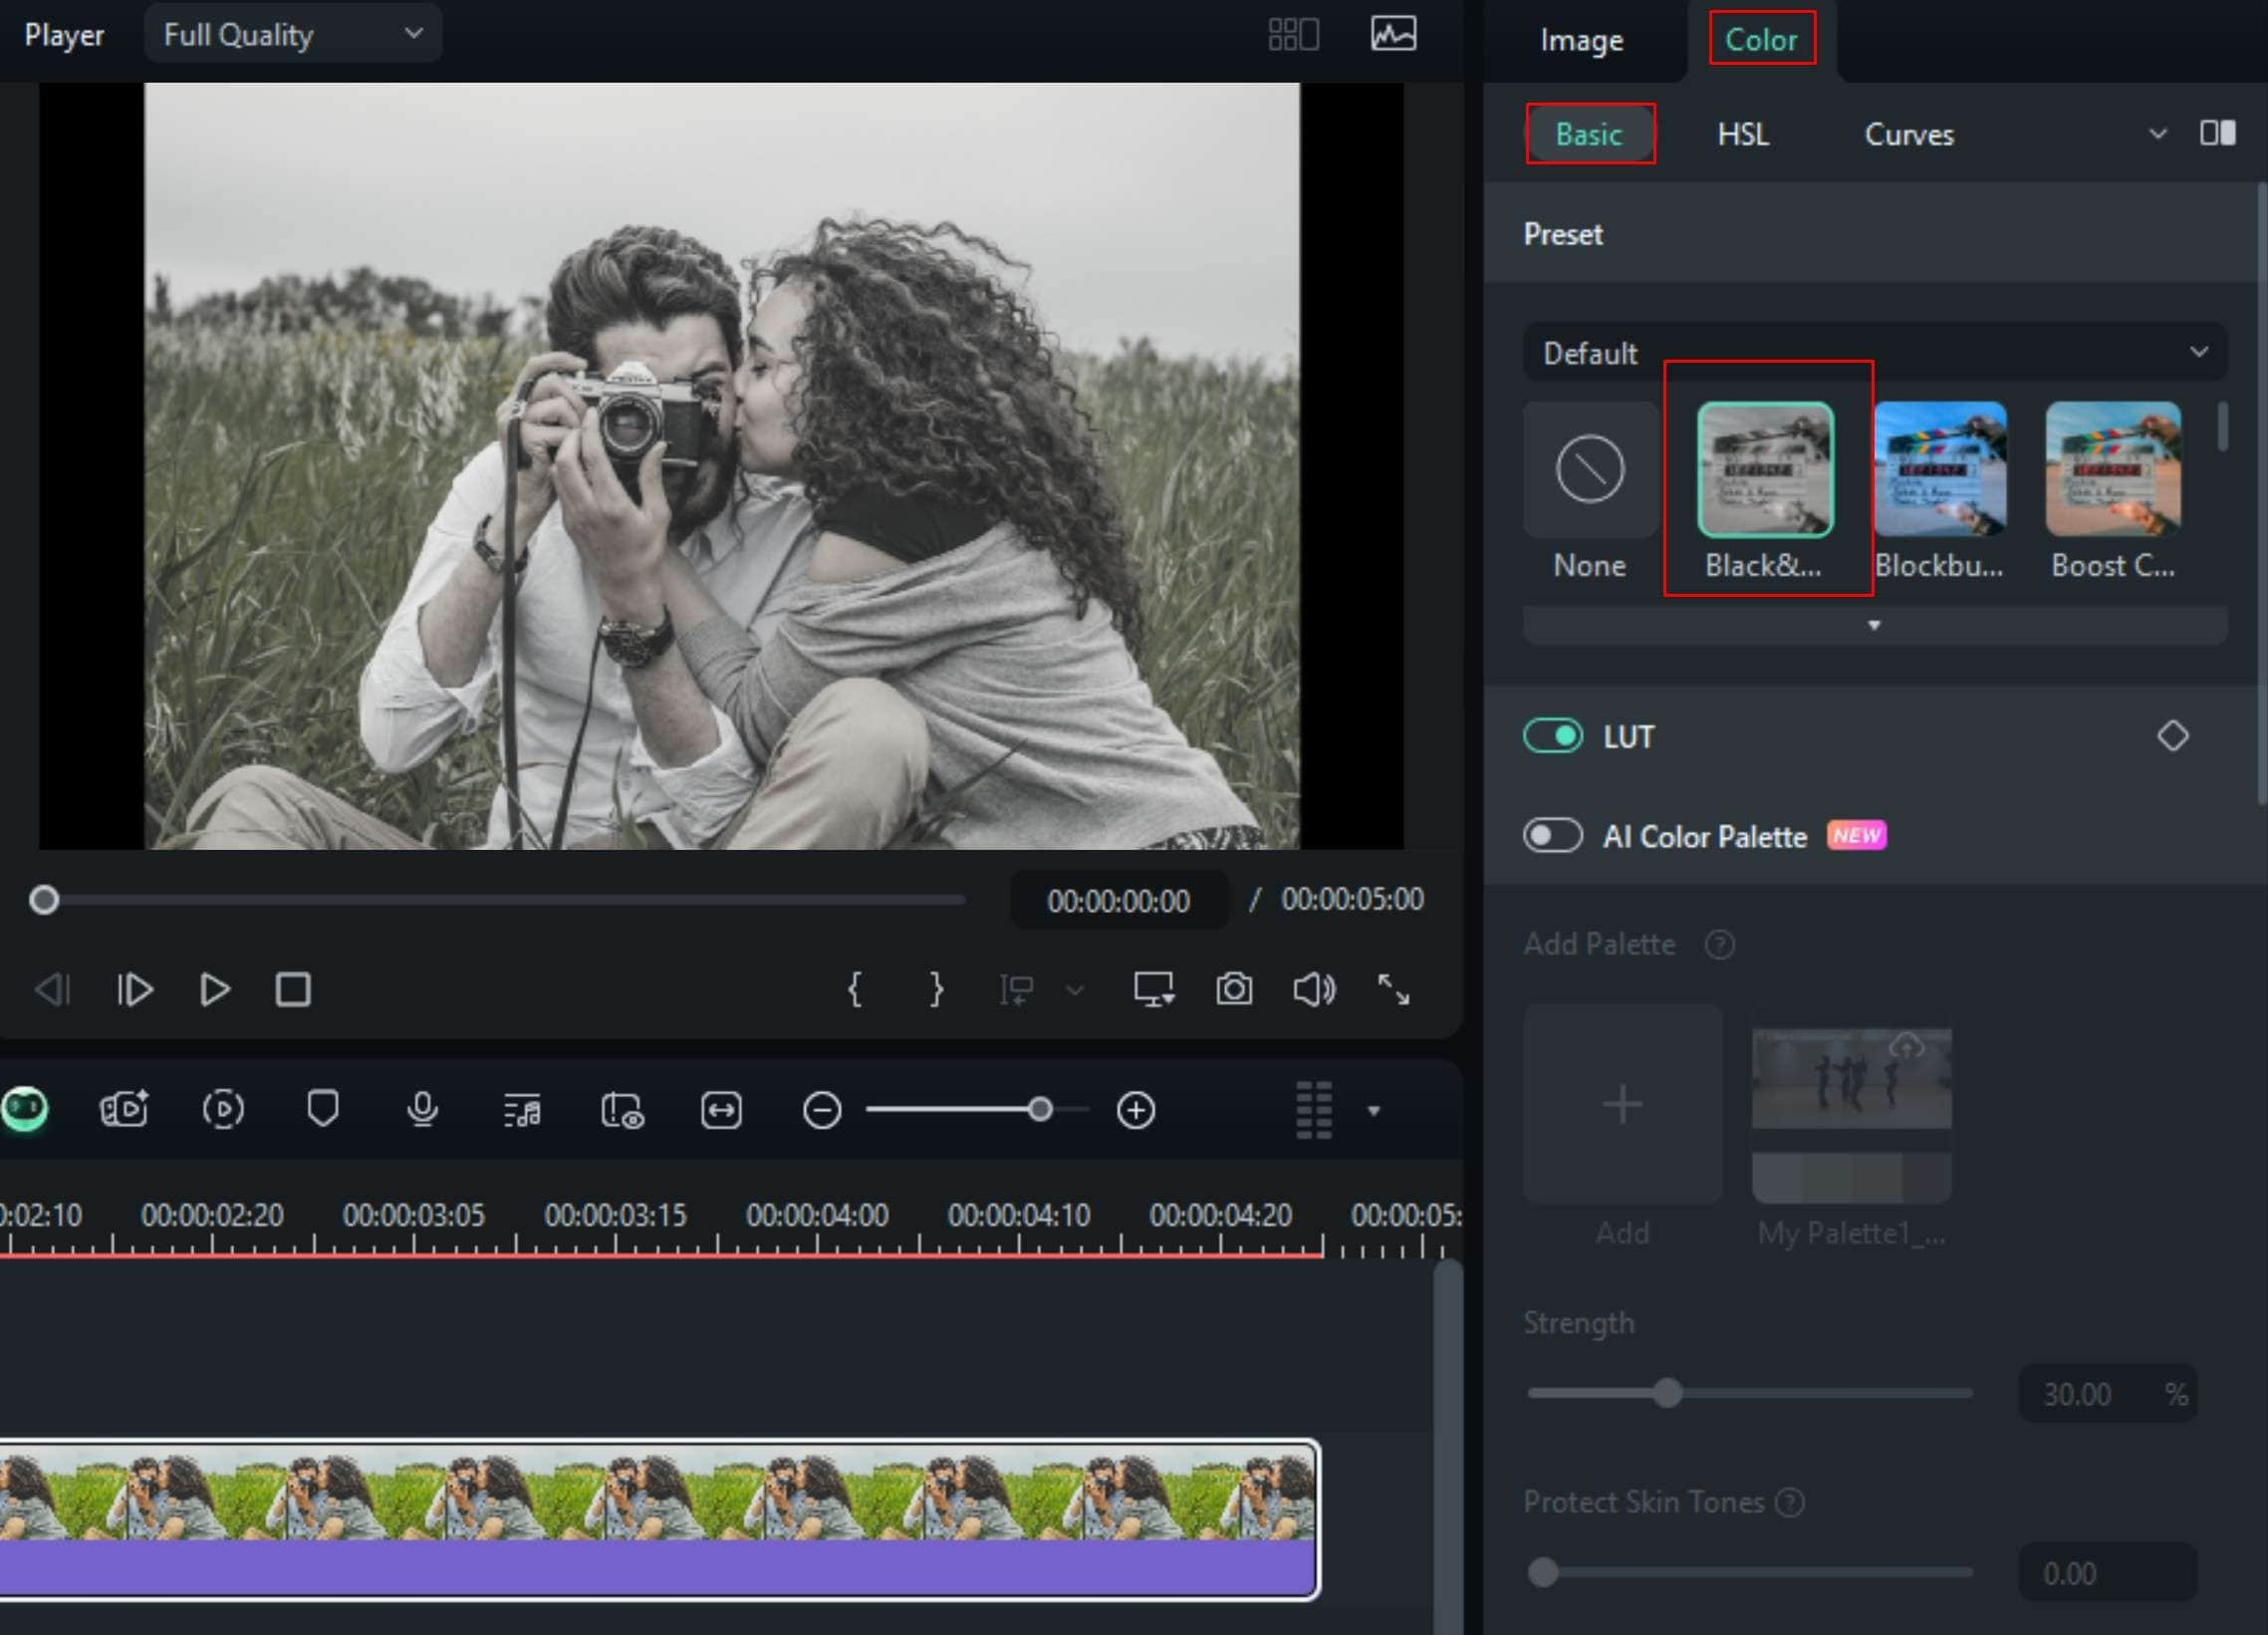
- Select the image in the timeline > go to Color > Basic > and apply the Black and White preset.
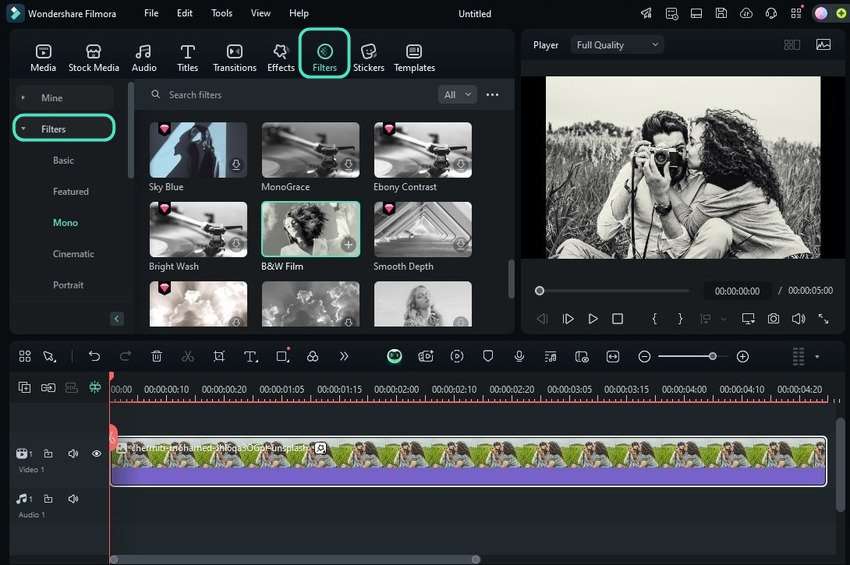
- Go to Filters and pick one from the Mono category (e.g., B&W Film). You can also use the search box to find all black-and-white filters. Drag and drop the chosen filter onto your image in the Timeline panel.
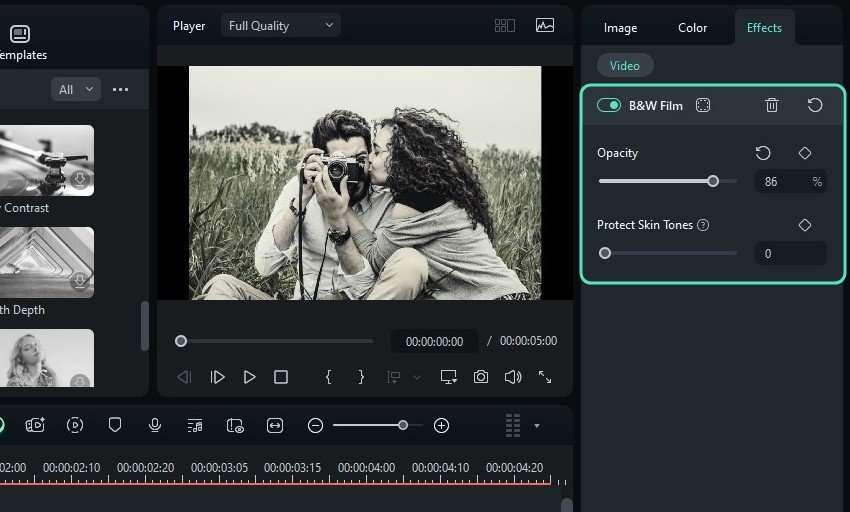
- Adjust the filter's Opacity under Effects > Video in the Properties panel (unless you want the photo to be entirely black and white). You can also move the Protect Skin Tones slider (if your image features people) to allow some color grading or prevent any change to skin colors.
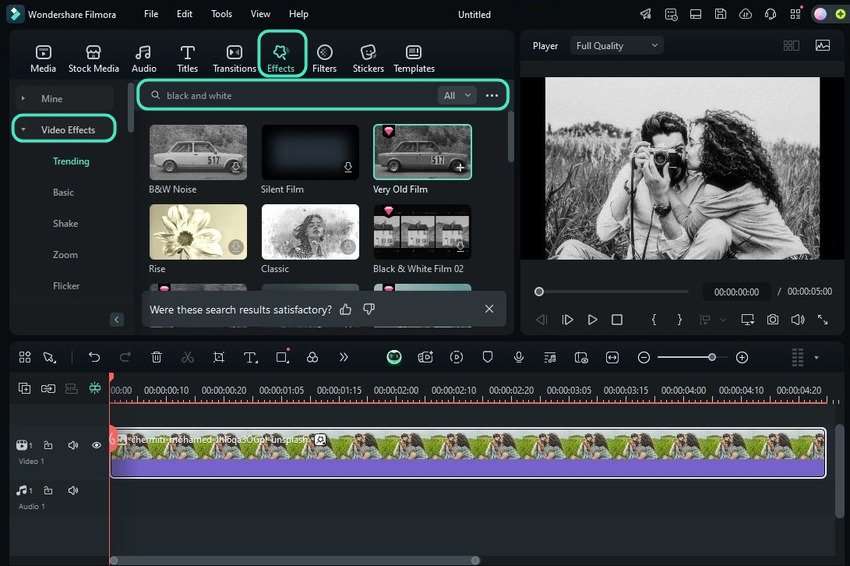
- You can also turn your image into black and white using an effect. Go to Effects > Video Effects, type "black and white" or "B&W" into the search box, and drag the desired one onto your timeline picture.
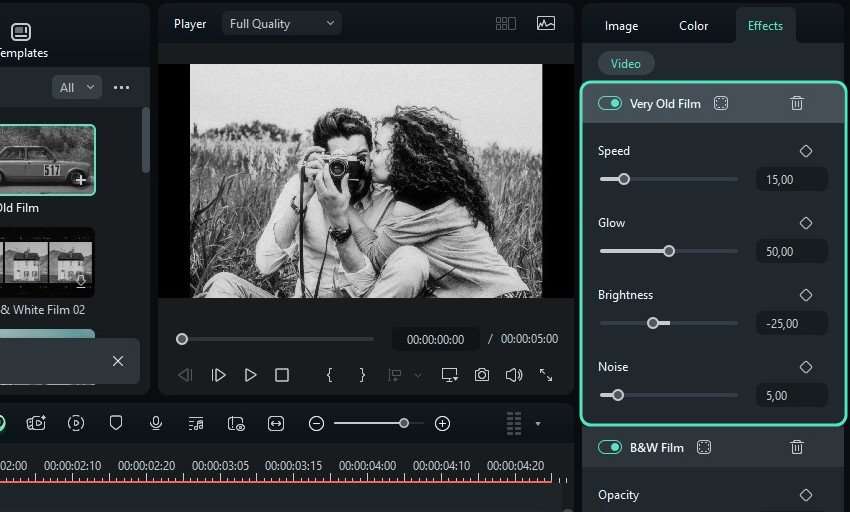
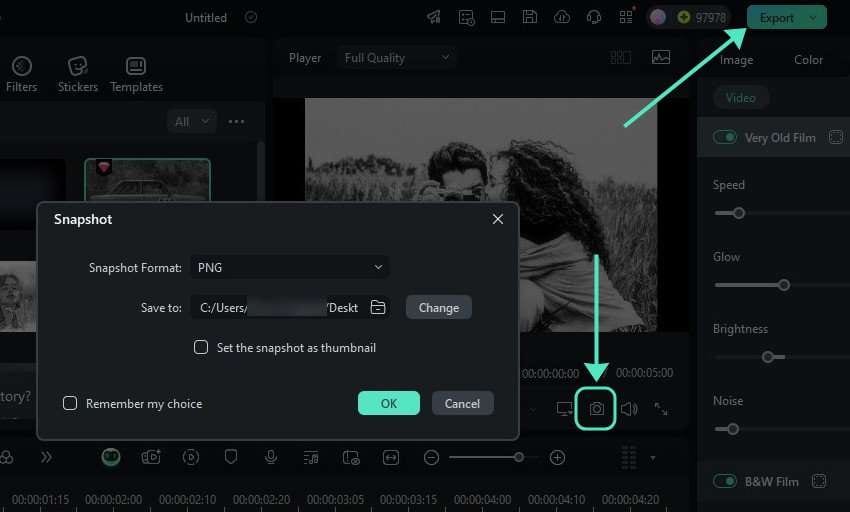
- Customize the settings like Brightness and Glow (depending on the chosen effect) under Effects > Video.
- Click the Snapshot button in the Player panel to save your black-and-white image as PNG or JPG, or hit Export to save it as a five-second video or a GIF.
Creative Use: Animate Your Black-And-White Photos
Filmora shines in the AI department, helping you generate images and videos from text input and enhance them with abundant tools. One ground-breaking feature is AI Image to Video, turning pictures into eye-catching videos. It offers templates for single and combined photos, but you can also provide a prompt to bring any vision to life.
Here's how to animate black-and-white photos with Filmora's AI Image to Video:
secure download - Go to Toolbox > Image to Video if you're on the startup panel.

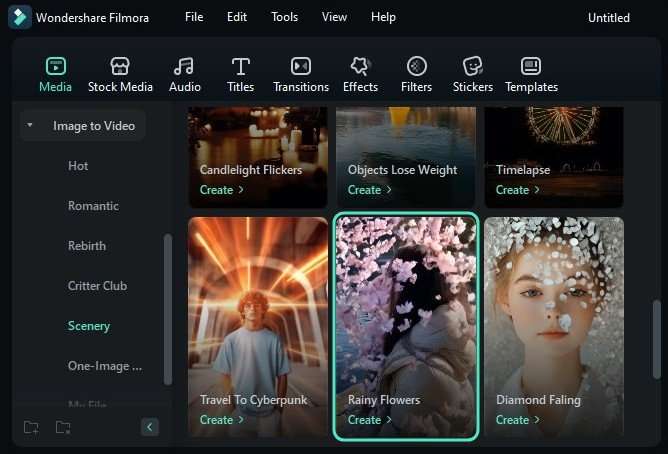
- If you're in the editor, click Media > Image to Video.

- Choose a template in the desired category and click Create. Both have a Custom option, which you can access before and after picking a template.
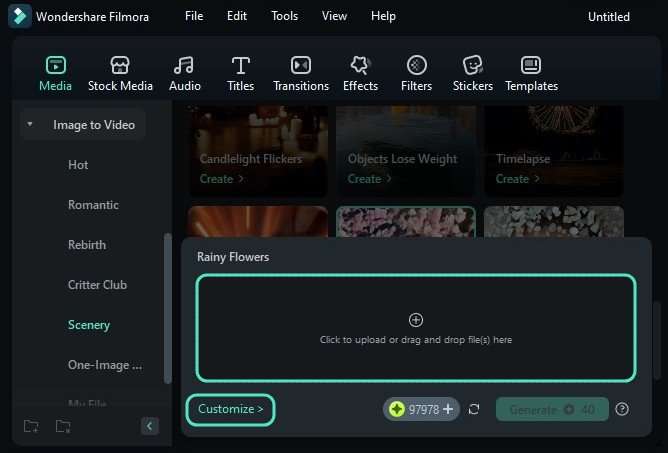
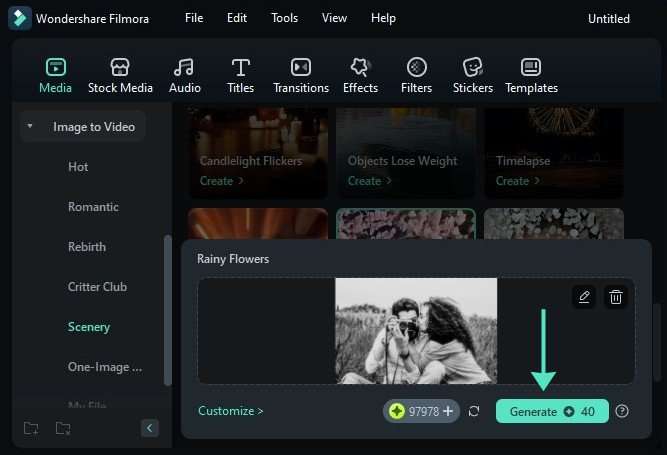
- Click the designated box to import your black-and-white picture. Optionally, click Customize > Settings to change the duration and resolution and type a prompt the AI will use to animate your image.
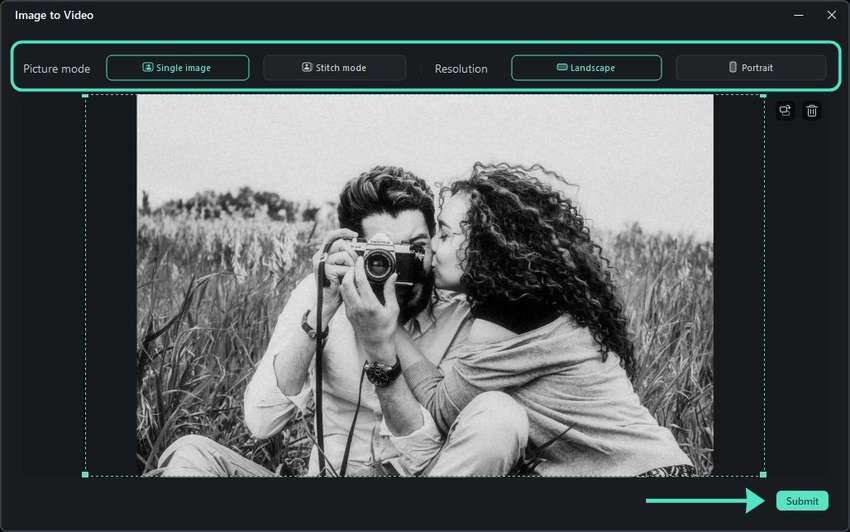
- Choose a Single Image or Stitch Mode (to combine pictures) and the Landscape or Portrait resolution and click Submit.
- Click Generate to animate your black-and-white photo(s).
- Drag your animated image (video) to the Timeline panel and edit it (if necessary).
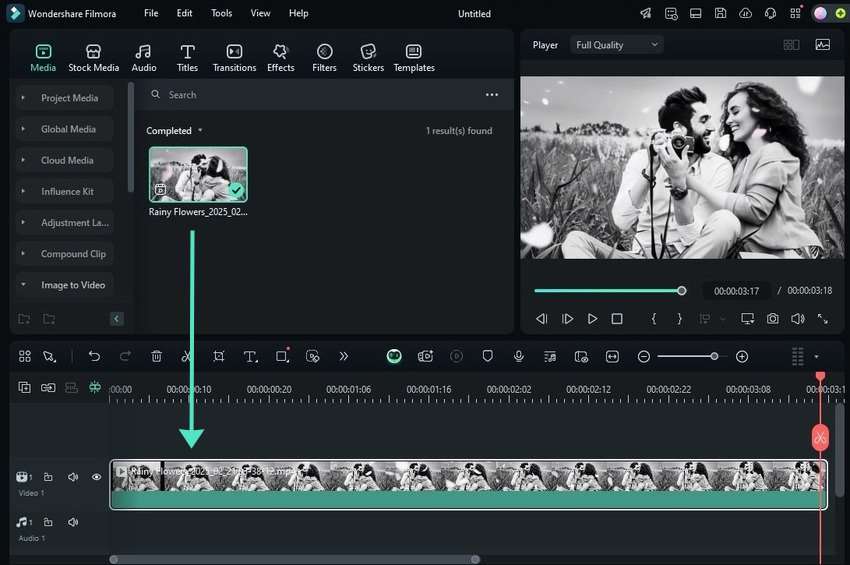
- Hit Export to save the video.
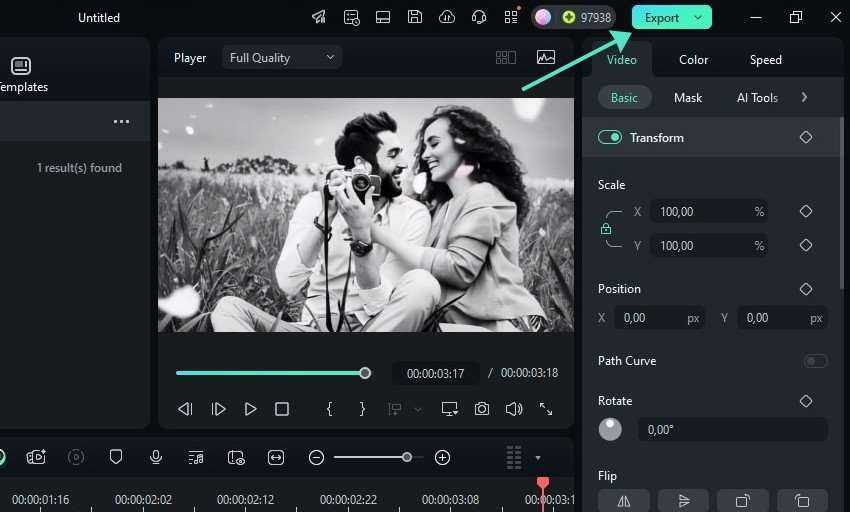
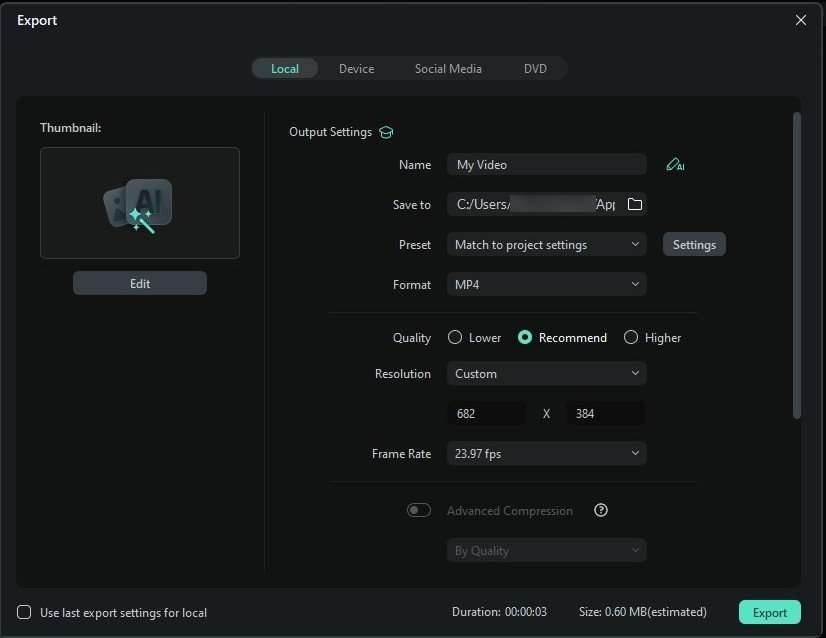
- Customize the output settings and click Export. You can share your animated old photos directly on Instagram, Facebook, YouTube, Vimeo, or TikTok.
Conclusion
You can turn pictures black and white in Photoshop using the steps we have included above. However, beginners may find it requires too many steps. If you are looking for an alternative that can turn pictures into black and white in seconds, Try Wondershare Filmora! It provides direct preset black and white filters to apply!
secure download FAQs
-
Can I change an image to black and white?
Of course! You can add a Black & White adjustment layer, use Camera Raw Filter settings for B&W adjustments, and convert an image to Grayscale mode in Photoshop. On the other hand, Filmora lets you apply black-and-white filters and effects with preset adjustments. -
What is the shortcut to make a picture black-and-white in Photoshop?
You can change an image color to black and white in Photoshop using the Alt + Shift + Ctrl + B shortcut on Windows or Shift + Command + Option + B on macOS. It opens the Black-and-White dialog box to adjust six color channels. You can also access it under Image > Adjustments > Black & White.Another shortcut involves desaturating an image: Shift + Ctrl + U on Windows or Shift + Command + U on macOS. There's no shortcut to add a Black & White adjustment layer for non-destructive editing, but you can go to Edit > Keyboard Shortcuts to create it (or customize other shortcuts). -
How can I invert an image color in Photoshop?
Go to Image > Adjustments > Invert (or hit Ctrl + I or Command + I) to invert the color of a picture in Photoshop. You can also click Layer > New Adjustment Layer > Invert to invert the color of all elements, including text. -
How can I turn an image into monochrome in Photoshop?
You can go to Image > Adjustments > Black & White. That way, Photoshop converts to black and white, turning all colors to monochrome. Alternatively, go to Filter > Camera Raw Filter and switch the Profile to Monochrome or click the B&W button.
