
 100% Security Verified | No Subscription Required | No Malware

Ever struggled to share your PowerPoint presentation smoothly? Some people don’t have PowerPoint, and formatting issues can ruin your slides. Converting your PowerPoint to video solves these problems.
A video works on any device, making it more accessible. It also keeps viewers engaged with animations, transitions, and narration. Plus, sharing a video is much easier—just upload it to YouTube or send it as a file.
In this guide, you’ll learn how to make a PowerPoint into a video step by step. We’ll also cover pro tips for high-quality results. Let’s get started!

In this article
Part 1. How to Convert PowerPoint to Video Using Built-In Features
Microsoft allows you to export PowerPoint to video without extra software. You can save your slides in formats like MP4 and WMV, making them easy to share. However, the built-in tool has some limitations. The video quality may not always be high, and some animations or transitions might not work smoothly.
What formats can I convert a PowerPoint presentation into?
- MP4 – Best for sharing on social media and video platforms.
- WMV – Works well on Windows but is less compatible with mobile devices.
- PPTX (Slide Show) – Not a video, but allows autoplay within PowerPoint.
How to convert PowerPoint to a video
Step 1. Open your PowerPoint presentation and make sure everything is finalized. Check all animations, transitions, and audio settings.
Step 2. Go to the File menu and select Export. Click Create a Video to start the conversion process. You will see options to choose the video quality. Select 4K, 1080p, 720p, or 480p, depending on your needs.
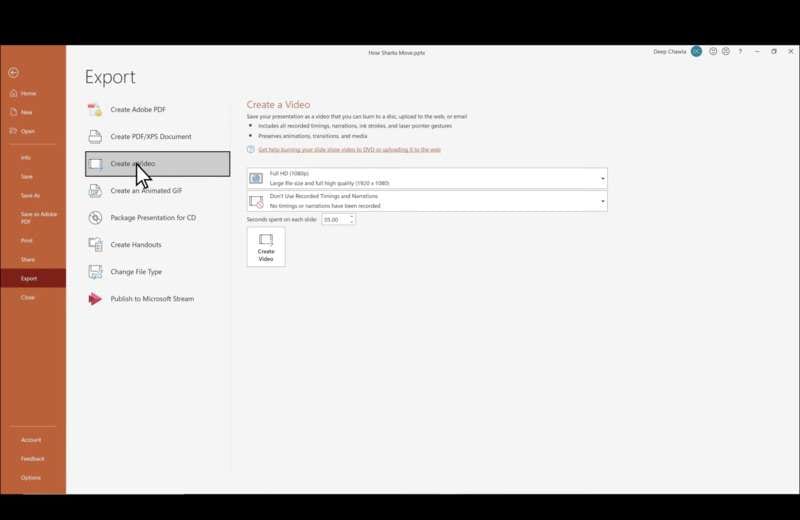
Step 3. Adjust the timing and narration settings. If you have recorded voiceovers or animations, PowerPoint will include them in the video. If not, you can set a default time for each slide.
Step 4. Click Create Video, choose a destination folder, and save the file as MP4 or WMV. The export process may take a few minutes, depending on the file size and quality settings.
Quick tips
- Before converting your PowerPoint to video, double-check your animations and transitions. Some effects may not work as expected in video format. Preview your presentation in slideshow mode to ensure everything looks right.
- Consider adding narration to make your video more engaging. You can record your voice directly in PowerPoint to guide viewers through your slides. This is useful for tutorials, lectures, or business presentations.
- Test your video after exporting. Play it on different devices to ensure the quality and timing are correct. If needed, adjust your PowerPoint settings and re-export the video for better results.
This method is simple, but for more customization, a PowerPoint-to-video converter can offer advanced editing features.
Part 2. Convert PPT Using Online PowerPoint to Video Converter
If PowerPoint’s built-in export tool doesn’t meet your needs, you can use an online PowerPoint to-video converter. These tools let you convert PPTX files to MP4 without installing software. One popular option is Online Convert. It allows you to upload your file, adjust settings, and download the video in just a few steps.
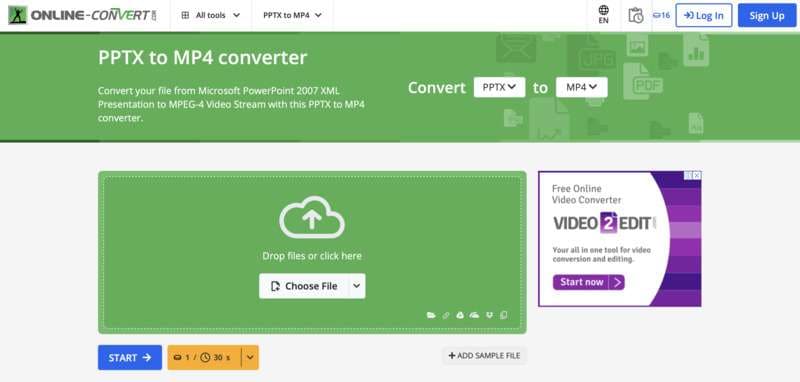
Online converters are useful if you need a quick and simple solution. They work on any device and don’t require PowerPoint. This makes them a great option when you are on the go or using a computer without the software installed.
Limitations of Online PowerPoint to Video Converters
- Online converters require a stable internet connection, which can be a problem with large files. Uploading and processing may take time, especially with slow internet speeds.
- Animations and transitions in your PPT may not be preserved. Some converters only capture static slides, making your video less dynamic. If your presentation has motion effects or embedded media, they may not appear correctly in the final video.
- Many free online tools have file size limits. Some restrict the number of slides you can convert or lower the video resolution. If you need high-quality output or full control over editing, a desktop PowerPoint-to-video converter might be a better choice.
Part 3. How to Create Video Presentations without PowerPoint
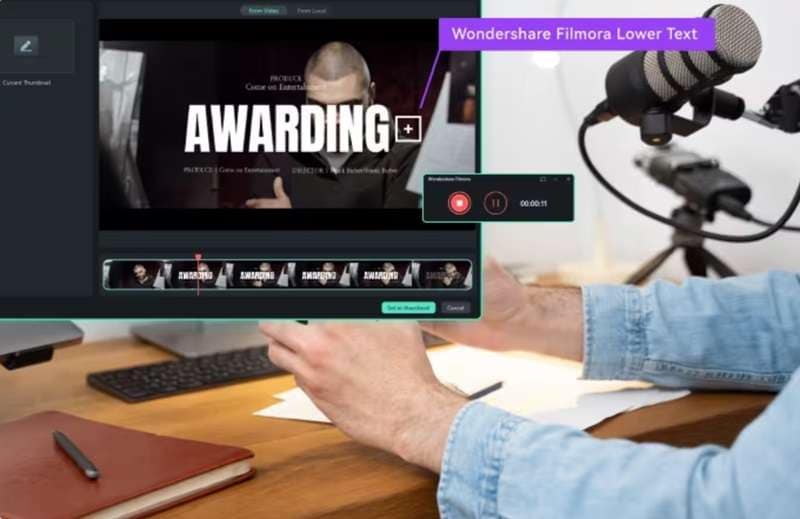
PowerPoint is useful, but it has limits. If you want more creativity, Wondershare Filmora is a great option. It helps you make video presentations with effects, transitions, and music. You don’t need PowerPoint to create a professional-looking slideshow.
 secure download

With Filmora, you do not need to worry about converting PowerPoint to video. You can combine images, videos, text, and sound into one smooth presentation. It’s easy to use and has ready-made templates to speed up your work. Unlike PowerPoint, it gives you more freedom to design a dynamic and engaging video.
Why Use Filmora for Video Presentations?
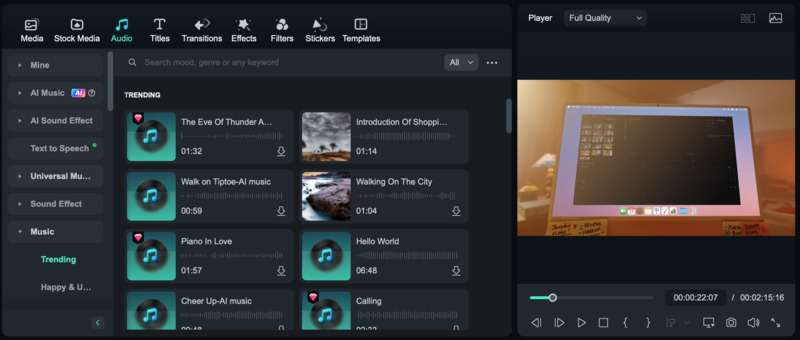
- Large Music & Sound Effect Library: Choose from many free background music and sound effects.
- Easy-to-Use Effects & Transitions: Add smooth transitions and visual effects with a simple drag-and-drop.
- Customizable Video Templates: Use pre-made templates for quick and professional results.
- Add Subtitles for Accessibility: Make your presentation easier to understand with captions and text.
- More Flexibility Than PowerPoint: Combine videos, images, text, and animations in one seamless presentation.
How to Create a Video Presentation with Filmora
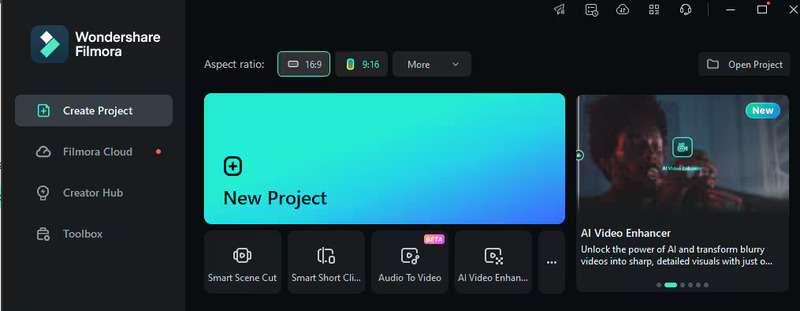
Step 1. Open Filmora and click New Project. Choose the right aspect ratio based on your needs. Select 16:9 for widescreen, 9:16 for vertical videos, or 1:1 for social media posts. This ensures your video looks good on any screen.
secure download

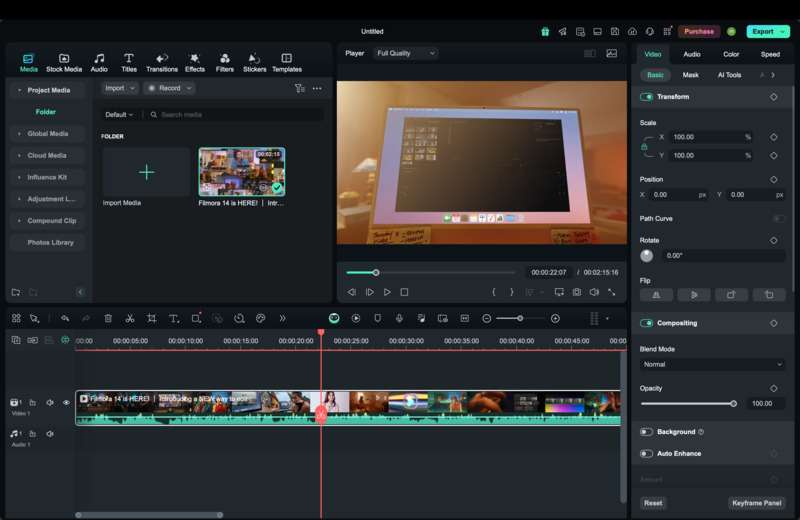
Step 2. Click Import Media Files and add your images, video clips, and audio. Drag them into the timeline in the order you want. Arrange them to create a smooth flow for your presentation.
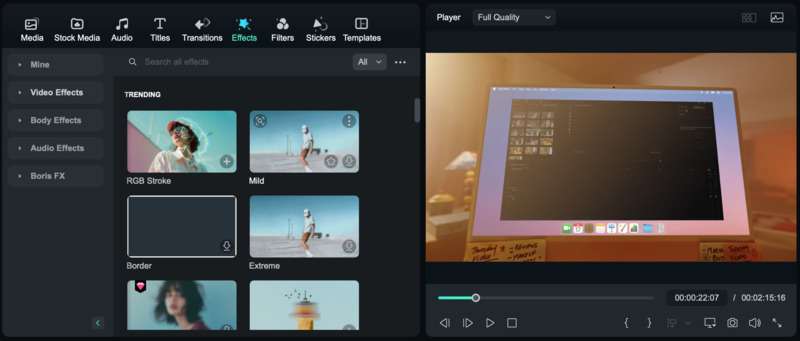
Step 3. To make your video look professional, add transitions and effects. Go to the Effects tab to apply filters and special effects.
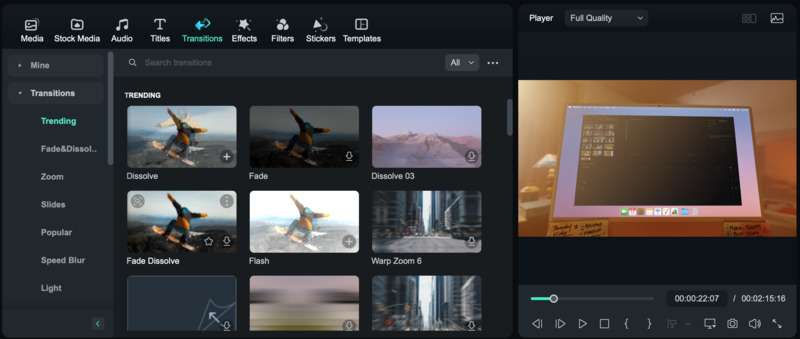
Use the Transitions tab to add smooth changes between slides. Drag and drop effects onto your timeline for an instant upgrade.
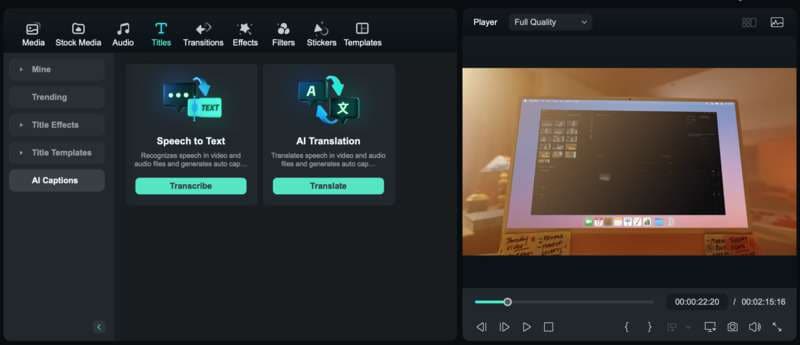
Step 4. Adding text helps highlight key points. Click on Titles to insert headlines, captions, or bullet points. Customize the font, size, and color to match your style. If needed, use the AI Captions tool to add captions for better accessibility.
Step 5. A great presentation needs good audio. Filmora has a built-in music and sound effects library. Pick a track that fits your theme or upload your own. Adjust the volume so your narration or key points stand out.
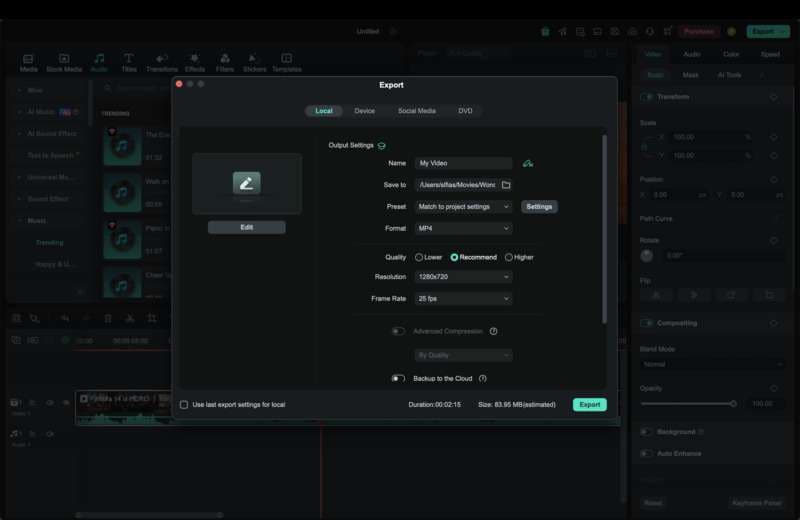
Step 6. Once you're happy with your video, click Export. Choose MP4, MOV, or AVI as your format. Adjust the quality settings for the best results. You can also upload your video directly to YouTube, Google Drive, or social media.
Conclusion
Converting PowerPoint to video makes your presentations more engaging, shareable, and accessible on any device. You can use PowerPoint’s built-in export feature for a simple conversion or try an online PowerPoint-to-video converter for quick results. For more creative control, Filmora is a great alternative. It lets you add effects, transitions, music, and subtitles to create professional-looking video presentations.
No matter which method you choose, make sure to check animations, timing, and audio before exporting. With the right tools, you can turn any presentation into a high-quality video that captivates your audience.
FAQ
Can I control the video file size when converting a PowerPoint presentation?
Yes, you can control the file size by adjusting the resolution and frame rate before exporting. Lowering the video quality (e.g., from 4K to 1080p or 720p) reduces file size. You can also compress the video after conversion using tools like Filmora or an online compressor.What should I do if my video doesn't play properly after conversion?
First, check the file format. MP4 is the most compatible. If the video lags or has missing animations, try re-exporting with different settings. Updating your media player or converting the video using a third-party tool like Filmora may also help.Is it possible to add a voiceover while converting PowerPoint to video?
Yes! In PowerPoint, go to Slide Show > Record Slide Show to record your narration. When you export the video, your voiceover will be included. If you need more control, use Filmora to record and sync voiceovers separately.Can I add background music to my PowerPoint video?
Yes, you can add music directly in PowerPoint. Go to Insert > Audio > Audio on My PC, select your file, and set playback options. If you want more customization, you can add music in a video editor like Filmora, which offers a built-in music library and sound effects.
