


Have you ever gotten stuck in the details while editing in Final Cut Pro? Well, zooming out of the timeline can really help you regain control.
In this guide, we will show you all the different ways you can easily navigate your project using the Final Cut Pro zoom out timeline, from using keyboard shortcuts to finding those hidden tools.
We want to make sure that you can see the bigger picture while still keeping an eye on the details in your Final Cut Pro timeline! So, let’s get straight to it!
In this article
-
- Method 1: Final Cut Zoom Out Timeline via Keyboard Shortcuts
- Method 2: Zoom Out Timeline Final Cut Pro Using the Menu Bar
- Method 3: Final Cut Pro Zoom Out Timeline with the Zoom Slider
- Method 4: Zoom Out of Final Cut Pro Timeline with Zoom to Fit
- Method 5: Zoom Out of Final Cut Pro Timeline via the Zoom Tool
5 Ways to Zoom Out Timeline Final Cut Pro
If you want to zoom in or zoom out timeline Final Cut Pro, there are 5 simple and easy ways to do so. In this section, we will take you through the steps of zooming out of the timeline via:
- Keyboard shortcuts
- Menu bar
- Zoom slider
- Zoom to fit
- Zoom tool
Method 1: Final Cut Zoom Out Timeline via Keyboard Shortcuts
The first and most common method of zooming out of the Final Cut Pro timeline is using keyboard shortcuts. This method is easy and convenient for users who are aware of the keyboard commands.
So, how do we go about it?
Step 1. Press the “Command and Dash” keys for Final Cut Pro zoom out timeline on your Mac.
Step 2. And, if you want to zoom out while remaining focused on the current play head position, press the “Option, Command, and Plus” keys.
Method 2: Zoom Out Timeline Final Cut Pro Using the Menu Bar
The next option to zoom out of Final Cut Pro's timeline is to use its menu bar. This method is also quite easy and is best for users who are not aware of the keyboard shortcuts.
Here’s how it works:
Step 1. On the top menu bar of Final Cut Pro, click on “View.”
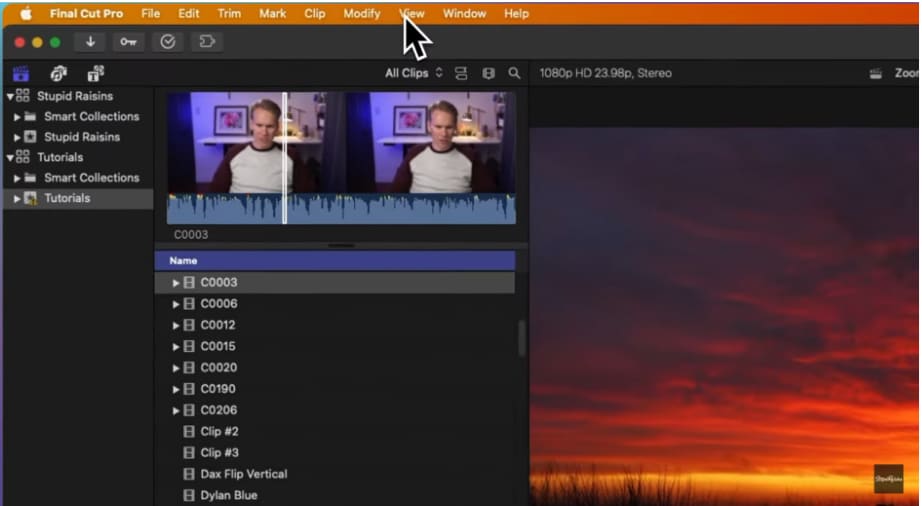
Step 2. Now, simply click on “Zoom Out” to zoom out from the timeline.

Method 3: Final Cut Pro Zoom Out Timeline with the Zoom Slider
The next method on our list to zoom out of the Final Cut Pro timeline is by using the zoom slider. This option is available right on the timeline, so you don’t have to go to the menu bar or use keyboard shortcuts. Here’s what to do:
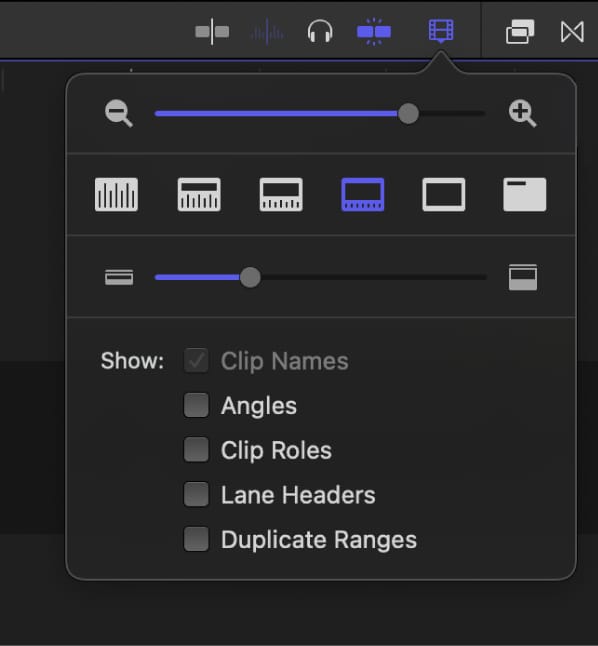
Step 1. On the top-right corner of the timeline, click on “Clip Appearance.”

Step 2. You can drag the zoom slider to the left to zoom out and to the right to zoom in on the timeline.
Method 4: Zoom Out of Final Cut Pro Timeline with Zoom to Fit
If you want all the clips on the timeline to appear on the timeline in a single view, you can use the Zoom to Fit option. With this option, you can see all the timeline contents without scrolling left or right. Here are the steps for it:
Step 1. From the menu bar, click on “View.”
Step 2. Now select the “Zoom to Fit” option.
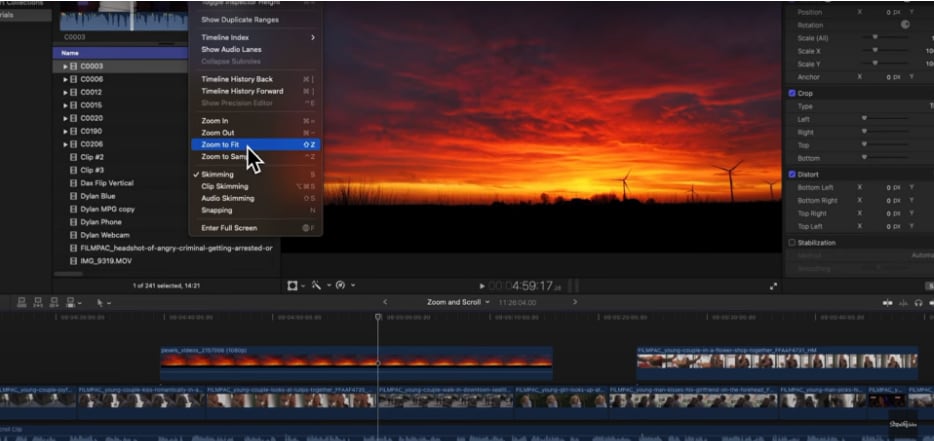
Alternatively, you can also press the “Shift and Z” keys on the keyboard to zoom to fit.
Method 5: Zoom Out of Final Cut Pro Timeline via the Zoom Tool
The last method to zoom out timeline Final Cut Pro is by simply using the zoom tool on the timeline. Here’s what to do:
Step 1. You will see a “Tool” option at the top-left corner of the timeline. Click on it.
Step 2. Click on “Zoom” from the menu that appears.

Step 3. Press the “Option” key and then click simultaneously on the part of the timeline you want to zoom out of.
And that’s how you can zoom out the timeline in Final Cut Pro using the five different methods above.
Why Zoom Out Timeline in Final Cut Pro?
Remember that while zooming in allows you to make precise edits, zooming out in Final Cut Pro is equally important. Here are some reasons why:
-
See the Big Picture: When you zoom out, you get a full view of your project's structure. This makes it easier to see transitions, pacing, and the overall flow of your video.
-
Navigate Large Projects: When working on big projects, it's easy to feel overwhelmed when you focus on the details. Stepping back and taking a more expansive view allows you to move around more easily, find specific sections, and make sure everything flows smoothly.
-
Plan and Reorganize: Taking a step back and looking at the big picture allows you to see the flow and discover where things can be improved. It's also easy to move things around and add smooth transitions.
-
Collaboration and Feedback: When you share your project with clients or collaborators, using a zoomed-out view will give everyone a clear picture for discussion and feedback.
In short, if you want to maintain a big-picture view of your project the Final Cut Pro zoom out timeline feature comes in handy.
Limitations of Final Cut Pro When Zooming In and Out of the Timeline
While Final Cut zoom out timeline helps you have a look at your project as a whole, it comes with its share of limitations:
-
Limited Magnification: When you zoom in for detailed editing, there's a limit to how close you can get. This may not be good for more precise adjustments on individual frames, especially for high-resolution footage.
-
No Microscopic View: Final Cut Pro doesn't provide a close-up view of individual pixels within a frame, which can make tasks like precise color correction difficult to some extent.
-
Performance Impact: Constantly zooming in and out can slow down the performance, especially on older computers or with complicated projects. This is because the software has to keep adjusting the timeline to different zoom levels.
Even though Final Cut Pro is a good tool, it has some limitations. Moreover, it only runs on Mac. Therefore, if you’re looking for an alternative tool that works on Windows and has easy functions, we suggest going for Wondershare Filmora.
A Better Way to Edit Clips on Timeline Without Final Cut Pro
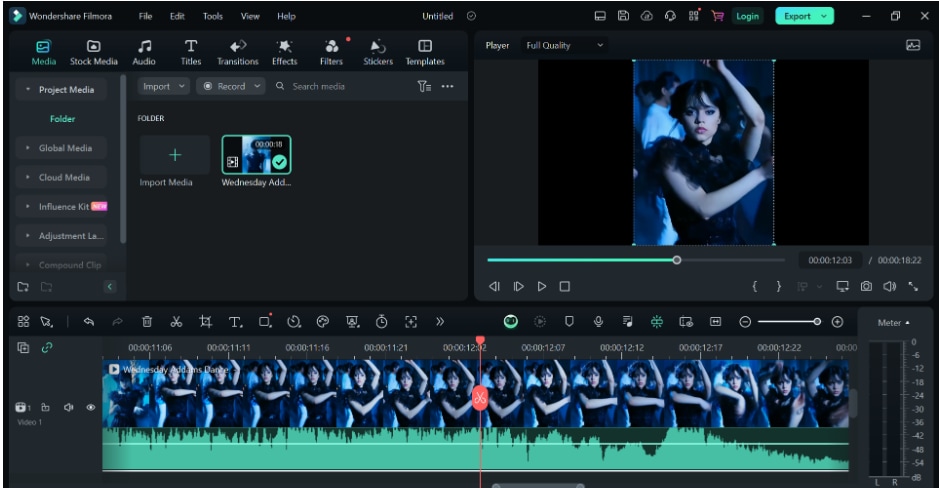
If you need a user-friendly video editor that's both powerful and easy to use, you should definitely check out Filmora. It's a great alternative to Final Cut Pro and perfect for beginners due to its intuitive interface. Here are some of the key features of the timeline in Filmora:
Easily adjust your view of the timeline, enabling precise editing by zooming in for detailed adjustments or zooming out for an overview of the entire project.

- Non-Destructive Editing: The edits you make on the timeline don't permanently alter your original clips.
- Multi-Track Editing: Filmora supports layering multiple video and audio tracks for creating complex projects.
- Track Locking: You can lock specific tracks (video or audio) to prevent accidental edits while working on other tracks.
- Trim and Split Clips: With Filmora, you can easily trim unwanted parts of your clips or split them into separate segments directly on the timeline.
- Clip Positioning and Arrangement: You can drag and drop the clips on the timeline to arrange them in your desired sequence for storytelling.
- Transitions and Effects: Filmora enables you to apply various transitions and effects between clips directly on the timeline for a polished look.
- Precise Editing: You can also zoom in and out on the timeline for frame-by-frame editing for ultimate control.
- Audio Editing: The best and most convenient part is that you can edit audio tracks directly on the timeline, including adjusting the volume, fading in/out, and adding audio effects.
- Speed Adjustments: Plus, you can change the playback speed of clips on the timeline, like slow motion or fast motion to create dynamic effects.
How To Zoom In and Out on Timeline in Filmora
Just like Final Cut Pro, you can zoom in and out on the timeline in Filmora in several ways. In this section, we will discuss 3 ways in which you can do so.
Method 1: Zoom Out/In On the Timeline in Filmora via Keyboard Shortcuts
The first method for zooming in and out on Filmora’s timeline is using keyboard shortcuts. These shortcuts are almost the same as those in Final Cut Pro, except that we’ll use the Ctrl key instead of the Command key. Here’s what to do:
Step 1. To zoom in on the timeline in Filmora, press:
- “Ctrl and =” keys on Windows
- “Command and =” keys on Mac
Step 2. To zoom out, press:
- “Ctrl and -” keys on your Windows PC keyboard
- “Command and -” keys on Mac
Step 3. To zoom to fit the timeline, press:
- “Ctrl + Z” keys on Windows
- “Shift + Z” keys on Mac
Method 2: Zoom In/Out On the Timeline in Filmora via Zoom Slider
If you’re not very proficient in remembering the keyboard shortcuts, you can zoom in and out of the timeline using the zoom slider. Here’s how:
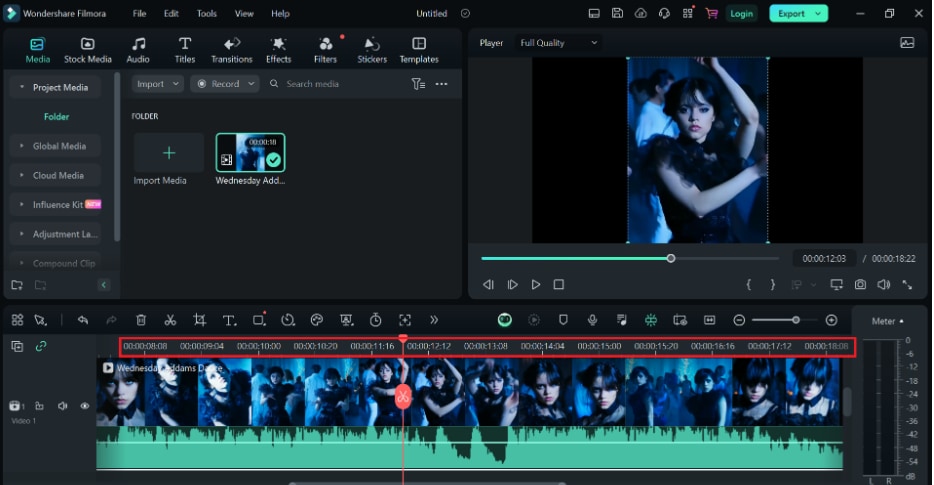
Step 1. On the top-right corner of the timeline, you can see the zoom slider option.
Step 2. Now, slide it to the right to zoom in on the timeline, and slide it to the left to zoom out.
Method 3: Use the Mouse to Zoom In and Out on Filmora Timeline
Another easy way to zoom in or out on the timeline in Filmora is simply by using your mouse. Here are the steps for it:
Step 1. On the timeline, place your mouse on the part that shows the time of the video. It will turn into a two-way arrow.
Step 2. Left-click the mouse and then move it left or right. Moving it to the left zooms out, and moving it to the right zooms in.
Method 3: Zoom In/Out on Filmora Timeline with Zoom to Fit
The last method of zooming out of the Filmora timeline is via the Zoom to Fit option, which is located right next to the zoom slider. Here’s how to use it:
Step 1. On the top-right corner of the timeline, you will find the “Zoom to Fit” option, indicated by a two-way arrow.
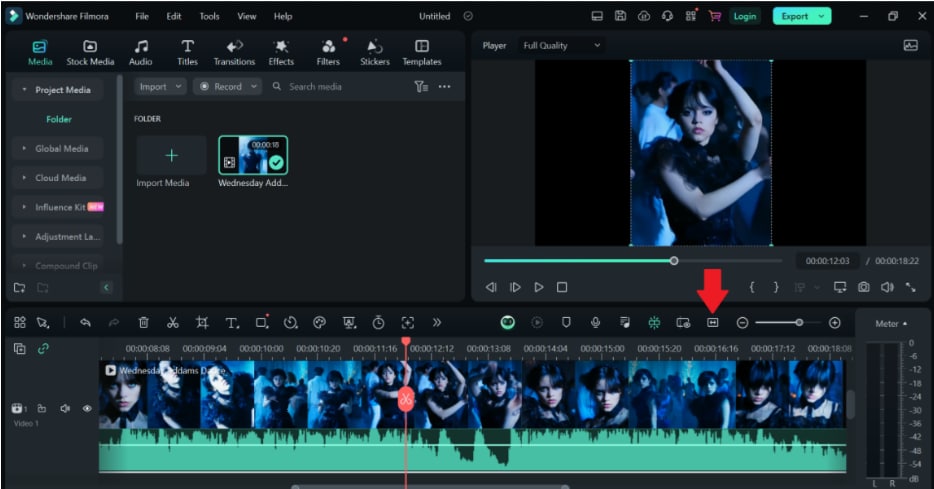
Step 2. Click on it to make your project fit the span of the timeline.
And there you have it: 3 easy ways to zoom in and out on the timeline on Filmora!
Conclusion
Editing in Final Cut Pro can be a bit overwhelming, but don't worry - we've got a solution for you: try zooming out! This guide will walk you through different ways for Final Cut Pro zoom out/in timeline and get a better view of your project. You'll learn about handy keyboard shortcuts and tools that might be hidden.
While zooming in Final Cut Pro has advantages, there's also an easy alternative: Filmora with extensive amazing features, which offers smooth zooming with easy drag-and-drop functions. So, download Filmora now, and check it out for a more stress-free editing experience!
