
 100% Security Verified | No Subscription Required | No Malware


If you frequently use Premiere Pro to edit your content, you're familiar with its robust and comprehensive palette of video editing tools and features. The software has many audio/video editing functions, allowing you to harvest its immense potential to make professional cuts to your footage.
It caters to both newbies and professional video editors. However, its somewhat complex interface and navigation might feel overwhelming for those with little to no experience with the software.
Today, we'll discuss the best, most effective methods to make swift cuts and trims to your video footage. We'll also suggest a worthy alternative to help you edit your content without wasting too much time and effort.
In this article
How to Cut/Trim Videos in Premiere Pro in Different Ways
This software offers several versatile methods to cut your video footage. You can tap into several ways to edit and transform your content into top-grade, shareable online content.
Thanks to that, you can easily repurpose long-form videos into shorter clips to streamline editing and make more precise edits to your videos. Below, we'll discuss the top five methods you can use to cut and trim your footage in Premiere Pro.
Method 1: Using the Timeline Playhead
The timeline is where all the editing action takes place. You can find it in the lower part of your Premiere Pro screen, right below the Program Monitor (the main preview window).
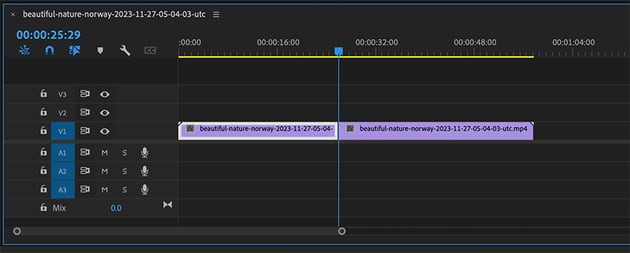
When you import a video, the timeline displays it as a horizontal purple bar. The Playhead is displayed as the vertical blue bar. You can drag the vertical bar to the exact position where you want to cut your video, and the software will display the selected frame on the Program Monitor.
Step 1: Open Premiere Pro and upload your video. Drag the video to the timeline and position the Playhead at the exact location where you want to make a cut.
Step 2: Hit Control + K on Windows or Command + K on Mac to trim the clip. If you wish to make multiple short clips, drag the Playhead and repeat the steps.
Method 2: Using the Razor Tool
The Razor Tool (the C key on your keyboard) is an excellent feature that lets you quickly cut your video at any position. It allows you to cut long videos into shorts by splicing one longer video into two shorter clips. In addition, you can also use it to delete unwanted sections of your footage. If you don't want to use the Playhead to cut a video in Premiere Pro, the Razor Tool is an ideal solution.
Step 1: Launch the software, import your footage, and drag it to the timeline. The Razor Tool is conveniently located in the toolbar on the left side of the timeline. You can also access it by hitting the C key.
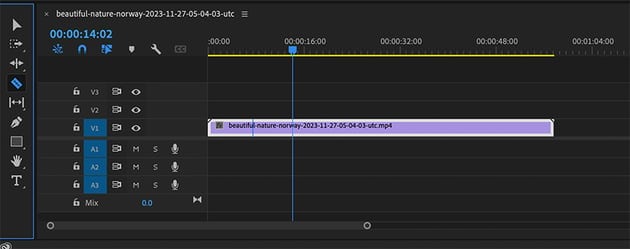
Step 2: Once you activate this tool, position your mouse over the video in the timeline at the exact position where you wish to cut your clip. Click once to trim and split your video. Repeat as many times as necessary to clip your video according to your needs.

Method 3: Using the Selection Tool
The Selection tool allows you to select one or multiple clips in the timeline and make the necessary adjustments according to your editing requirements. You can use it to highlight a clip, copy/paste it, delete it, move it around the timeline, and make basic trims to your footage.
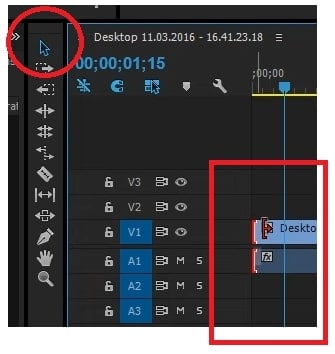
Step 1: Open Premiere Pro, import your video, and drag it to the timeline. Click the Selection tool on the left side of the toolbar, or hit the V key on your keyboard to activate it. Drag the time marker to set the exact trimming point.
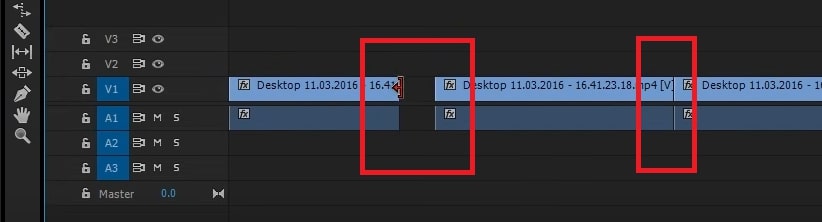
Step 2: Drag the edge of the clip to the marker you've just set to trim the clip in the timeline. Click the Selection tool again and drag your video back to the start of the timeline. If you wish to cut the end of your clip, drag the edge of the video at the end inwards.
Step 3: If you wish to delete a part of your footage, activate the Selection tool, click, and drag the edge of the sliced video to trim away the unwanted segment.
Method 4: Using the Trim Tool
The Trim tool allows you to refine your rough cut sequences on the timeline, including the timing of your footage.
Step 1: Open the software, upload your video, and drag it to the timeline. Click to select the video you wish to trim.

Step 2: Hover your cursor over the edge of the video to access the Trim tool.

Step 3: Drag the edge of the video to the position where you wish to clip your footage to trim away the rest.

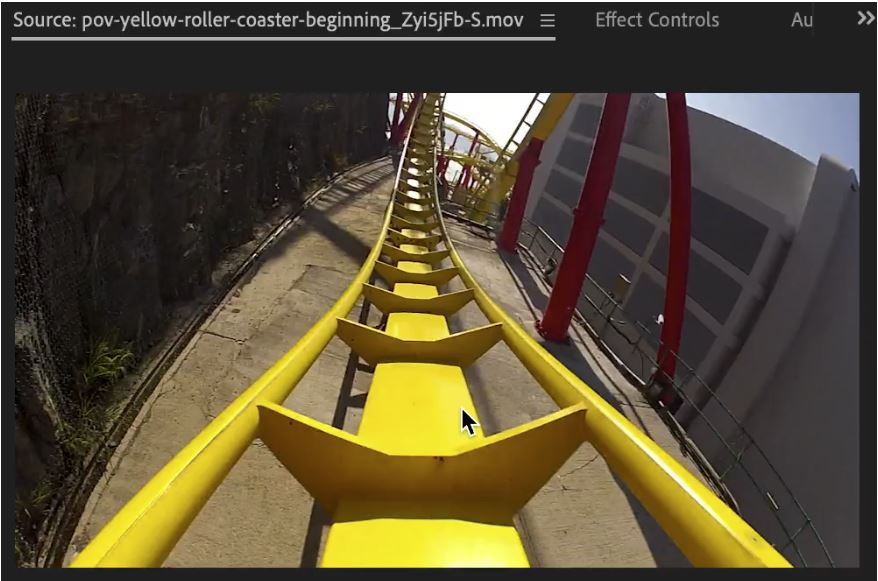
Method 5: Using the Source Monitor
The Source Monitor feature in Premiere Pro allows you to preview your footage at full video resolution and set In and Out points (you can also do that in the Project panel).
Step 1: Launch the program on your computer and import your video. Drag the clip into the Source Monitor from the Project panel.
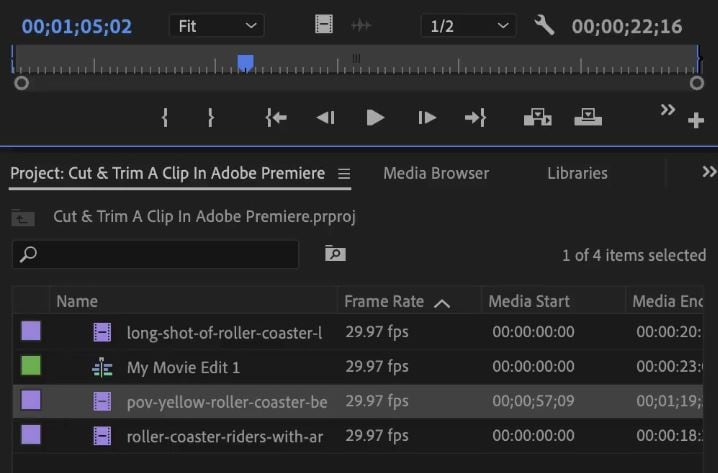
Step 2: The next step is to set your In and Out markers. Place the playhead in the position where you want to set an In point. Hit I on your keyboard or click the Mark In button to set the In marker. Do the same to set the Out marker (O on your keyboard or use Mark Out).
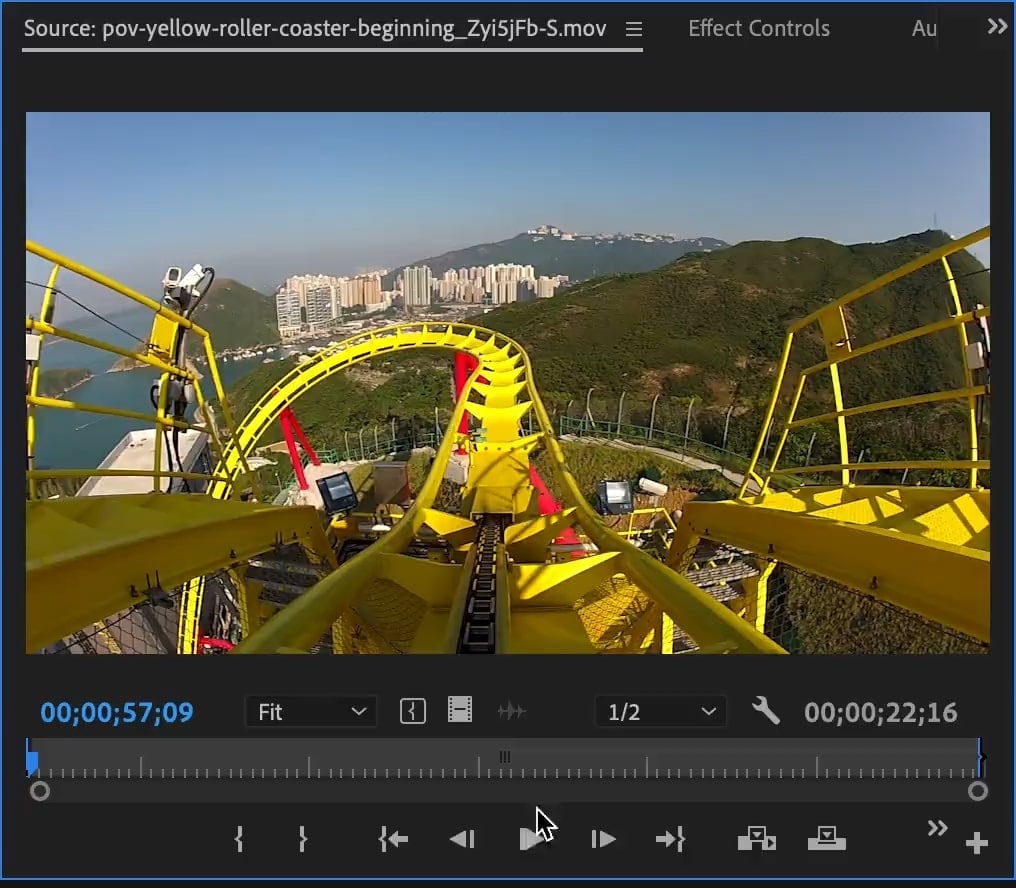
Step 3: Drag the clip from the Source Monitor to the timeline to create an edited clip of your choosing. Navigate to Clip - Subclip and select Make Subclip. Name your subclip and click OK. You can now find your short clip in the Project panel.
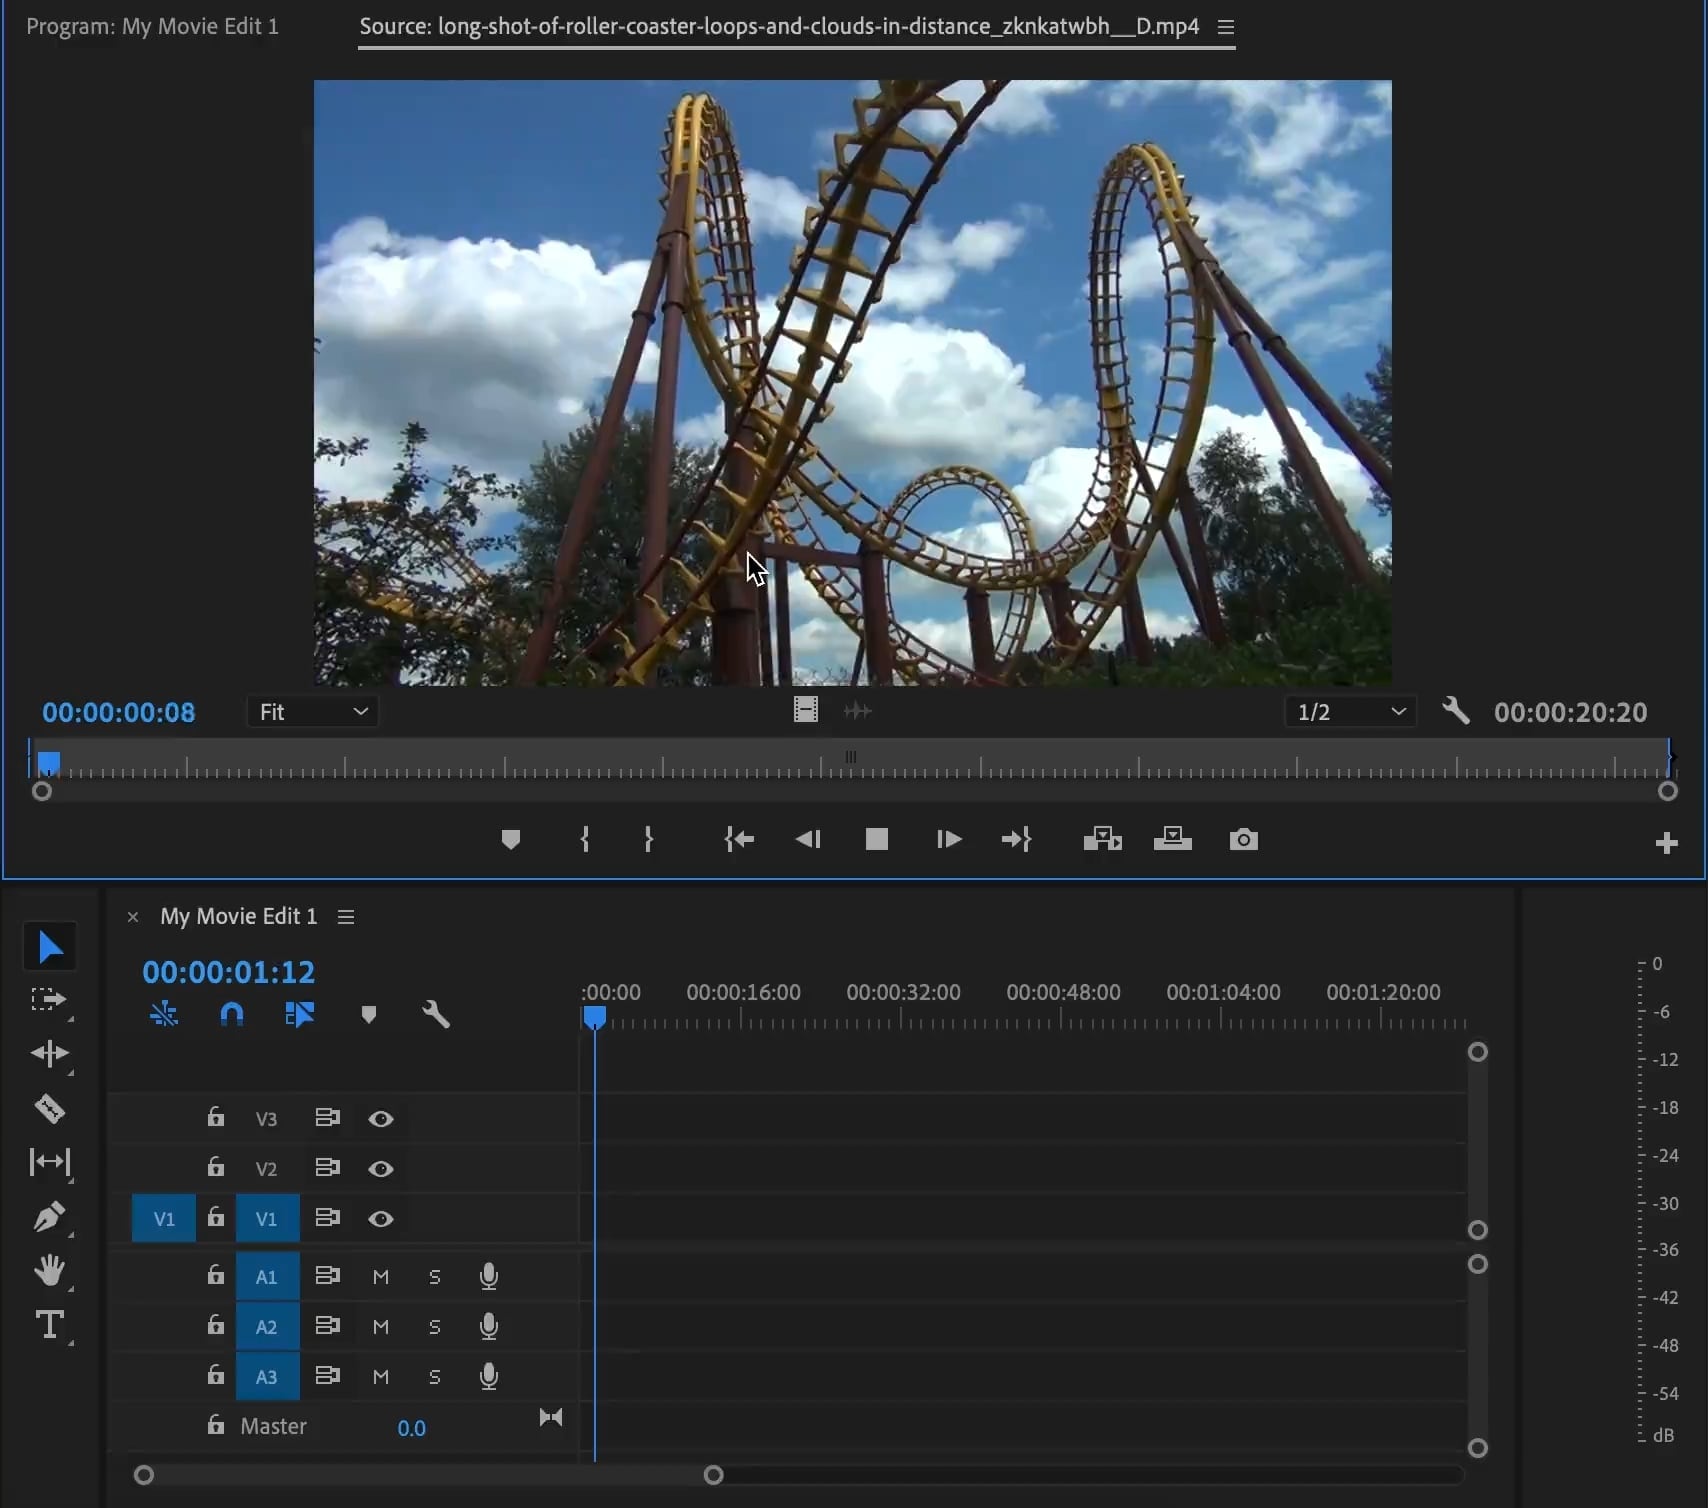
The Source Monitor features lets you add both audio and video to the editing timeline in Premiere Pro.
An Alternative to Premiere Pro for Cutting/Trimming Videos: Filmora
Premiere Pro is a fantastic video production software application that allows you to modify and enhance your content according to your requirements. However, the app can feel overly complicated, especially for those who have yet to use it.
If you just need to make simple edits to your footage, like video cutting or trimming, there may be better options. Wondershare Filmora is a professional-grade AI-driven features you can rely on to make swift edits with a few mouse clicks. It empowers you to split, cut, and trim your videos quickly and easily.
Aside from providing basic editing features like cutting, trimming, and splitting, Filmora also provides advanced editing tools, including AI-powered options, that you can use to split long-form footage into multiple, easily editable, and shareable clips.
- Superb video stabilization with low distortion.
- Vast video/audio effects and creative assets.
- Powerful AI for effortless content creation.
- Intuitive, professional yet beginner-friendly.
- Works on Mac, Windows, iOS, and Android.


How to Cut and Trim Videos in Filmora
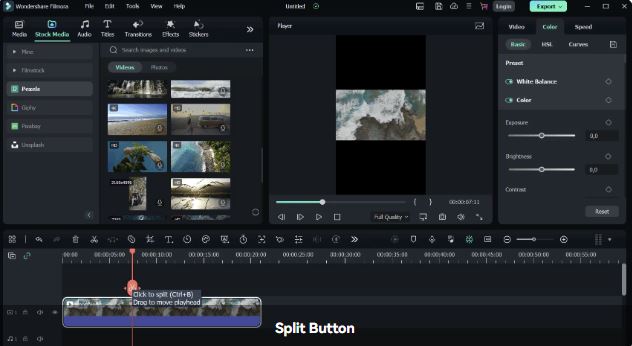
Step 1: Launch Filmora and Click the Split button
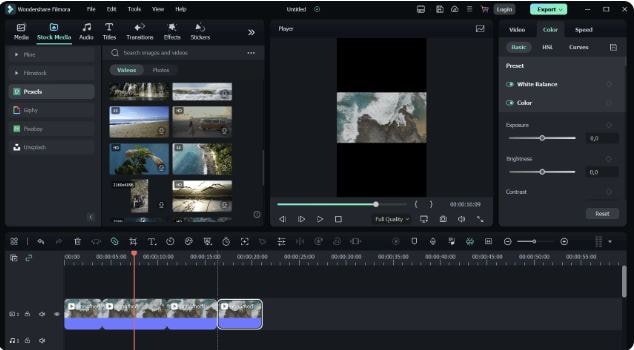
Launch Filmora, navigate to the main menu, and select Create Project - New Project. Import your clip and drag it to the timeline. Select the clip in the timeline and drag the indicator (red line) to where you want to split the clip. Click the Split button to separate your video into two editable clips.
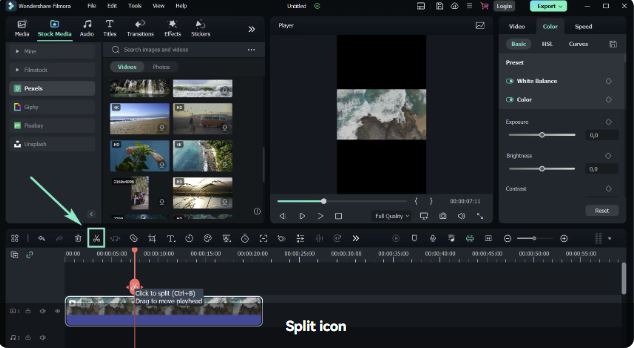
Alternatively, you can select the Scissors icon just above the timeline to do the same.
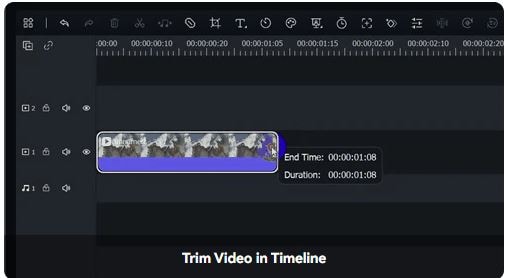
Step 2: Trim and remove the unwanted segments
Method 1: Access the Trim feature to remove the unwanted parts of your video at the beginning or end. Select the clip in the timeline and hover your mouse over its edges to access the Trim tool. Click and drag the edges of the clip forward or backward to remove the unwanted video segments.
Method 2: Access Quick Split Mode and select the clip in the timeline.
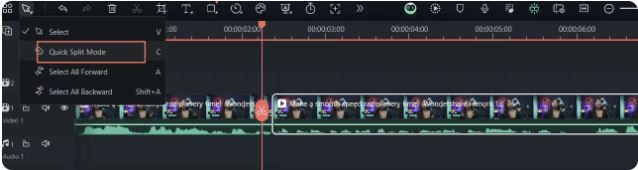
Select the parts of your video you want to split into shorter clips.
Step 3: Export and save the finished video
Select Export to save the splitted/trimmed video on your device. Choose your preferred format, video quality, and resolution, and click Export again to save your clip.
Explore Advanced Features in Filmora
Filmora comes with a vast selection of advanced and AI-enabled audio/video editing tools you can tap into to create seamless workflows and streamline your editing process. Among them are Quick Split Mode, Smart Short Clips, and Scene Detection.
Automatic Scene Detection is an advanced video editing feature in Wondershare Filmora that detects the transitions between shots in your video and breaks them down into basic temporal segments. It extracts the essential scenes, allowing you to edit your content quickly and efficiently. Keep reading to learn how to use Scene Detection to speed up the cutting/splitting/trimming process.
How to Use Scene Detection
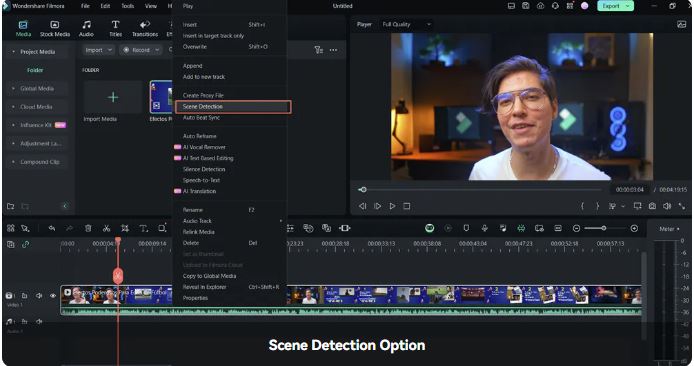
Step 1: Launch Filmora, import your footage, and drag it into the timeline. Select the video in the timeline, right-click it, and pick Scene Detection.
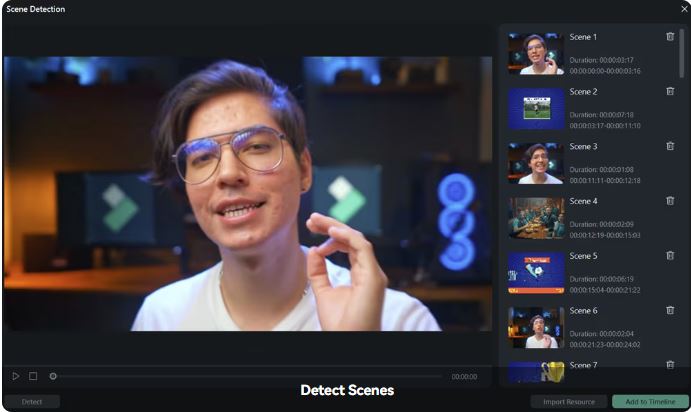
Step 2: In the Scene Detection menu, select the Detect option to detect scenes in the original video and extract them into smaller clips. Double-click the scene to preview it and select Add to timeline to transfer the scene to the timeline.
You can now enhance the short clip using audio/video editing tools, effects, transitions, stickers, filters, etc.
Tips and Tricks for Cutting Videos
Here are some expert tips to help accomplish ideal video cutting. Remember, practice makes perfect. It takes time to get the best results. Video cutting is a delicate operation that requires attention to detail and a healthy dose of practice.
Here's how to master it:
- Cut on an action – cut your videos during the action to make unnoticeable changes to the original footage and accomplish as natural cuts as possible.
- Focus on corresponding cuts – select the shots with similar visuals such as movement, size, shape, or color. Doing so allows you to seamlessly cut long-form footage to create a sense of fluidity and consistency. In addition, that can help you make imperceptible transitions between shots.
- Avoid jump cuts – these are quick cuts between two shots of the same clip, with slight changes in composition or angle. Avoid them unless you wish to accomplish a specific visual effect.
- Cross-cutting – also known as a parallel edit, it's when you make a cut between two or multiple scenes running at the same time. This cutting technique allows you to add excitement and tension to your original footage.
Conclusion
This tutorial showed you how to cut and trim your videos in Adobe Premiere Pro using multiple methods. The software offers several easy-to-use ways to edit your video footage according to your cutting/trimming needs.
If you find the program overly complex for your tastes, a more streamlined alternative like Wondershare Filmora might come in handy when you wish to make quick changes to your videos, such as cutting, trimming, splitting, etc. Filmora supports basic and advanced audio/video editing operations, making it an ideal solution for both newbies and professional video makers.
