Wondershare Filmora is all you need when it is to professional and creative video editing. The tool is equipped with multiple effects to optimize video editing based on your immediate needs. Using these effects is essential to grand and hold the attention of the audience easily.
Out of all the video effects available in Wondershare Filmora, the loading text effect can be a game changer for keeping your audience engaged. It will reduce the chances of the viewer's churn and ensure that you offer them something amazing in every part of the video. The best part here is that Wondershare Filmora allows quick customization of this loading text effect.
Let us go through the detailed steps to customize the loading text effect in Wondershare Filmora for your next project. Not to miss is that the customized text effects can be quickly accessed from the "Text Edit" panel or "Advanced Text Edit" panel for future reference.
Step1Download, install, and launch Wondershare Filmora
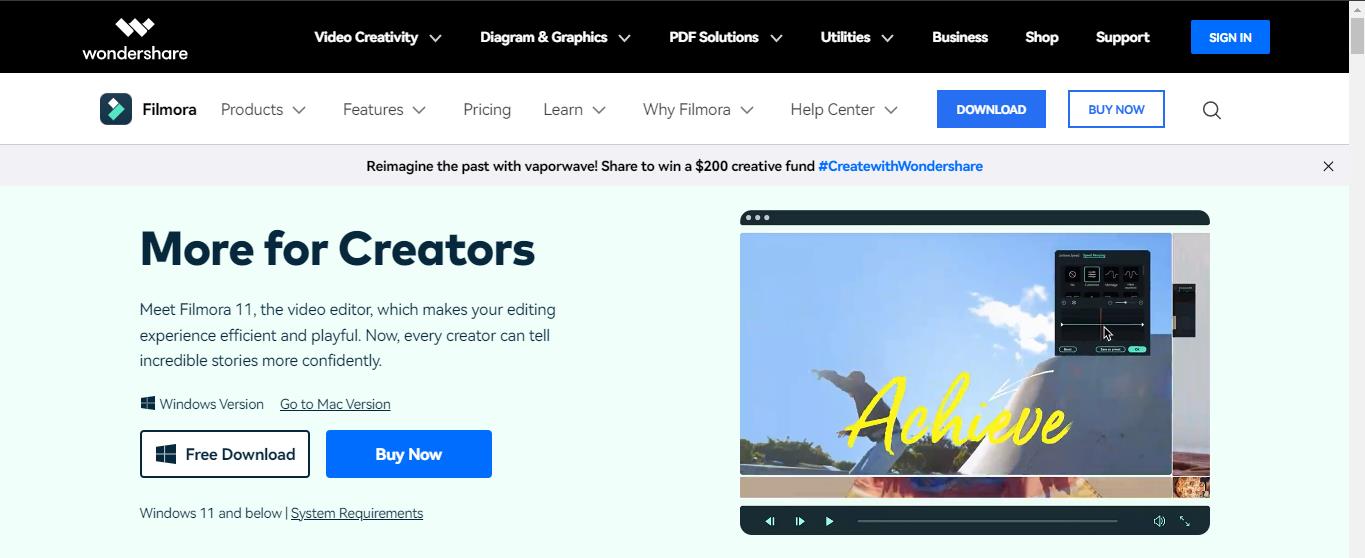
The first step to start creating impressive videos using Wondershare Filmora is to download this amazing tool on your Mac or Windows system. It is recommended to go for a quick download and install from the official website of Wondershare Filmora only. The detailed steps for completing this are:
- Open the official website https://filmora.wondershare.com/video-editor/ of the Wondershare Filmora in your Windows or Mac browser.
- Go to the "Download" option located in the top right corner of the web page. Click on it to start downloading the Wondershare Filmora installer.
- Once the download is complete, double-click on it, and accept the terms and conditions. The Wondershare Filmora installer will start running and complete the installation process in a couple of seconds only.
- Once the installation is complete, Wondershare Filmora will get opened on your system for quick use.
Step2Go to the Titles option
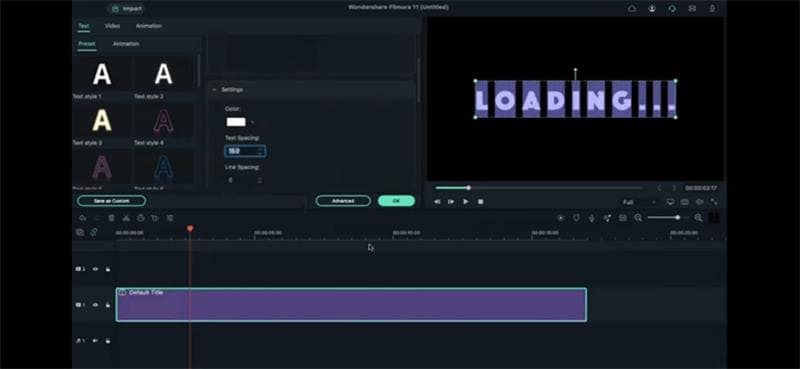
Once Wondershare Filmora is running on your system, it is time to take the first step for customizing the loading text effect. It starts with the titles option where you can select the font of your choice and manage the text spacing. The quick steps for the same are:
- Start by dropping the default title on track 1.
- Keep the title up to 17 seconds long.
- Double-click on the default title to open the font selection.
- Select the font of your choice from the available options of the numerous fonts.
- It is easy to change the text loading here.
- You can increase the text spacing by 15 and then click the ok to close the Titles option.
Step3Go to the My Media option
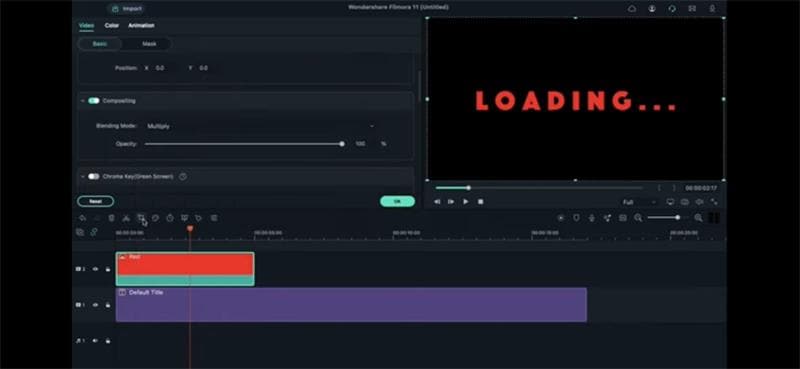
Now move to the My Media option to add color to the loading text. Here, the blending mode required is also selected. The quick steps to follow in the My Media option are:
- Open the My Media option and select the red color under the sample color option.
- Drop red color on track 2.
- Double-click on the red color and go to the video option.
- Open the composting option in the video and select the blending mode.
- Change the blending mode to multiply.
Step4Using the Crop tool
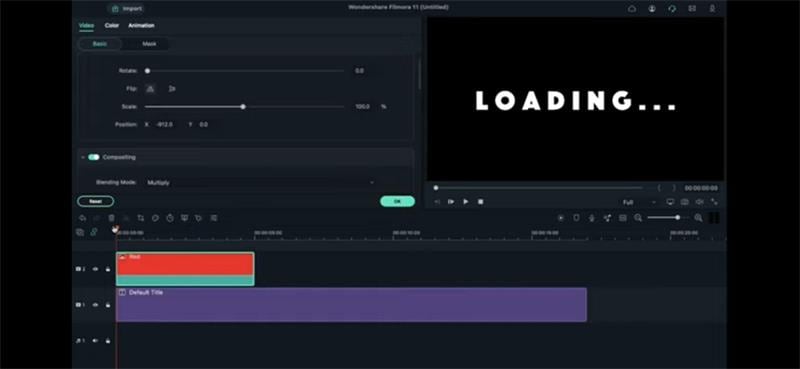
The next step is to move to the crop tool. You have to select the red color ratio and position. The steps for using the crop tool are:
- Go to the crop tool and select the custom option under the "Ratio" section.
- Crop red color in the ratio of 80 * 1080.
- Go to the "Basics" menu located upside to define its position on the left side edge.
- End the process by placing the playhead at the starting point.
Step5Using Animations option
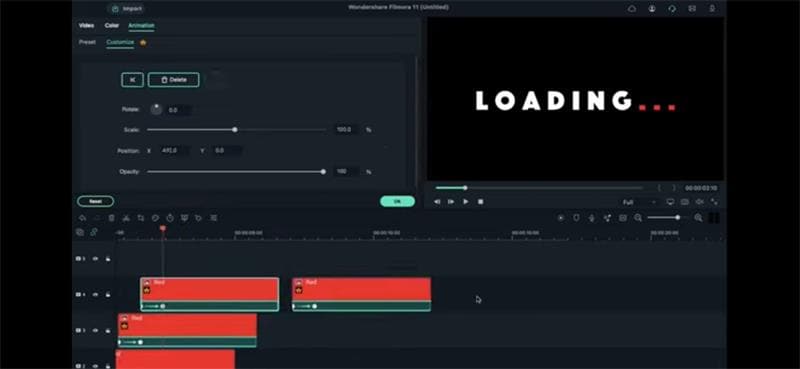
After the crop tool, it is time to use the animations option to create a loading text effect. You will be placing the keyframes and arranging the playheads in this section. The quick steps for the same are:
- Add a keyframe to the track and place the playhead to 20 frames further.
- Start by defining the x-axis position of the red color on the third dot of the "Loading …" text.
- Now, copy the red color and paste it on the blank space on track two.
- Next, click on the second keyframe and shift the pasted red color clip on track three to the playhead position.
- It is time for the third clip now. Click on the second keyframe on the track three clip and define its x-axis position on the second dot of the "Loading …" text.
- Repeat for track three copying the red color clip and pasting it on the blank space.
- Click again on the second keyframe on the track three clip and shift the pasted clip to the playhead position.
- Now, click on the second keyframe of the track four clip and define its x-axis on the first dot of the loading text.
- You have to repeat the same process until you will the whole "Loading…" text with red color.
Step6Extending the clip durations
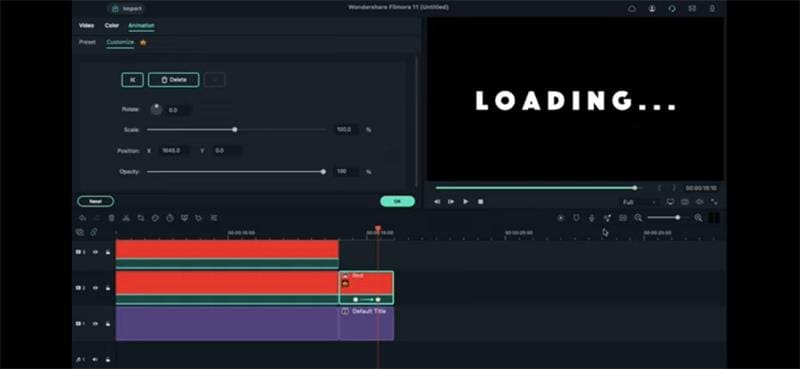
After getting the red color in all the loading text, it is time to make the clips in uniformity. All you need to do is extend the clip duration, cut them in uniformity, and place playheads and keyframes accordingly. The detailed steps for the same are:
- Start by extending every red color clip duration to 17 seconds.
- Place the playhead at the 14 seconds position and cut all the clips.
- Delete the extra part left after cutting the clips.
- Keep track 1 and copy and paste the text on it. Keep the length at 2 seconds only. Leave the rest of the clip part.
- Start by dropping the red color on track 2 and keep it for 2 seconds duration.
- Now double-click on the red color and change the "Blending Mode" to multiply.
- Put the playhead at 14 seconds and add a blank keyframe at the 15th
- Now put the playhead at the 15 seconds at the 10th frame. Here, define the x-axis position by dragging it from the left to right out of the loading text.
Step7Selecting render preview
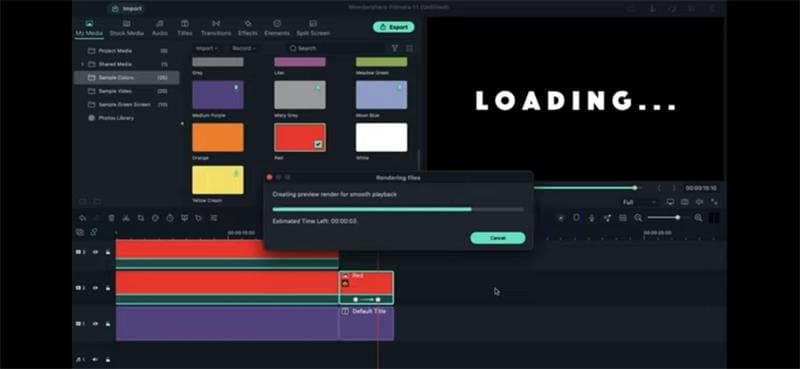
The last step but most important is to go for the render preview option. It offers a fast and quick review of the created video file to incorporate any last-minute changes. The quick steps for the same are:
- Click on the render preview button to see the final preview
- It will take a few seconds to prepare the rendering frame and will show the preview of the file.
Wrapping Up:
Hope everything is clear to you about customizing the loading text effect in Wondershare Filmora. All you need to do is download this amazing video editing software on your Windows and Mac and start using it instantly. It has an easy-to-use interface which is liked by beginners and professionals in video creation like the same.
Wondershare Filmora users can easily start adding customized loading text effects to their videos by accessing the titles menu. Once the font size of the text and other specifications are selected here, you can quickly move to the My Media section to select the color. The next step is to use the crop tool and animations option to bring the red color loading text effect to your video.
Once done with all the steps, it is time to cut the clips and go for the render preview option. Hence, your professional-grade video having the loading text effect is ready. Go for downloading Wondershare Filmora today for creating some exclusive masterpieces.


