
 100% Security Verified | No Subscription Required | No Malware


 ChatGPT
 Perplexity
 Gemini
 Claude
 Grok
Grok
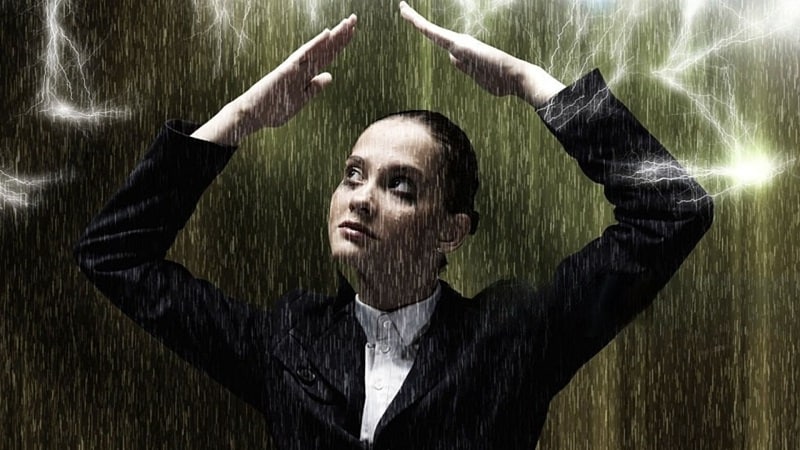
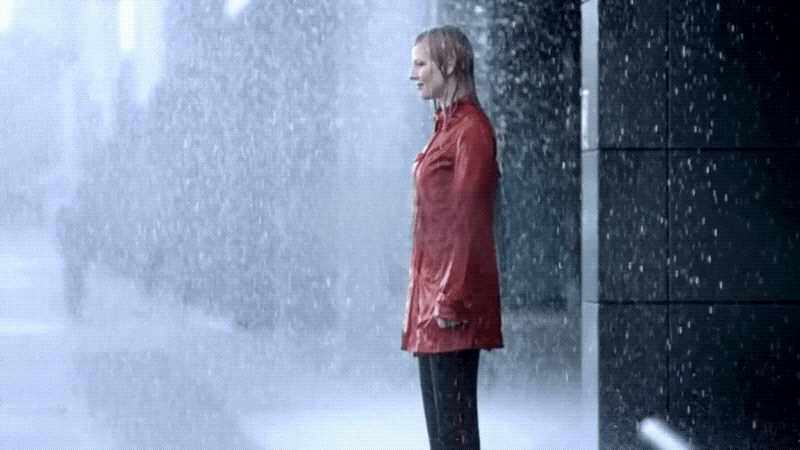
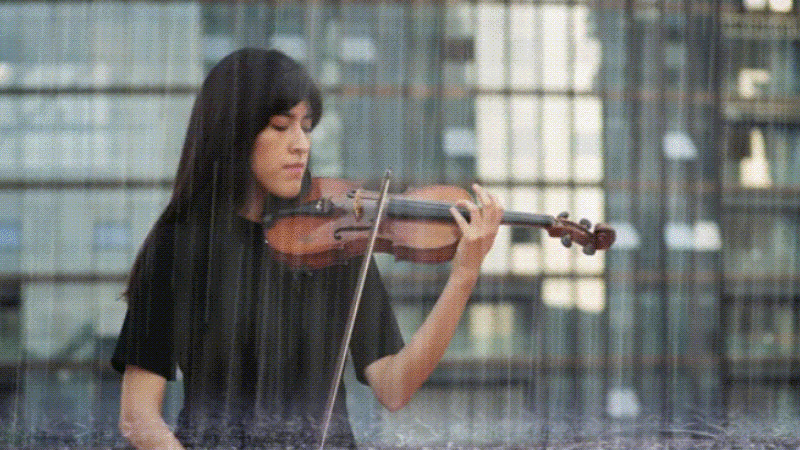
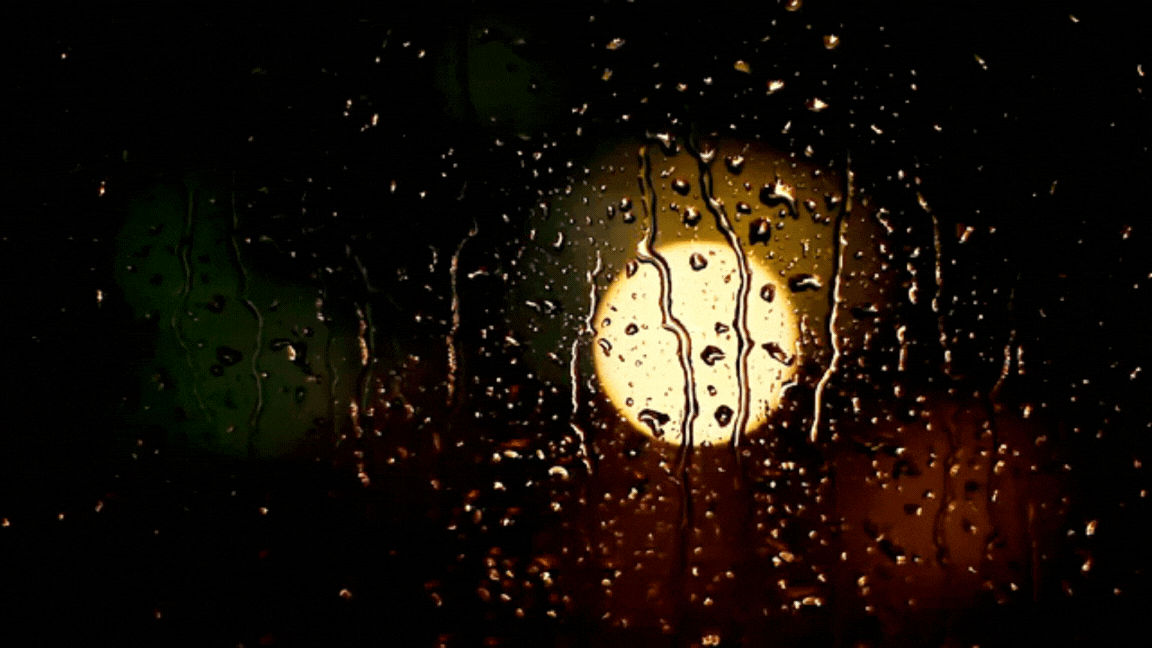
Rain is more than just weather; it can also be a mood-setter. With the right effect, a simple clip can transform into a cinematic, emotion-filled scene. The delicate fall of droplets, the soft haze in the air, and even the distant rumble of thunder can turn ordinary footage into something unforgettable.
Instead of relying on real weather or costly plugins, you can use smart tools and free creative effects instead to simulate rain with precision. In order to create an environment from scratch, this tutorial explains how to add a rain effect to a clip using overlays, filters, and ambient noise.
In this article
Part 1. What is the Rain Effect Filter Used for?
1. Video Memes
Give your memes an extra dose of drama with the rain effects! You can combine the rain effect with a gray filter to create such a moody look. Throw in a text like “Hello, darkness, my old friend” and fit it to your preferred social platform. Quick and easy!

2. Humorous YouTube Set-ins
Turn sad or disappointing moments into funny scenes. The rain effect adds an exaggerated, over-the-top drama that makes the punchline land even better. To differentiate yourself as a content provider, make it your unique look.
3. Nostalgic Vibes
Combine the rain effect with blur or retro filters for a nostalgic feel. Add motion effects or slow-mo to elevate the atmosphere.
Part 2. Craft Rain-Soaked Scenes with a Powerful Video Editor
You can add a rain effect to a video online for free using tools like Pixiko. However, Wondershare Filmora is built for creators who want cinematic effects without complex workflows. The rain effect tool in Filmora is easy to find, simple to apply, and deeply customizable. You can layer rain over your footage, adjust it with blending modes, and sync it with realistic audio for full immersion.
What sets Filmora apart is the range of built-in effects, free assets, and premium filters. For anyone looking to add a rain effect to a video with professional polish, it’s an ideal choice.
Why Filmora is Ideal for Rain Effect Video Editing
- Free rain overlays are available via Filmstock
- Drag-and-drop editing for quick setup
- AI-powered tools for faster customization
- Support for high-resolution export without quality loss
With these features, even beginners can create rain scenes that feel natural and layered.
Browse Free Rain Video Templates and Assets
Filmora connects to the Filmstock library, which offers high-quality rain overlays in multiple styles: light drizzle, steady rain, and heavy downpour.
You can also use stickers for animated droplets, or select rain effect filters that add mist and atmospheric haze.
Third-party integrations like NewBlue FX and Boris FX provide premium filters with realistic depth, motion blur, and weathered textures. Stock video platforms like Pexels and Pixabay are also accessible within Filmora for importing green-screen rain footage.
How to Add Rain Effect Overlay to Videos in Filmora
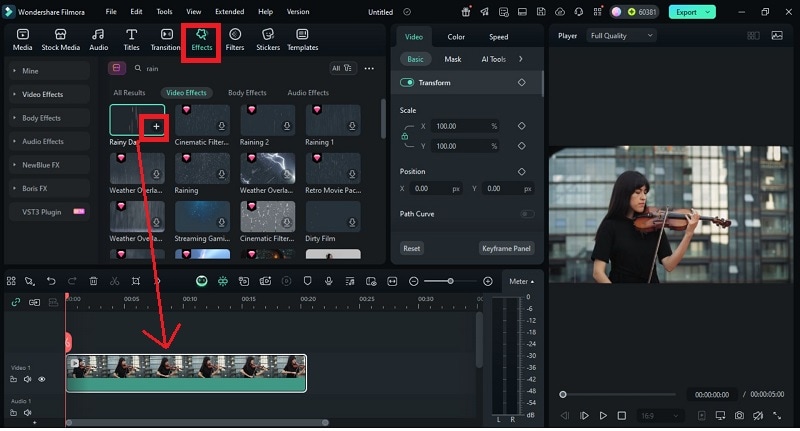
Step 1: Launch Your Project
Make a new project and import your video into Filmora. Navigate to the Effects section and scroll through the list of available overlays and filters. Browse through the filters to find the rain effect overlay or any other rain-related filter that matches your style.
 secure download

Step 2: Add the Effect to Your Timeline
After choosing the effect, click the plus icon in the center of the screen. Or, you can drag the rain overlay or filter onto it. The rain effect will be applied throughout the entire clip. If you only want it in certain parts, split the clip first and apply it to the sections you choose.
🤩 Posts You Might Be Interested In: AI Rain Effect & Video Generator: Create Cinematic Rain Scenes With Filmora >>
Part 3. Bonus Tools for Enhancing Rainy Video Effects in Filmora
As much as you have created beautiful animations of rain on your video clips, let us work on unlocking more features of Filmora so you can further perfect your rainy scene edits.
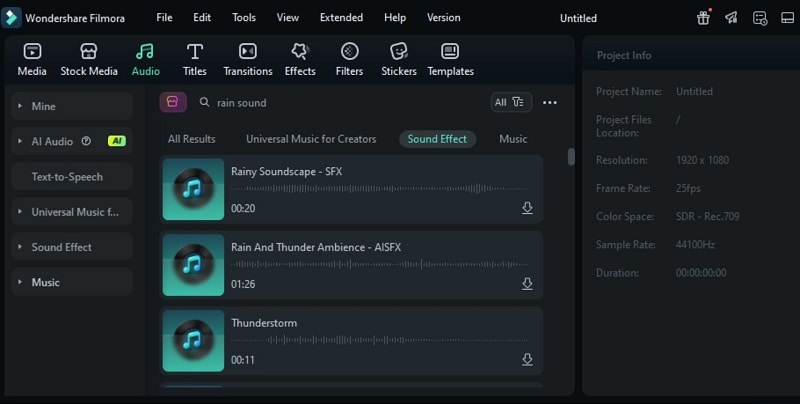
1. Sound Effects Library and AI Sound Effects
Rain visuals feel even more real when paired with the right audio. Filmora’s built-in sound effects library has plenty of rain, thunder, and ambient weather sounds you can drop right into your timeline. You can even layer them for a fuller atmosphere, like combining soft drizzle with distant thunder.
If you can’t find the exact sound you’re looking for, you can use Filmora’s AI Sound Effects to generate custom rain ambience.
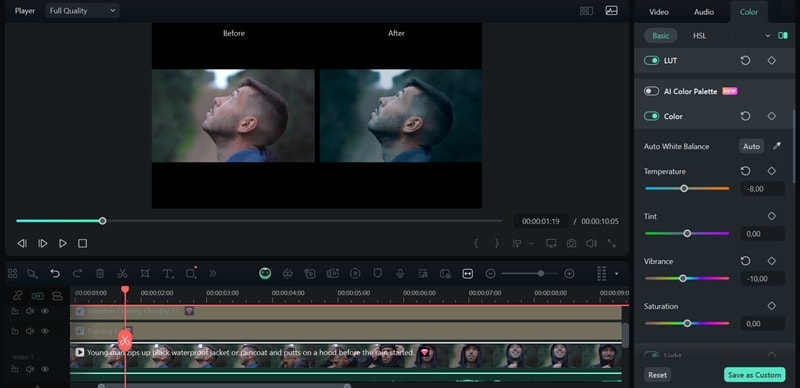
2. Color Grading and LUTs
Set the right tone for your rainy shots with Filmora’s color grading tools. Cooler tones can make the scene feel calm or somber, while warmer hues create a romantic vibe. You can also apply LUTs for a quick cinematic look that ties the entire scene together.
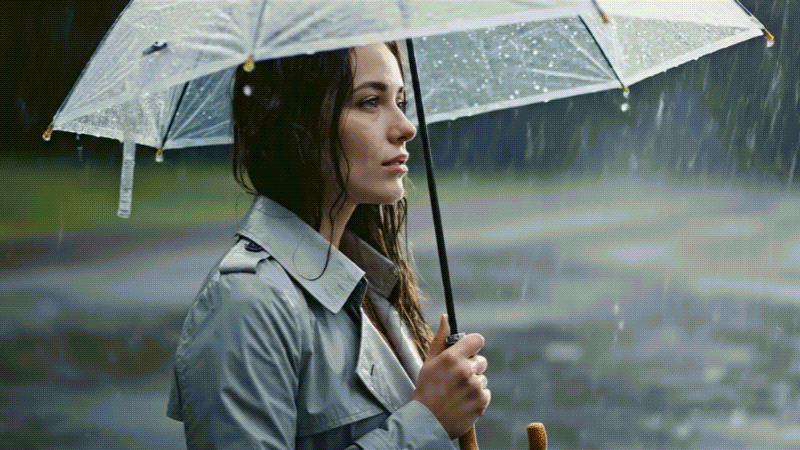
3. AI Video Generator for Dynamic Rain Scenes
With the AI video generator of Filmora, you can create rain and thunderstorm visuals, complete with sound, by just giving the program a prompt. You can now create visuals that were previously impossible with just text.
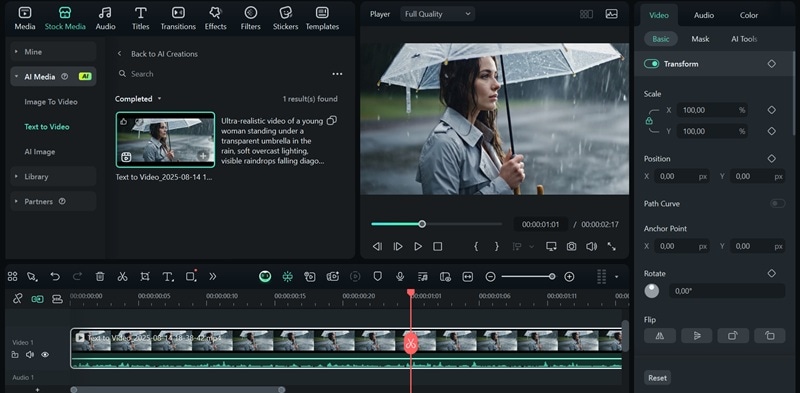
The result:
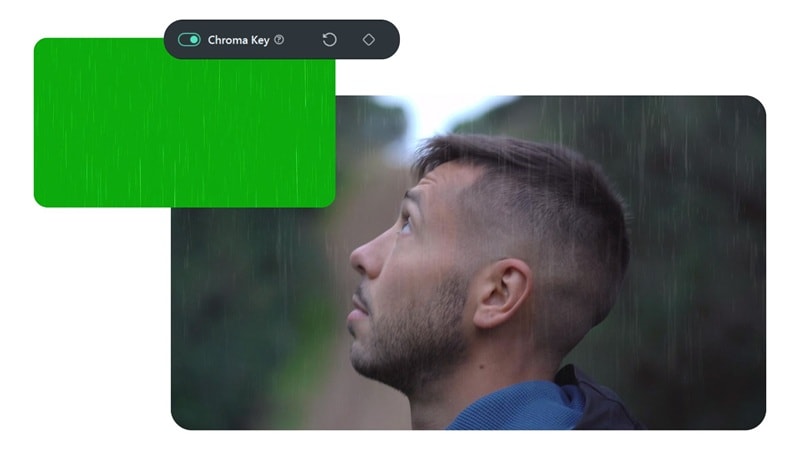
4. Green Screen and Chroma Key
For more advanced control of the video, you can use green screen rain footage and use Chroma Key to replace the rain’s background. With this, you can add realistic rain to any scenario you like.
5. Slow Motion for Dramatic Effect
Using slow motion can make the rain seem heavier, giving the picture a more dramatic feel and making the audience fully immerse themselves in it. You can adjust this effect easily using the speed controls.
Related Templates For You to Try


Part 4. Tips to Make Rain Feel Real, Not Rendered
While tools can take your video to new heights, here are realism tips to ensure your rain effects blend seamlessly with your footage, making the scene feel natural and immersive.
- Avoid Sunny Footage for Rain Effects
To keep the scene believable, avoid using footage with clear skies and bright sunlight when adding rain. Adjust the lighting and brightness to simulate an overcast sky, ensuring the video and effect match naturally.
- Layer Rain for Depth
Create a more immersive experience by layering multiple rain effects. Use one for a close-up, and a second one for further distance, replicating the natural variation in rainfall.
- Add Motion Blur for a More Natural Look
To make the rain appear more realistic, motion blur can be added since raindrops do not fall slowly. This step improves realism by simulating the actual perception of rain.
- Change the speed and Direction of the Rain
In case of a strong wind, the rain should be angled and accelerated to suit the conditions. Some of Filmora’s rain effects filters let you change the direction or angle of the rain. Alternatively, to achieve a slow motion of the rain, decrease the rain speed; this is a technique often applied to atmospheric videos for added dramatic effect.
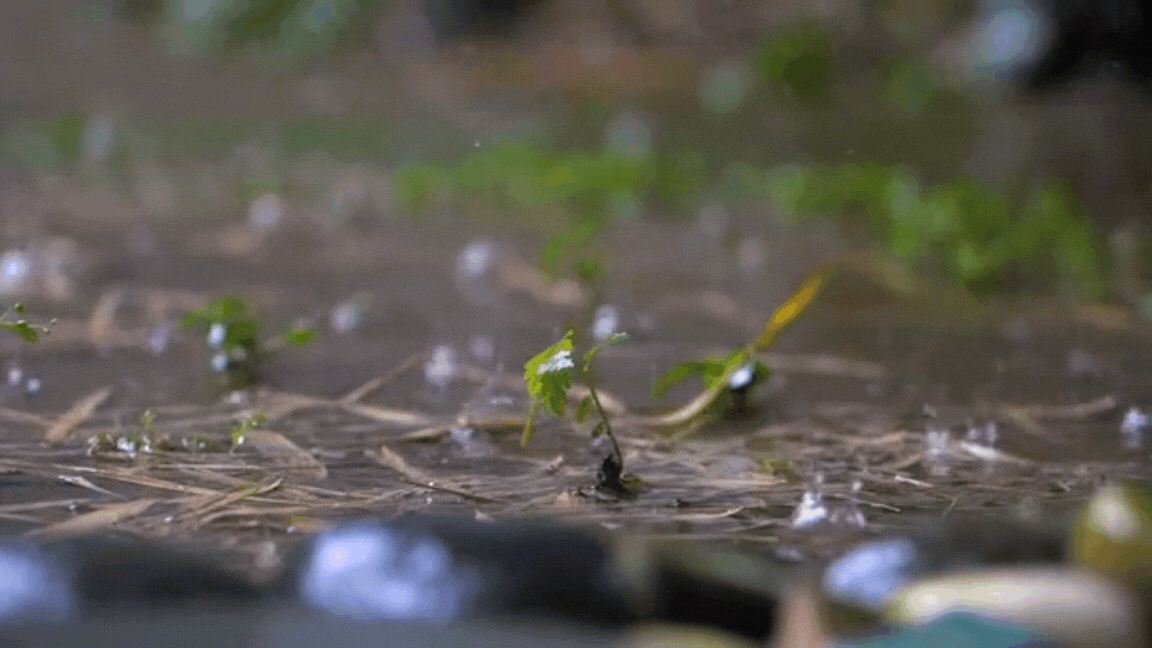
- Add Effects to Show Rain on the Ground
The impact of a rain effect is greatly diminished if the ground looks completely dry. Add wet textures or surfaces to simulate the settlement of the water for increased environmental realism.
Conclusion
Rain enhances feelings and adds character to any moment. If you want to add a rain effect to your video, you can refer to the video editing rain effect tutorial above using Filmora. It’s even better if you apply sound effects and combine them with color grading tools to make the scene feel more natural.
You can go for a gentle drizzle or a heavy storm. Then, adjust the effect to match the mood you’re aiming for. The secret is syncing the right sounds and timing with the visuals. With Filmora, adding a rain effect to your video is quick and efficient, giving your videos a cinematic touch.
secure download 