
Are you tired of dealing with gaps and disorganized clips that break your editing flow? A magnetic timeline is the solution—it snaps everything into place automatically!
When editing a video, you need to move or delete clips from the timeline. This forms gaps that misalign the entire sequence, forcing you to reposition the clips manually. This can be frustrating and a barrier to productivity. But what if there was an automatic solution to adjust the clips seamlessly? With Filmora’s magnetic timeline, it is now possible!
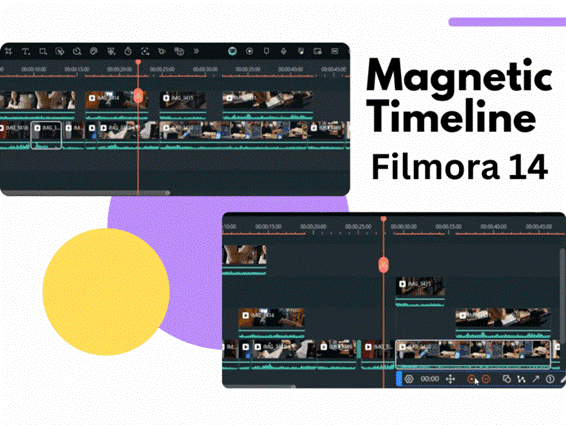
The main track magnetic snapping function is a new feature in Filmora version V14 and above, designed to simplify user operations. It takes care of snapping the clips into place so you focus on getting creative with your edits.
This article will explore using the magnetic timeline in Filmora with stepwise instructions. Whether you are new to video editing or a professional, this guide will make it easy to keep your timeline organized with minimal effort.
Ready for it? Let’s go!
In this article

Part 1. What is the Magnetic Timeline in Filmora?
Wondershare Filmora is a powerful video editing suite. It is packed with professional-grade tools that make editing fun and exciting. Whether you’re a pro video editor or just getting started, Filmora caters to everyone.
Magnetic Timeline is a new addition to Filmora’s extensive video editing features. It automatically pulls all the video and audio clips together, removing any gaps in the timeline. Plus, it quickly aligns the new additions to other clips without manual placement.
The magnetic timeline function is a new feature added after the Filmora Auto Ripple function, making it easy to organize the tracks. You can remove the hassle of repeatedly positioning the clips during editing.
Key Features of the New Magnetic Timeline in Filmora
Are you excited to streamline your editing with the magnetic timeline in Filmora? Here’s a look at the standout features it brings:
Master Track Magnet
Keep all the clips in the master track organized in a crisp sequence! The main track magnet in Filmora ensures that the clips snap to the edges of other clips when you move, add, or delete a clip from the timeline. This keeps a tight alignment, leaving no gaps to fuss over!
Sub-Track Clip Linkage
Once the magnetic function is enabled, it also toggles on the sub-track clip linkage. This feature attaches the clips in the sub-track to the main clip. So, everything moves in sync when you reposition the central clip.
Header Adsorption
Have you ever been frustrated trying to place the playhead accurately at the start or end of a clip? The header adsorption feature of Filmora’s magnetic timeline removes this hassle! It automatically snaps to the beginning or end of the movie, allowing precise positioning.
Toggle it On/Off as Needed
Filmora lets you turn the magnetic effect timeline on or off with a single click. You can also choose to turn off sub-track linkage as needed. If you prefer to have some room for manual adjustments, Filmora makes it possible.
Move Clips Automatically
You can add a new clip between a tight sequence without individually positioning all the clips. The entire sequence moves automatically, leaving room for the new addition and saving you the effort!
- Ensure connected clips move in harmony as you edit.
- Experience fluid transitions with automatic alignment.
- Align primary and sub-tracks with effortless precision.


Part 2. How to Use the Magnetic Timeline in Filmora?
Are you ready for a productive editing experience with Filmora’s Magnetic Timeline? Here are the steps to enable and use it for a seamless workflow.
Step1Download/Update to Filmora
The magnetic timeline is available with Filmora version 14 and above. Download and install it on your device. If you already use Filmora, update to version 14 by going to "Help > Check for updates."
Step2Start a Project in Filmora
Launch Wondershare Filmora and click "New Project" from the main interface to start an editing project.

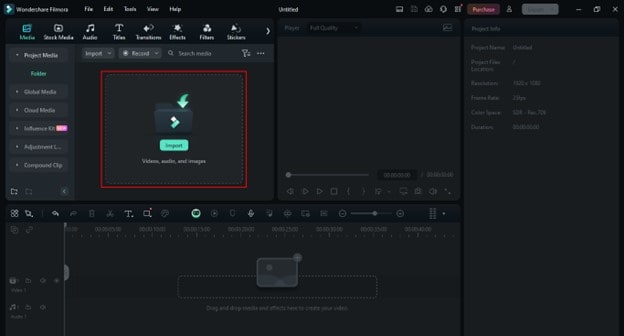
Step3Import Your Files
Go to "Media" on the top left. Click the "Import" button to upload your videos to Filmora.
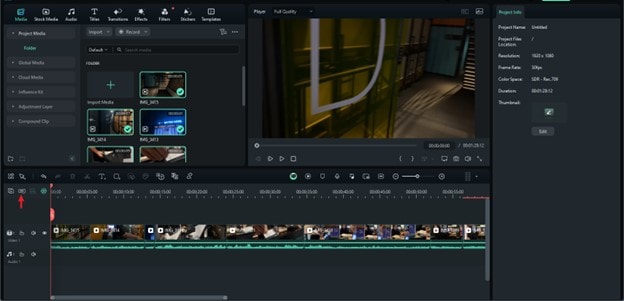
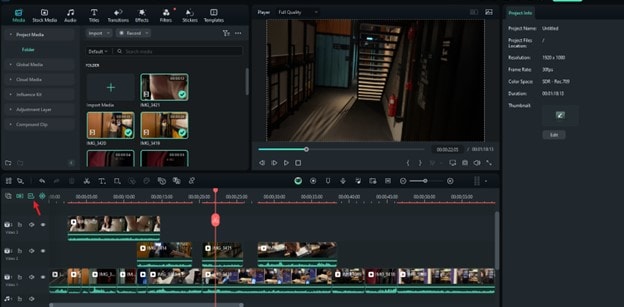
Step4Enable Timeline’s Magnetic Effect
Go to the timeline at the bottom of Filmora’s interface. Find the "Magnetic Timeline" button near the left corner of the toolbar above the timeline.
- It’s the second button from the top left of the toolbar and looks like a front-and-back magnet.
- Click the button to turn it on. It will be highlighted when active.
Step5Add or Move Your Clips
Drag your video or audio clip from the project media. Drop it to the main track in the timeline.
- The new clips will automatically get pulled to the edges of the existing clips like a magnet effect.
- You can even sandwich the clips between the tight sequences. The other clips will adjust on their own.
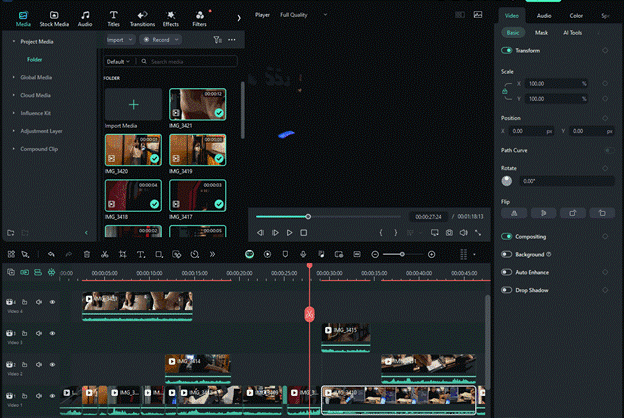
Step6Manage Sub-Track Clip Linkage
Once the main track magnet is enabled, the "Sub-track Linkage" option automatically turns on.
- To toggle it on or off manually, click the third icon from the top left corner of the toolbar above the timeline. It’s right next to the Magnetic Timeline button.
- Now, move your desired clip from the main track. The clips in the tracks below will move with it automatically.
Step7Reposition the Header
If you want to add transitions or other elements between video clips, drag the header across the timeline. It will automatically snap to the beginning or end of the clip, allowing precise placements.
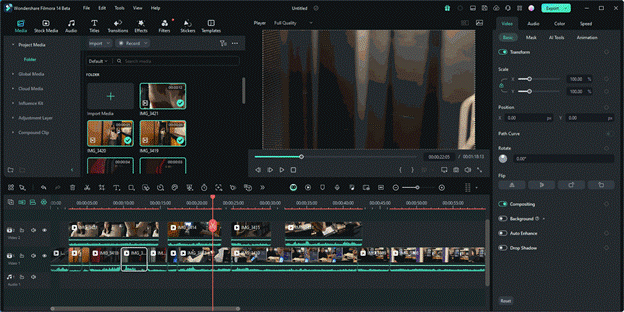
Step8Export the Video
Once satisfied with your edits, click the "Export" button at the top right of the screen. Then, select your desired file format to save the video on your device.
That was fun, right? The magnetic functionality of the timeline makes it easier to focus on your edits instead of having to constantly organize the timeline!
Tips & Tricks To Enhance Filmora’s Magnetic Timeline Experience
You can do even more with Filmora for intuitive editing. Here are some helpful tips to boost your editing productivity with the magnetic timeline.
1. Quickly Replace Clips with Shortcuts
Hold "command" and "option" on MAC or press "ctrl," "alt," and "shift" on Windows. Then, drag the new video over the clip in the timeline to replace it quickly.
2. Edit with Multiple Tracks
Organize your project by separating audio, video, and effects into different tracks. This allows cleaner editing when using a magnetic timeline.
3. Lock Unwanted Tracks
Click the lock icon on the left of the timeline to fix tracks you don’t want to move and align automatically.
4. Zoom in for Precise Adjustments
Find the zoom slider at the top right of the timeline. Drag it to the right to zoom in for an expanded timeline view and accurate adjustments.
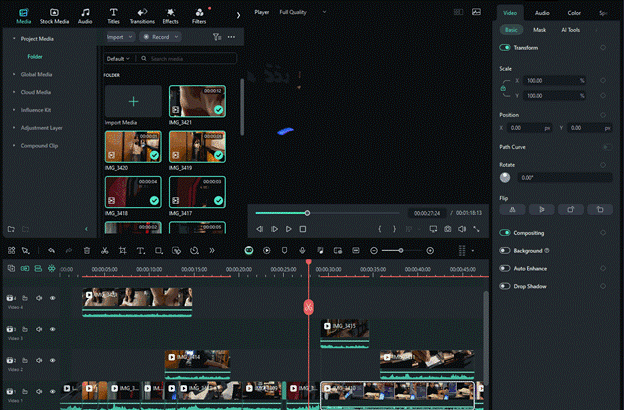
5. Mark Points for Editing
If you want to remember a point for later editing, drag the header to that point and press the "m" key. This will mark the point blue, which you can click to find again.
6. Remove Empty Tracks in a Click
Too many empty tracks in the timeline to remove manually? Click the "+" button from the top right corner above the timeline and choose "Delete Empty Tracks" to remove them all at once.
Part 3. Magnetic Timeline & Timeline Snapping in Filmora: What’s the Difference?
Now that you know the timeline magnetic effect in Filmora, you might wonder, "How does the magnetic function differ from the timeline snapping in Filmora?" "Don’t these have the same key functionalities?"
Well, not exactly. While Filmora delivers both magnetic and snapping features for timelines, these are not the same.
A magnet timeline is more powerful. The main track magnet fills the gaps and aligns clips, significantly reducing manual operations. Comparatively, snapping is more straightforward and only allows attaching to specific points or clip margins.
Here’s a more detailed comparison of the two features so you can understand better.
| Function Type | Magnetic Timeline | Snapping Timeline |
| Definition | Automatically pulls clips together, removing gaps. | Snap clips to nearby elements with gaps unless manually adjusted. |
| User Interaction | Automatic alignment of clips. | Manual adjustment. |
| Function Effect | Auto-arranges clips and linked sub-tracks. | Only selected clips snap. Others remain in place. |
| Application Scenarios | Ideal for faster edits and maintaining tight sequences. | Best for precise control and custom adjustments. |
| Target Population | Beginners or fast editors who want automation. | Experienced editors that prefer manual control. |
| Precision | Accurate, no human errors. | Chances of errors and lack of precision |
| Timeline Organization | Seamless | Requires user’s effort |
| Speed of Editing | Faster, with automatic gap removal. | Slower, requiring manual adjustments. |
| Customization | Limited flexibility; must disable for more control. | Flexible customization |
| Learning Curve | Easy, but may require learning for complex edits. | Familiar for experienced users, less intuitive for beginners. |
Overall, both magnetic and snapping timelines can streamline video editing. However, they cater to different audiences. Magnetic function is suitable for beginners looking for hassle-free editing. Timeline snap allows precise and manual control for complex edits.
Part 4. How To Turn Off the Magnetic Timeline in Filmora
Now you know all about Filmora’s magnetic timeline, including how to turn it on and use it. But what do you do when you don’t want your clips to align automatically? No worries! Filmora lets you turn off this feature and regain control of your clips!
How does it work? To turn off the magnetic effect, click the front-and-back magnet button at the top left of the timeline. This is the same button you used to enable the timeline’s magnetic function. Once clicked, the sub-track and main track magnet will turn off, and you can adjust the clips manually.

Conclusion
If ever you felt frustrated with the need to organize your editing timeline, now you have nothing to worry about. With the new magnetic timeline in Filmora, aligning your clips in a crisp sequence is easier than ever.
You can neatly add, remove, or move the clips freely without fussing over the gaps and keeping all the tracks in sync.
With this new feature, you can leave it to Filmora to manage your timeline while you focus on creating the perfect edit you envisioned. If you want a smoother editing experience, try this new exciting feature with Wondershare Filmora.
