


 100% Security Verified | No Subscription Required | No Malware

Whether editing a video or designing a graphic, knowing what is monochromatic or monotone color is promising. The color scheme imbues emotion while ensuring cohesiveness and clarity. During color correction, it provides unmatched aesthetics and appeal in visual content.
In this article, aside from learning what monochromatic colors are, find the top 5 color correction alternatives and how to color correct with Filmora. Let’s dive in!
In this article
Learn More about video colors

What is Monochromatic Color?
A monochromatic color is a color scheme that uses variations of a single color, or hue. A monochromatic color or monotone color stretches between lighter, darker, and in the region of saturated versions of a single base color.
A monochromatic approach suggests a single color being used as the basis of different tints, shades, and tones. To alter the shade of color, you can change the saturation or brightness of the base color and have an overarching spectrum of myriad colors, with white and black representing the extreme ends of every color.
What are the Benefits of Monochromatic Color Scheme in Color Correction?
The benefits of monochromatic or monotone color schemes in color correction or grading processes are manifold. Here are a few prominent benefits:
- The color scheme is easy to implement and effectively ensures cohesiveness and clarity in a design.
- When choosing a base color for a monochromatic color scheme, you can use any color. Depending on the chosen color and variations, you can create drama and emotion in your visual creation.
- Creating different shades with a single base color has a compelling appeal, drawing the viewer’s attention to the details and strengthening the narrative.
Top 5 Color Correction Tools for Your Visual Content
Precise and impassioned color correction can culminate in a powerful visual impact. Therefore, meticulously look through different color correction alternatives and pick one that ensures practicality and precision. Here are the top 5 color correction alternatives:
Filmora
![]()
If you are a rookie video editor or lack expertise in color correction, then Filmora is your shelter. This video editing software is easy to use and ensures a splash of change to your creations. It ensures precision in color correction, making your video competent, cohesive, and convincing. Here are a few note-worthy features of Filmora software:
- Color Presets: Filmora’s drag-and-drop cinematic color presets give an augmented appeal to your video and draw the viewer's attention to it.
- 3D LUTs: Filmora allows a monochromatic color scheme with the desired color as a base and creates a monochromatic video. It even facilitates importing customary 3D LUT color projects for use.
- Scalable Settings: Filmora's advanced color tuning window promptly displays the outcomes after color correction and adjusts color efficiently.
Continuum
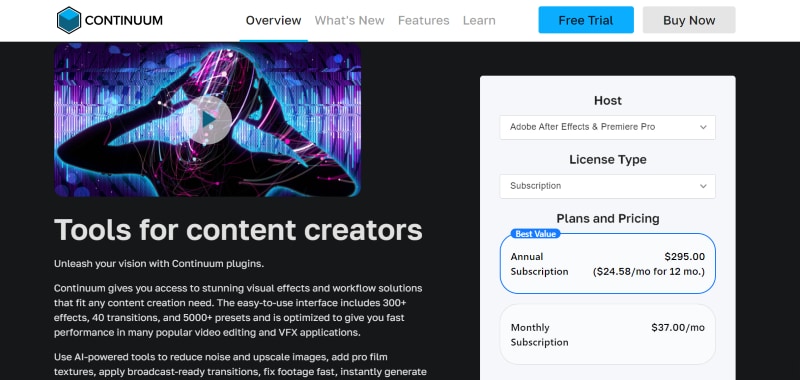
Continuum is an easy-to-use, multi-host plug-in software that offers a wide range of AI-backed color correction tools and 300+ video effects. Continuum facilitates learning through video tutorials and allows free trials to boost reliability. Continuum’s innovative tools, like color wheels and curves, ensure fine color correction, and pre-installed presets give videos an artistic and cinematic feel.
DaVinci Resolve
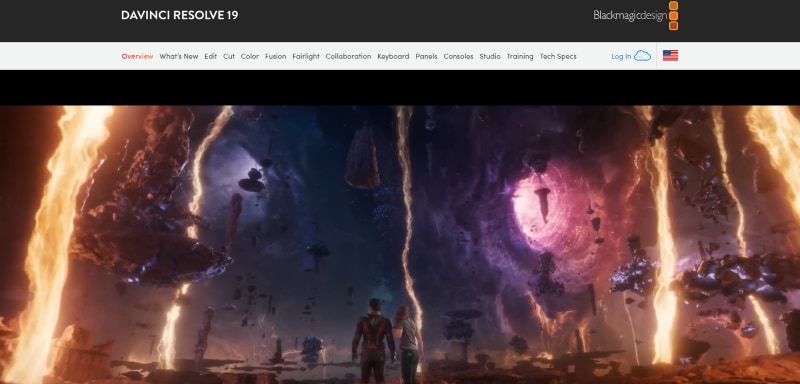
DaVinci Resolve is one of the most sought-after color correction software due to its competent color grading tools. The software has been leveraged in making blockbuster movies and is trusted by various veteran video editors, graphic designers, and filmmakers.
DaVinci Resolve is particularly favored because it effectively streamlines different post-production workflows, such as video editing, visual effects, and color correction. Despite the complexity of the interface, its fusion node-based layout makes it attractive, as it facilitates the creation of compositions and VFX.
Final Cut Pro

Final Cut Pro is an optimized Mac-specific video editing and color correction software that ensures fast rendering. It facilitates creating videos, short films, ads, etc., with its Multicam video editing, built-in effects, object tracking, and motion graphics.
It is limited to Mac users, and its complex interface limits its accessibility and usability. If you use the Mac, a 90-day free trial plan allows you to leverage its meticulously curated color inspector and professional color grading features.
Adobe Premiere Pro
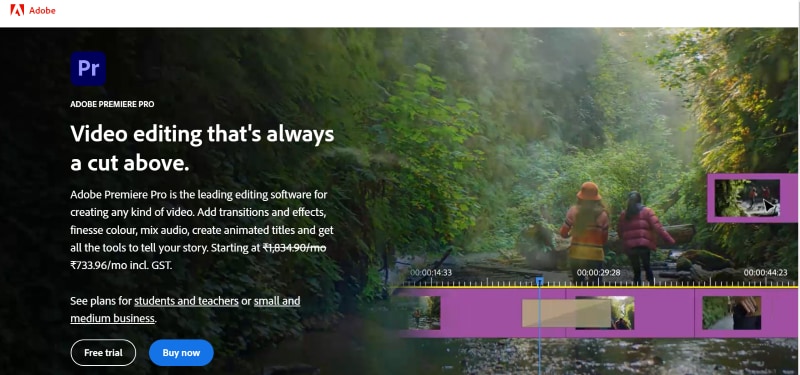
Adobe is equipped with basic and advanced editing tools and video tutorials to facilitate designers with different levels of expertise. It allows adding effects like brightness, contrast, color balance, and video limiter to single and multiple clips sequence-wise.
In addition to its expansive range of necessary tools like color wheels, match, HSL, and vignettes, Adobe Premiere Pro offers “Lumetri Color,” a unique feature providing a dedicated workspace for color grading.
How to Execute Color Correction with Filmora?
By knowing how to execute color correction and alter color palettes, you can let your videos translate your desired emotion consistently and intensely. Whether you are a newbie or a veteran, Filmora comes in handy and provides guidance every step of the way to ensure seamless, immersive, and realistic visual content creation. Here is a stepwise guide on how to execute color correction with Filmora:
Step 1: Import Videos to Filmora
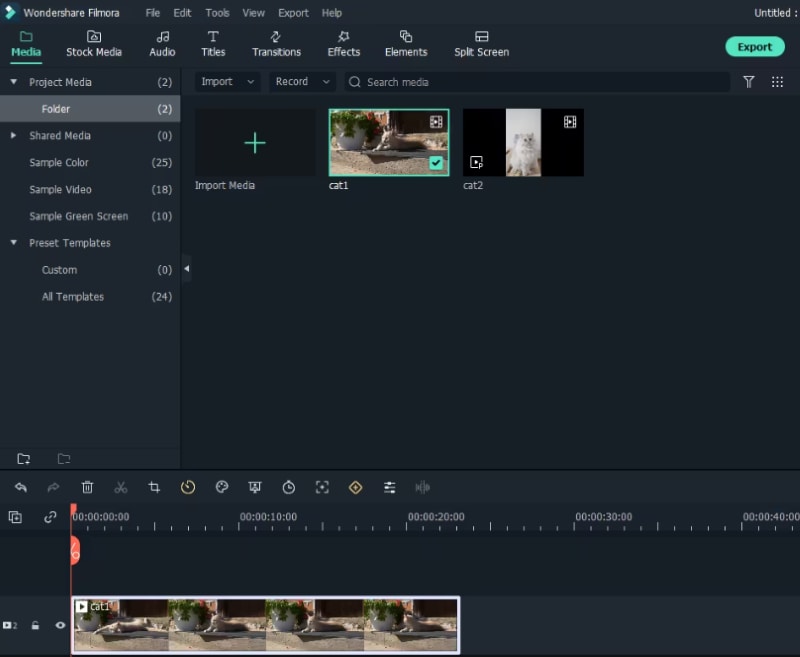
After installing Filmora, search for and select “New Project” and then opt for “Import” to locate and load your videos into Filmora’s media library. Filmora’s color correction software eases the process by allowing you to add files with drag-and-drop.
Step 2: Initiate Color Correction
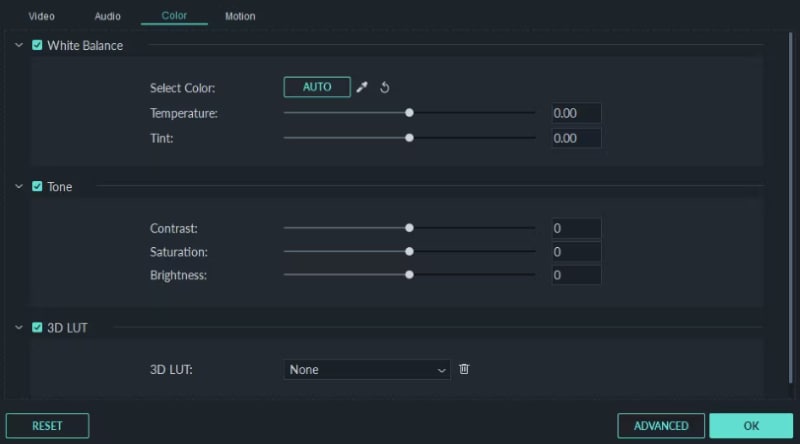
Start by double-clicking your preferred video on the timeline and choosing the “Color” panel from the video editing window that pops up. On choosing the option, you will come across several parameters available for change:
- Contrast: Fine-tune the contrast by balancing the brightness, saturation, and contrast throughout the video clip.
- Brightness & Saturation: Saturation defines the amount of grayness in compassion to the color. Adjust saturation and make colors throughout the video appear inconspicuous. Further, brightness helps balance lightness or darkness throughout the entire video.
- Tint: Tint suggests light of a color, made by mixing two or more colors. For instance, when white is saturated with blue or yellow, it will create a tint of light blue or yellow, respectively.
- 3D LUT: The 3D LUT in Filmora allows you to utilize a film or series resembling color sets and alter the color scheme with the desired color ranges.
When changing a parameter in the color correction settings, inspect the outcome in the “Preview Window.” If you are not satisfied, undo the changes. You can also cancel all the changes at once with the “Reset” option.
Step 3: Intensify Color Correction
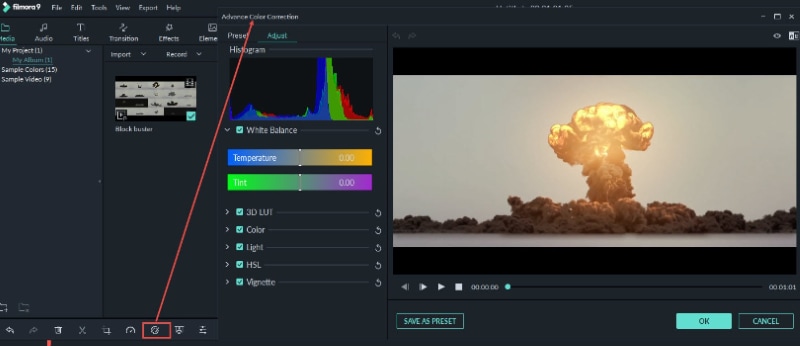
Opt for “Advanced Color Tuning,” which will take you to the advanced color tuning window. The window presents various preset templates, such as Common, Film, Vignette, and 3D LUT. Once you have applied the presets, adjust the white balance, such as color temperature and color tint, 3D LUT, Color, Light, HSL, Vignette, etc.
Step 4: Preview, Save & Export
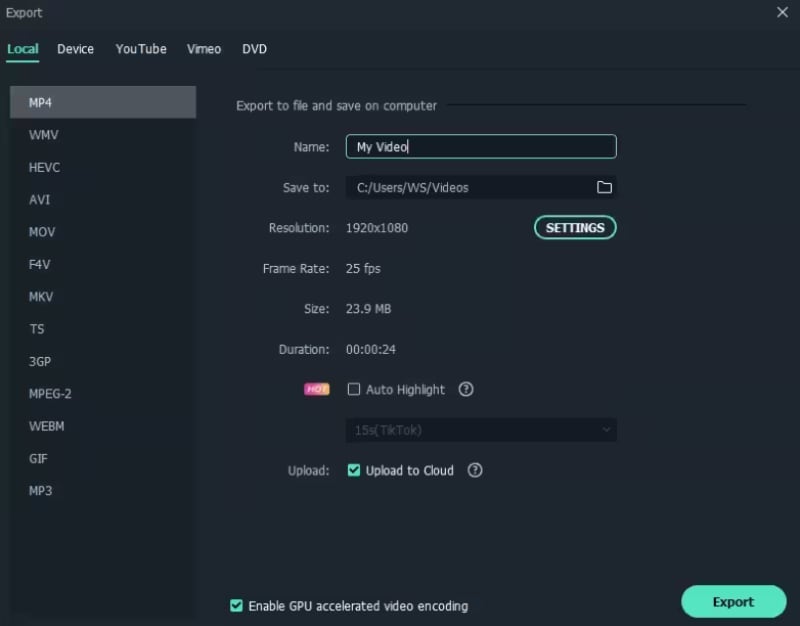
Congratulations—you came through! Now, press “Play” and review the video in the preview window. If you like the outcome, click “Export.” Click “Settings” to alter settings if needed; otherwise, save the video in a suitable format.
Filmora facilitates playing the video on various portable devices, such as iPhone, iPad, Kindle Fire, PSP, Xbox, etc., through the “Devices tab.” Additionally, Filmora allows you to watch the video on YouTube or Vimeo and even save it on a DVD.
Conclusion
The article highlights what is a monochromatic color scheme and how it benefits color correction. Knowledge of monotone or monochromatic colors and promising color correction alternatives feeds into the creation and result of visual content.
With state-of-the-art color correction tools and knowledge of how to execute color correction with Filmora, you can ingeniously apply color correction to your videos. Intentionally applying color correction while adding a splash of your personality to each part of the video clip will ensure that each visual influences the viewer's mind and convincingly reflects emotions.
