Old film video overlays have been popular in this modern age due to its sound vintage style. The film-like imperfections of these overlays evoke the social and cultural echoes produced by generations gone past in their news, documentaries, or video blogs. Whether it’s a grainy film effect, scratches, dust, or the dramatic burns that occur when a reel is damaged, these overlays enhance visual storytelling, making videos stand out. In this article, we’ll explore what old film overlays are, how to use them with Filmora, free alternatives, and tips for achieving a professional vintage look.
In this article
Part 1. What Are Old Film Video Overlays?
Old film video overlays are a visual tool used in video editing to replicate the look of vintage films. They are usually applied as an overlay on top of your current footage to create a beat-up-looking aged film effect. Here, there is slightly more going on- over the original image, we can add grain scratches, burns, flickers, and light leaks to create a genuine old-film appearance.
Video editors can use these overlays to give an impression of nostalgia and history. No matter whether you are storytelling and trying to conjure a time of history or laying down some artistic, creative ideas in your work — these overlays can lure the viewer back into an era. Stylizers are the foundation of visual storytelling — they help to control texture, depth, and atmosphere while creating a more interesting image that communicates deeper into the narrative.
Part 2. Types of Old Film Video Overlays
There are so many types of old film overlays out there, and each has its charm that helps add to the old-school look. This section details some of the most common:
Film Damage Effects
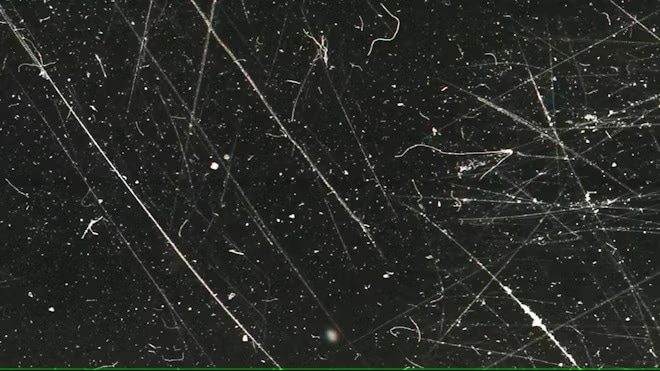
The film damage overlays are designed to look like aged wear and tear as if the media has been used over time. There were scratches, dust, and worms in the books; they had already begun to get warped, and some of them even lost their covers. These imperfections create a raw, aged feel, making the footage look like it's been stored in an attic for decades. They’re perfect for gritty, retro looks.
Film Burn Effects
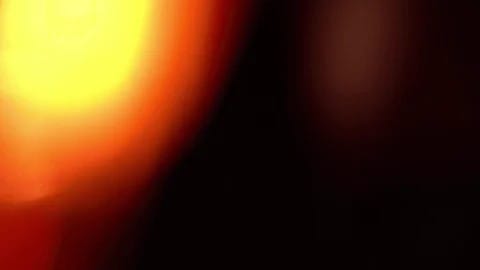
You can search for Film burn video overlays free, these effects mimic the light leaks and burns caused when a film reel is exposed to light during development. These overlays manifest in a warm, glowing effect—red and orange (and yellow) hues that tend to flash over the image. A burst of light is a surprise and more than likely, it will be seen in transitions or to create the ambiance of nostalgia.
Scratches and Dust Effects
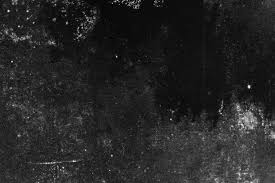
Scratches and dust particles add a subtle texture to your video that recreates the dirt and damage found on old film reels. These overlays are great for adding a distressed, vintage vibe. Whether you’re going for a subtle enhancement or an all-out retro look, dust and scratch overlays add a sense of authenticity to your visuals.
Grain Effects
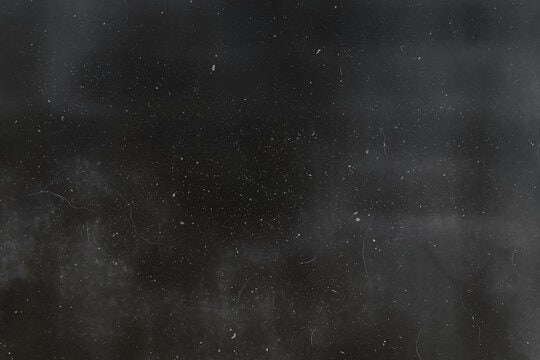
Film grain overlays are designed to create that rough, noisy texture you often find in old film stock. Grain will make your footage less digital and more analog, giving it a rougher look — although one might argue that this is not of great necessity since the grain typically found in film stock has diminished with an increase in celluloid technology. It is particularly great for those times you want to take some of the harsh edge off digital video, filming modern footage.
Part 3. How to Apply Old Film Video Overlays Using Filmora
Wondershare Filmora is one of the easiest and most user-friendly video editing tools available, and it comes with a wide variety of built-in effects, including old film video overlays. So, if you want to add these overlays onto your footage as well, continue below.
Step 1: Import Your Footage
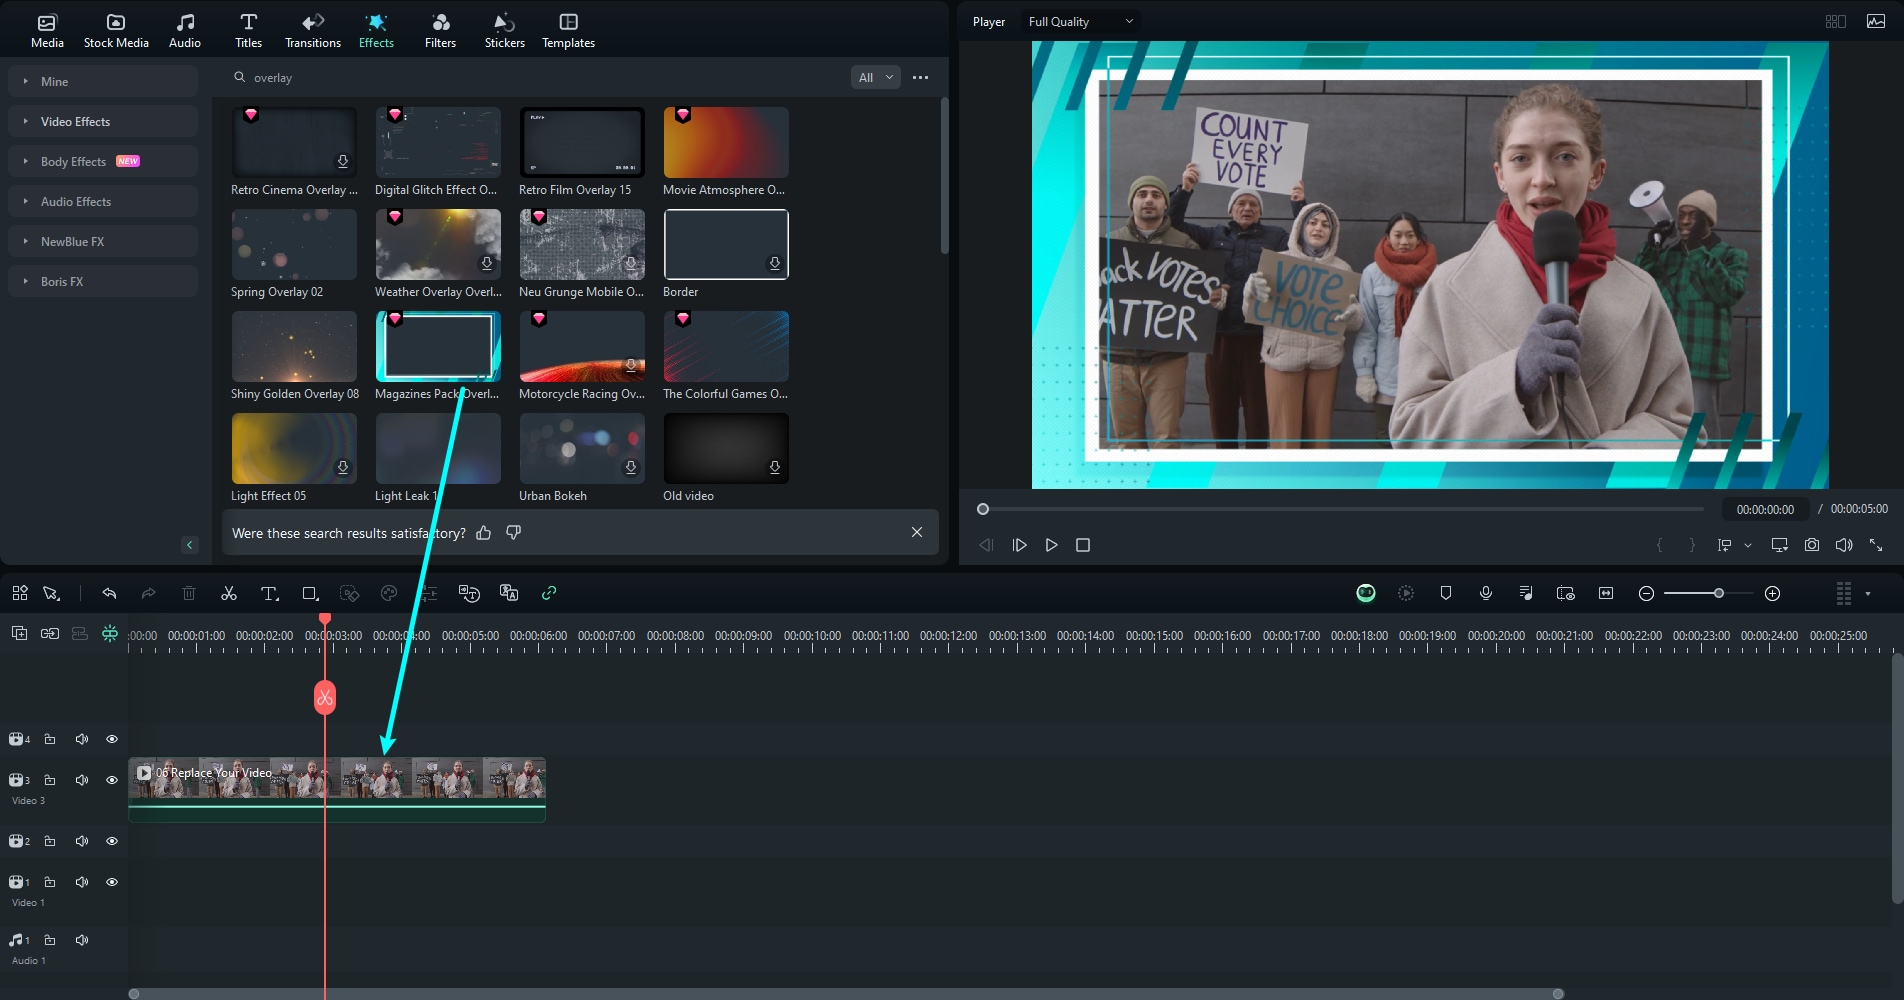
Open Filmora, and import the video clips to overlay on each other. You can drag your video files into the timeline slots or you could click on "Import" and then fill them in from where they are stored on your computer.
Step 2: Access the Effects Library
Once your footage is in the timeline, click on the “Effects” tab located at the top. Here, you’ll find a variety of effect categories, including overlays.
Step 3: Choose Your Overlay
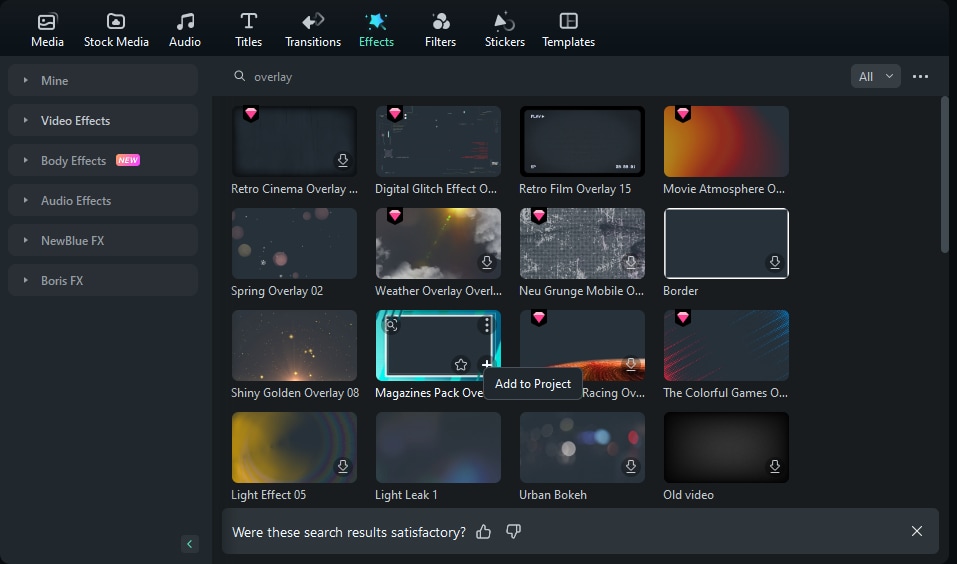
Navigate to the “Overlay” section and look for categories like “Old Film” or “Retro.” Filmora has several built-in options that mimic film damage, film burn, and other vintage effects. Select the one that best fits your aesthetic and drag it onto the timeline, placing it above your footage.
Step 4: Adjust the Overlay

Once you have applied the overlay, reduce its opacity till required. This will give you control over how noticeable the effect is on your video. You can also experiment with blending modes (in the properties menu) to see how they interact with your footage.
Step 5: Preview and Fine-Tune
After the overlay is added, click play in the video and preview to check.
Part 4. Free Alternatives for Applying Old Film Video Overlays
There are a number of free video overlay film damage effect editing programs available that let you add film overlays as well, in addition to all the great tools Filmora already has. So here are a few Free options for you to try out :
HitFilm Express

One of my favorites is HitFilm Express, a powerful free video editor with the ability to add old film overlays at no cost. It has a steep learning curve, but for those looking for professional-grade tools without the price tag, it’s a great option. You can apply overlays and adjust opacity, blending modes, and even layer multiple effects for a more customized look.
DaVinci Resolve
DaVinci Resolve is another high-end editing tool that features old film overlays and a number of color grading options. DaVinci Resolve: With powerful color correction, you can tweak the grading of your footage to match the vintage overlay for a more cinematic look.
Shotcut

Shotcut is an open-source video editor that can be layered with built-in effects over your footage. Although its interface doesn't look as professional as some paid programs, Shotcut is the perfect choice for novices with no budget. The internet has a plethora of free film overlays that you can download and use in Shotcut.
VSDC Video Editor

VSDC is a free video editor for Windows that offers a range of visual effects, including overlays. Its straightforward interface makes it easy to add film burn effects or vintage film damage to your videos, and it supports the most popular video formats.
OpenShot

OpenShot is a simple and intuitive video editor that offers basic overlay functions. Although it does lack the extensive capabilities of HitFilm and DaVinci, OpenShot can fill in for quick edits and give grain to small-scale projects.
Part 5: How to Get a Professional Vintage Look
So you can get that polished and authentic-looking vintage overlays, here are a few more tricks:
- Adjust Opacity and Blending Modes
The last step of adding in overlays is changing the opacity until it easily fits into your shot. Too much of an overlay can wash out video clips, but by being gentle with your opacity, it will deliver original footage with the ability to peek through and give you that subtle vibe of a spy-like situation happening. Lastly, experiment with the different blending modes to help this effect blend a tad better (oftentimes things like "Multiply" and/or "Overlay")
- Combine Multiple Overlays for Depth
You can also stack overlays; don´t be afraid to do that. You can create a multi-layered effect with scratches, dust and film burns all combined. The effect is more of a vintage look, and it adds body to the video, making it feel less flat.
-
Timing and Placement for a Natural Feel
The trick to avoid making an overlay appear too contrived is when and where you pop it in. When it comes to transitions, a film burn effect will be most suitable. The scratches and dust can vary in intensity to show a reasonably realistic, ebbing-then-flowing degree of wear and tear.
- Use Color Grading to Match the Effect
Grading Council + Vintage Color This is all graded to give it a unified vintage feel. Color balance your footage to match the overlay after applying it. Warmer tones work well with film burn effects, while faded or desaturated colors can complement damage and grain overlays. Filmora, DaVinci Resolve, and other tools allow for precise color adjustments.
- Don’t Overdo It
An old film video overlay can really give your visuals character, but overdoing effects will look quite cluttered. Find a nice middle ground where it sounds old-timey enough to feel vintage without obliterating the original footage.
Conclusion
Including old film video overlays in your project can really help you get the timeless feel of vintage movies. Whether you want that scratched-up, beat-to-hell look of an old reel or the warm glow of a film burn, these effects can take your video and give it new life through nostalgia. Wondershare Filmora, which is the easiest way to apply and adjust these overlays HitFilm Express and DaVinci Resolve.
With the right techniques, you can transform your modern footage into a cinematic masterpiece that looks like it’s straight out of the past. Remember to experiment with opacity, blending modes, and color grading to achieve a seamless, professional look. Whether you're a seasoned editor or just starting, mastering these overlays will help you bring a unique, vintage flair to your videos.


 100% Security Verified | No Subscription Required | No Malware

