


Converting GIF to PNG Sequence is important in maintaining the image quality. Here we will teach you all the tips and tricks for a high-quality image and GIF conversion process. You will also read about each method, the tool's pros and cons, and detailed steps. Let’s get started with the details.
Don’t compromise on your image quality! Do you want to convert your GIF to PNG Sequence? No problem. Here, you will read about all the necessary steps.
Some people may ask why you need to convert GIF to PNG sequence. The answer is quite simple: by doing so, you gain more control over your image customization and quality.
Below, we will discuss how to convert GIF to PNG Sequence on popular apps like PhotoShop and Filmora. Let's read more about it below:
In this article
How Do You Convert GIF to PNG Sequence Using Professional Video Editors?
Here are some methods for you to convert GIF to PNG sequence manually using professional video editors:
Method 1. Convert GIF File to PNG in Filmora Without Quality Loss
Wondershare Filmora is one of the best video editing software out there. It has a feature that allows you to convert GIF to PNG sequences. Let’s discuss importing the GIF to the Filmora timeline and converting it to a PNG sequence.
Offer a seamless GIF to PNG sequence conversion feature, allowing users to extract high-quality frames from animated GIFs effortlessly.

Main Features of GIF to PNG Image Sequence in Filmora
- Filmora has a user-friendly interface. It is an excellent tool for beginners and intermediates, and it allows you to convert your GIF to a PNG or JPG Image Sequence easily.
- It has an easy-to-use drag-and-drop feature that allows you to customize the GIF and export it in the format of your choice.
- You can import your GIF to Filmora and export it as a PNG Image Sequence without losing the image sequence quality.
Step-by-Step Guide to Covert GIF to PNG in Filmora
1. Open Filmora and click the Import button to import the GIF from your computer. Once imported, the GIF appears in the media library.
2. Drag the GIF from the media library onto the video track on Filmora.

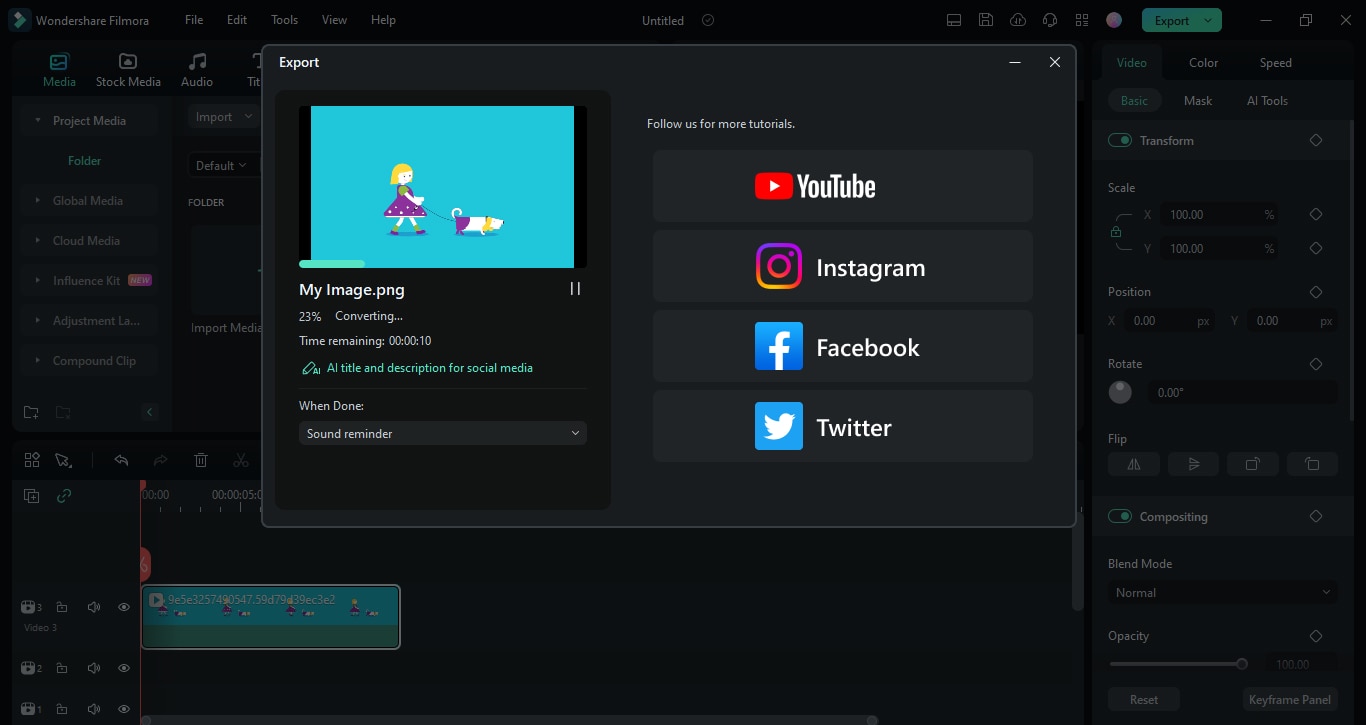
3. Go to the top right. Click the Export button. A dropdown opens. Choose Export to Device.

4. The window opens where you can choose how to export your media.
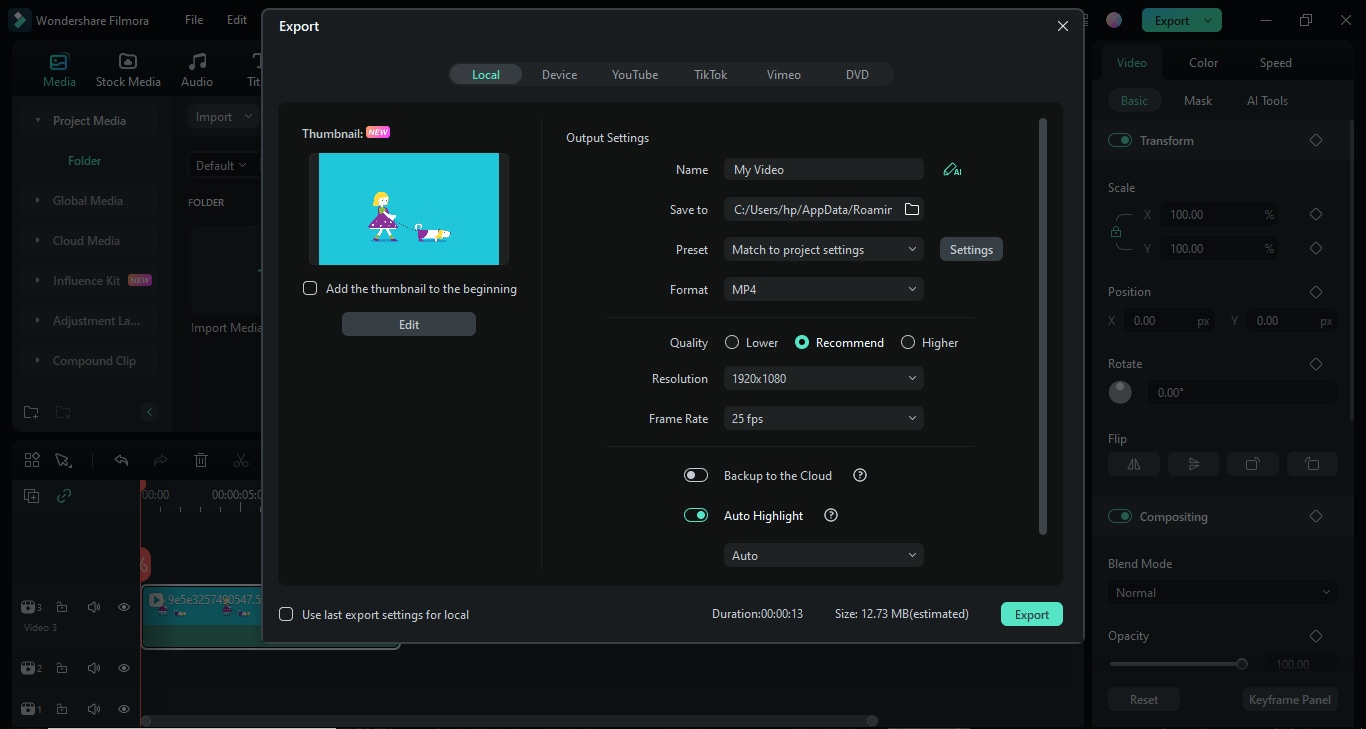
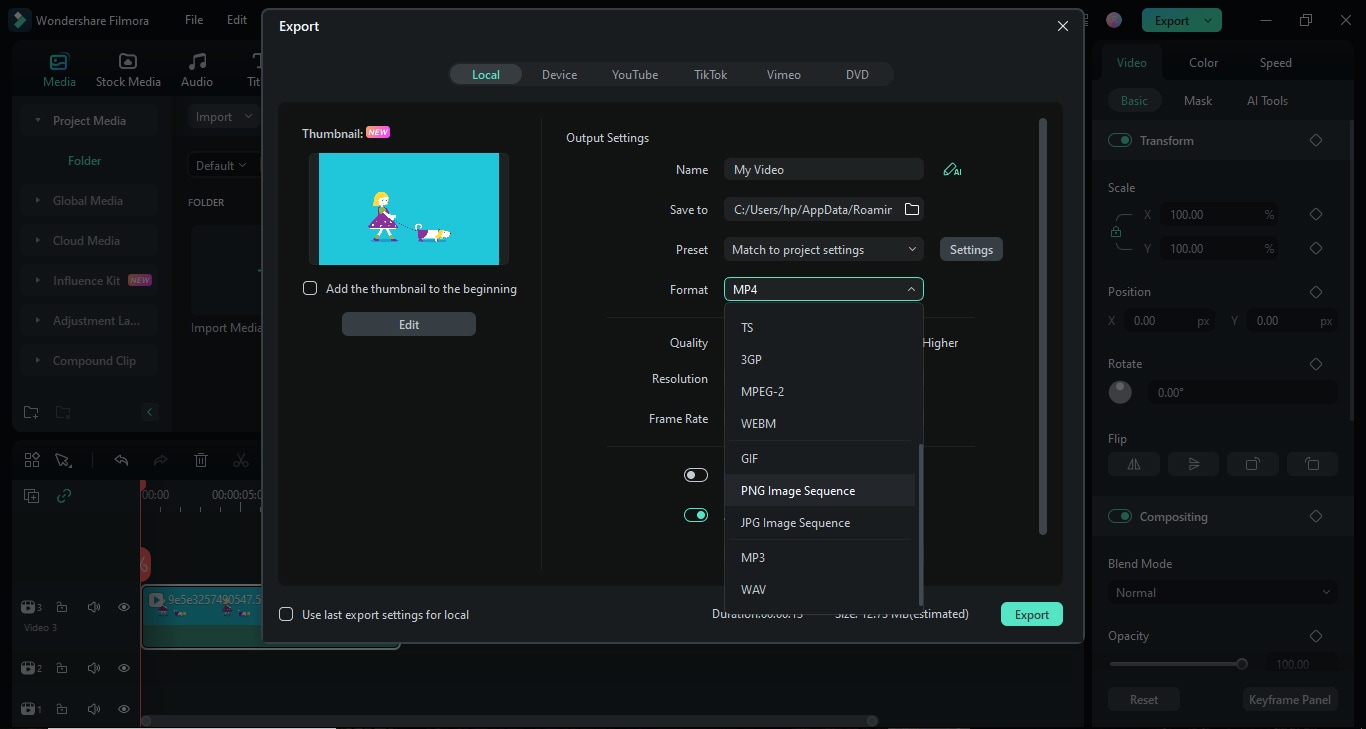
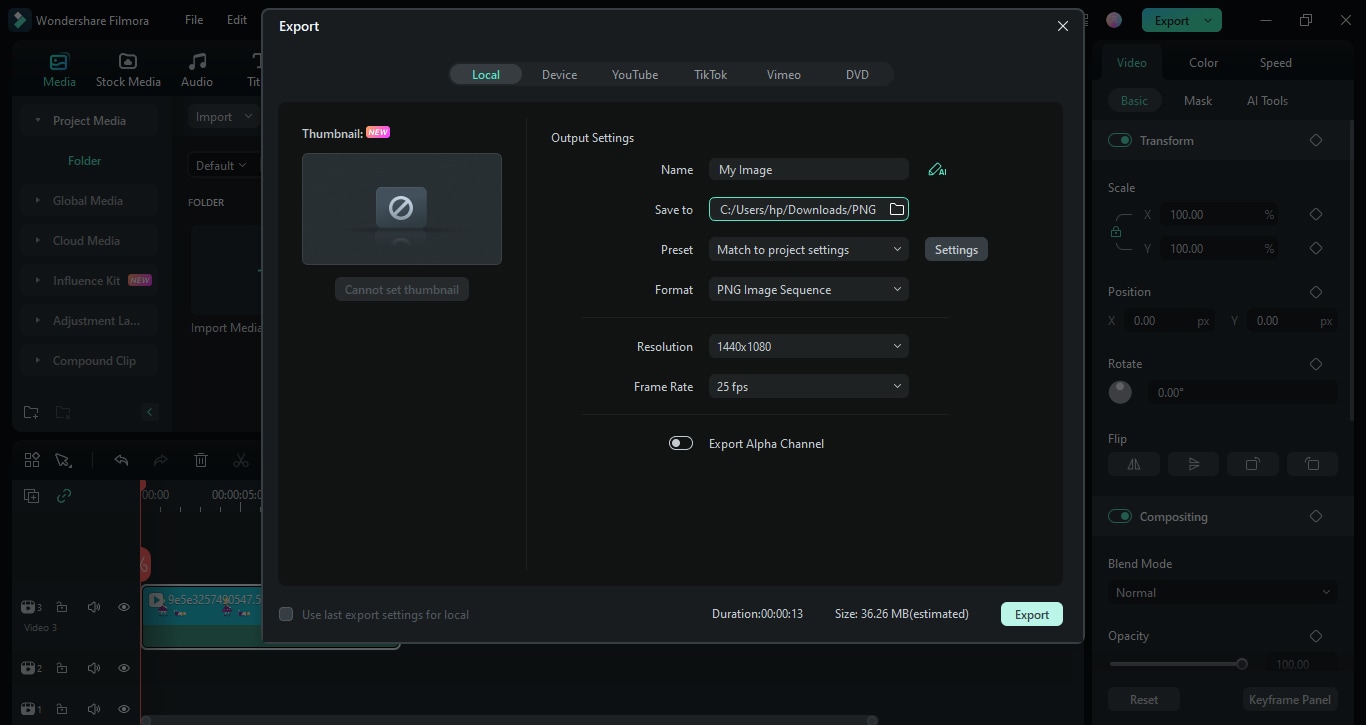
5. Click on format. A dropdown opens. Select PNG Image Sequence here.
6. Go to Save and choose where to save the PNG Image Sequence on your computer. Now click on the Export button.
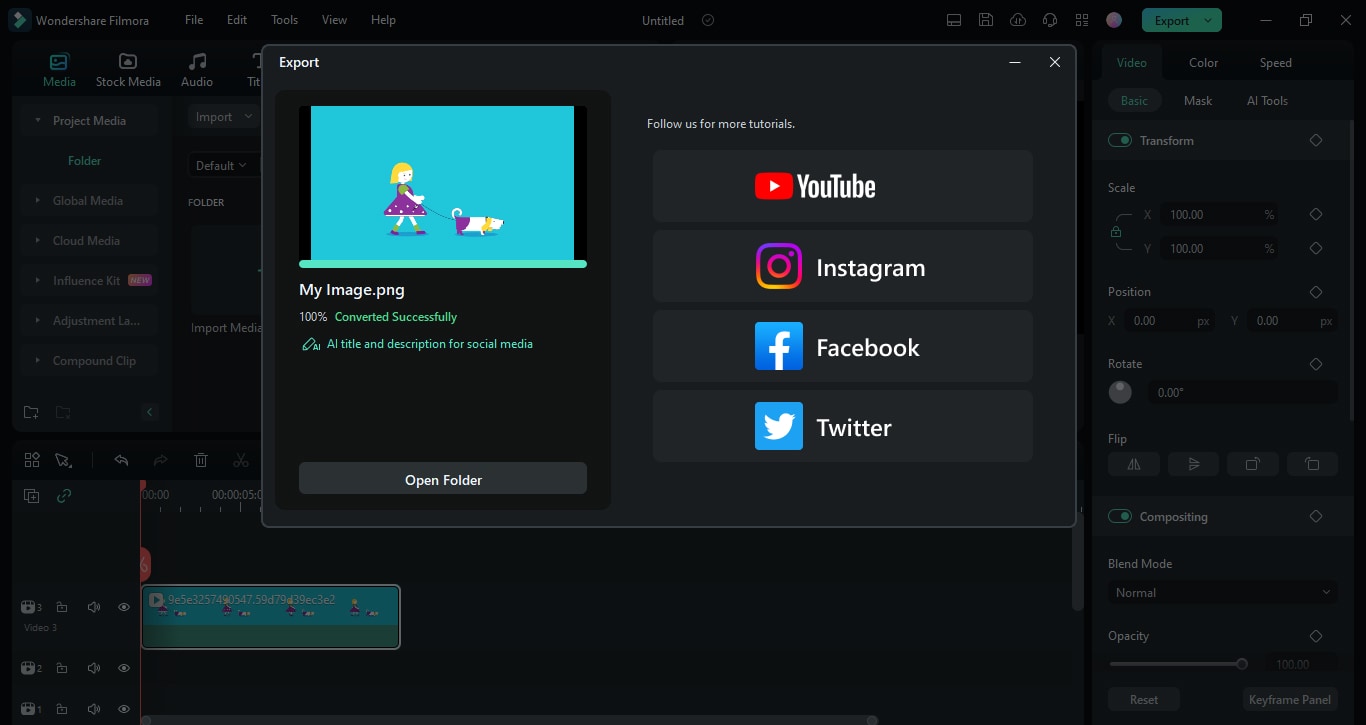
7. The GIF will start converting to a PNG Image Sequence. You can look at the progress bar for the status.
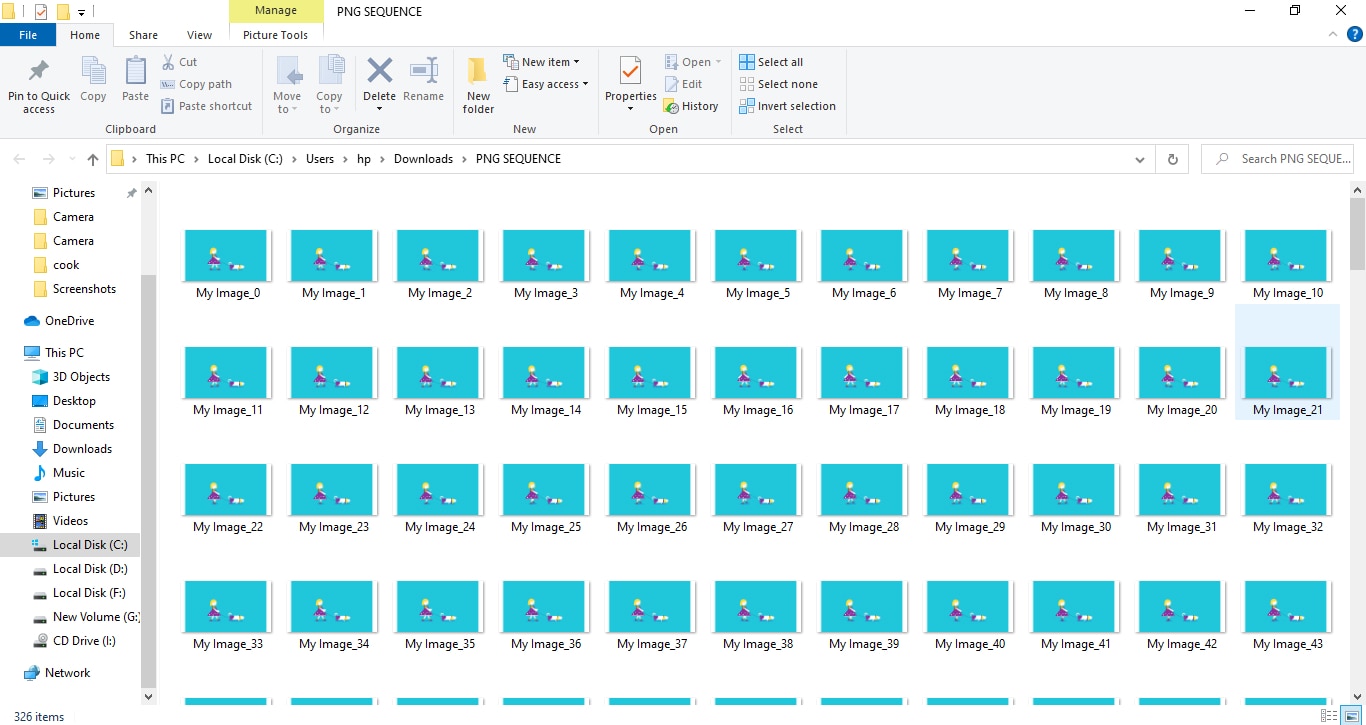
8. Once the conversion is complete, click the Open in folder button to view the PNG Image Sequence saved on your computer.
9. The folder opens. You can view the High-Quality PNG Image Sequence now saved to your device.
Steps for Exporting the file in different formats
- First, click on the Export button in the top right interface corner.
- Now, select the desired location on your computer to export.
- The next step is to choose a suitable format from the dropdown menu ( MP4, AVI.WMW, MOV).
- Now, after clicking on the Export button, start the Export process.

Now, take a look at its pros and cons during the conversion process.
Method 2. Convert GIF File to PNG in MS Paint
Microsoft Paint, commonly known as MS Paint, is a basic raster graphics editor included with all versions of Microsoft Windows. It allows users to create and edit images using simple drawing tools, text options, and various shapes, making it accessible for beginners and casual users.
Regarding converting GIFs to PNG image sequences, MS Paint can open GIF files and save them as individual PNG images, but it requires users to manually save each frame one at a time, as it does not support batch processing or automatic extraction of frames. Therefore, while it can be used for this purpose, the process is not efficient for GIFs with multiple frames.
Features of MS Paint in terms of converting GIF to PNG sequences
- While MS Paint does not support batch processing or automation for converting multiple frames at once, it enables you to manually save each frame of the GIF as a separate PNG file.
- You can also adjust the image size and crop or rotate the images.
- MS Paint supports various image formats, including GIF, PNG, JPEG, and more, providing flexibility in saving images.
Steps to convert GIF to PNG file in MS Paint
- Open MS Paint on your device and Click File > Open.

- Select your GIF to open.

- Now Click on File > Save as > PNG Image.

- Select the file location and click Save.

- Now, your GIF is converted to PNG.

Now, take a look at its pros and cons.
Similarly, you can convert GIF to PNG in Photoshop.
Method 3. Convert GIF to PNG Sequence in Photoshop
Adobe Photoshop is a powerful image editing and graphic design software developed by Adobe Inc., widely used for creating, enhancing, and manipulating digital images and artwork. It features a layer-based editing system, allowing users to work with multiple overlays, apply various effects, and perform detailed retouching tasks.
Can I use it to convert GIF to PNG sequence? Yes, you can use Photoshop to convert a GIF to a PNG image sequence. Photoshop allows you to open a GIF file, extract each frame, and save them as individual PNG images, providing high-quality output and the ability to edit each frame if needed.
Features of Photoshop GIF to Image Sequence Conversion
- Layers to effectively edit different elements.
- Allows batch processing.
- You have control over image size, quality, and other specifications.
Steps to convert GIF to PNG in Photoshop
- Open the GIF in Photoshop software by clicking on File > Open, then choose your GIF.

- Rename all the layers, double-click the first layer, rename it, and copy the name by Ctrl + C.
- Now click the Tab button on your keyboard. This will automatically select the lower layer name. Then click Ctrl + V to paste the name.
- By naming all your layers TEST and clearing the Image name, your layers will be named _ 000_TEST and _001_TEST.
- To arrange your frames properly, highlight all the layers by pressing Ctrl + A and clicking on Layers > Arrange > Reverse.
- Now click on File > Export > Layers to Files.

- Choose the desired format, such as PNG.

Now, take a look at its pros and cons.
How To Convert GIF to PNG Sequence Online?
Except proper video and photo editing software, online tools make it easy to convert GIFs to PNG sequences without needing any software downloads. The conversion happens quickly in your browser and you can download the PNG frames as a ZIP file for further use. Let’s discuss some online tools for GIF to PNG conversion.
1- Ezgif
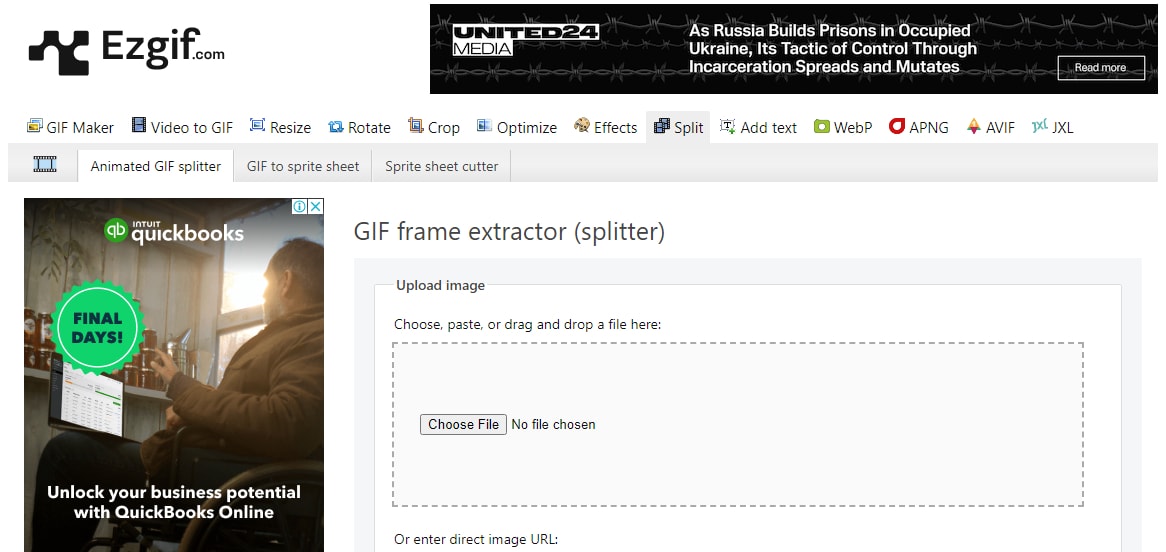
Ezgif is an online tool with various video, GIF, and Image conversion features.
Key Features of Ezgif for GIF to PNG image sequence conversion
- It allows conversion between many formats (GIF, JPEG, PNG, VID, WEBPG)
- It will enable splitting GIFs to still image frames.
- You can add effects to videos and animations.
- It has features like cropping and resizing images.
Steps to convert GIF to PNG sequence in Ezgif
Here are the steps to convert GIF to image sequence online in Ezgif.
- Click on Split > Animated GIF Splitter.

- Click on Choose File, select your GIF, and then click Upload.
- Now click on Split to Frames.

- Your GIF will be split into all possible still images.

- Now, download it in the form of zip files.

- Extract the images to your desired location.

Now, take a look at its pros and cons.
2- CleverPDF
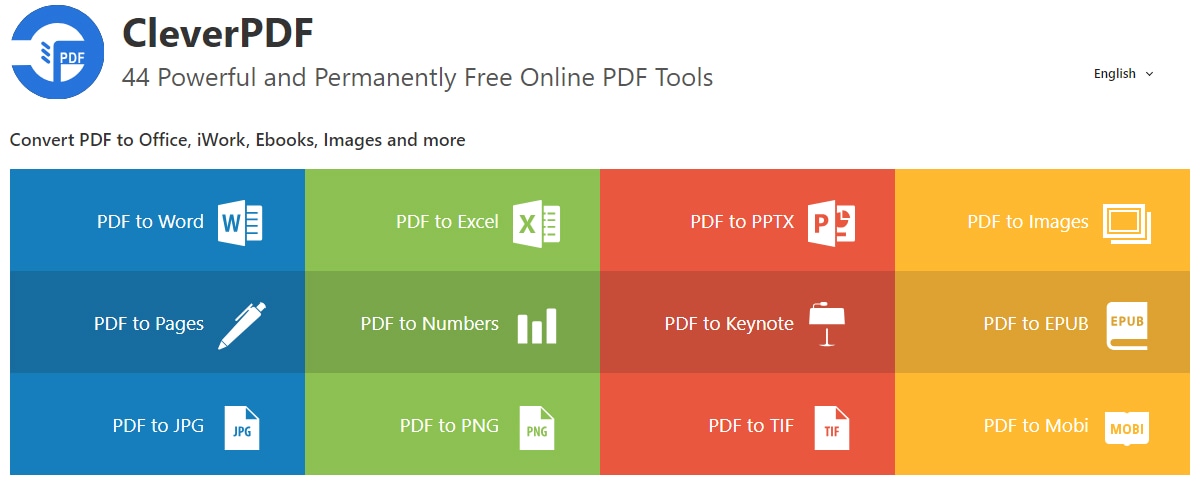
It is an online app that offers PDF and GIF conversions and management. We will focus on its GIF to PNG sequence converter feature. This online tool converts GIFs into PNG sequences using simple steps.
Features of CleverPDF in GIF to PNG Sequence Conversion
- It allows GIF conversions to various formats.
- Users can manage and convert PDFs to multiple formats.
- It offers extracting text from images and PDFs.
Steps to convert GIF to PNG sequence in CleverPDF
Following are the steps to convert GIF to PNG sequence:
- Open the CleverPDF site and click on GIF to PNG.

- Now, upload your file by choosing GIF.

- Click on Start conversion.

- Now click on Download to download the zip file.

- Now extract the images from the zip file and send them to your desired location.

Now, take a look at its pros and cons.
Why You Need to Convert GIF to PNG Sequence?
PNG supports millions of colors and various degrees of transparency, so it is far better than GIF. Here are more reasons why you need to convert GIF to PNG sequence:
- High Image Quality: For complex images, PNG provides better image quality.
- High Image Quality: Unlike the GIFs, PNG supports transparency.
- Flexible editing: It offers editing of individual frames.
- File Size: PNG sequences have acquire smaller file sizes in many cases than GIFs.
- Compatibility: PNGs are supported on almost every platform.
In short, converting GIF to PNG gives you more control over your image size, quality, and optimization.
Wrapping Up!
Conversion into various formats is made more accessible now!There are many online tools, such as Ezgif and CleverPDF, that can convert GIFs to PNG. While some tools like MS Paint have limited options, professional editing tools like Filmora provide professional editing features. You can explore different methods to convert GIFs to PNG sequence to find the most suitable one. Also, you can add various effects and transitions and professionally edit video clips using the Filmora app!
