In this article
Understanding Wide Shot
Do you remember the scene with the girl in the red coat from Schindler's List? It is one of the most iconic scenes in a movie that is widely revered as one of the best of all time. We see the little girl running through the chaos of World War II in Germany. While we can see her from head to toe, we can also see the surroundings, and both her movement and all the terror happening around her tell a very heartbreaking story without any dialogue.
This type of shot, in which we can see the entire subject interacting with the environment from a distance, is called a wide shot. Let's start our journey towards understanding this technique completely with its definition.

A wide shot is a specific framing technique in which the subject is just large enough for us to see their face and body.
The subject occupies a small percentage of the frame, allowing filmmakers to showcase the environment and let the audience focus on it as the character moves through the location or performs a particular action. In this type of shot, the subject and the surrounding area have a symbiotic relationship, each telling a story.
They are typically used at the beginning of the sequence to establish the setting and provide visual context. Given that the subject is placed in a large environment, they often convey feelings of isolation, scale, or movement.
What are the Visual Characteristics of Wide Shots?
Wide Shot vs. Extreme Wide Shot

In the standard wide shot, the subject is clearly visible, while the extreme wide shot is so distant from the subject that we cannot distinguish individual details.
| Comparison | Wide Shot | Extreme Wide Shot |
| Framing Range | We can see the subject's full body within the environment. | The subject is either very small or not visible within a vast landscape. |
| Primary Purpose | Show character in relation to surroundings. | Emphasize the scale and establish geographical context. |
| Subject Visibility | The subject is clearly visible and identifiable. | The subject is often tiny and very distant. |
| Common Uses | Establish a setting, show subject movement, show spatial relationships, etc. | Opening shots, scene transitions, creating a sense of vastness, etc. |
| Genre Association | It is used across many genres (drama, action, romance, etc.) | It is common in epics, adventure, sci-fi, and historical films. |
| Example | The Lord of the Rings: The Fellowship of the Ring – The Fellowship walking across the ridge. | Lawrence of Arabia – a tiny figure crossing a vast desert. |
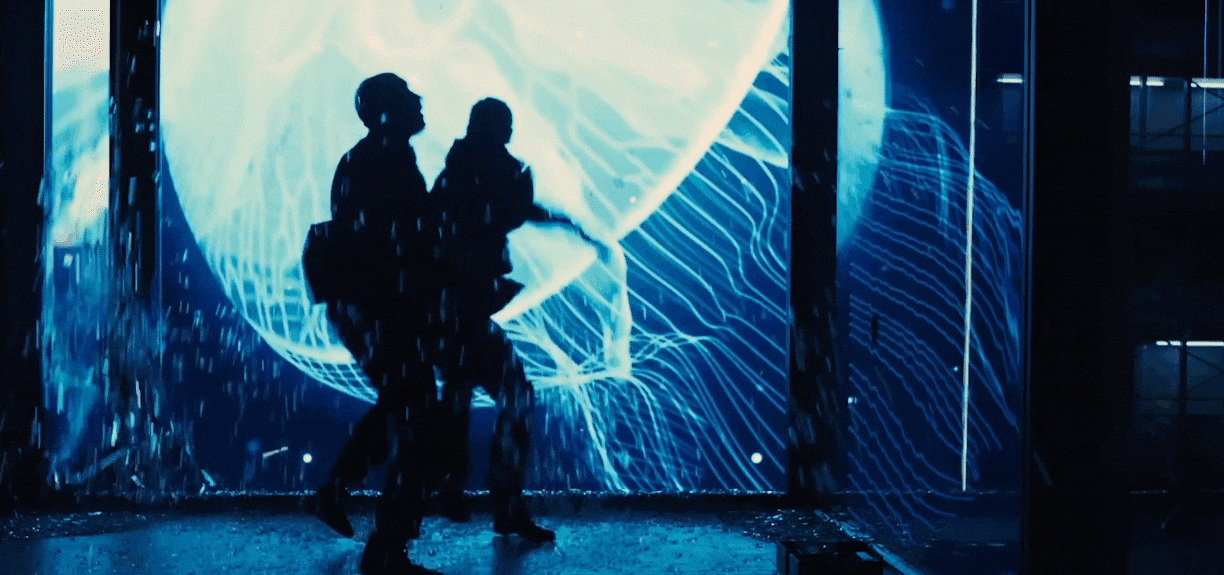
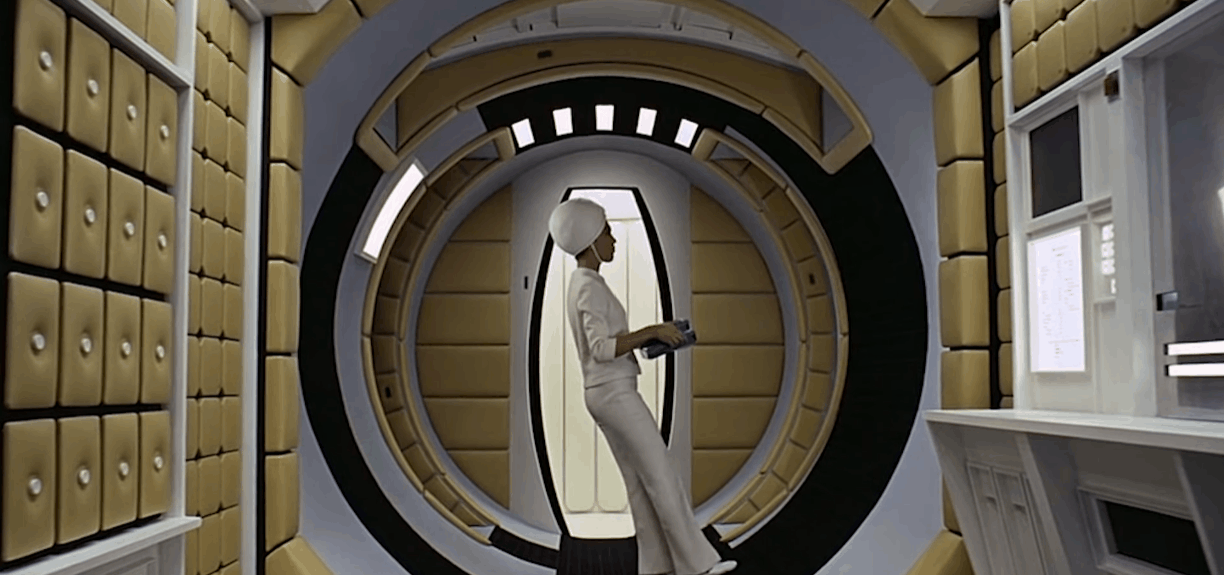
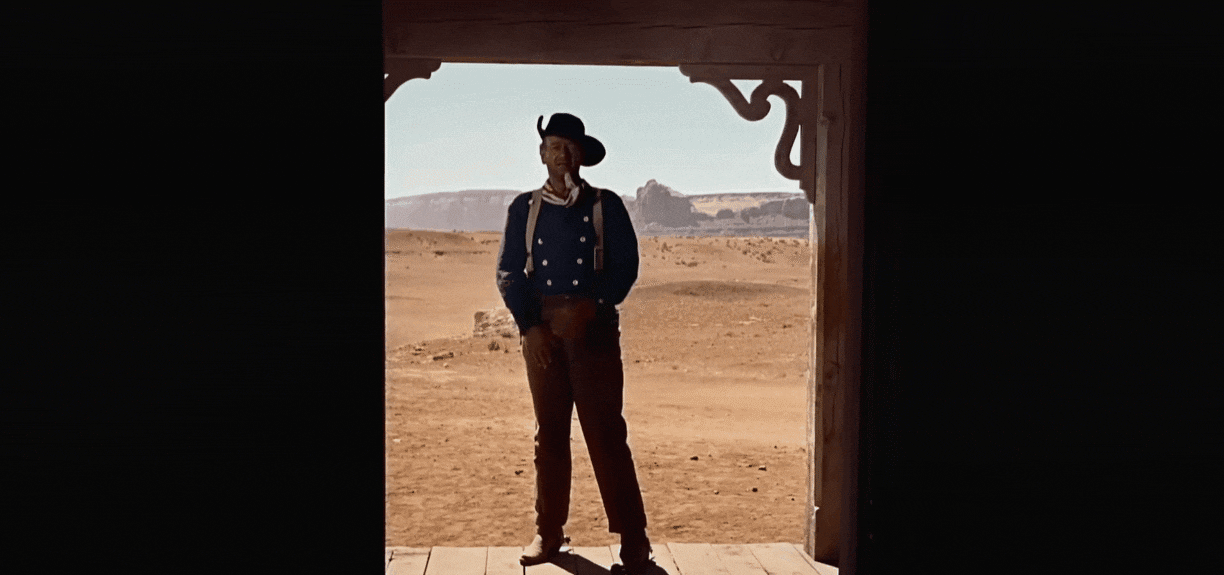
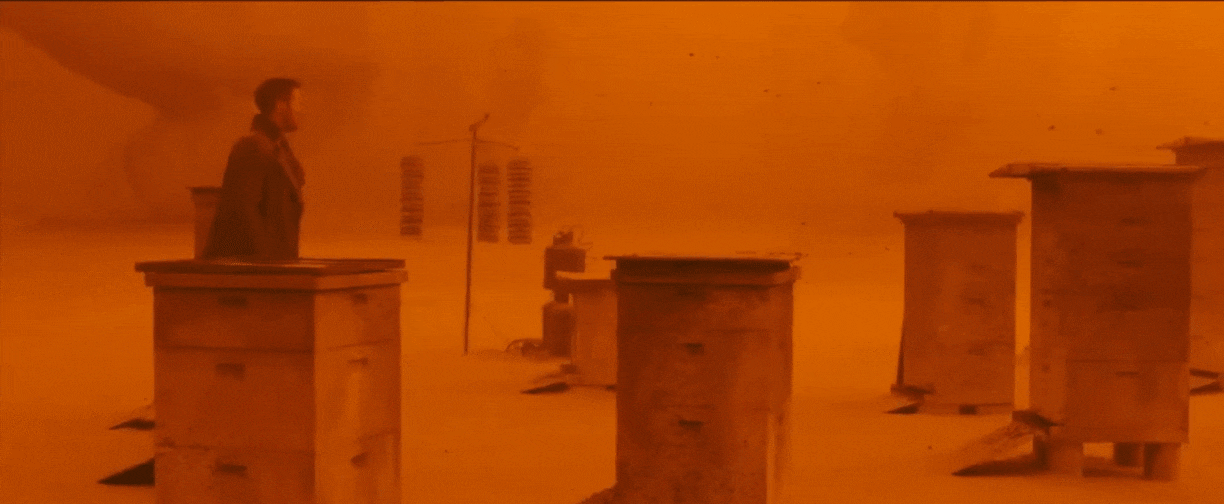
Best Wide Shots Examples in Movies
In this section, we will try to focus on the wide shots that had the most visual impact.
When and Where to Use Medium Shots
After covering the definition and examples, this section will focus on movie genres where the wide shot is most common, some creative techniques that pair well with it, and a few professional artistic considerations to help you understand this framing technique better.
Genre-Specific Applications for Wide Shots
Combine Wide Shots with Other Creative Techniques
A Couple Of Artistic Considerations for Wide Shots
Easy Guide to Transform Full-Body Shots to Medium Shots
In any instance, if you want to transform an extreme wide shot into a wide shot, instead of discarding the scene, try a powerful video editor like Filmora, which offers some of the most intuitive advanced video editing features you have ever seen. Let's see how it can edit clips and create a wide shot.

A Step-by-Step Guide to Creating the Perfect Wide Shot
We have prepared an easy, three-step tutorial for creating a wide shot from an extreme wide shot clip. Before you begin, download and install Filmora on your Windows or Mac PC or laptop. Then, open Filmora, create a new project, and import your extreme wide shot. When this is done, proceed to the steps below.
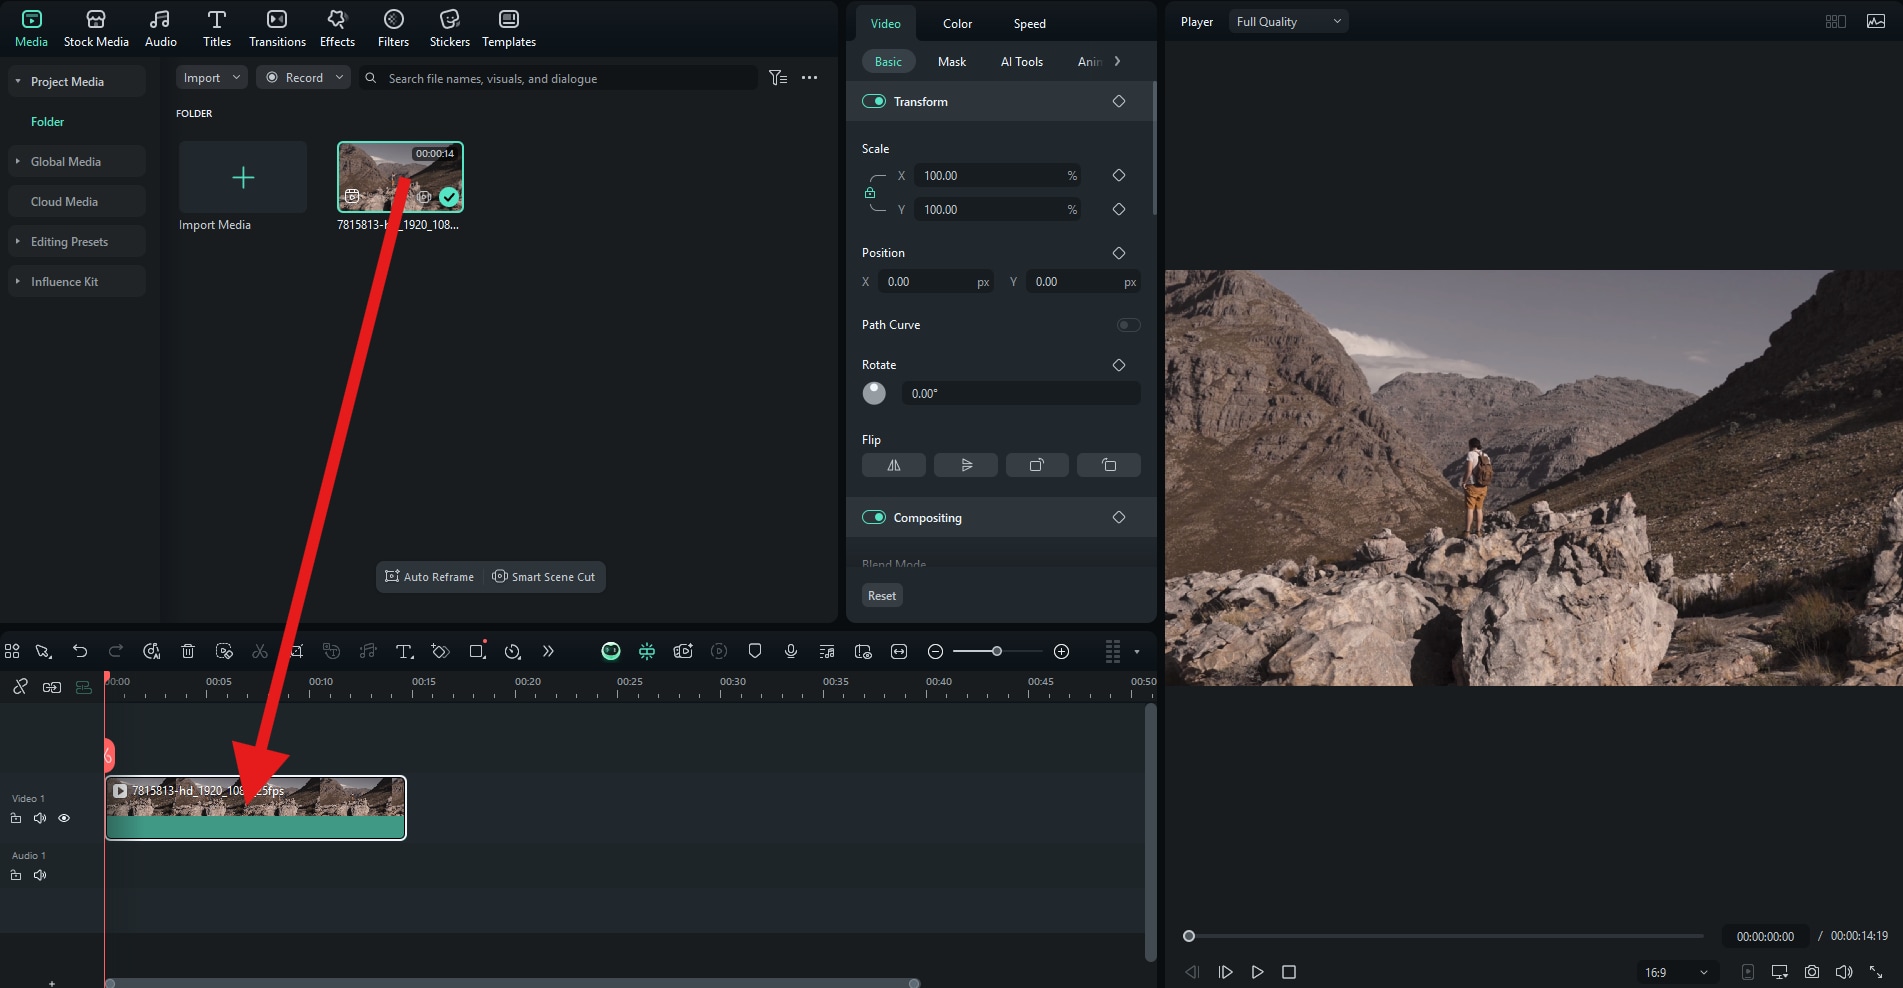
Drag the extreme wide shot clip to the video editing timeline.
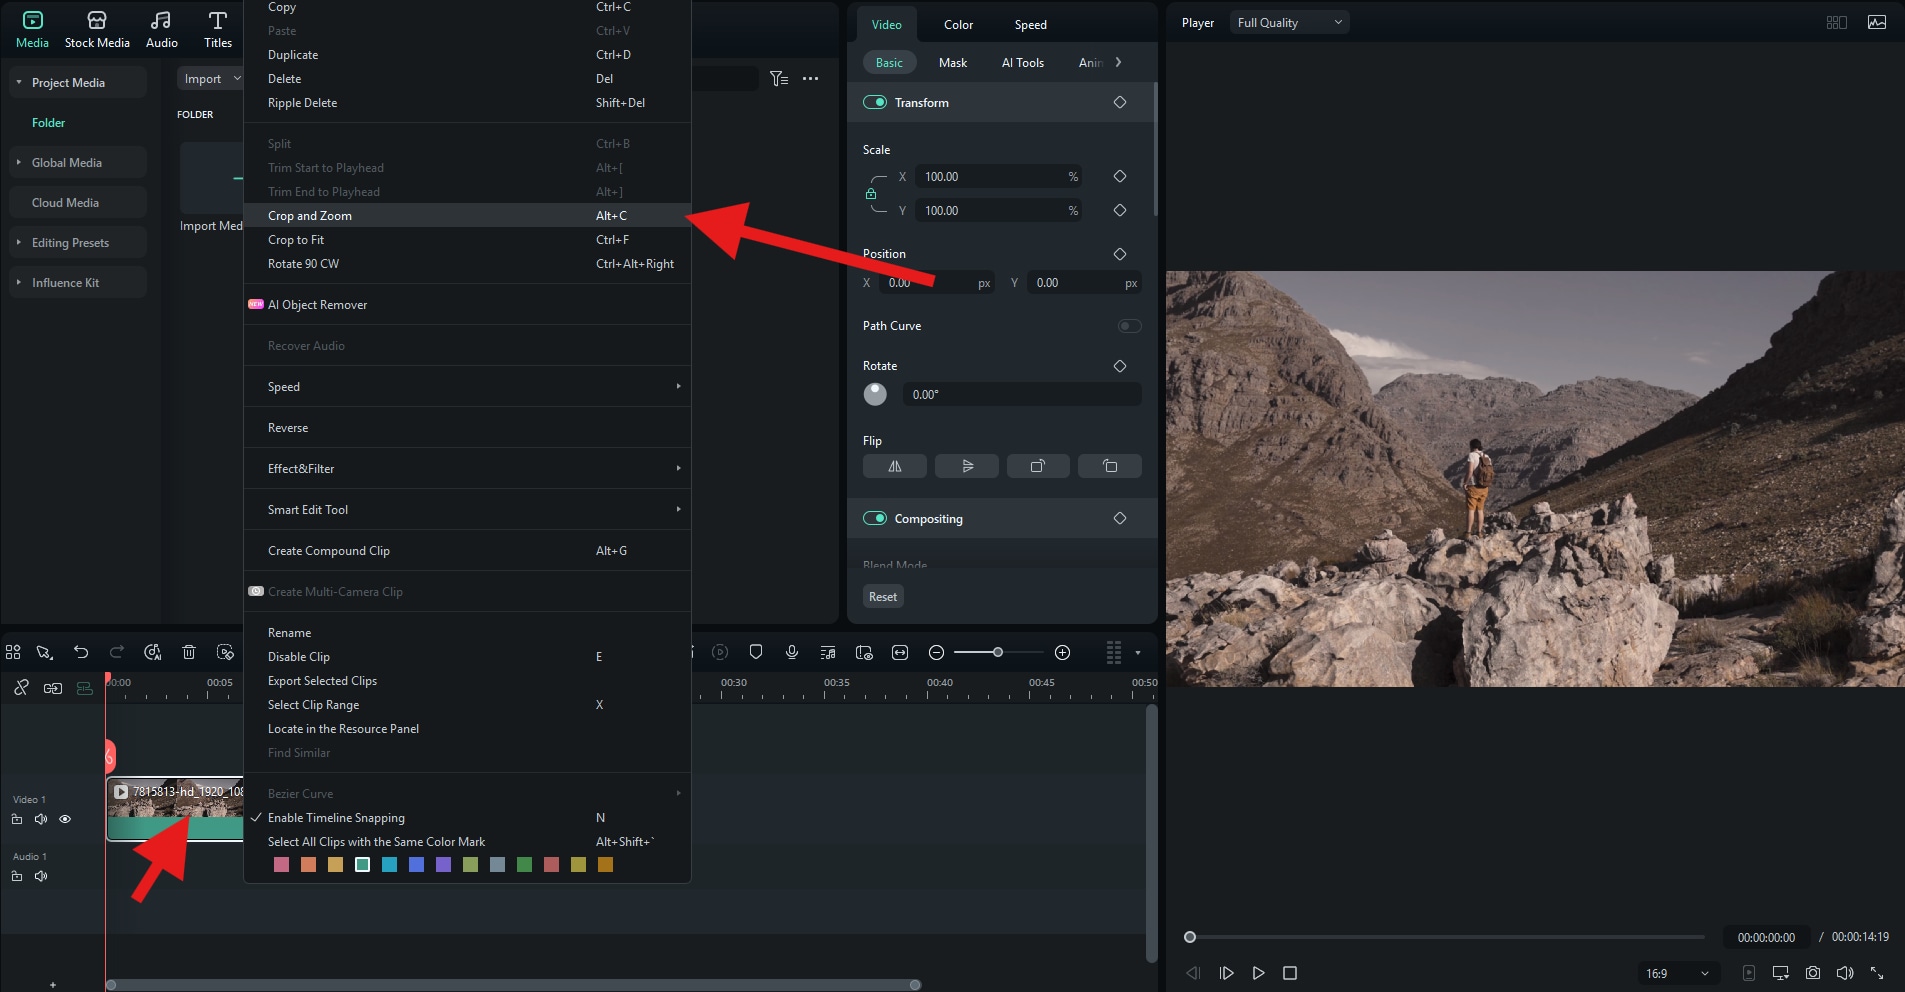
Right-click on the video in the timeline and select the Crop and Zoom feature.
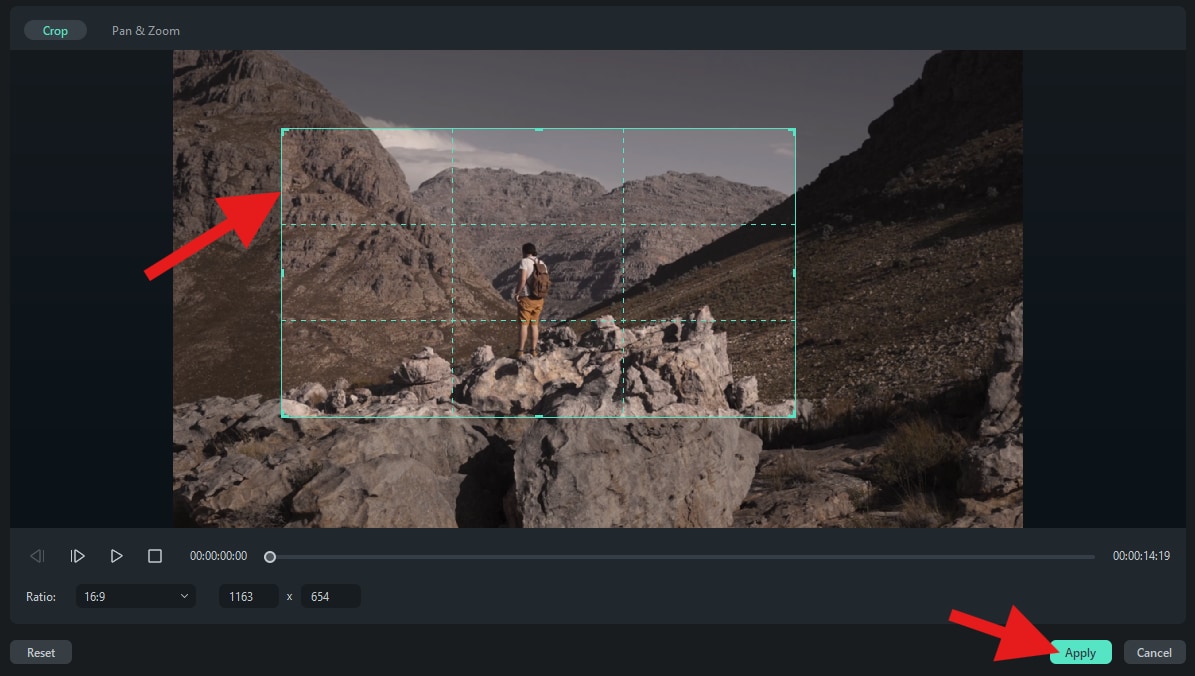
Adjust the frame according to your preferences and, when you are finished, click on Apply.
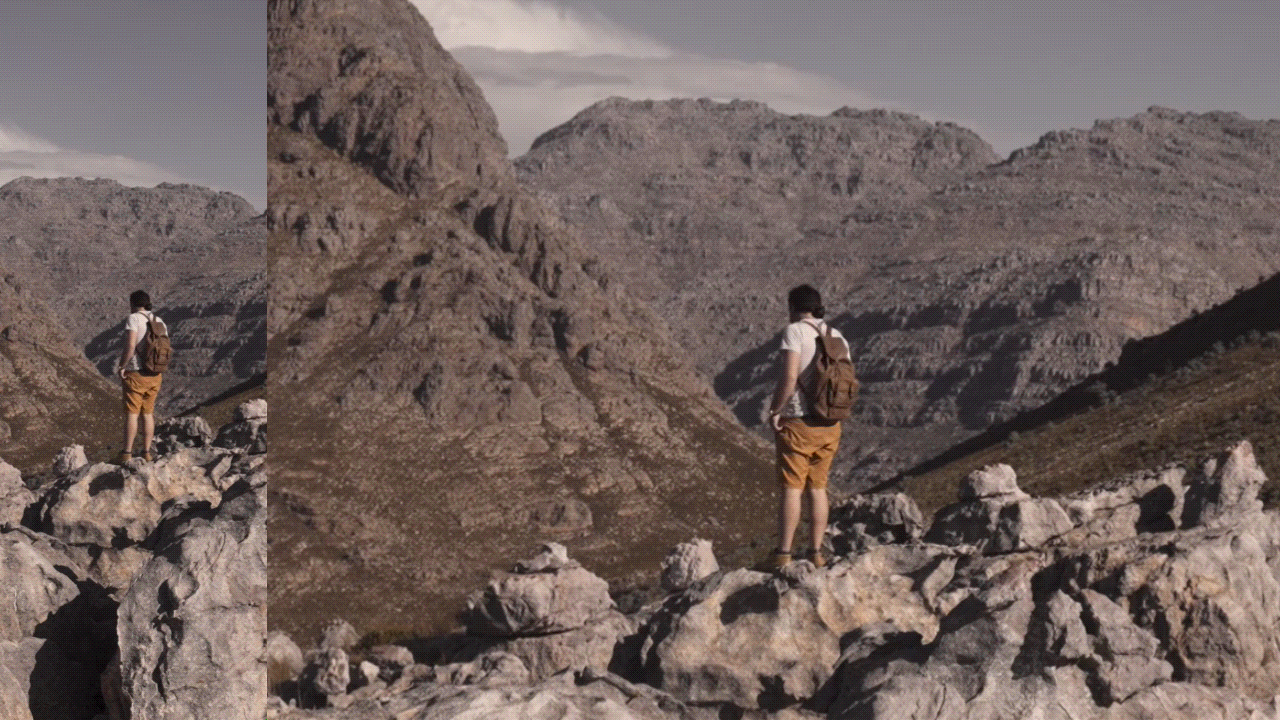
Take a look at this quick comparison GIF. Part of the original extreme wide shot can be seen on the left, and the new, standard wide shot that we created is on the right.
How to Solve the 2 Most Common Issues with Wide Shots
Your wide shot was supposed to convey a lot of meaning.
Planning the wide shot is more than 90 percent of the work. A great tip here would be to record several wide shots of the same dialogue but change something in the background, add something else, or experiment. Then, when you begin editing, you will have different shots of the same scene to fit into your project.
Your wide shot has been taken outside, using natural light, but the character is in focus, while the background is not very distinguishable.
When recording a scene, you probably have artificial lighting that you need to combine with natural light. This is a tricky concept. You should experiment with different lighting settings for the character, and then pick the best time of day where the rest of the location is lit in the same way to record the sequence and keep the lighting consistent.