


 100% Security Verified | No Subscription Required | No Malware

From YouTube tutorials to music videos and commercials, split-screen videos have become popular over the last few decades. In most cases, split-screen editing offers a way to show multiple perspectives and sell multiple narratives simultaneously, enhancing visual storytelling.

Creatives and editors use the visual stimulation created by this visual storytelling technique as a creative tool to capture and hold viewers’ attention. So, if you’re looking for how to add two videos in one frame, there are several tools available—like Wondershare Filmora.
In this article, you will learn multiscreen editing, using PIP, etc—the different methods you can use as well as what method is most suitable for you.
In this article
Part 1: Details to Know About Adding Multiple Videos in One Frame
Adding more than one video to one screen is an editing technique usually known as multiscreen editing, especially when you’re considering how to put 3 videos in one screen.

With this technique, viewers can see different videos with different perspectives, at the same time. It improves viewer experience and engagement, especially when there is a need to show comparisons, reactions, or before-and-after videos on social media.
For business meetings, you can choose to present data from different sources side by side during presentations. In films, you may notice contrasting stories/perspectives of a single scene or parallel narratives displayed as multiple videos on one screen. This adds a bit of depth to the movie’s plot.

Several tools can be used to add multiple videos to one screen. One such tool is Wondershare Filmora. Filmora is a video editing software that can add two or more videos to one screen using different methods and techniques. This tool has video transitions, audio editing features, and text customization options you can leverage to improve your multi-video editing.
Mastering these various tools and effects is the thin line between a chaotic video clip with multiple videos playing at once and a well-edited split-screen video.
Part 2: How to Put Multiple Videos in One Frame on Filmora with different methods
When considering how to put multiple videos in one frame, Filmora offers three different methods of achieving this.
Method 1: Using the PIP Effect
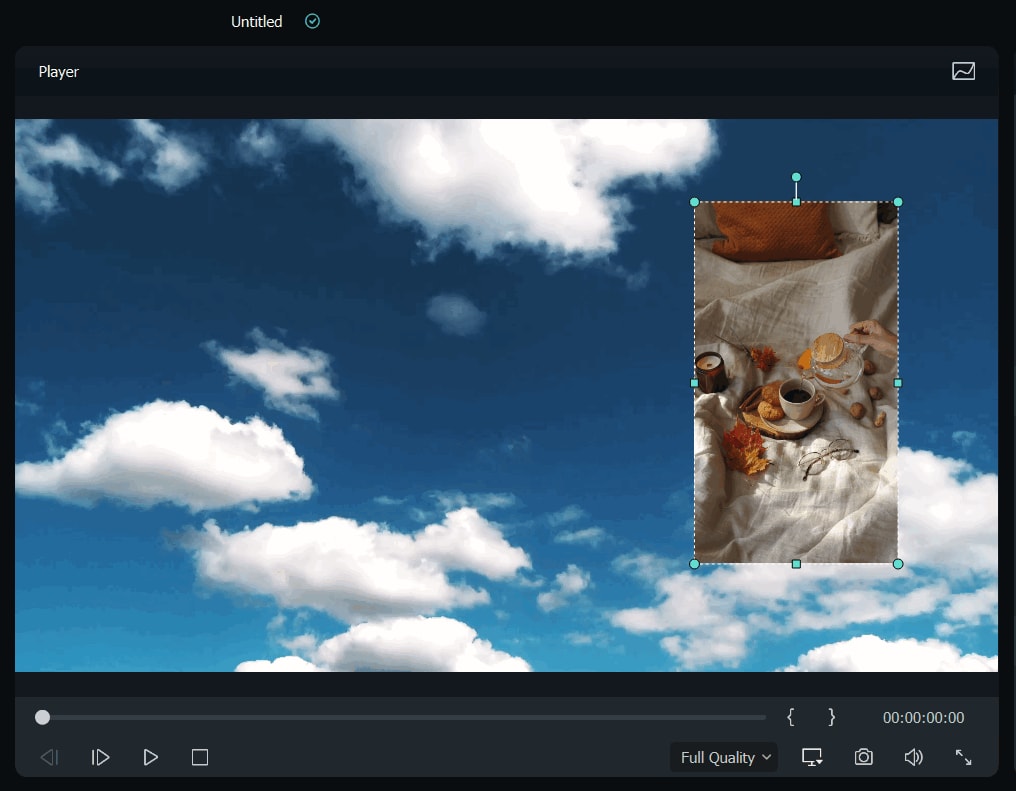
The PIP (Picture in Picture) method allows you to overlay a smaller video on another video that serves as the background clip, creating a layered effect where two videos play on the same screen at the same time—one in a smaller frame and the other, a larger background video. This method is mostly found in YouTube tutorial videos, reaction videos, product demonstration videos, and so on.
How to Add Two Videos in One Frame with the PIP Effect
- Step 1: Import the two videos to Filmora dashboard.
- Step 2: Taking one at a time, drag and drop the two videos onto the timeline. Be sure to place the PIP video that will serve as the overlay clip above the background video on the timeline.

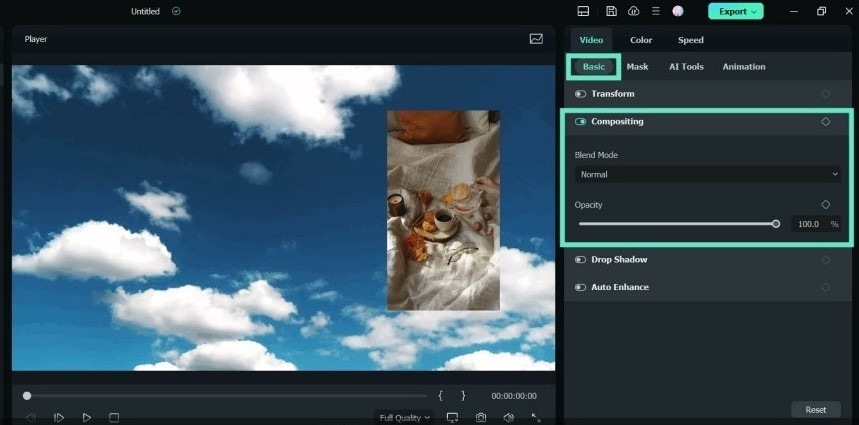
- Step 3: Select the overlay clip on the timeline to adjust it on the preview screen. Drag the handles on the preview screen and adjust it till you get your desired position and size.
- Step 4: Go to Video > Basic on the editor panel. Scroll down to Compositing and select Blend Mode. This allows you to fine-tune the video to get your desired look and feel.
Method 2: Using Split Screen Editing
With the split screen method, Filmora allows you to place multiple videos side by side or in different layouts, depending on your chosen templates. Filmora has 250+ split screen templates for different video kinds and genres that allow you to manually customize your screen layout. This way, you have complete control over how you add your videos to each frame.
- Step 1: On the toolbar, click on Templates > Split Screen to select a split screen template.
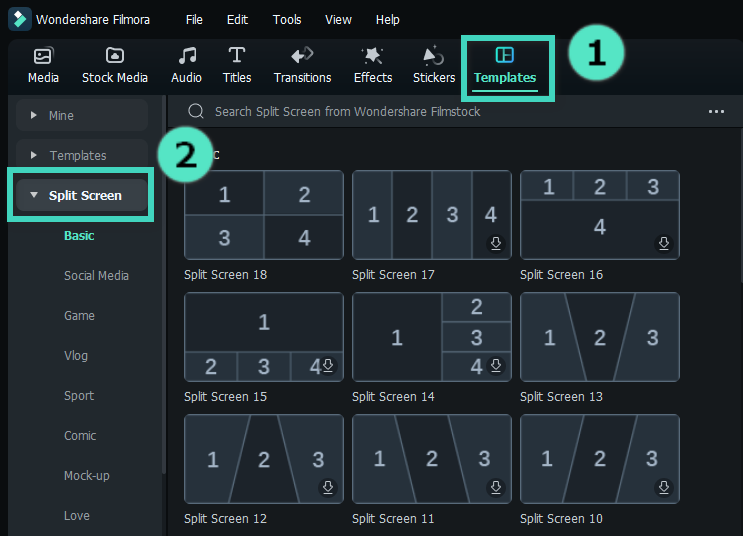
If you can’t find “Template” on the toolbar, click on the light arrow at the end of the toolbar.

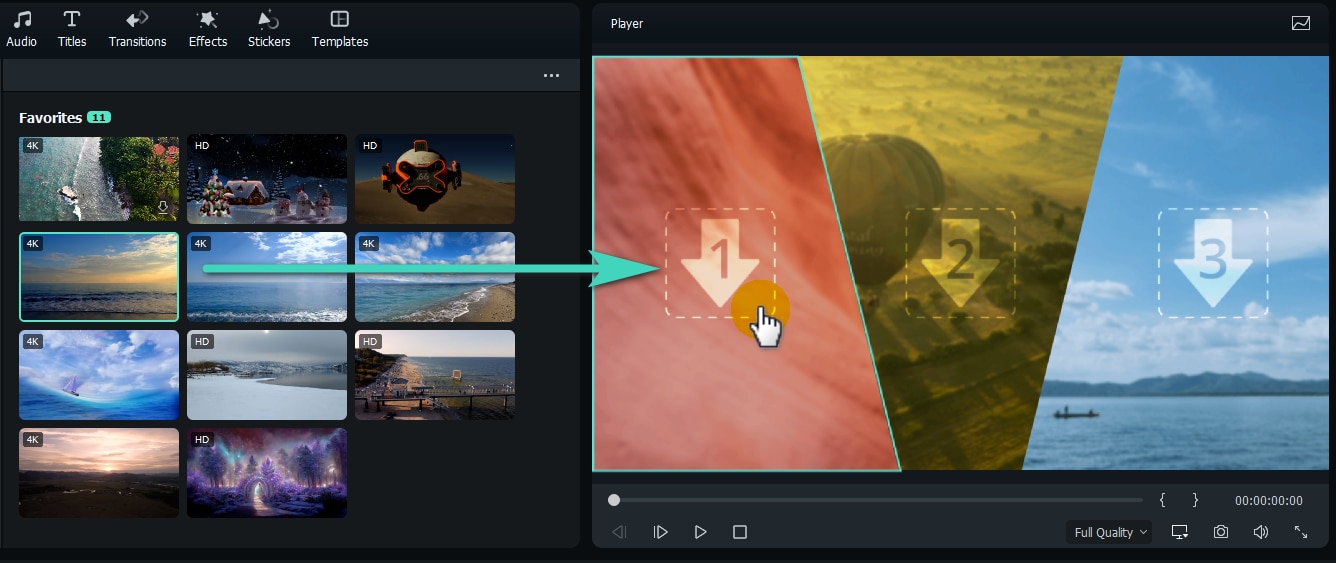
- Step 2: Drag your selected template to the timeline. Then drag your video clips from the media library to its designated split screen layout on the preview screen. Note that there is no need to drag your videos to the timeline in this step.
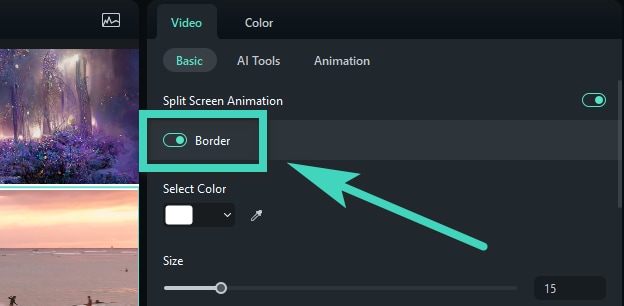
To add borders between your videos
Go to Video > Basic on the property panel to the right and toggle Border.
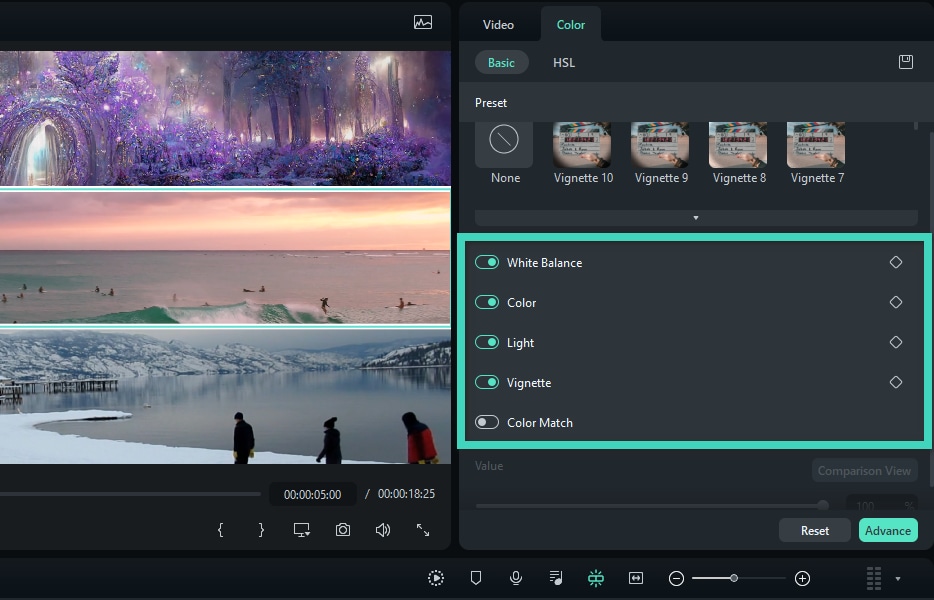
To color correct your split screen videos
Click on Color > Color on the property panel. You have a list of color correction options you can enable or disable to suit you.
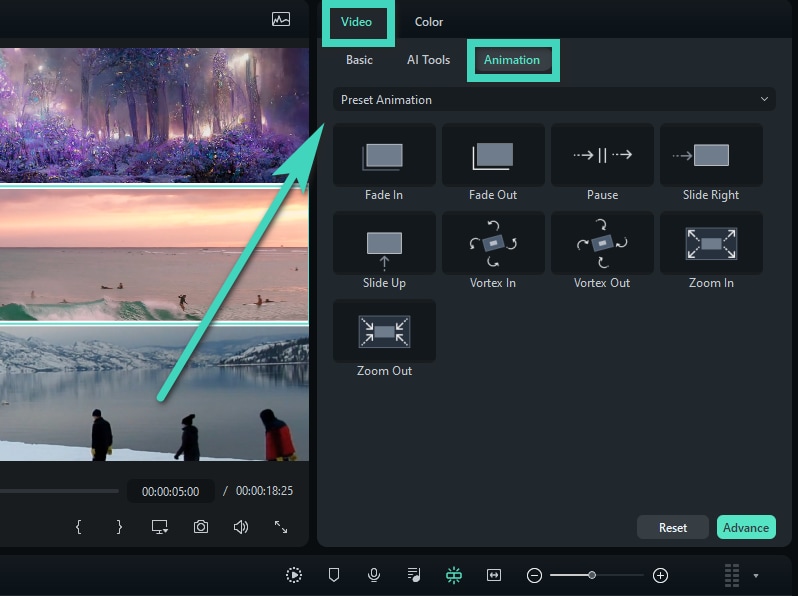
To animate your split-screen videos
Simply switch to the animation tab on your property panel by clicking Video > Animation. Choose any of the animation presets by double-clicking on it.
Part 3: Which Method is More Suitable; PIP or Split Screen?
When it comes to adding multiple videos on a single screen, choosing a method depends entirely on the nature of the video project, the type of video you’re working with, and your desired outcome as each method is best suited to specific scenarios.
Use the PIP method if you need to maintain az primary focus on the main video while a supplementary video provides context. For example, demos, product reviews, tutorials, reaction videos, etc. With this method, you can freely position and resize your overlaid videos to suit you. However, too many PIP videos can clutter the screen.

Use split-screen editing when you want to give equal importance to multiple videos. Videos in split-screen are more rigid and not as flexible as PIP videos. Its best for presentations, comparison videos, and before-meets-after videos.
Conclusion
Before this article, you may have been asking “how can I put two videos side by side”? Hopefully, you’ve found your answer. With this article, you can add multiple videos to a single screen seamlessly, using different methods for different video types.
