


 TL;DR:
Video masking functions as a digital stencil that isolates specific areas of your footage to selectively hide, reveal, or apply effects without permanently altering the original frame like cropping does.
● Select Shape Masks for basic split-screen layouts, Pen Masks for tracing irregular objects like computer screens, AI Smart Masks for automated subject isolation, and Motion Tracking Masks to maintain alignment on moving targets.
● Wondershare Filmora supports layering multiple masks within a single project and features built-in Mocha Pro integration for planar tracking, allowing users to start with a one-click AI selection and refine it using manual freehand bezier curves.
● Apply feathering to the edges of your static or tracked masks to eliminate harsh borders and blend the isolated elements naturally into the surrounding background footage.
Ask AI for a summary
 ChatGPT
 Perplexity
 Gemini
 Claude
 Grok
Grok
When learning about video editing, there's gonna be a time when you meet video masking. By definition, masking in video editing refers to isolating a specific part of your footage while hiding or revealing everything else around it.

From Idea to Video.
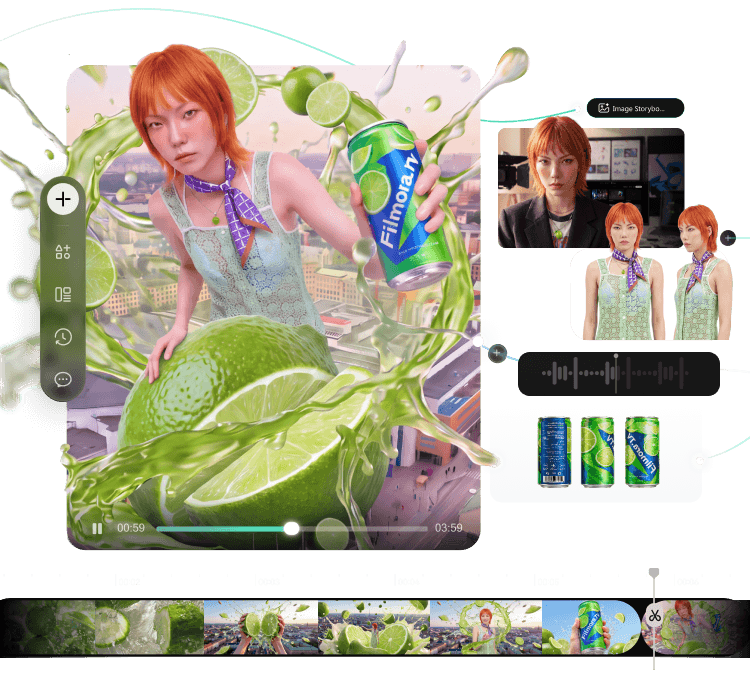
Your AI Creative Studio.
- Turn briefs into scripts, storyboards, and references
- Generate and compare across AI models in one project
- Move your best takes to the timeline for rough cuts
- Keep projects, assets, and feedback connected
However, mastering masking techniques is no easy feat. Many masking methods look similar at first glance but behave completely differently once you actually use them. We'll walk through what masking actually does, break down the most useful masking tips with real examples, and show you how to build these masking skills hands-on inside an editor, so you're not just watching tutorials but actually applying them.
Part 1. What Does a Video Mask Do?
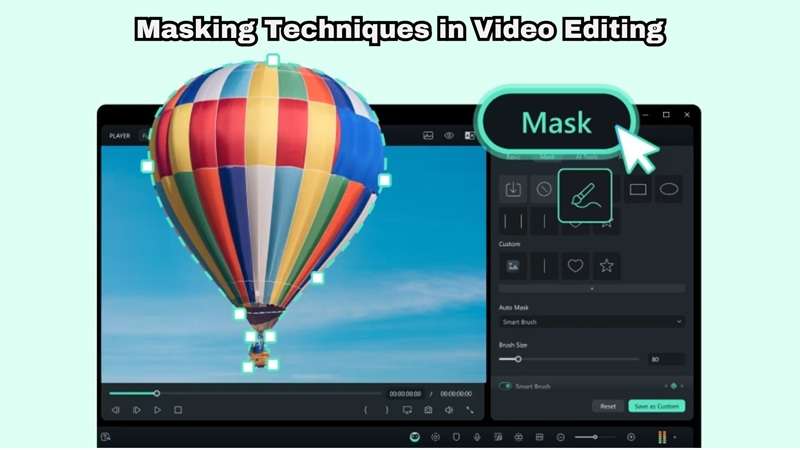
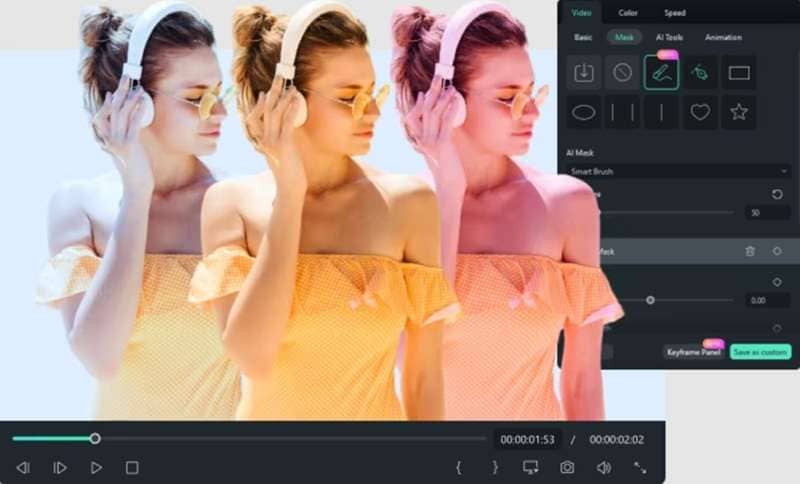
Let's start from the ground up. A video mask is essentially a digital stencil laid over your footage. Whatever falls inside the mask's shape stays visible (or gets an effect applied to it), and whatever falls outside gets hidden, blurred, or left untouched, depending on how you set it up. Basically, it gives you total control over individual elements inside a single frame.
Here's a quick overview of what masking can help you accomplish.
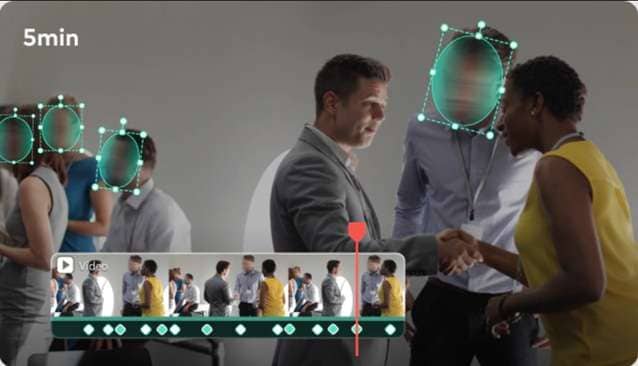
Blur Sensitive Information
Got a stray phone number, a car license plate, or someone's face in the background that shouldn't be on camera? A quick masking technique paired with a blur effect can keep your private details hidden while keeping the main action completely untouched.
Highlight a Subject
A radial or shape mask can darken everything around your subject while keeping them bright and sharp, instantly drawing the viewer's eye exactly where you want it. You'll often see this in product reviews, sports highlights, educational videos, and cinematic edits.
Create a Text Reveal Effect
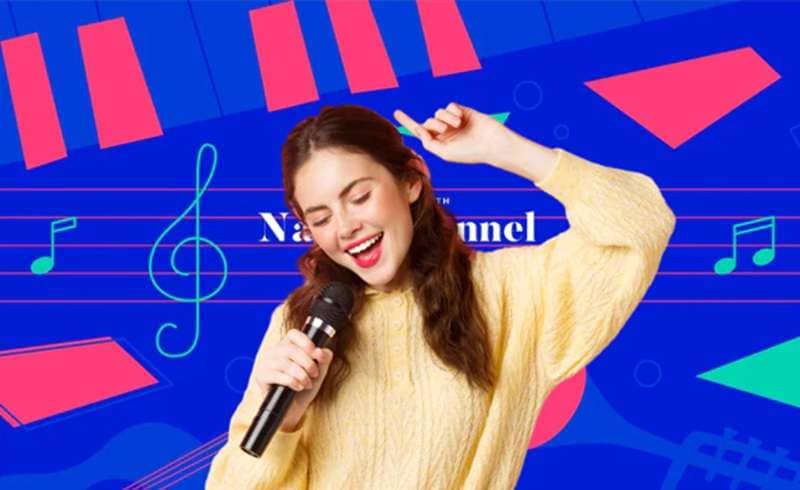
Ever noticed text that seems to appear from behind a person or object? That's usually done with masking. Instead of simply fading text in, editors place the title behind the masked subject. As the subject moves, the text gradually becomes visible, creating a much more dynamic animation.
Replace a Screen
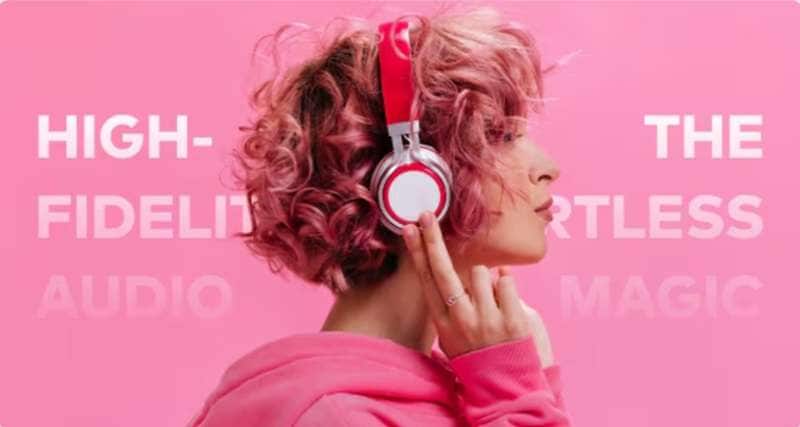
TVs, smartphones, tablets, laptops, and even digital billboards can all be replaced using masking techniques. The idea is simple: isolate the screen area with a mask, then place another video or image underneath it. Once the perspective is adjusted, it looks like the screen was displaying that content all along.
Remove an Unwanted Object
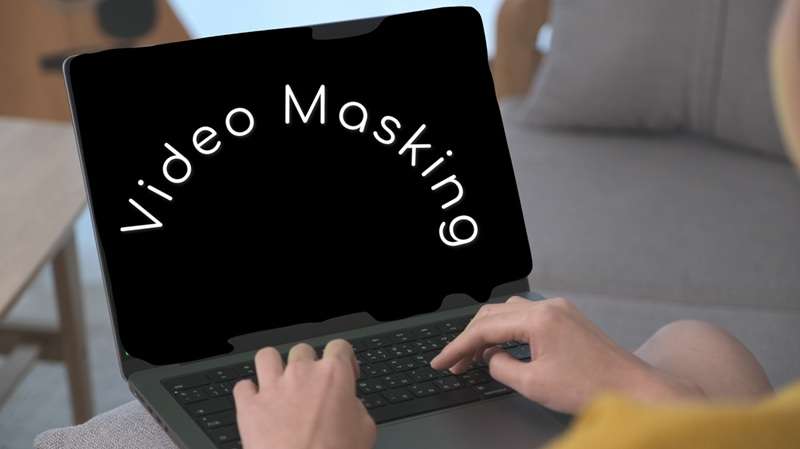
This is one of those masking tips that's incredibly useful for travel videos and outdoor shoots where you can't control the environment. By masking out a distracting object and filling the space with a matching background (or a clip from a different frame), you can make that object disappear as if it was never there.

Clone a Person in One Shot
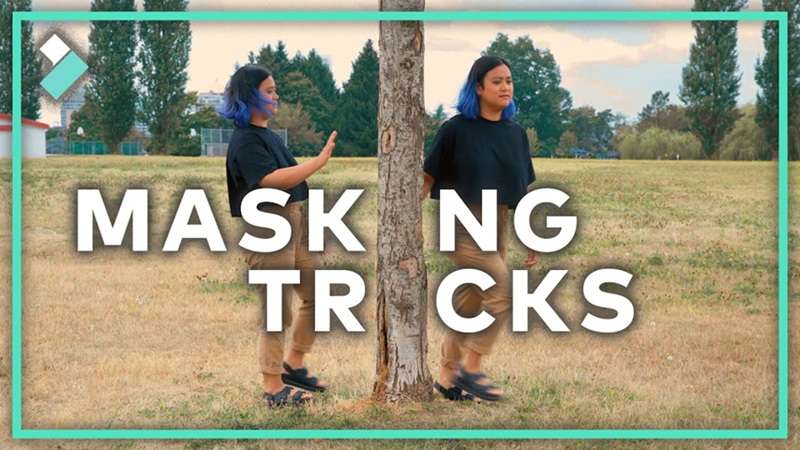
One of the coolest effects you can create with masking technique is making one person appear multiple times in the same scene. Set your camera on a tripod, shoot two separate takes, and use a simple split mask down the middle to combine both performances.
Isolate Color or Lighting in One Area
Not every adjustment needs to affect the whole video. Rather than changing the colors of your entire video, you can draw a mask around specific areas like an underexposed face or a dark corner to tweak shadows and contrast locally.
Part 2. Common Masking Techniques with Real Examples
Beyond the use cases above, it helps to know the actual mechanics behind each masking method, since the technique you pick determines how much manual work you'll be doing. So, let's take a look at some of the most common masking techniques.
1. Shape Mask
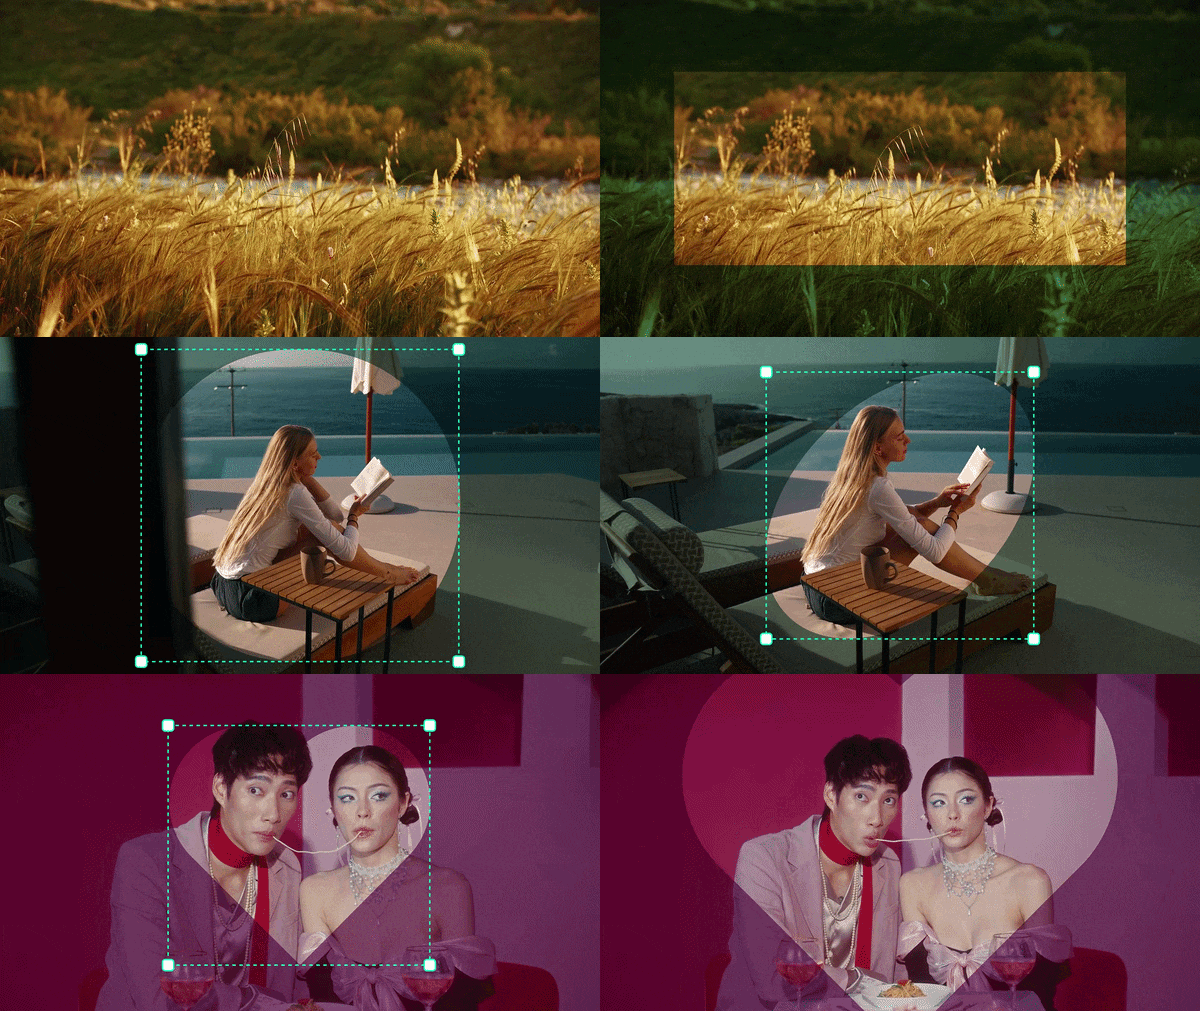
This masking method uses preset shapes like rectangles, circles, hearts, or stars to isolate part of a clip. It's best used when you need a simple, clean selection like a spotlight or frame.
Best For: Split screens, picture-in-picture, spotlight effects.
2. Pen (Freeform) Mask
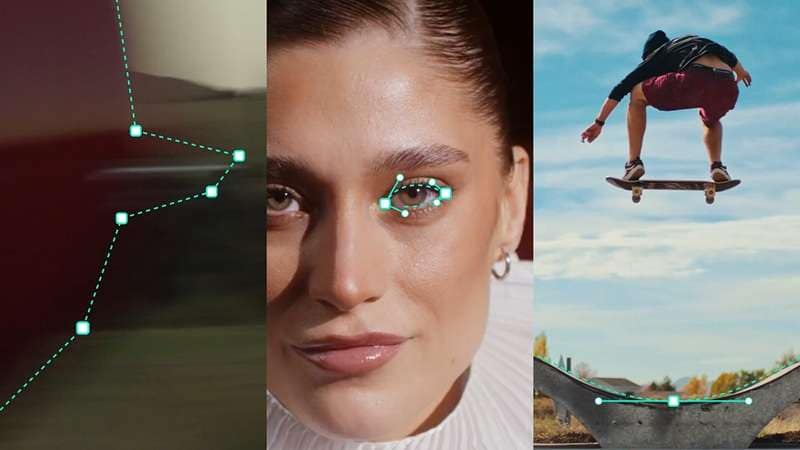
This masking technique lets you draw a custom mask around any object using anchor points. For example, you can use it when outlining a car or replacing a TV screen.
Best For: Irregular shapes and precise selections.
3. AI Smart Mask
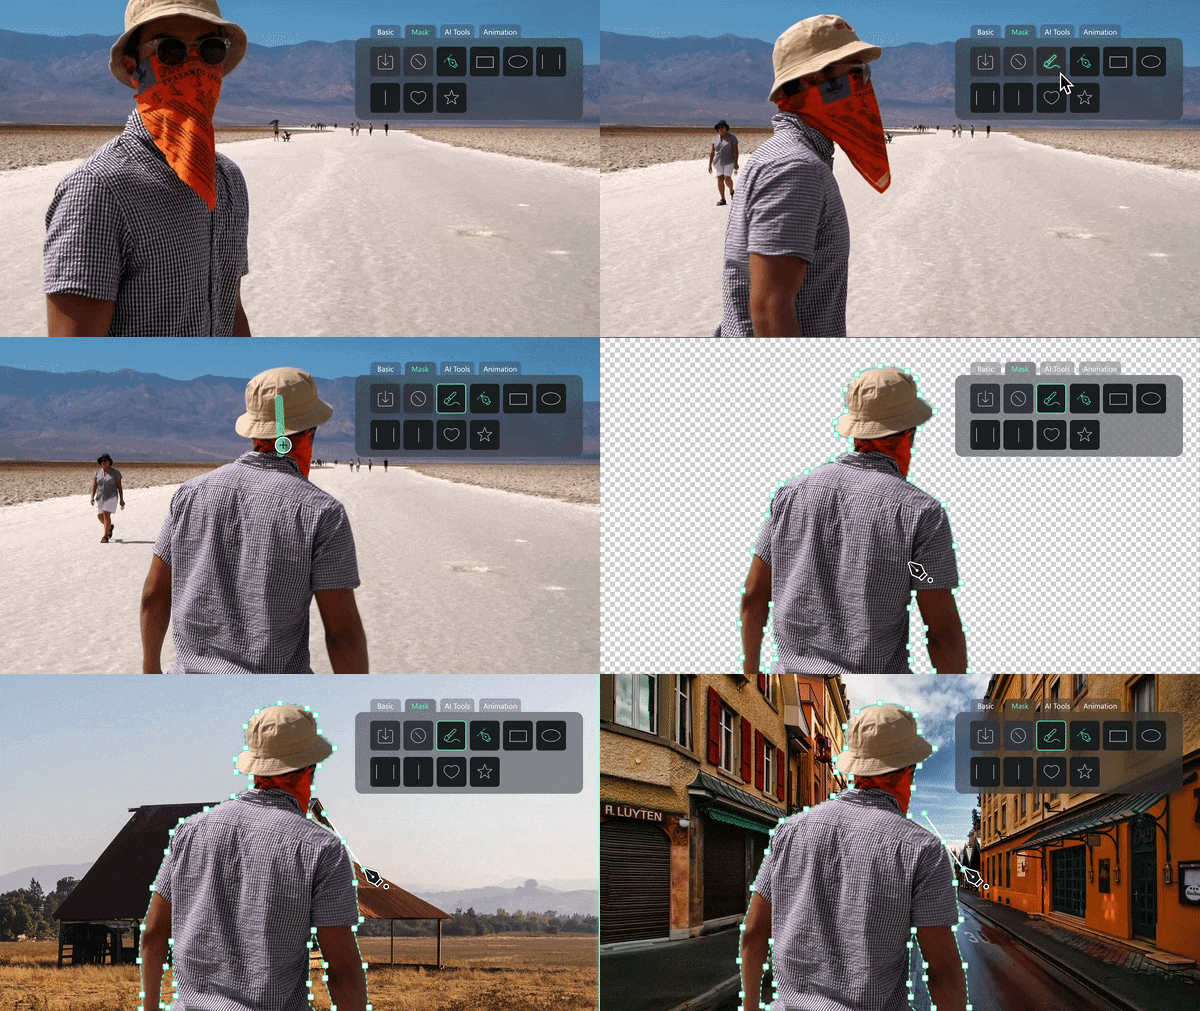
This method doesn't require much masking skills, since it automatically detects people or objects and creates a mask for you. A lot of editors use this method when separating a person from the background in seconds.
Best For: Fast editing and background replacement.
4. Motion Tracking Mask
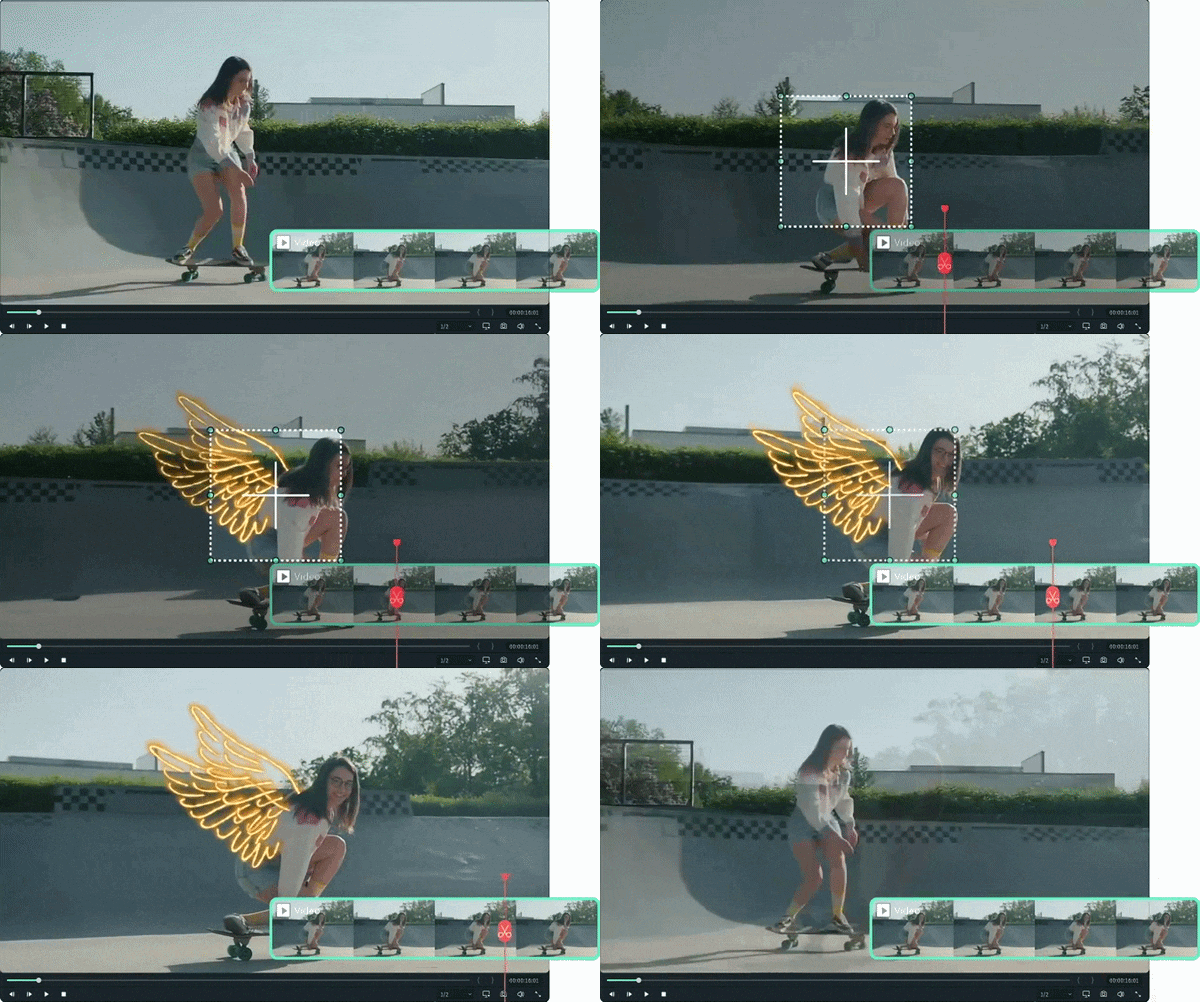
This is one of the more advanced masking techniques to do. Like the name suggests, It's a type of mask that follows a tracked point or planar surface across frames. So obviously, you use this method when your subject or object you want to mask is moving.
Best For: Moving objects and privacy blur.
Real-World Examples of Masking
To tie it all together, here's a quick-reference table matching common goals to the masking technique that actually gets the job done:
| Goal | Masking Technique |
| Blur a moving face | Motion Tracking + Shape Mask |
| Replace a computer screen | Pen Mask |
| Remove a background quickly | AI Smart Mask |
| Paint around detailed objects | Freeform Mask |
| Create split-screen videos | Rectangle Shape Mask |
You May Also Like
Part 3. How to Mask a Video in Filmora (Step-by-Step)
By now, you've seen just how versatile masking in video editing can be. However, knowing the theory is only half the journey. The next step is putting those masking skills into practice. To do that, you'll need a reliable video editor, and there's really no better option than Wondershare Filmora.
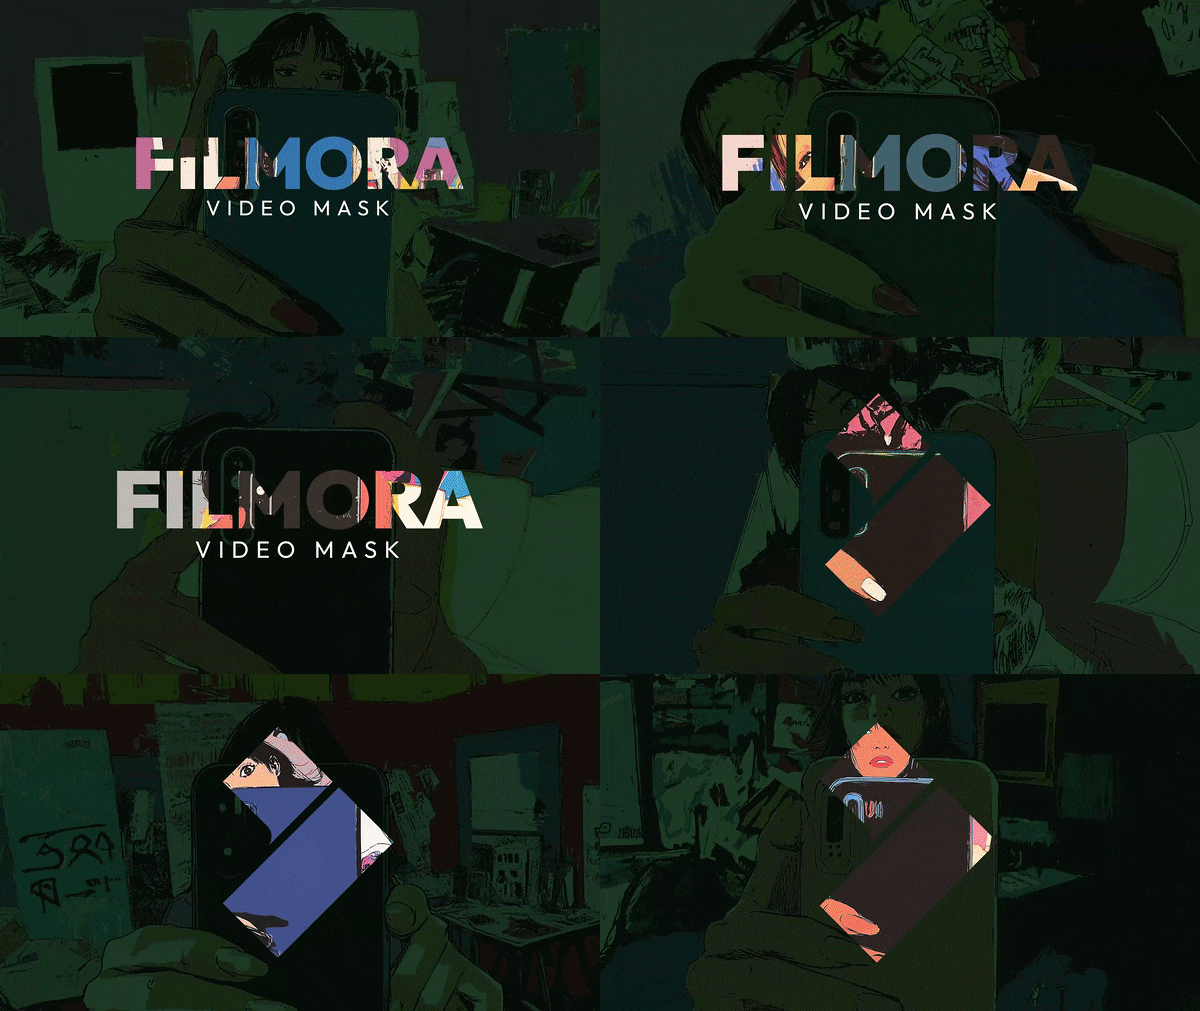
This all-in-one video editor packs an advanced video masking feature designed to work for total beginners and seasoned editors alike. It doesn't force you to choose between "easy" and "powerful"; it gives you both, layered into the same workspace.
What Makes Filmora's Masking Stand Out
- Mocha Pro Integration: It’s built right in, so you get Hollywood-style planar tracking, ML segmentation, and spline-based roto without leaving your timeline.
- Basic Shape Masks: Circles, rectangles, and polygons with adjustable corners, perfect for quick spotlight or framing effects.
- Pen Mask Tool for Extra Precision: Draw freehand outlines with smooth bezier curves for subjects that don't fit a basic shape.
- AI Masking for Smart Selection: One-click detection automatically isolates people, objects, and backgrounds, with an AI brush for touch-ups.
- AI + Manual Masking Workflow: Start with AI or a shape mask, then refine it manually for pixel-perfect accuracy, best of both worlds.

 Secure Download
Using Filmora's Enhanced Mask Feature
Ready to try it yourself? Here's how to create your first video mask in Filmora.
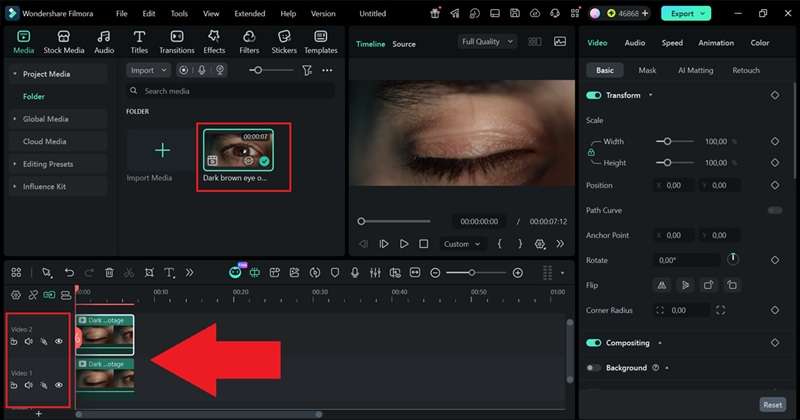
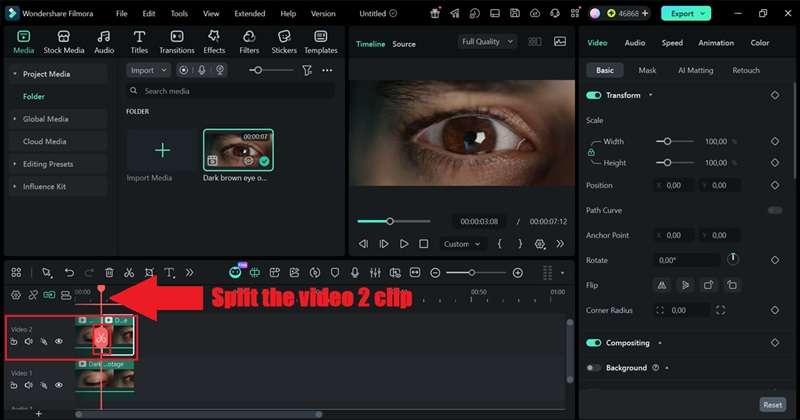
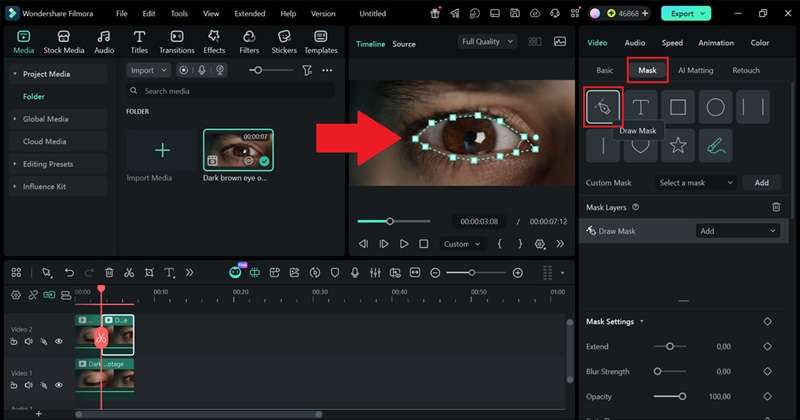
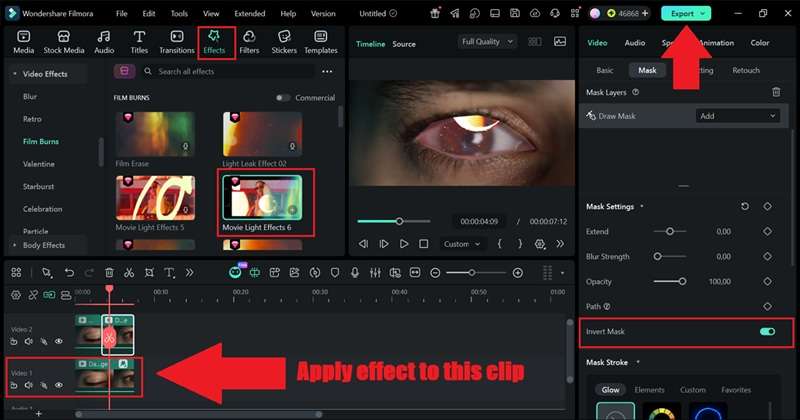
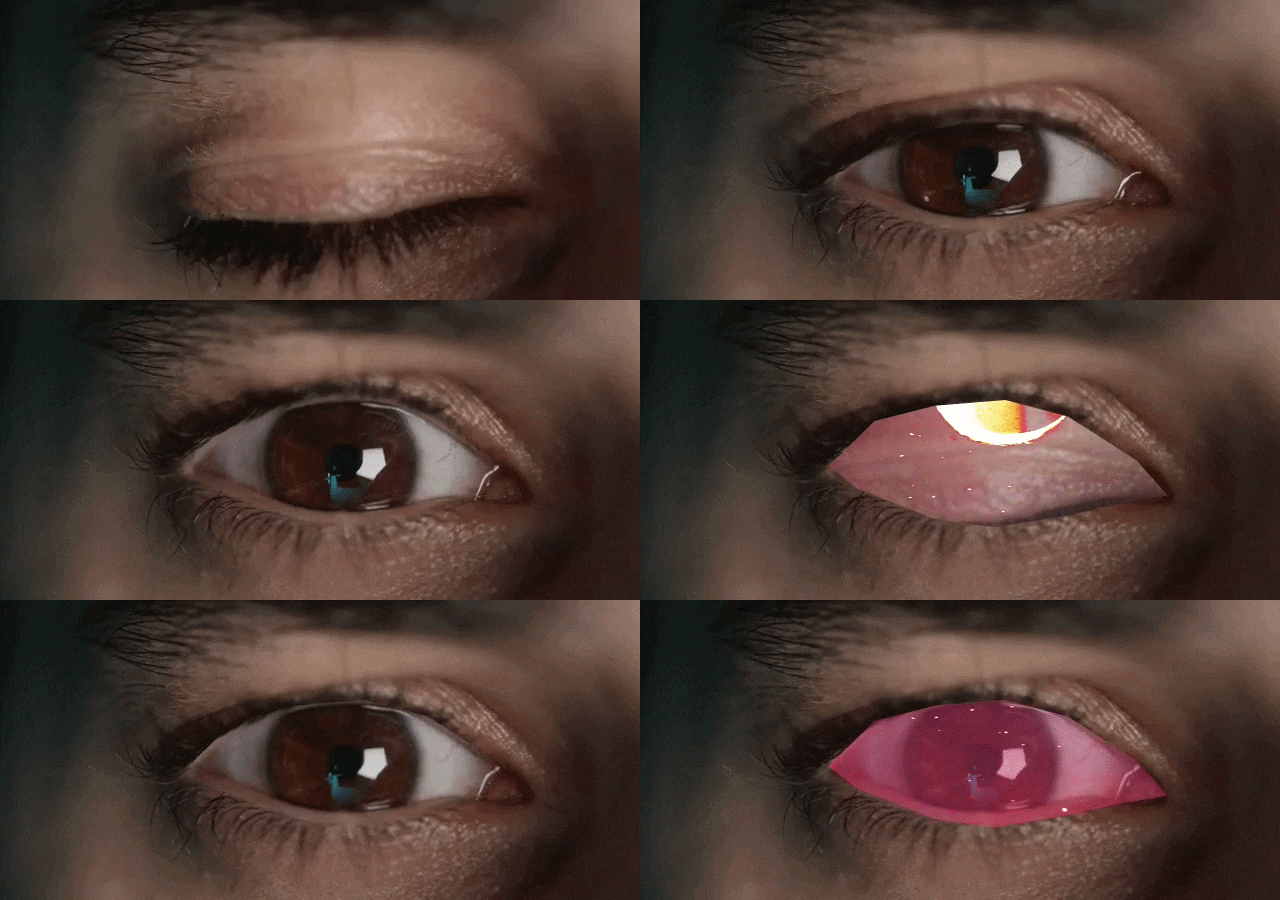
That's pretty much it! You can now use masking in video editing in Filmora. This is only one of the many masking methods available in Filmora. If you explore more, you'll find how easy it is to use a text mask, shape mask, or AI mask. Now, check out the result of the clip you edited earlier below!
 Secure Download
Part 4. Best Use Cases for Masking in Different Editing Scenarios
As you can see, Filmora makes masking in video editing genuinely approachable. Now that you master it, it’s time to get creative with your skills. Here are some simple ways to use video masking in everyday projects:
YouTube Videos
YouTube creators wear a lot of hats. One day you're filming a tutorial, the next you're reviewing gadgets or sharing a travel vlog. Because of that, masking techniques quickly become one of the most useful editing tools to have in your workflow.
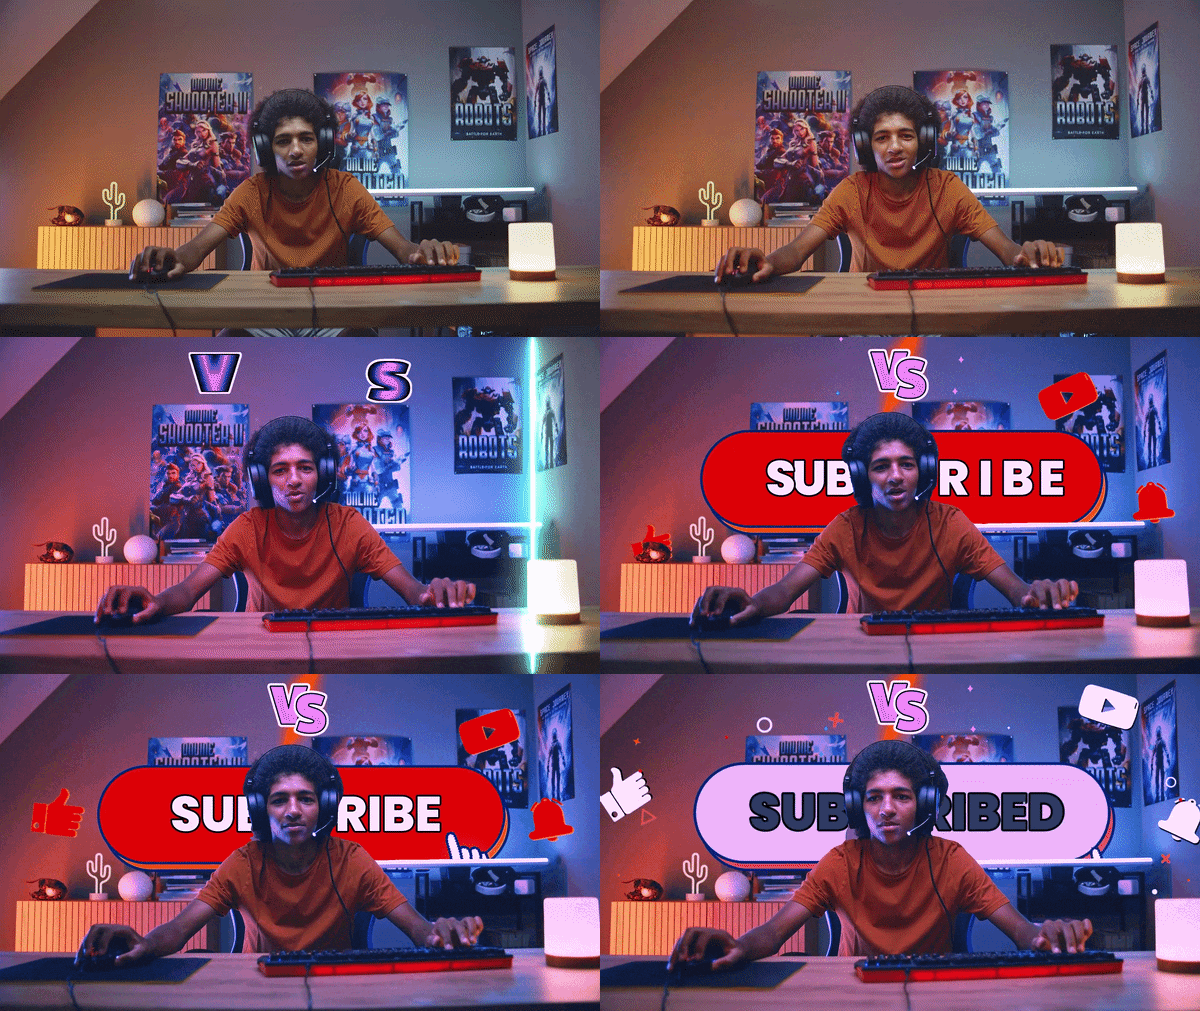
For example, you can:
- Highlight a product during an unboxing.
- Add text that appears behind you as you walk.
- Replace a laptop or phone screen with your own footage.
- Create split-screen comparisons between two products.
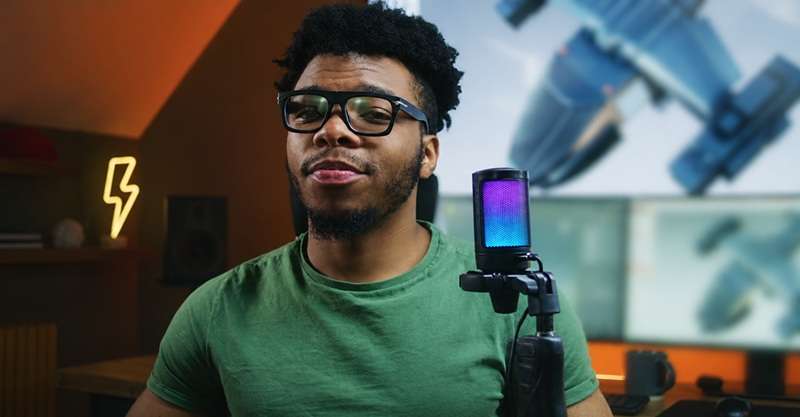
Interviews and Podcasts
During interviews, your guest might accidentally reveal sensitive info on their screen. Masking is a go-to here for blurring those details (documents, addresses, other people caught in frame) and for building clean split-screen layouts when you're cutting between two speakers.
Short-Form Social Videos
On platforms like TikTok, Instagram Reels, and YouTube Shorts, you only have a few seconds to grab someone's attention. That's why many creators use creative masking methods to make their edits feel more dynamic.
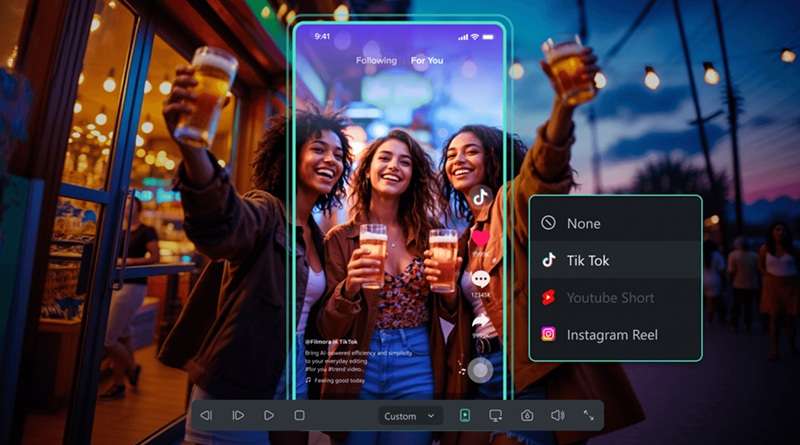
You can use masking to create:
- Text that appears from behind your body.
- Smooth outfit transition videos.
- Background swaps.
- Dynamic zoom effects.
- Object reveals.
- Trending clone effects.
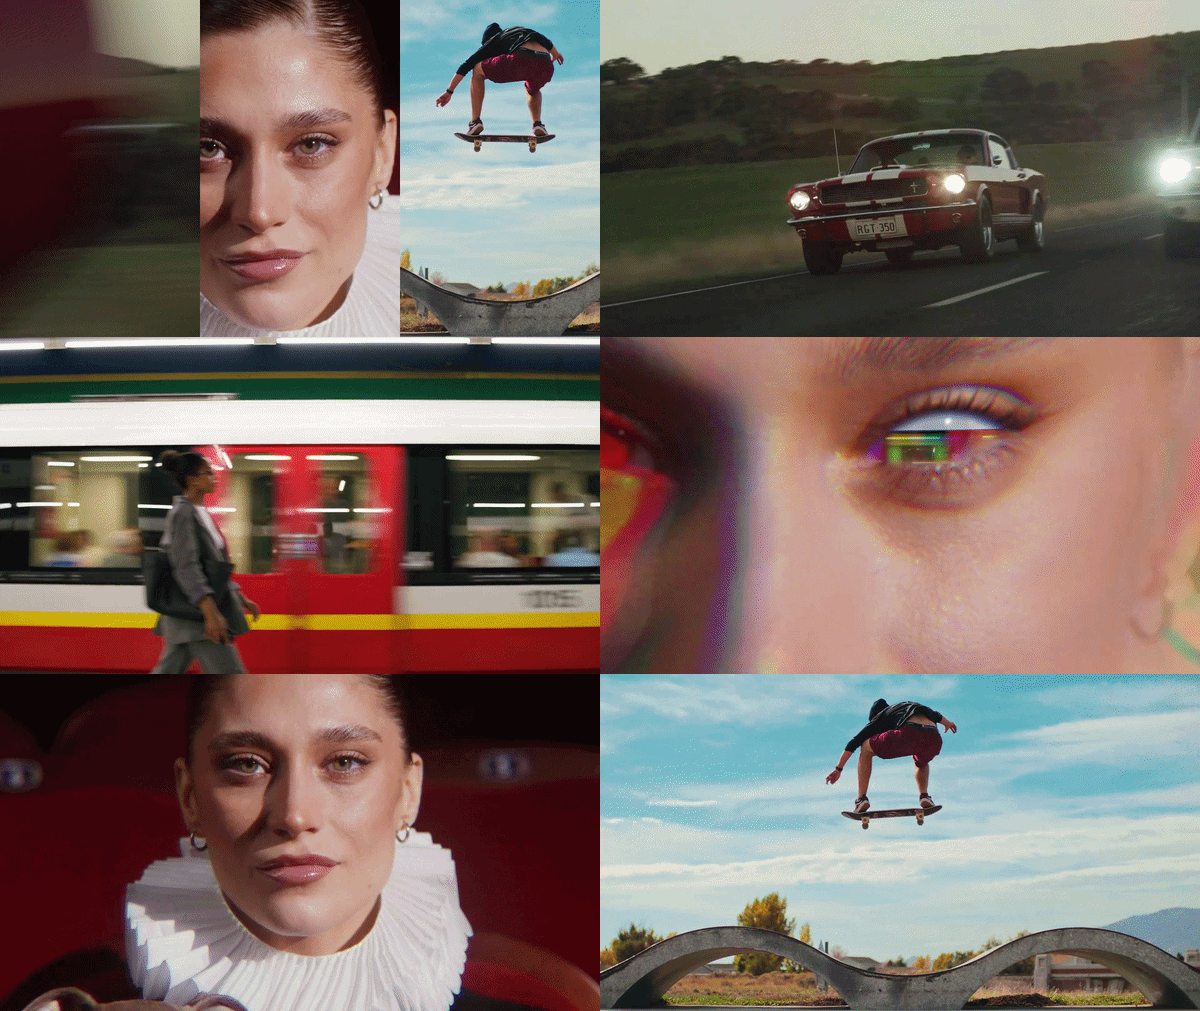
Cinematic Storytelling
You don't always need expensive equipment or complicated visual effects software. Sometimes a well-placed masking technique is enough to transform an ordinary shot into something memorable. You can use creative transitions into one continuous shot for a stylized, dreamlike effect.
Tutorials and Product Demos
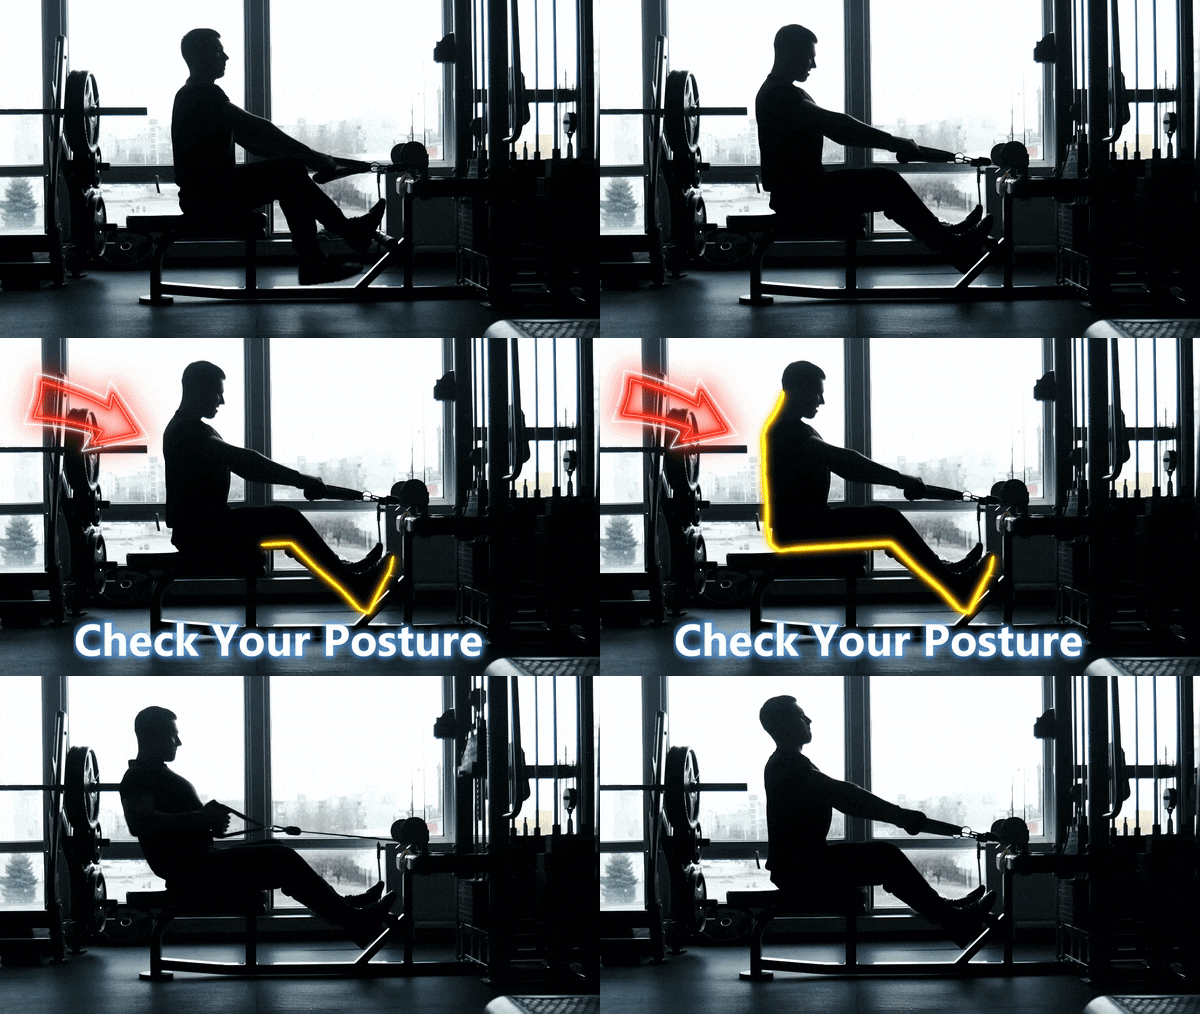
One of the biggest challenges when making tutorials is helping viewers know exactly where to look. Instead of repeatedly saying, "Click this button," you can simply use a masking technique to guide their eyes.
Conclusion
Masking in video editing looks intimidating from the outside, but once you break it down into shapes, tracking, and a bit of AI assistance, it's really just another editing habit to build. From blurring a face to building a cinematic reveal, the masking techniques in this guide cover almost everything you'll run into as a creator, and the more you practice them, the faster they'll become second nature.
If you're ready to actually put these skills into practice, Wondershare Filmora is a genuinely solid place to start. With its combination of AI Masking, customizable shape masks, the Pen Mask Tool, motion tracking, and advanced controls, it's one of the few editors that scales with you as your masking skills grow.
FAQs
-
What's the difference between masking and cropping a video?
Cropping permanently removes the outer edges of a video frame, making the visible area smaller. Masking, on the other hand, lets you hide or reveal specific parts of a clip while keeping the original footage intact. -
Can I use multiple masks on the same video clip?
Yes. Many modern video editors, including Wondershare Filmora, allow you to combine multiple masks within the same project. For example, you might use one mask to highlight a product while another creates a text reveal effect or selectively adjusts lighting. -
Do I need motion tracking every time I use a mask?
Not necessarily. If your subject or camera stays still, a static mask usually works perfectly. Motion tracking becomes useful when the masked object moves across the frame, helping the mask stay aligned automatically without requiring manual adjustments for every frame. -
How can I make my masks look more natural?
One of the best masking tips is to avoid hard edges whenever possible. Adding a small amount of feathering helps the mask blend smoothly into the surrounding footage. It's also worth taking a moment to fine-tune the mask's position, size, and tracking, especially for moving subjects.
