
 100% Security Verified | No Subscription Required | No Malware

Premiere Pro is a powerful editing program that lets you create and edit clips using its wide range of features and tools to make professional-looking videos. The best thing about the software is that you can quickly blur the background of your footage to add a bit of depth and interest, as well as to make your subject stand out more.
To make things simpler for you, we’ve compiled this comprehensive guide to walk you through the step-by-step process of how to blur the background in Premiere Pro so that you notice a big difference in your videos!
In this article
Part 1. Why Do You Need To Blur The Video Background?
The blurred background effect is a useful technique used by many professionals to create a focus on the element in the video and remove any distortions. By doing so, they add emphasis on the most important on-screen subject and make it pop on the screen.
You may need to blur the video background for several reasons. Perhaps you're recording a tutorial and want to add focus on one element, or maybe you're filming a scene in a crowded public place and wish to minimize distractions in your video.
Blurring the BG can also be a way to add a creative touch to your video or make them more immersive, polished, and professional.
Part 2. How to Blur Video Background in Premiere Pro: A Step-by-Step Guide
Below, we’ve provided a step-by-step guide to help you blur the background in Premiere Pro:
Step 1: Import Your Video and Apply Gaussian Blur. First, launch Adobe Premiere Pro and import your video clip into the project. Drag the clip onto your timeline. Next, navigate to the "Effects" panel (Window > Effects). In the search bar, type "Gaussian Blur" and drag the effect directly onto your video clip in the timeline.

Step 2 Now, click “Window” in the top toolbar and select “Effect Controls” to open its panel. Scroll down to “Gaussian Effect” in the panel and increase the blurriness amount. This will make your entire clip blurry, including the subject/main element.
If the edges of your clips become dark, checkmark the “Repeat Edge Pixels” option to resolve this issue.
Step3 Next, you have to create a mask around the subject to unblur it. To do so, click the “Free Draw Bezier” under the “Gaussian Blur” option in the Effects Control Panel.

Now, in the Program Monitor window, trace the outline of the element/subject in your video. Make sure to bring the trace line to the original point.
Step4 Checkmark the “Inverted” option under the Mask Expansion header in the Effects Control Panel to make your background blurry. Click the “Play” icon to preview your video and if you find any hard edges around the subject, click “Mask” and choose the selection tool.

Now, make adjustments to the individual points in the outline. Click “Mask Expansion” and increase its value to expand the mask size. Then, click “Mask Feather” and decrease its value to soften the edges.
Step5 If your subject moves around in some parts, click the toggle next to “Mask Path” to create keyframes. Now, move through the timeline and adjust the mask on the subject to make a professional-looking video.

Finally, navigate to “File” > “Export” from the top toolbar, type your file name, specify a location and click “Export” to save your file on your PC.
Premiere Pro has great tools for blurring backgrounds, but they can take time to learn. Masking and tracking offer precision, yet not everyone needs that level of detail for every project. If you’re looking for a faster way to blur backgrounds, some video editing apps make the process easier. Read on to explore an alternative that keeps things simple without sacrificing quality.
Bonus Tips: Best Alternative to Premiere Pro To Blur Video Background
Wondershare Filmora gives you full control over your videos but in a simpler way. This video editing software offers various blur effects such as blur to clear, direction blur, mosaic, motion blur, and more. Keep things subtle for a polished look, or go for a stronger blur to highlight your subject.
Blurring video backgrounds for product ads, headshots, or creative projects is quick and easy. Define your subject, fade out the clutter, and produce eye-catching videos in a few steps.
 secure download

How To Blur a Video Background on a Desktop
Blurring a video background in Filmora is quick and straightforward. Here’s how to do it on the desktop version:
Step 1: Import Your Video
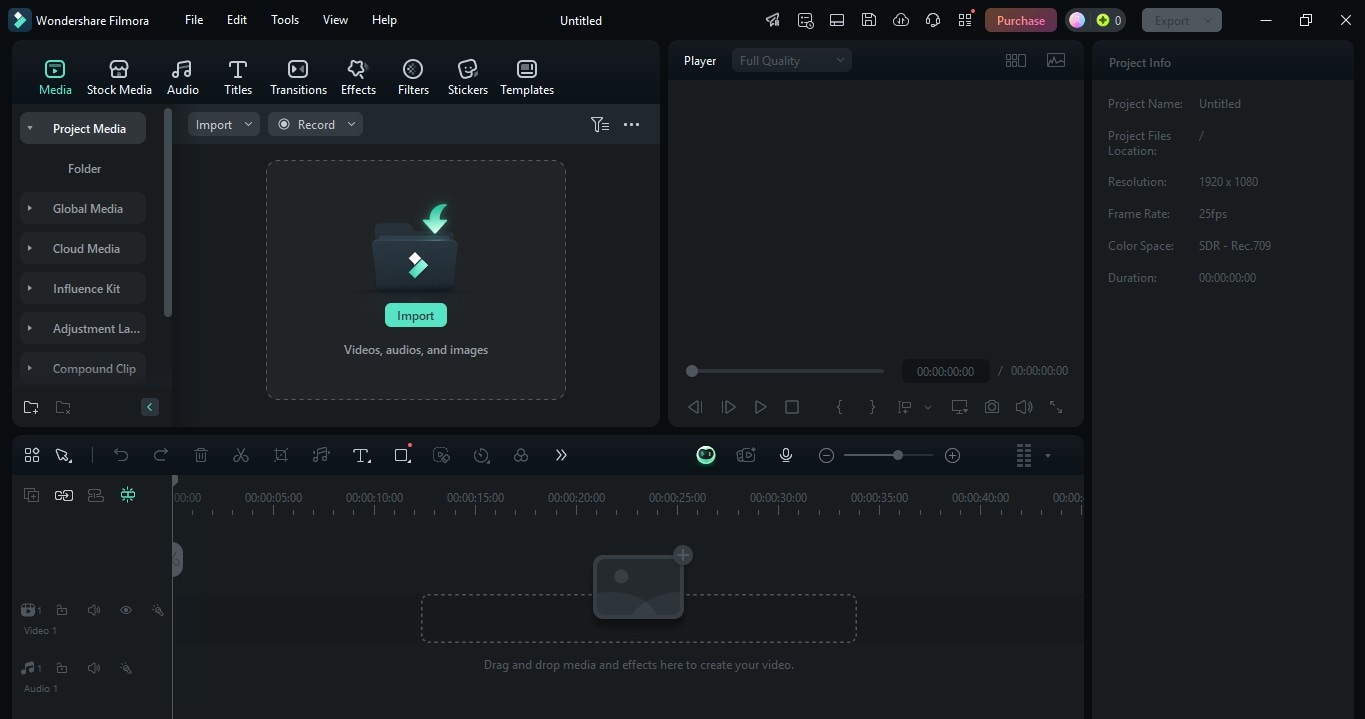
Log in, open Filmora and click New Project. Import or drag and drop your video into the Media library.
Step 2: Apply a Blur Effect
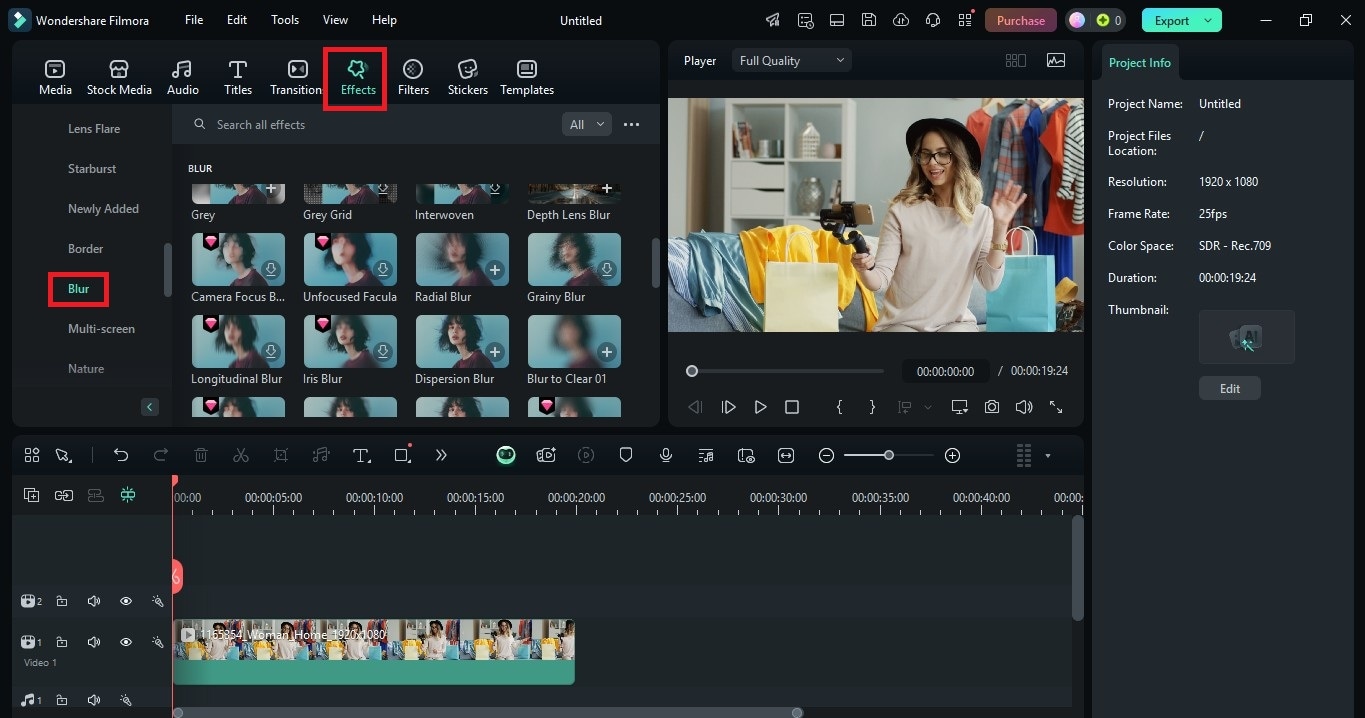
- Add the video to the editing timeline, then go to the Effects tab in the top navigation pane.
- Go to the Video Effects menu on the left and open the Blur category. You’ll see different blur styles, such as Depth Blur, Motion Blur, and Square Blur. Choose one that fits your project.
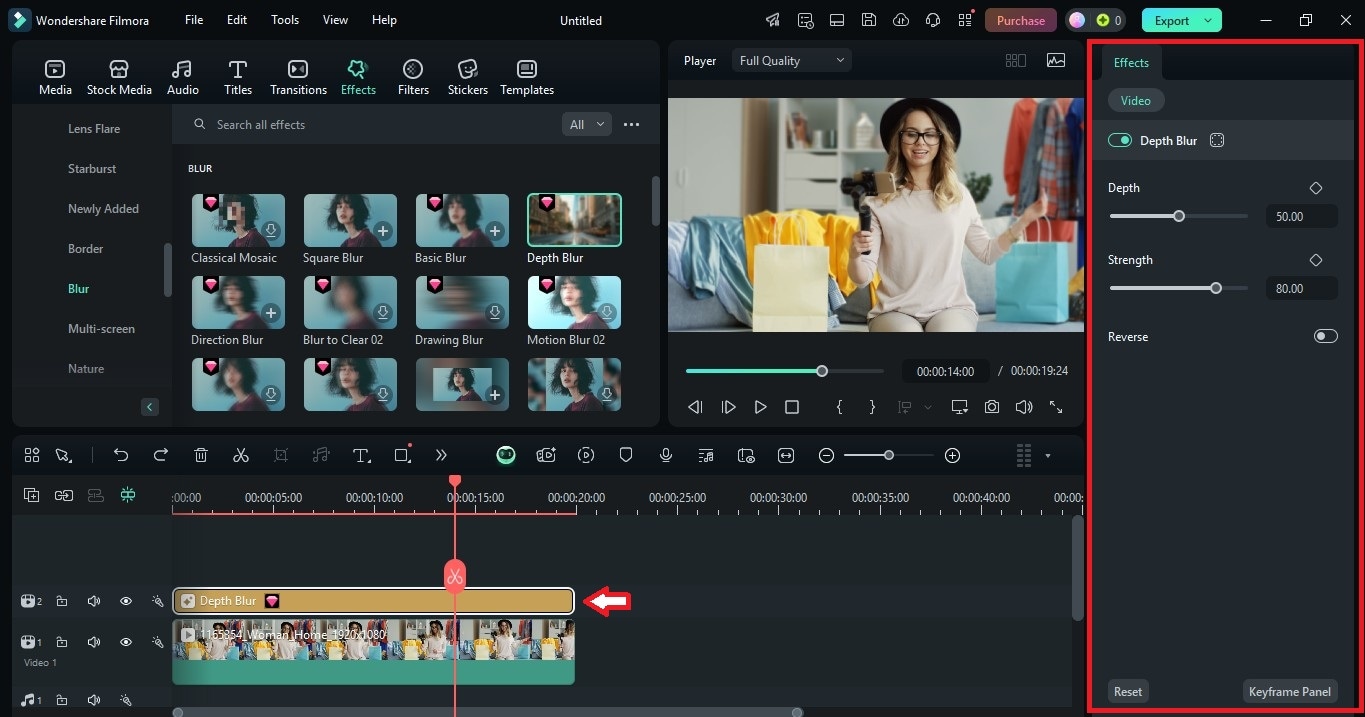
Step 3: Adjust the Blur Effect Settings
Place the blur effect on the timeline above your video clip and adjust the duration. Next, select it to open the Effect settings on the right panel. Adjust options like Opacity, Depth, and more, depending on the blur effect.
Step 4: Export Your Video
Once satisfied with the blurred background effect, continue editing or click Export in the top right corner to save the video.
secure download
How To Blur Parts of a Video Background on Mobile
Here’s how to blur the background of a video in the Filmora mobile app:
Step 1: Launch the Filmora mobile app and tap New Project. Select and import a video from your gallery.
Step 2: There are two ways to blur a video in Filmora for mobile:
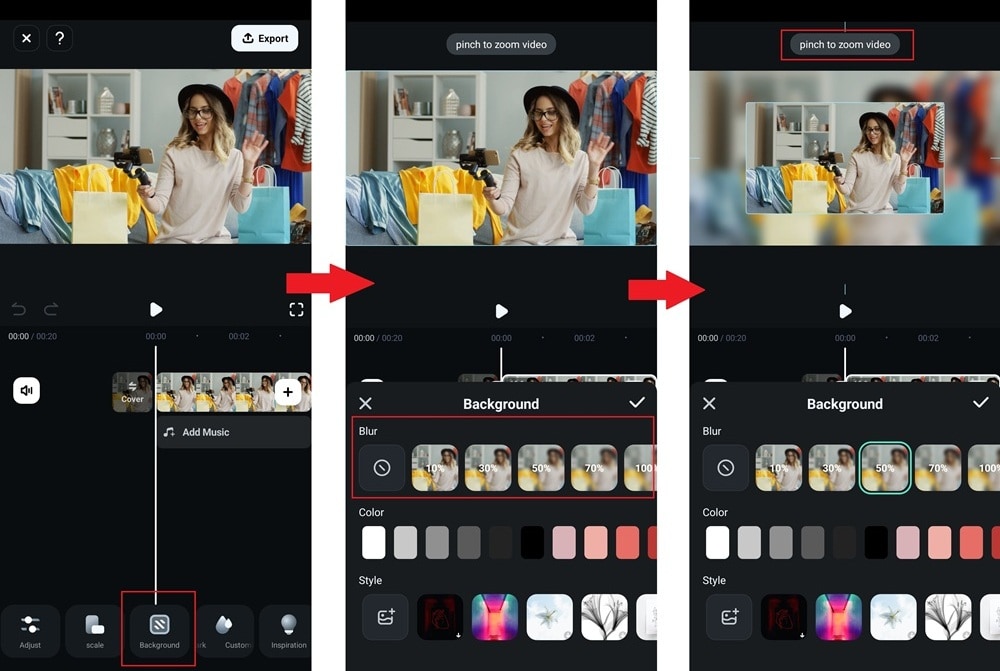
- Option 1: Scroll through the bottom menu and tap Background. In the Blur section, choose a blur effect with the level of intensity you prefer. Then, pinch the video on the preview to zoom out.
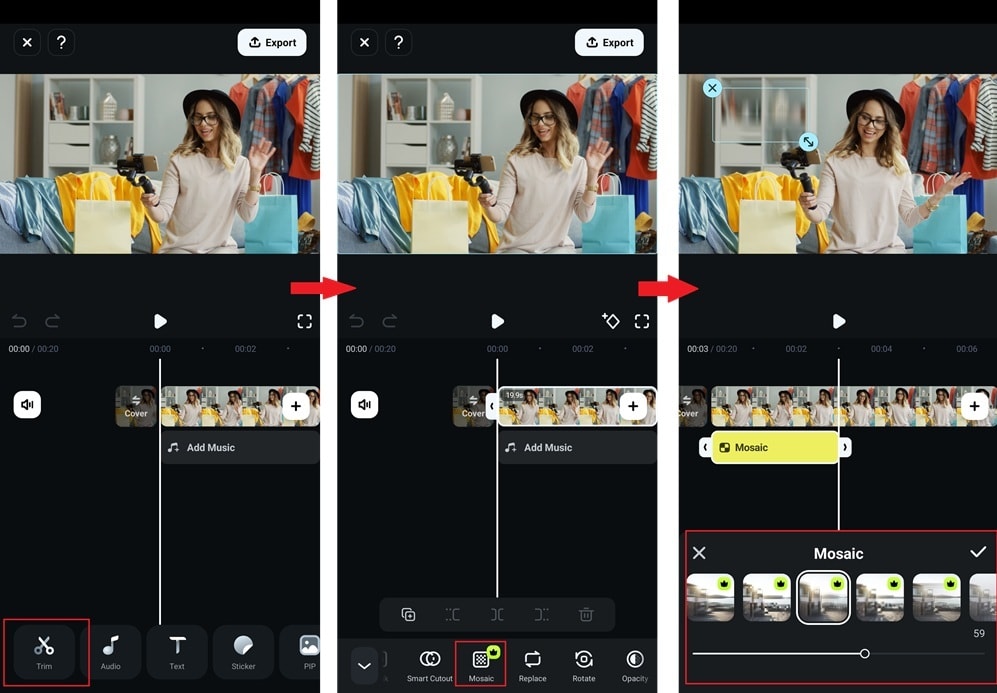
- Option 2: Tap Trim from the bottom menu, then scroll to Mosaic. Choose a style, adjust the blur intensity with the slider, and place the effect where you need it in the preview.
Step 3: Set how long the blur effect lasts on the video background, then export the video.
secure download
Last Words
In this detailed guide, we've discussed why you need to blur BG in a clip. We also provided an extensive guide on how to blur the background in Premiere Pro to make your video more professional and engaging.
In the end, we explored the step-by-step method of creating blur backgrounds in a video using Filmora software – the best and easy-to-use alternative to Adobe Premiere Pro.
Hopefully, you've found this article helpful and can now make engaging videos with blur backgrounds using Adobe Premiere Pro.
