
 100% Security Verified | No Subscription Required | No Malware


 ChatGPT
 Perplexity
 Gemini
 Claude
 Grok
Grok
Creating professional-looking videos is easier than ever with green screen video. Whether you want to transport yourself into a virtual set, add motion backgrounds, or enhance your YouTube content, chroma key editing helps you tell richer stories without advanced gear.
With Wondershare Filmora, removing backgrounds and adding overlays takes just a few clicks. Even beginners can build stunning edits using drag-and-drop templates, chroma key presets, and visual effect packs. In this guide, we'll show you exactly when to use green screen, how to edit it inside Filmora, and how to avoid common mistakes.
In this article
Introduction to Green Screen Editing
When and Where to Use Green Screen Footage
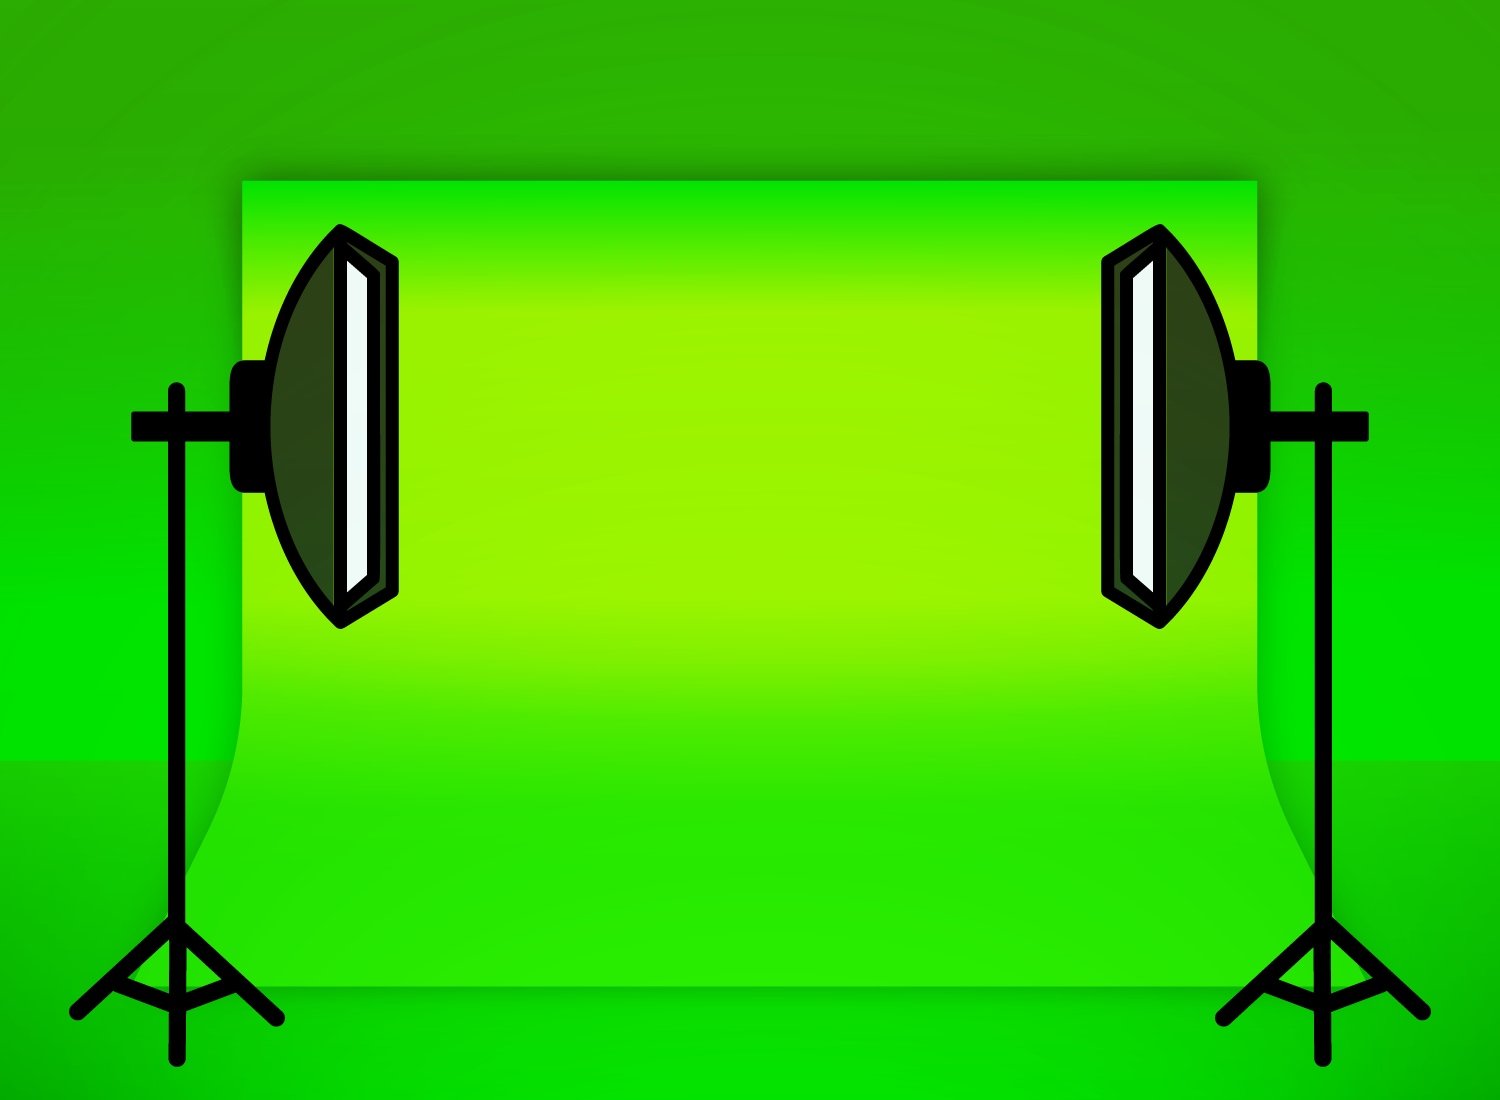
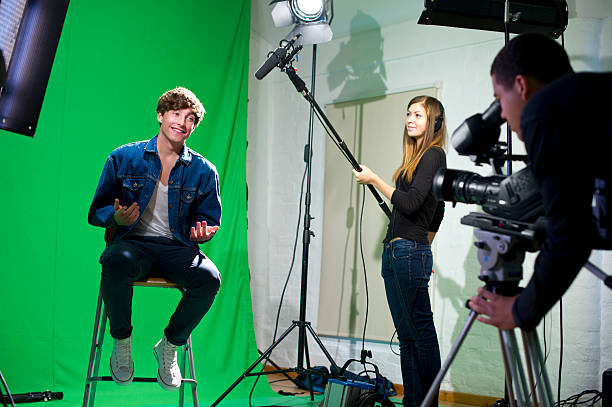
Green screen footage allows you to record a subject in front of a solid background (usually green), which can then be replaced during editing. This technique gives your video more control and flexibility, perfect for:
- Tutorials: Add yourself to a screen recording or slideshow
- Product Reviews: Keep your video clean with branded backdrops
- Entertainment Content: Create skits, fantasy scenes, or fun backgrounds
- YouTube Intros: Drop into colorful sets without needing a physical studio
Where it works best:
- YouTube channels (educational, gaming, commentary)
- Product explainers and commercials
- Virtual events and e-learning videos
- Short-form content like TikTok and Instagram Reels
When done well, green screen makes your video feel more polished, even cinematic.
Editing Workflow Integration
Green screen editing is a key part of the compositing phase in video production. Here's how it fits into the workflow and what techniques are often used alongside it:
- Used During Post-Production / Compositing Phase - Editing of green screen footage is done during the post-production phase. This is the stage when the footage is taken through chroma keying to strip the background and replace it with a new one.
- Combined with Chroma Keying Tools - Chroma keying makes it possible to isolate and remove the green background. Filmora's tool is quite basic, but with adjustable edge settings, clean results can be achieved.
- Often Paired with Motion Backgrounds - Instead of stylized images, editors prefer to use animated or looping video backgrounds.
- Layered Titles and Text Graphics - After switching out the green screen, you can add brand names or even infographics over the video.
- Works with Keyframe Animations - Keyframes are extensively utilized by editors to bring into motion text, backgrounds, and various other components.
Filmora Ready-to-Use Resources
Filmora Resource Suggestions
Filmora offers a wide array of built-in tools and effects designed specifically to support green screen video editing. These resources help streamline the editing process and elevate the quality of your final output—even if you're new to video editing.
- Chroma Key Presets - These are ready-to-use effects that make green screen editing quick and intuitive.
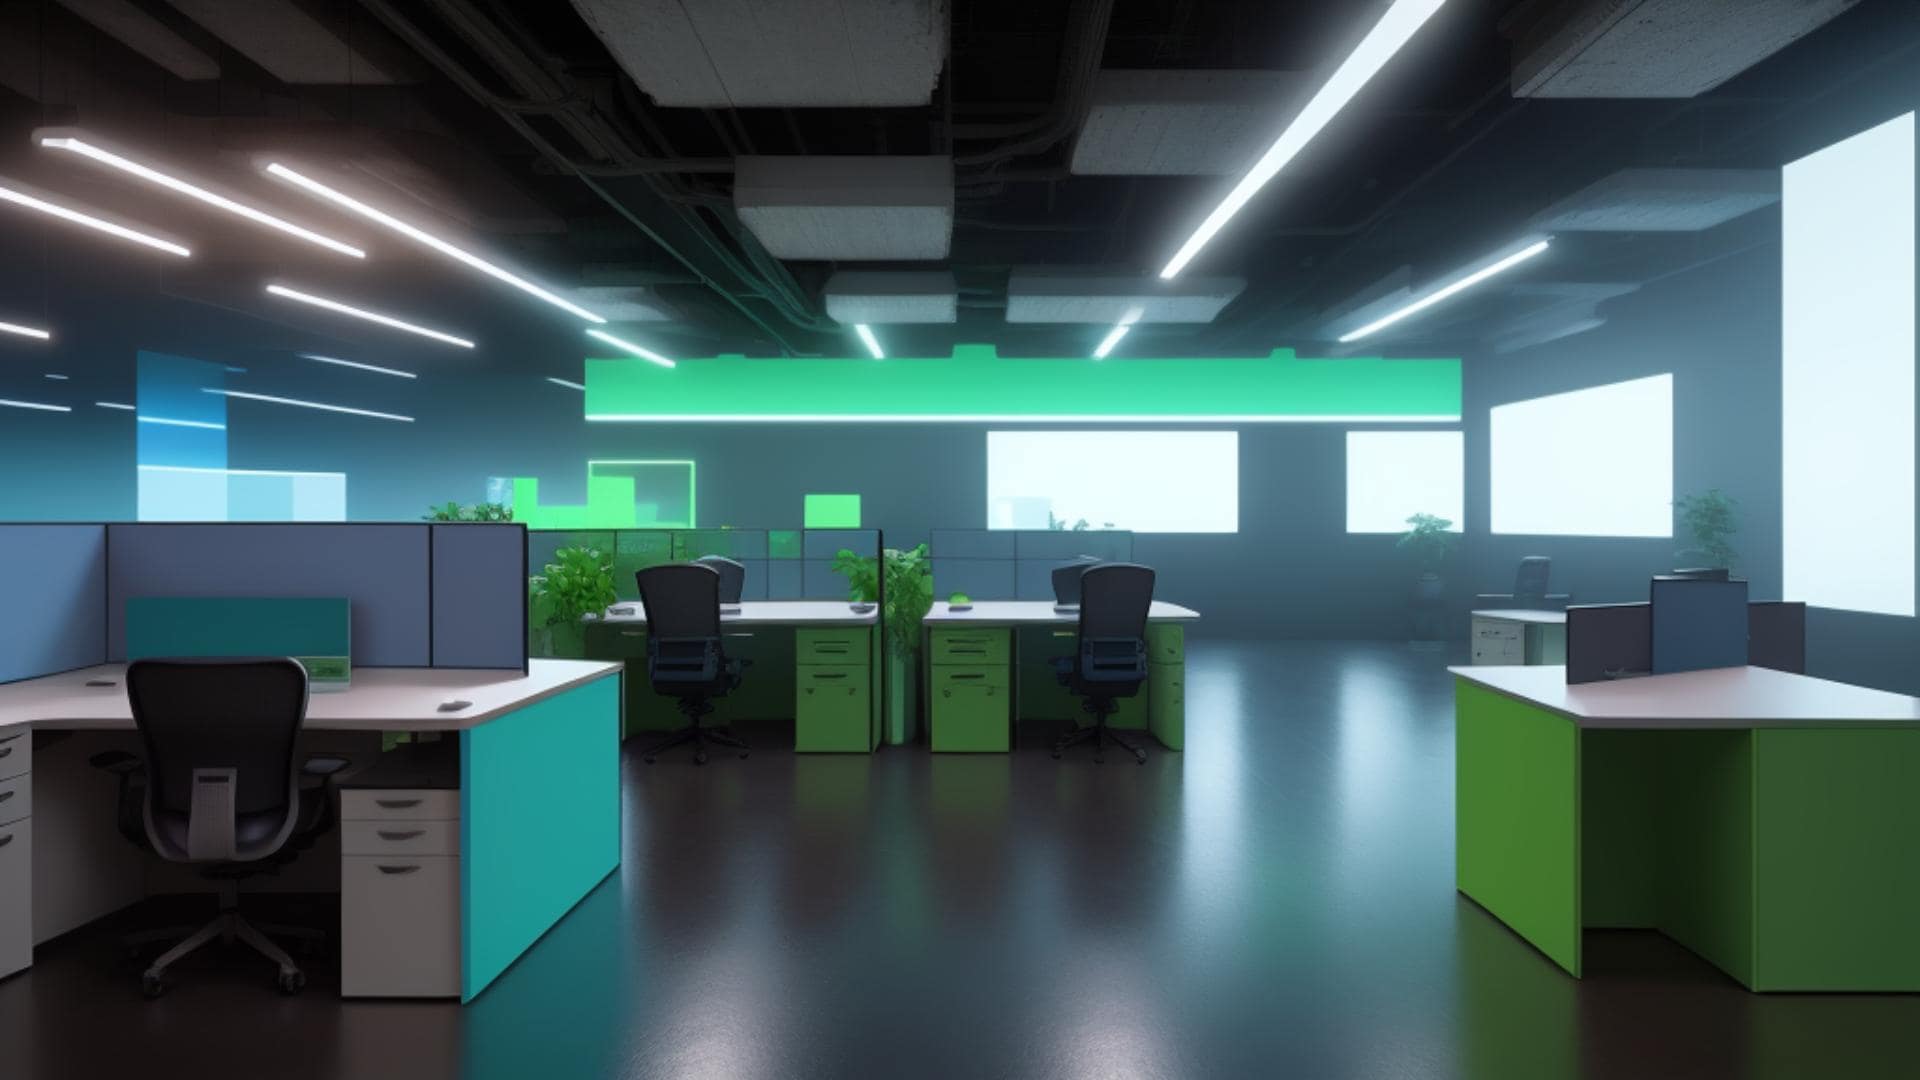
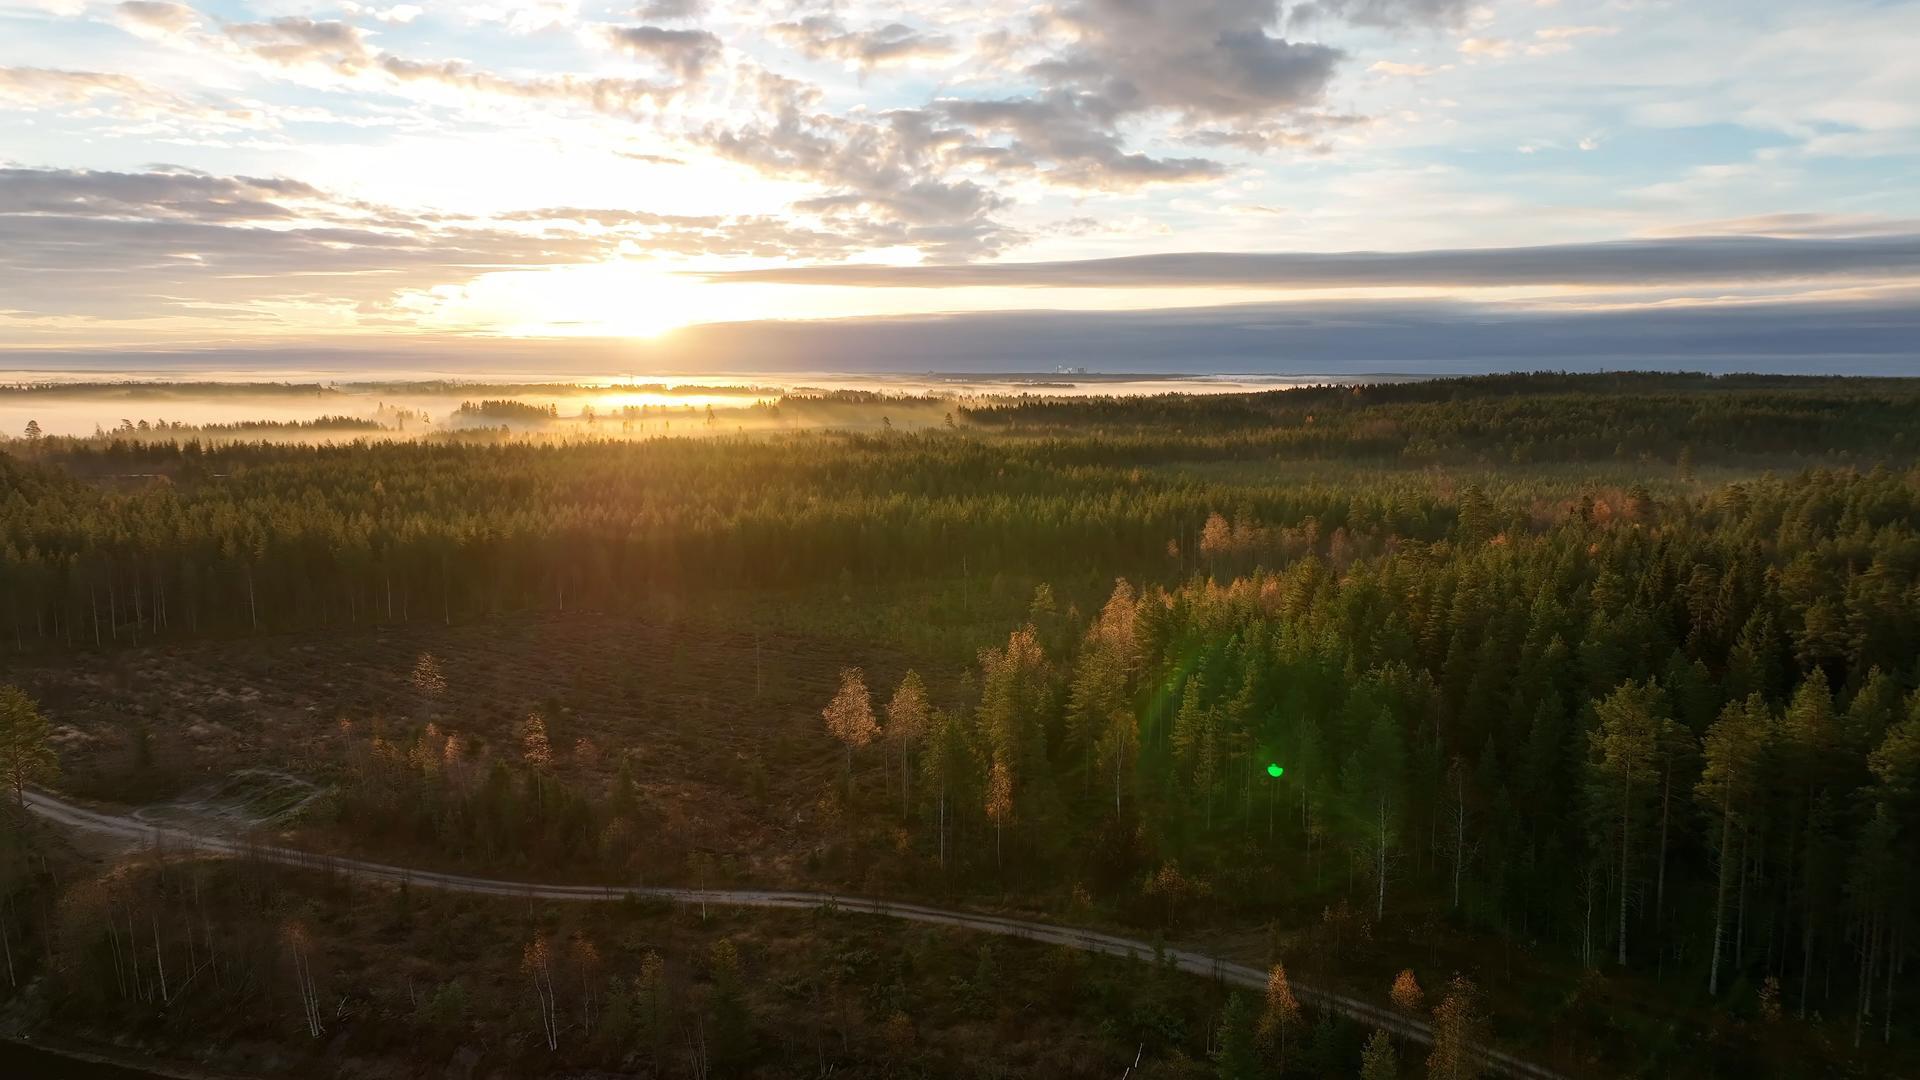
- Virtual Background Templates - Filmora includes a variety of backgrounds, from modern office spaces to abstract graphics and scenic landscapes.

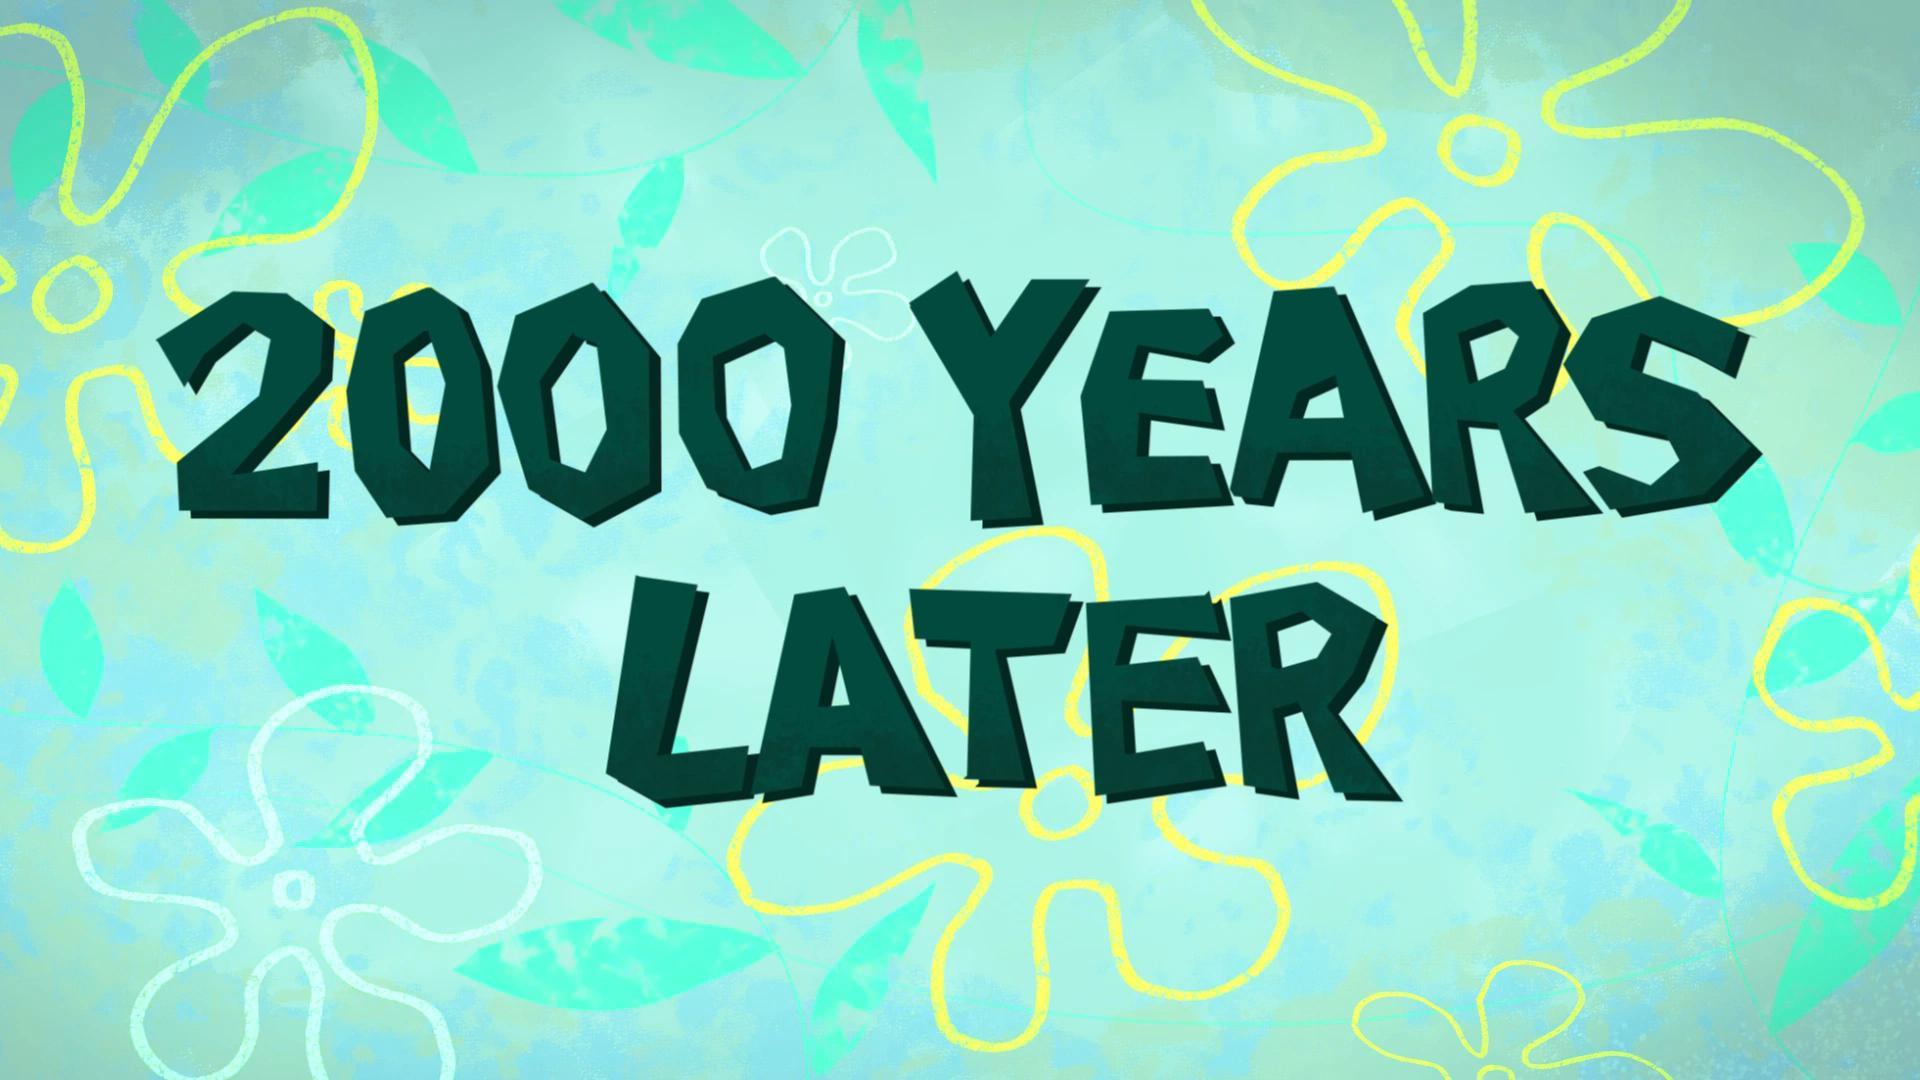
- Floating Green Screen Elements - These are pre-keyed graphic elements (like emojis, arrows, or hand gestures) that can be layered over your footage.


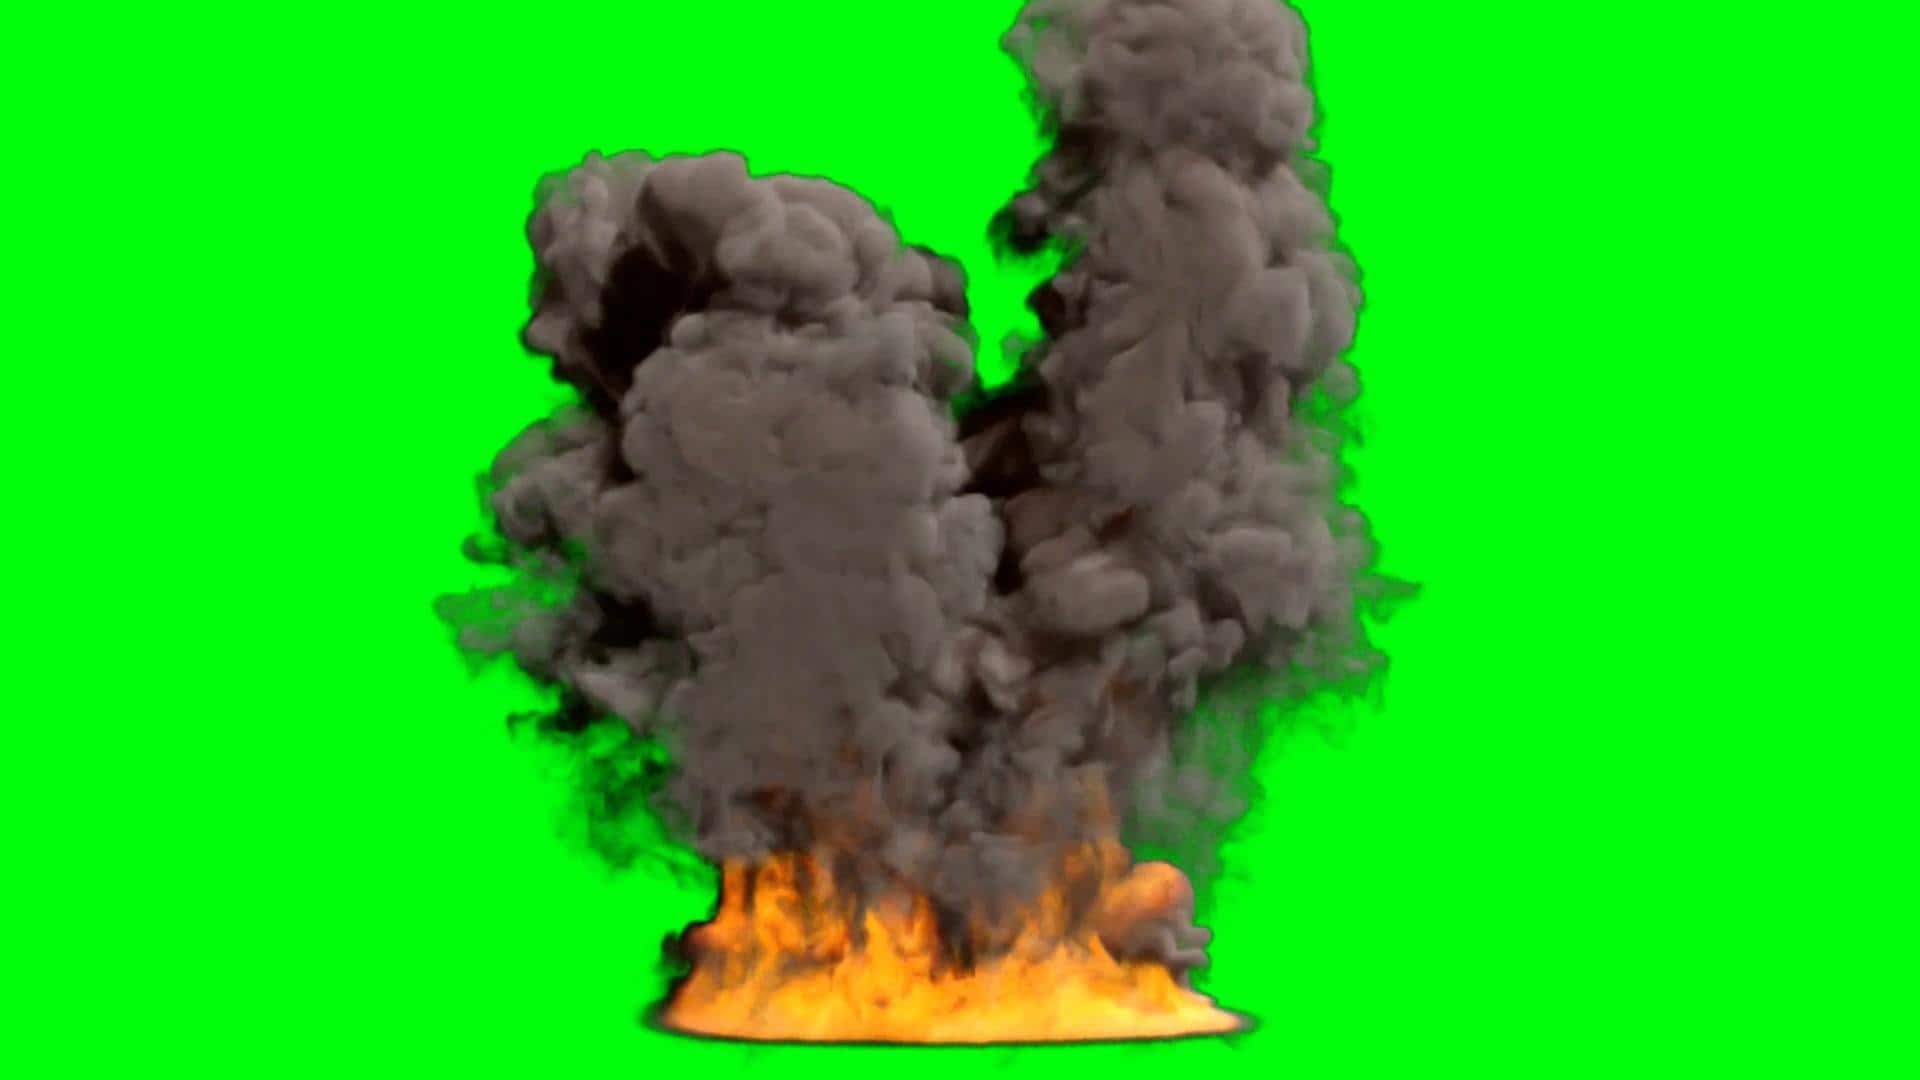
- VFX Packs (Explosions, Weather, Transitions) - Whether you want to simulate rain in a dramatic scene or add comic-style explosions for a skit.

Step-by-Step Guide
Creating a green screen video is not that hard with Filmora's help. Here's how to edit green screen footage in Filmora from start to finish:
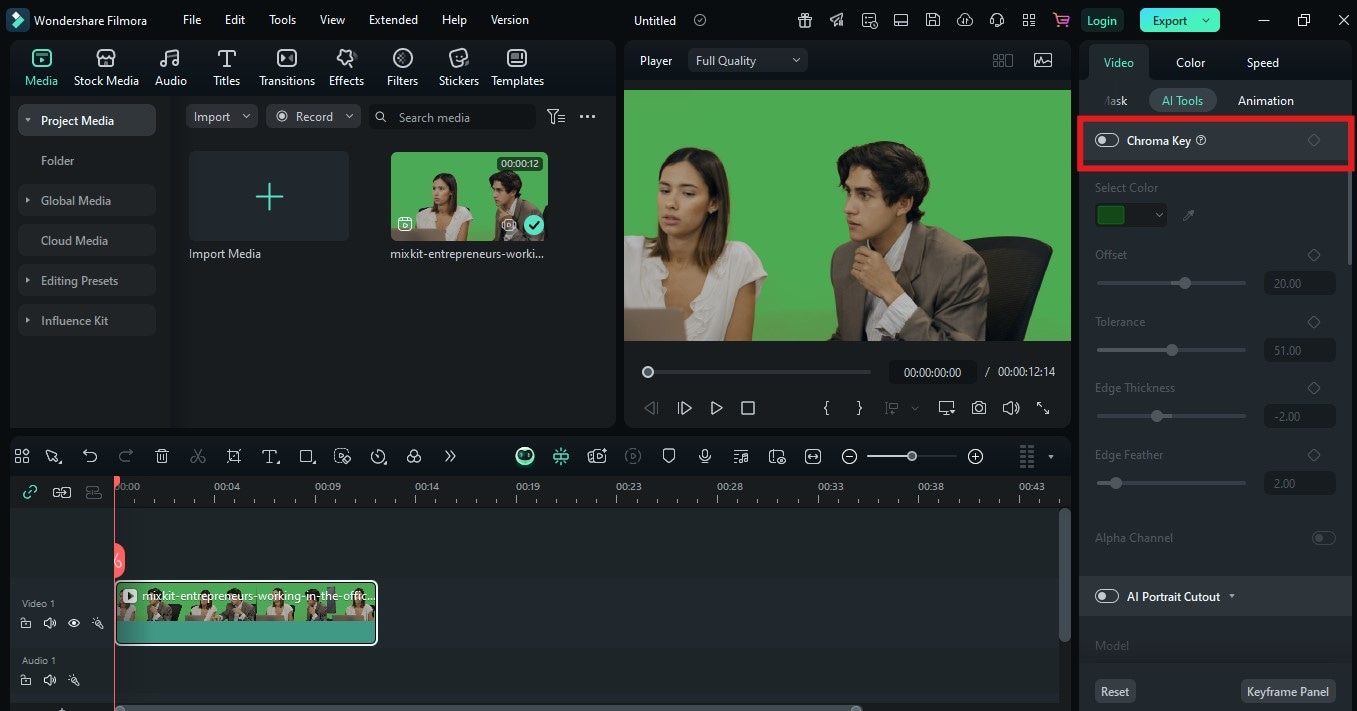
Step1Import Your Footage - Start a new project and drag in your green screen video along with any backgrounds or visual elements.
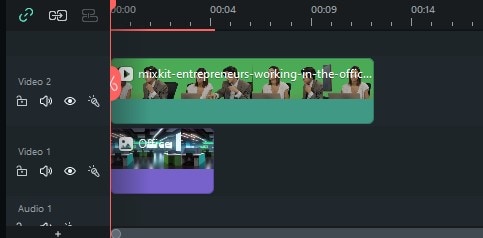
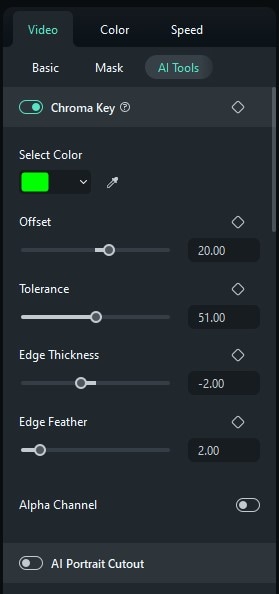
Step2Apply Chroma Key - Click your green screen clip. Under the "Video" tab, turn on the Chroma Key toggle.
Step3Add a Background - Drop your background (video or image) underneath the green screen clip.
Step4Adjust Lighting & Edges - Use feathering and edge thickness to blend your subject into the new background.
Step5Add Titles, Effects, or Stickers - Now that your footage is clean, enhance it with lower thirds, motion text, or VFX overlays.
Step6Export in Your Desired Format - Once everything looks right, hit "Export." Choose MP4 for web sharing.
Best Practices and Related Techniques
Good Practices
To get the most professional and realistic results from your green screen footage, keep these essential best practices in mind:
- Ensure Even Lighting on the Green Screen - Bright or dark areas caused by uneven lighting make chroma keying more difficult.
- Minimize Green Spill on Your Subject - A green spill occurs when light reflects off the green screen onto your subject.
- Use High Contrast Between Subject and Background - Ensure your subject doesn't wear green or similar colors.
- Shoot in the Highest Resolution Possible - The details captured from your camera directly influence how clean your green screen key will be.
- Preview Your Work in Full Resolution Before Exporting - Always check the final composite in full resolution.
- Record in a Controlled Environment - Avoid filming near windows or using mixed lighting.
Creative Add-Ons for Realism
Looking to go beyond basic edits? Try these advanced yet simple techniques:
- Light Wrap Effects - Simulate the way natural light would "wrap" around your subject by using glow or shadow effects.
- Background Blur - Use a motion blur or soft-focus filter on your virtual background.
- Camera Motion - Use keyframes to add zooms or pans.
Conclusion
Editing with green screen video can change everything about your videos, including their appearance and overall vibe. The good news is that you can do this without spending a lot of money on software, or requiring years of experience. Filmora offers preset chroma keys, motion backgrounds, and drag-and-drop effects so you can create professional-looking green screen movies in just a few minutes.
Whether you're producing content for YouTube, social media, or work presentations, this is your chance to elevate your storytelling. All it takes is the right footage and the right tools.
 secure download

