


 100% Security Verified | No Subscription Required | No Malware


 ChatGPT
 Perplexity
 Gemini
 Claude
 Grok
Grok
Creating slideshows is a simple yet intricate process that requires creativity, tact, and even an eye for storytelling. When done properly, they can give both you and your audience a fun experience while trying to re-live memories or even visualize ideas.
When it comes to creating slideshows, Mac is undoubtedly a trusted partner to bring your ideas to life. In this article, we will explore some of the ways to create slideshows on Mac. From using built-in applications to external but efficient tools, you will find all the answers you need in this article.

In this article
Part 1. Create MacBook Slideshows with the Best Video Editor
One of the most straightforward and reliable ways of creating a Macbook photo slideshow is by using a dedicated and reliable external software application. These tools are specially designed to make the slideshow creation process easier by using editing features and effects to make the final media more appealing.
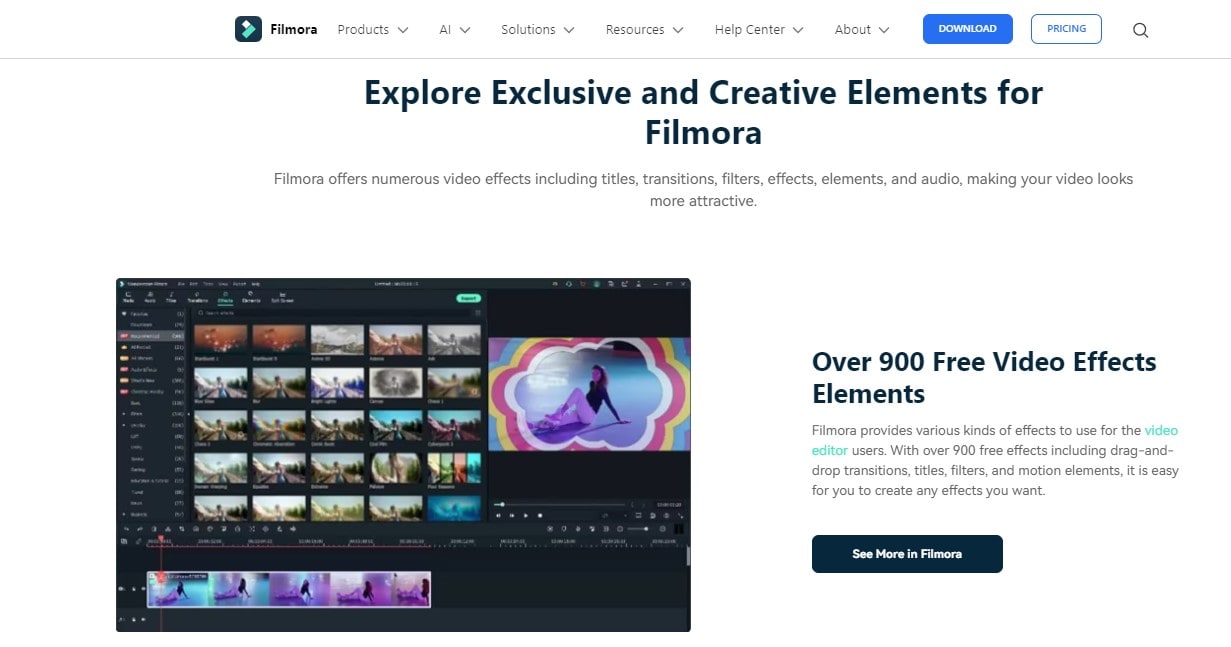
Known for its easy-to-use yet effective features, Wondershare Filmora is definitely a great place to start if you want to make exceptional slideshows on Mac. Here are some of the top features Filmora possesses that make the tool the best slideshow creation software for Macbooks:
- Amazing video effects to make your slideshow more fun and engaging.
- Smooth transitions to give your Macbook photos slideshow an appealing feel.
- A drag-and-drop functionality that allows you to arrange your slideshow pictures and even videos in any order you want.
- Filmora allows you to add text effects to give your slideshows an added edge.
- Filmora allows you to apply stunning filters, stickers, and audio to set the right mood for your slideshows.
The best part about Filmora is that navigating the platform is extremely easy. All you need to do is download the app from the official website and follow the steps below:
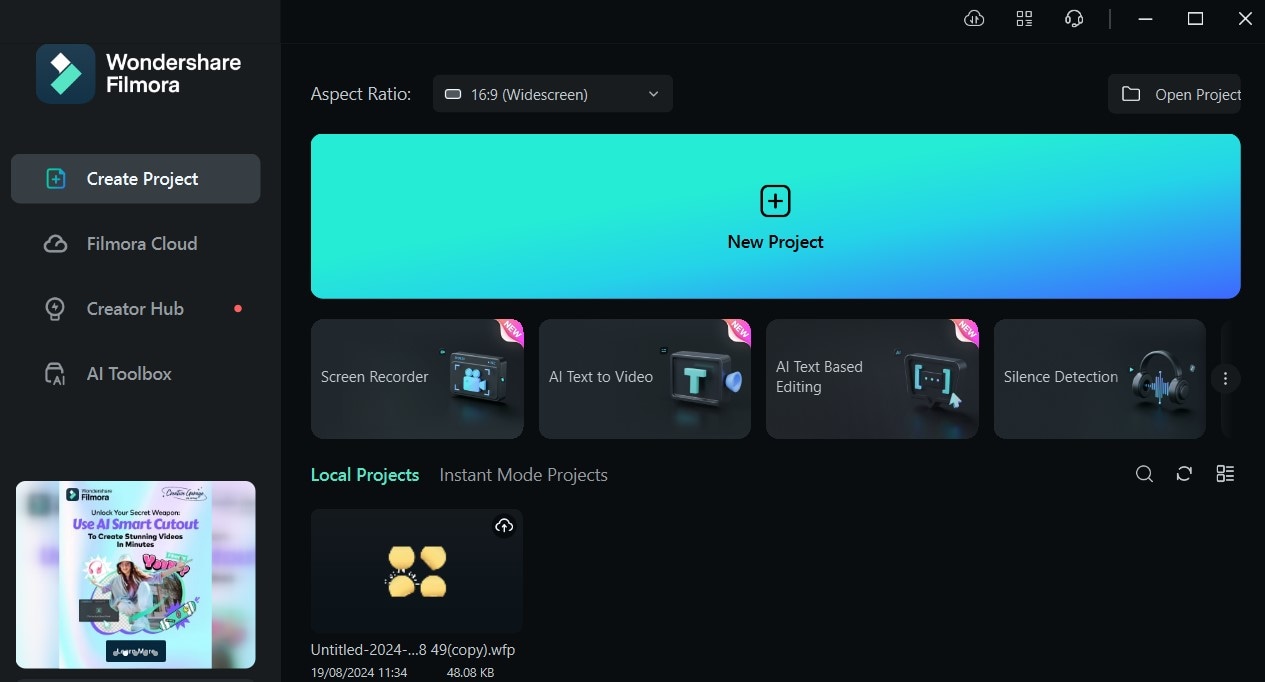
Step 1: Click on New Project and import your pictures and videos to the editing suite.
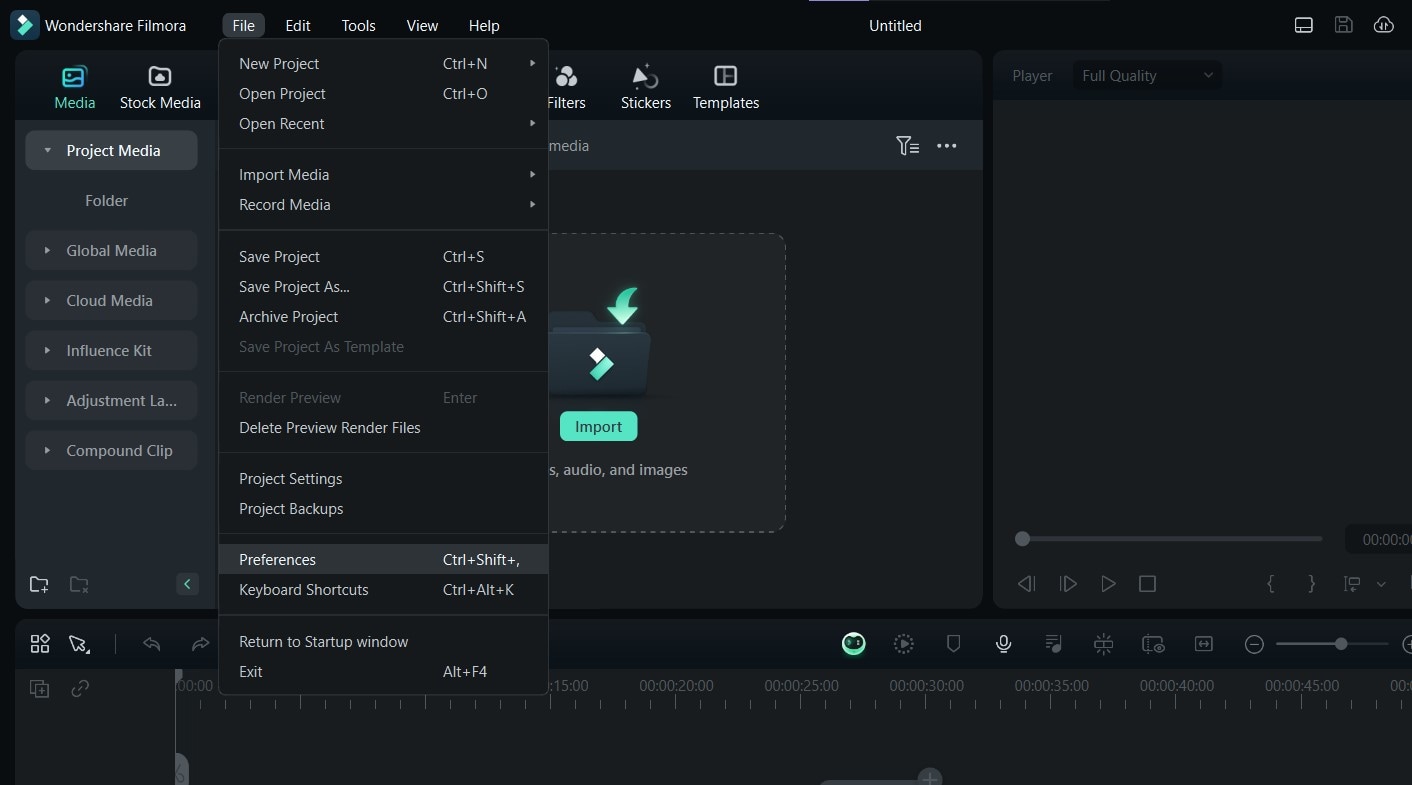
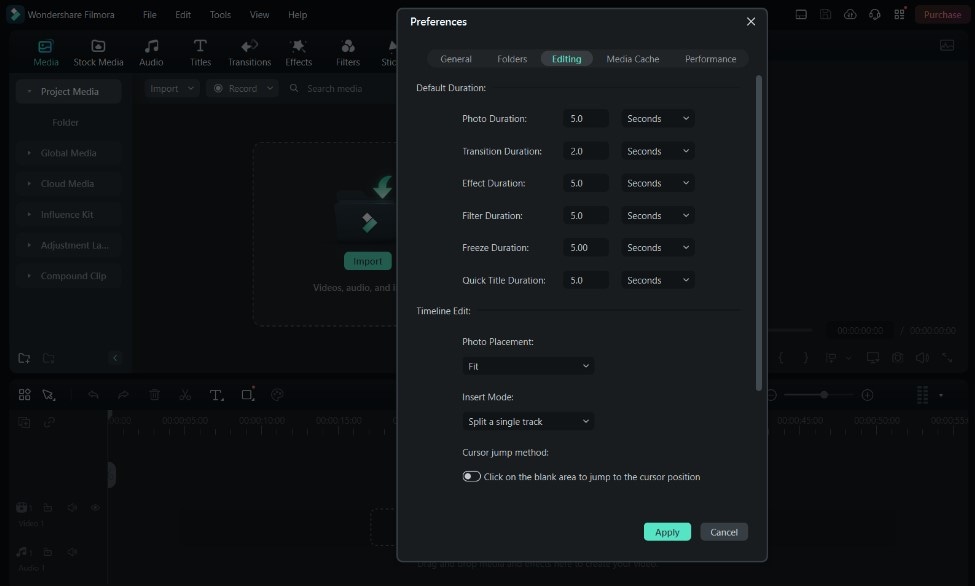
Step 2: Go to the File tab at the top of your screen and choose Preferences from the drop-down menu. Then, switch to the Editing tab and adjust the media duration, photo placement, and fit.
Step 3: Click on Apply to incorporate your settings into the editing suite. Then, Drag and drop the pictures and videos from the media tab to the timeline, arranging them in the order you want. You can also select all the media you want and add them at once to the timeline.
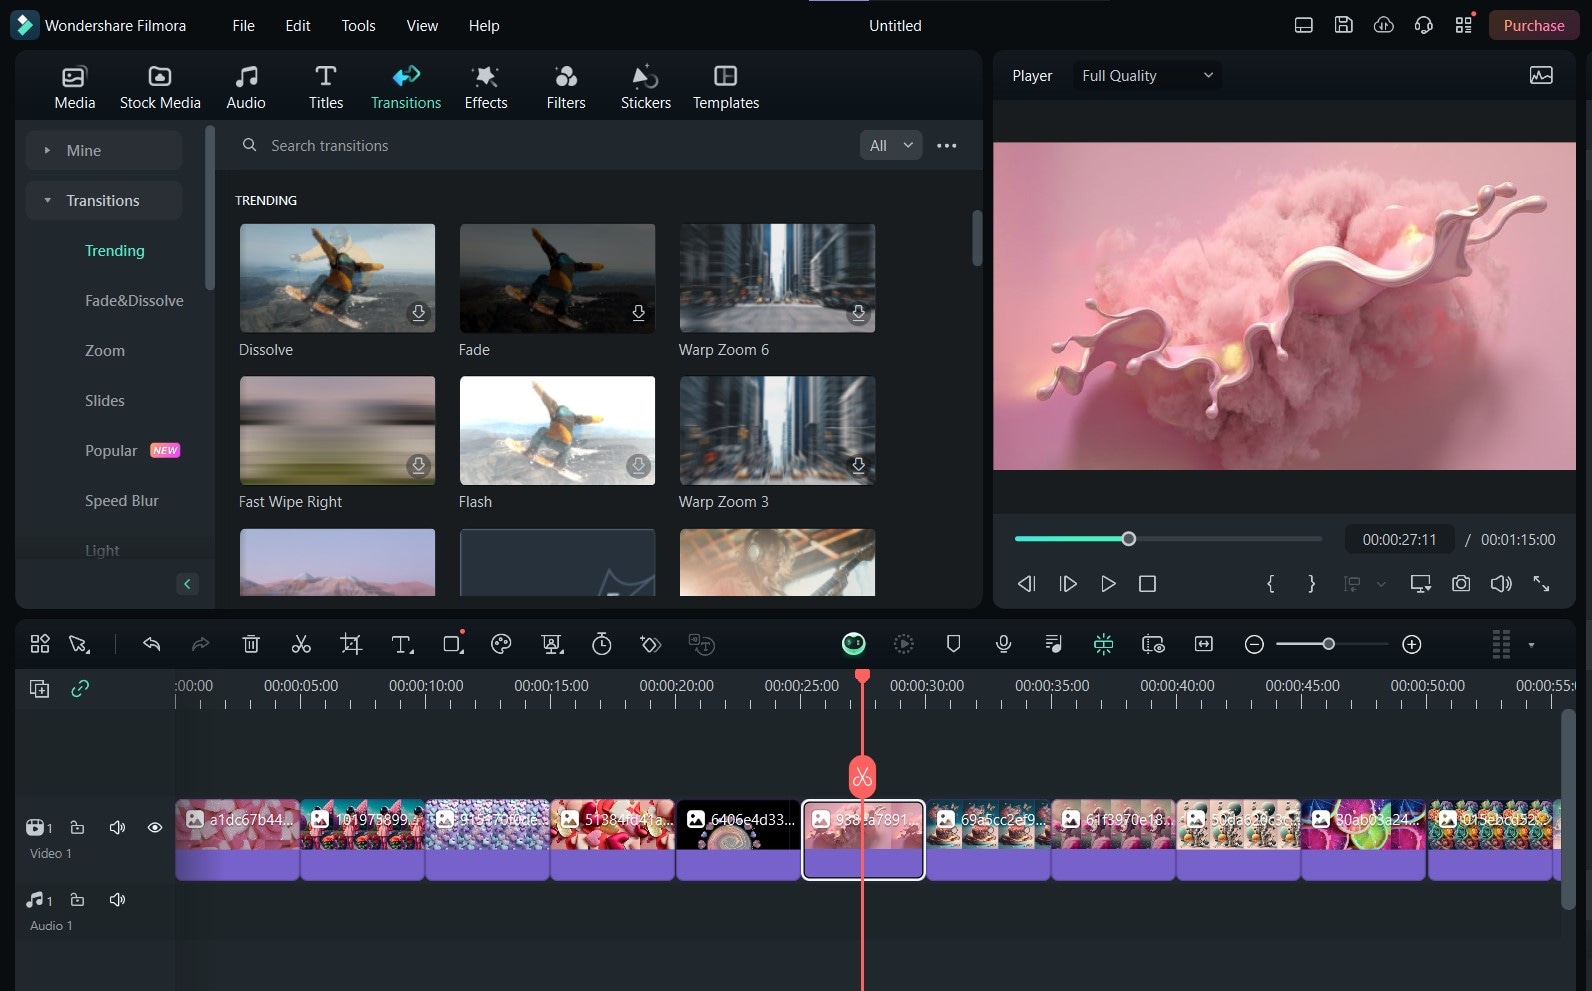
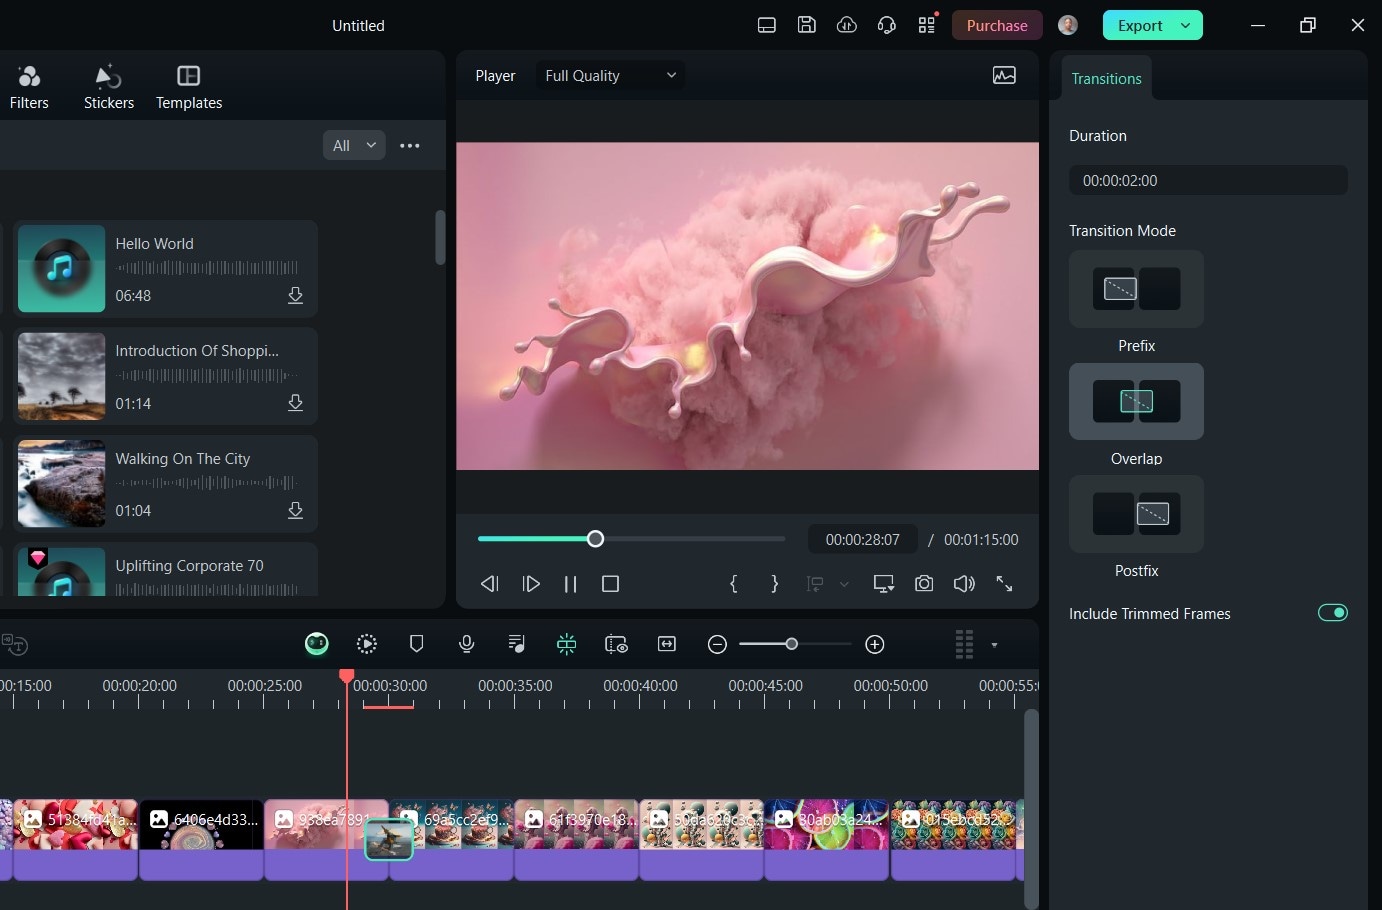
Step 4: Go to Transitions and choose the ones you want. To apply them, drag and drop your preferred transition to the right position on your timeline. You can access the transition settings on the right-hand panel and adjust its properties or customize it to your taste.
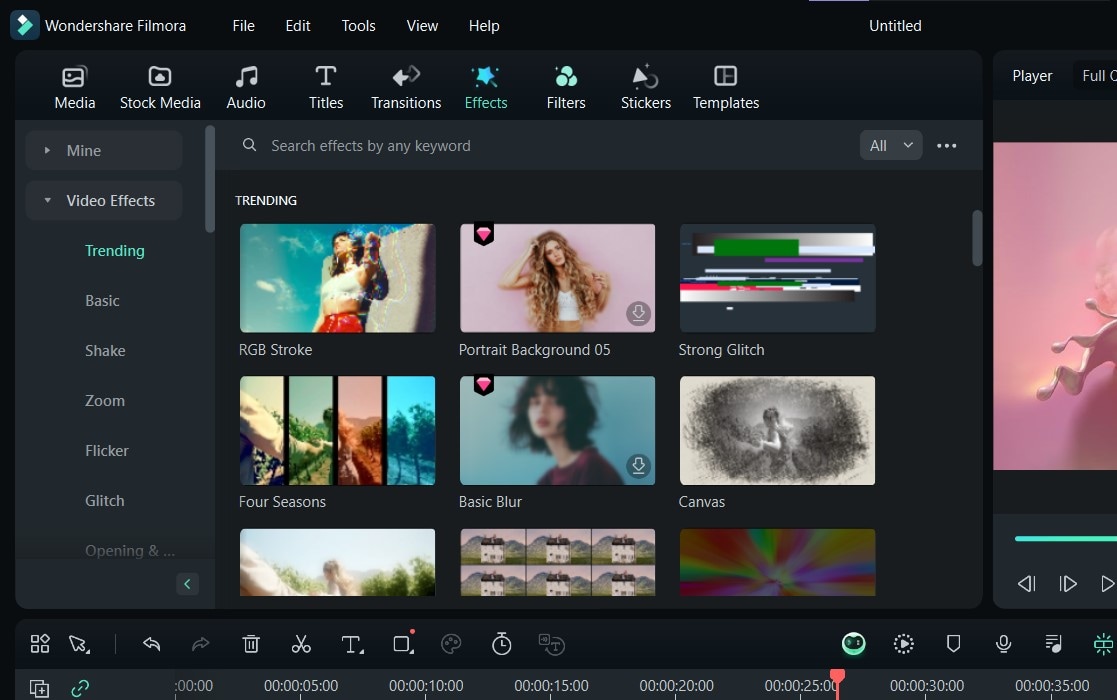
Step 5: Then, you can apply effects and filters to set the mood for the slideshow. To access them, go to the Effects tab and make your selection. You can also click on Filters to access Filmora’s filter library.
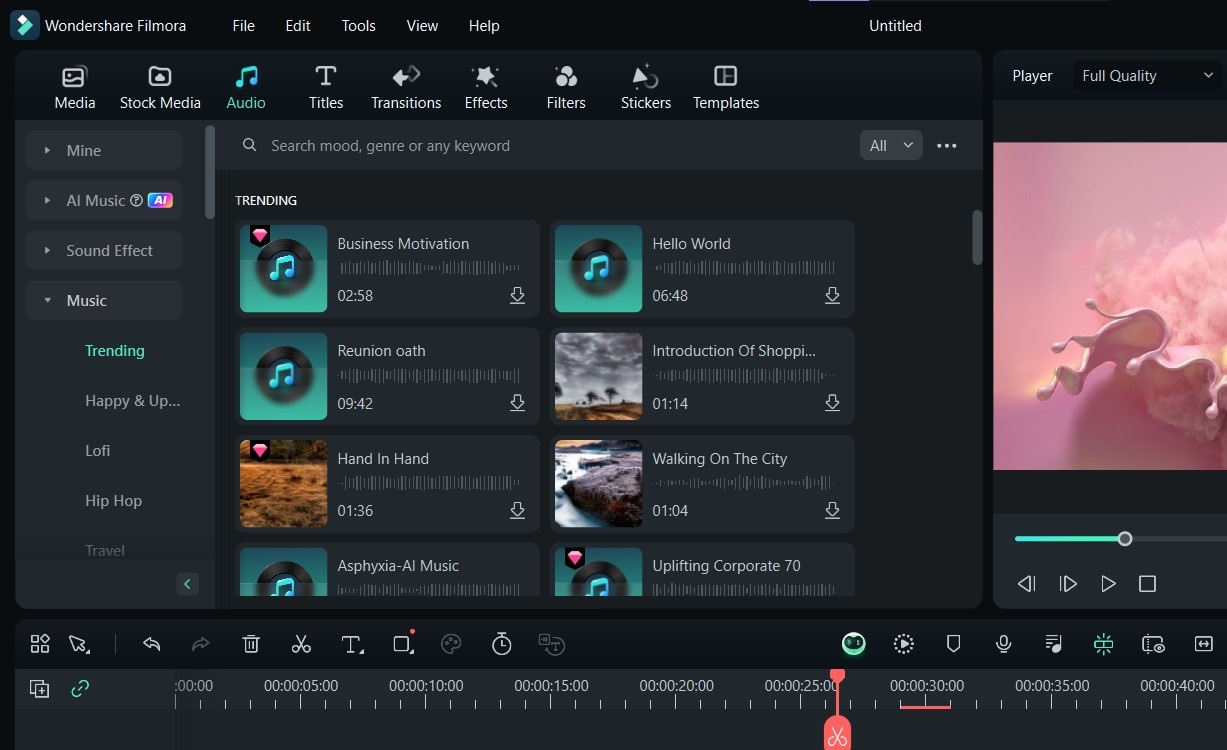
Step 6: Finally, add your preferred audio. You can either click on Audio to add designated Filmora sounds or import our audio to the editing suite.
Step 7: Once you’re done, preview the slideshow to confirm that everything is in place. Then, Export the video to your device.
And that’s it. Creating Macbook photo slideshows with Filmora is that easy!
Part 2. Making a Slideshow on Mac from the Photos Software Application
Another quick and effective way to create a slideshow on Mac is by using Apple Photos. This is an in-built photo gallery software application that allows users to view their pictures and perform various functions, including media editing. Here is how to make a slideshow on Macbooks using this software:
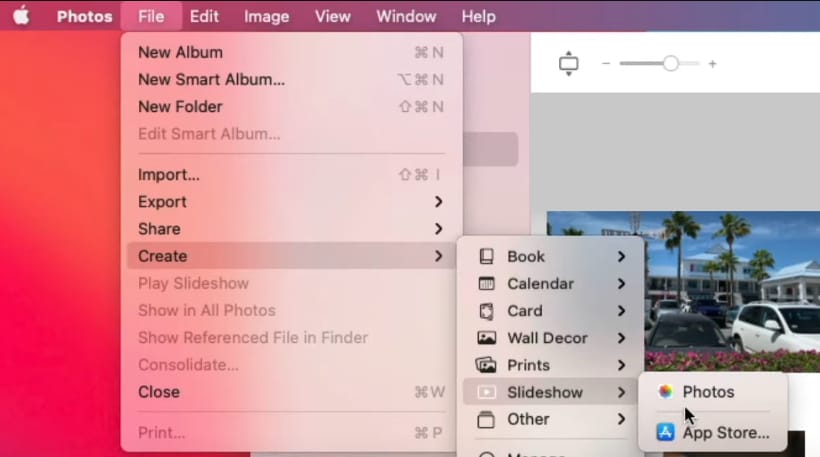
Step 1: Launch the Photos software application and go to File at the top menu. Following this, select Create and then Slideshow. Choose Photos from the menu that pops up.
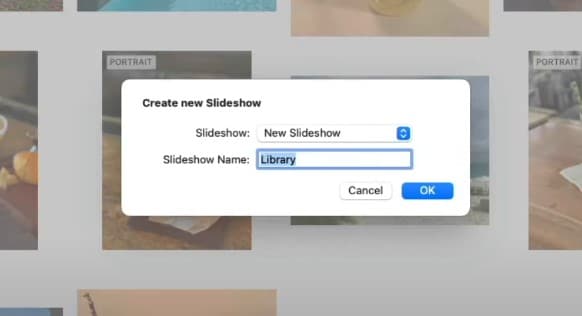
Step 2: Give your slideshow a name. Once you’re done, the tool allows you to select media from the Photos app to include in your slideshow. After selecting the photos, click Add.
Step 3: Now, all your photos will be added to a slideshow project, which you can edit to your taste. From the bottom of your screen, you can hold and drag any of the images to a different location.
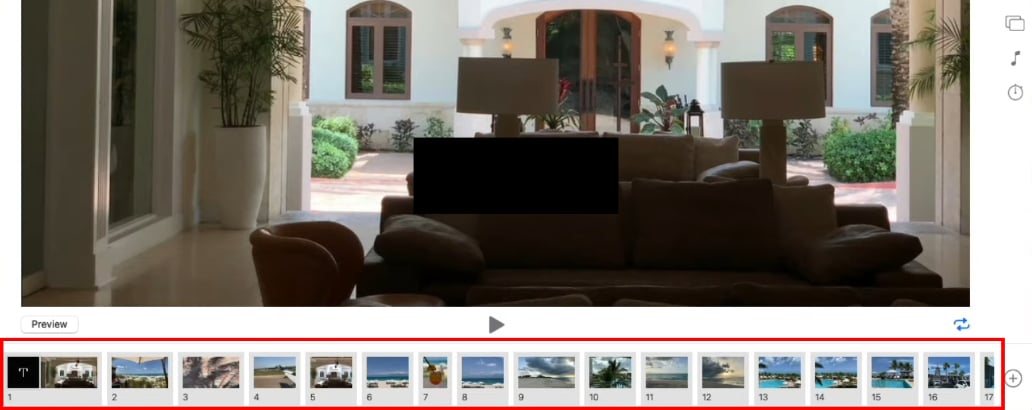
Step 4: To add text, click on the + button at the bottom of the screen to the right of the photo timeline. Then select Add Text. You can also choose Add Photos to add more pictures to your slideshow.

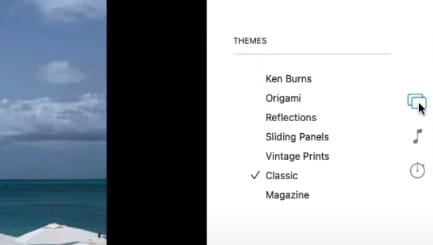
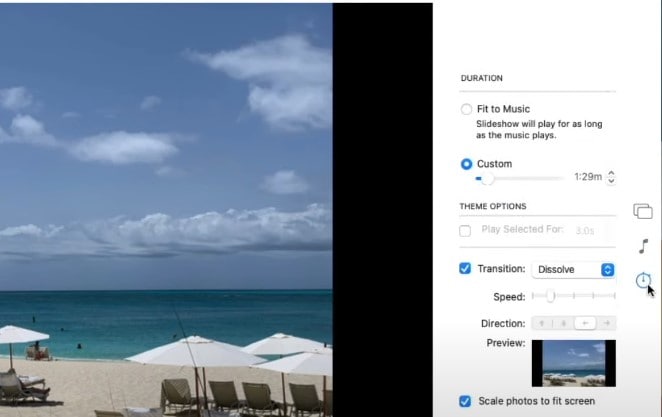
Step 5: To the right of your screen, click the Themes button to adjust the themes of your slideshow. You can also select Audio to add sound to the project.
Step 6: To control the duration of the slideshow, click the Stopwatch icon and adjust the duration options to your taste. This option also allows you to edit the transitions in your slideshow. You can also select Fit to Music to match the duration of the sound you’ve chosen.
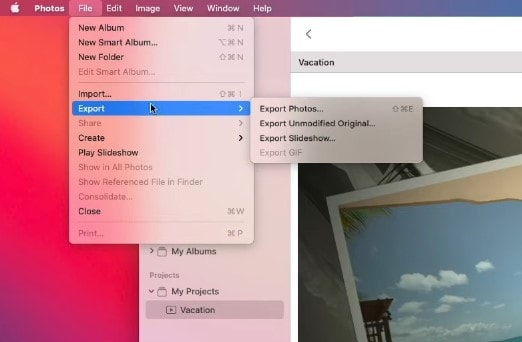
Step 7: Finally, to export the slideshow as a video, click File, then tap Export to choose a format from the options available, and select where the toll would save the project.
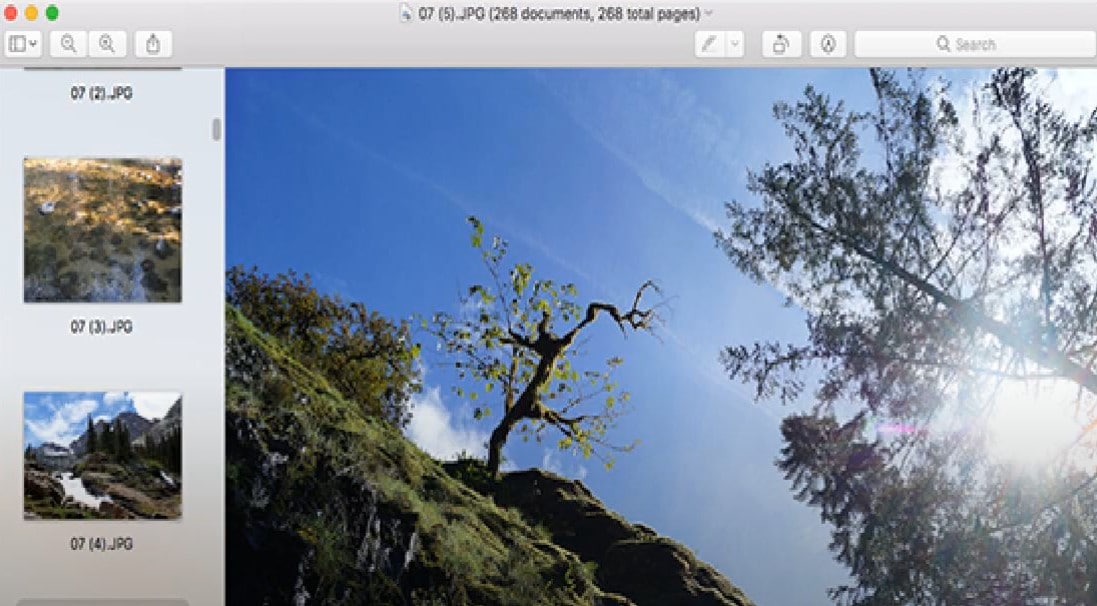
Part 3. Creating a Slideshow on Mac with Preview
The Preview tool on Mac is a feature that allows users to view photos as slideshows spontaneously. This method is quick and requires little to no effort. Here’s how to do it:
- Step 1: Launch the Preview app and go to File.
- Step 2: Open and add your media to the tool.
- Step 3: Go to View and select Slideshow. To access this function, you can also click on Shift + Command + F.
Part 4. Creating a Slideshow on Mac Online
If you want to create a slideshow quickly but want the functionality of downloadable editing software, using an online tool is best. There are numerous online editors that allow you to create great photo slideshows. Plus, since they are online, they can be supported on any device, including a Mac.
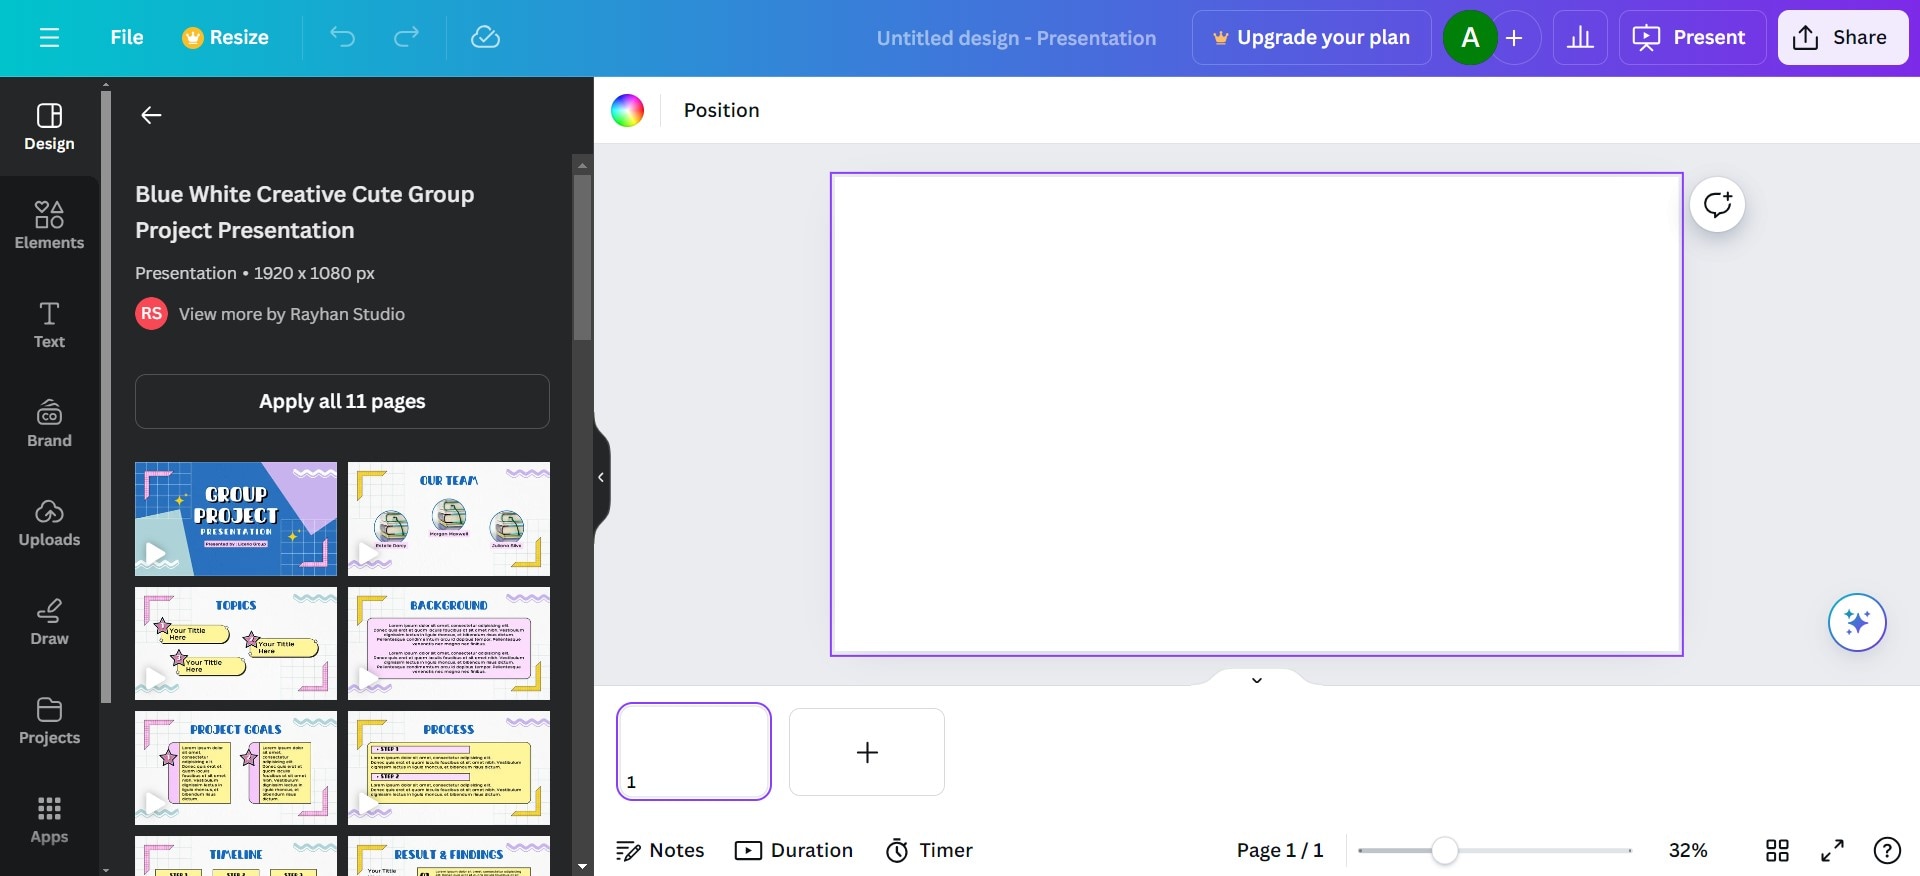
Canva is one of the most effective online apps for this purpose, equipped with numerous features for creating and editing slideshows quickly. Here is how tocreate a slideshow on Mac online with Canva:
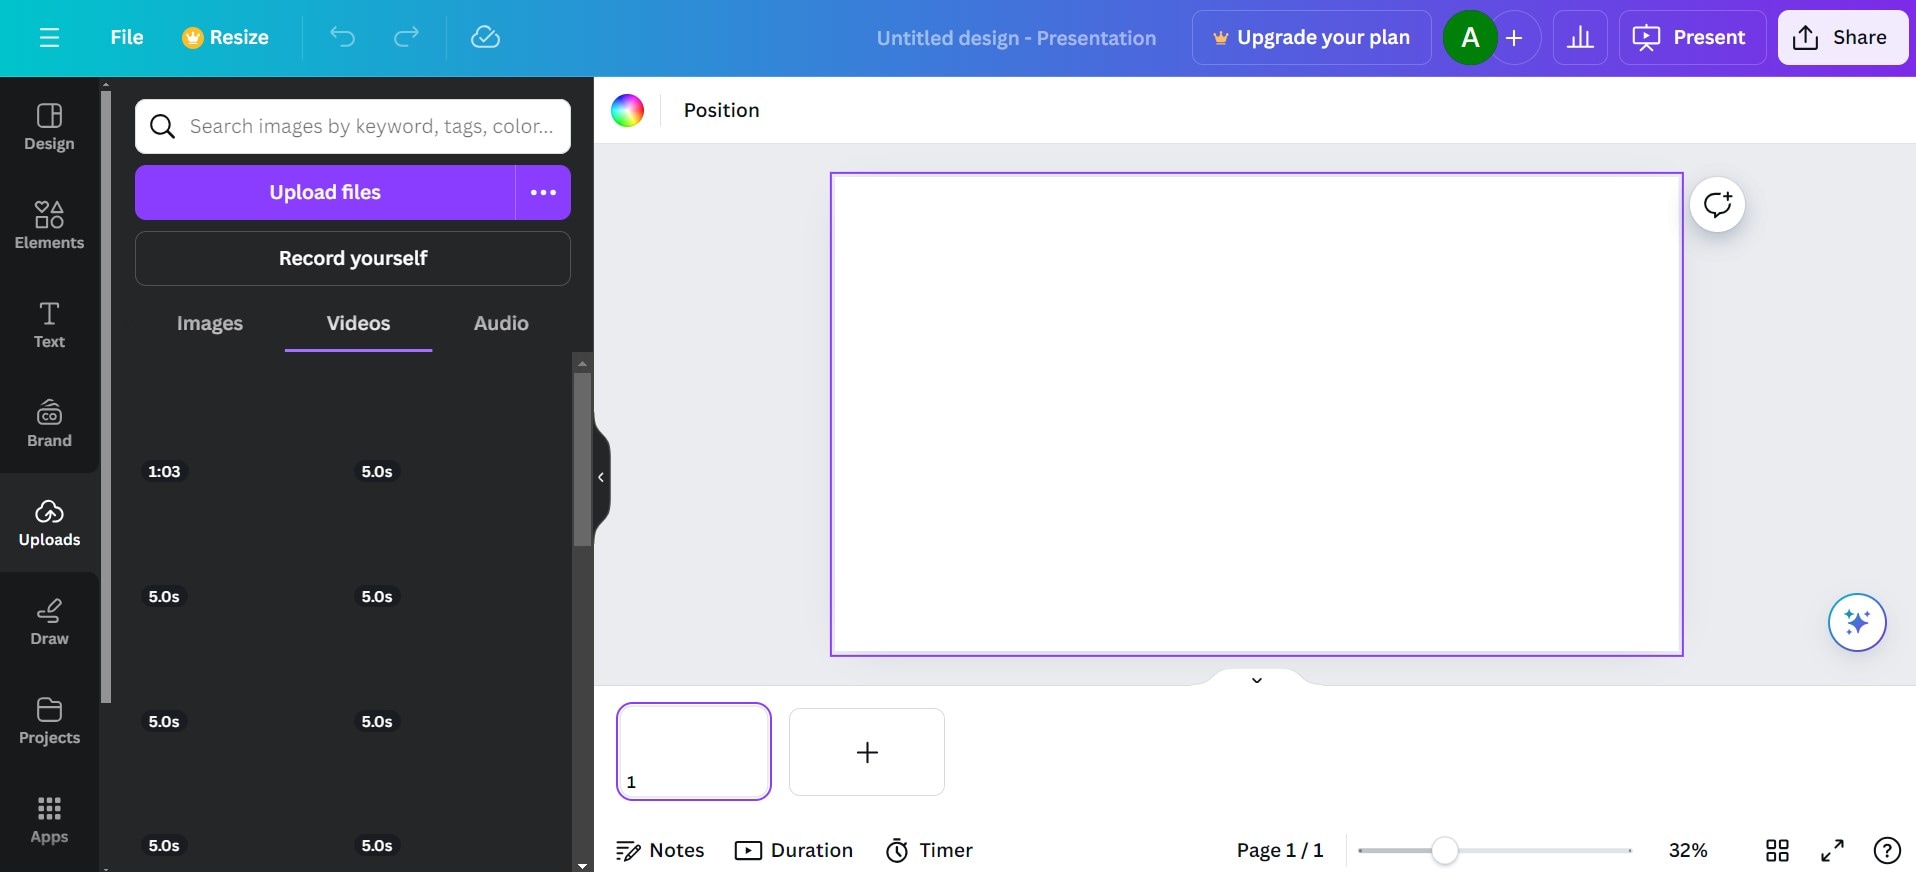
Step 1: From the official website, create an account and select Presentation from the template options on the interface.

Step 2: Upload the images you want from your computer to the platform by going to the Uploads menu and clicking Upload Files. Then, select all the media you want to add, including pictures, videos, and audio.
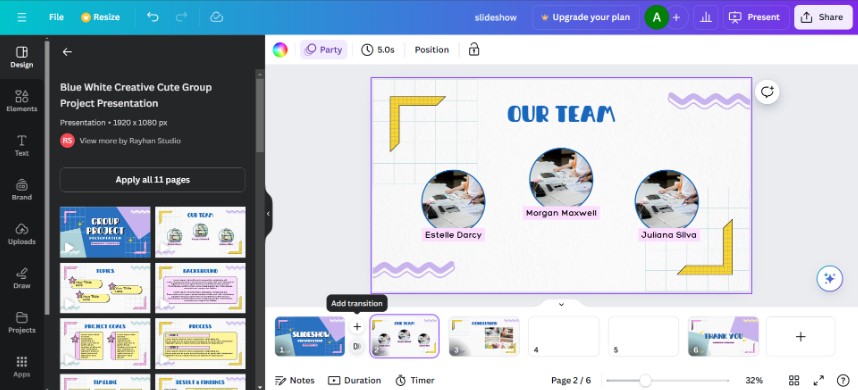
Step 3: To add a design to your slideshow, you can select a template from the Design menu and apply it to the design.
Step 4: Edit each page of your slideshow. During this step, you can add your images to different pages and apply transitions and effects to the project.
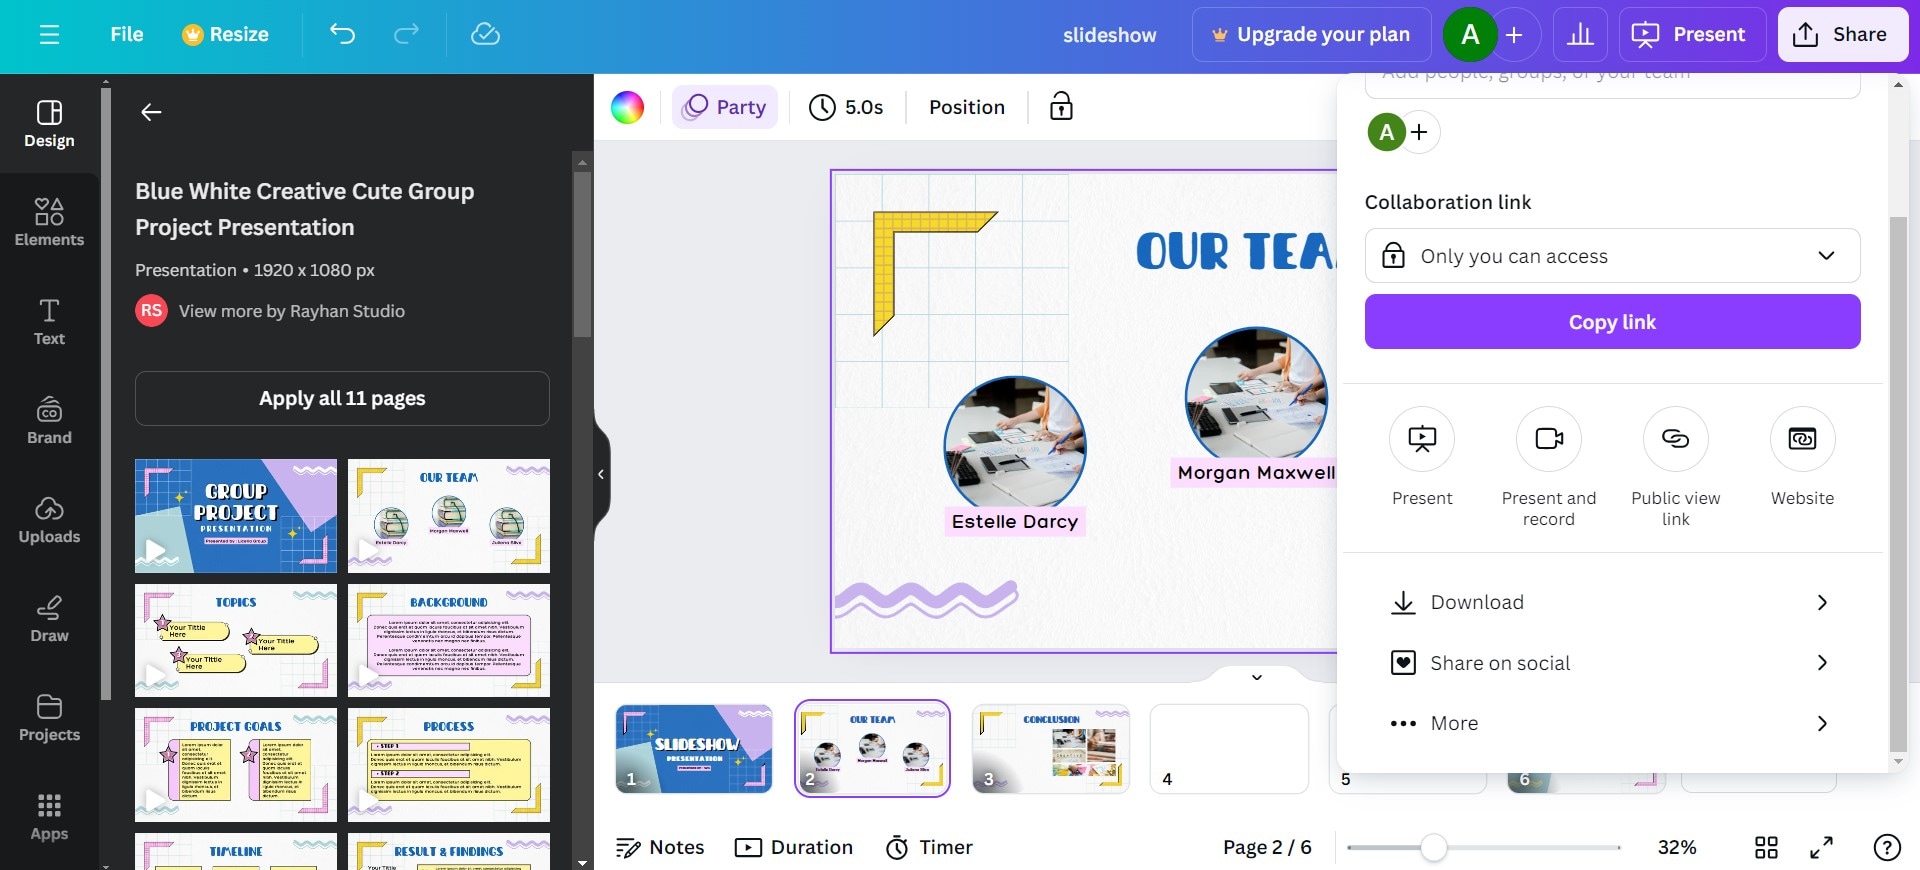
Step 5: Preview the slideshow and export it to your device by clicking Share and choosing how you want to export it.
Part 5. Create Slideshows on Mac with Keynote
Keynote is a powerful slideshow maker tool and part of the iWork suite. This in-built software is perfect for creating stunning presentations, including fun and engaging slideshows suited for any purpose, whether social media or personal use. Here’s how to do slideshows on Mac using Keynote:
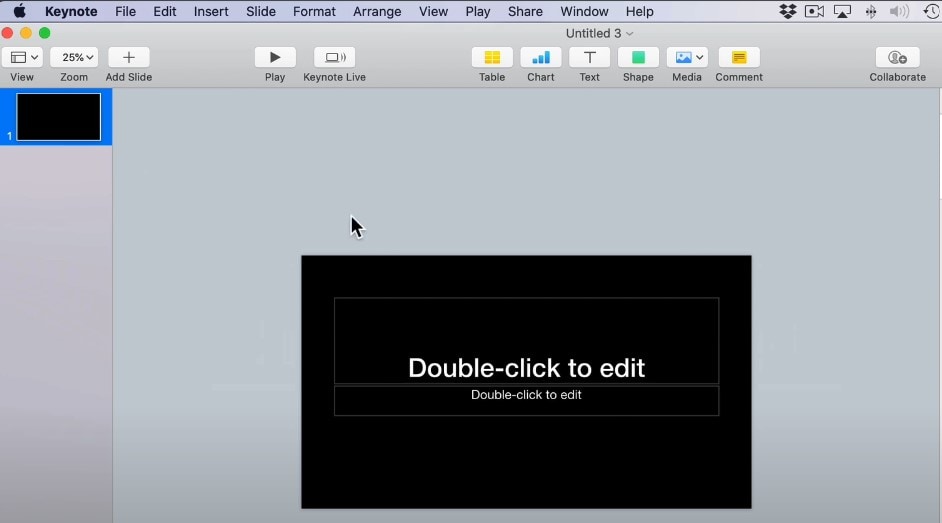
- Step 1: Launch Keynote and create a new document. Remember to choose the theme and size that suit your taste.
- Step 2: Import media to the editing interface. To do this, you can drag and drop photos from the Photos app directly into the Keynote interface. You can also export them from the Photos app using the Export button.
- Step 3: Once the photos are exported, adjust the sizing to fit the background of each slide.
- Step 4: Now, you can add text, charts, or even tables from the toolbar.
- Step 5: Once you’re all set, select Play for the slideshow to go live.
Pro tip: You can also import media into the Keynotes app by clicking on Media and selecting Photos or Videos, depending on what you want to add.
Part 6: Best Practices For Creating Slideshows on Mac

Now that you know the best ways to make a slideshow on Mac, there are various tips you should know before you begin. These best practices would ensure your slideshows come out looking great each time with the highest quality and without requiring much stress. With that said, the following are best practices for creating slideshows on Mac:
- Photo sizing: Always reduce the size of photos so they’re easy to edit and share. Adjusting the dimensions of the pictures so they fit into the slideshow frame and look more organized is also a good idea.
- Effects and transitions: To make your slideshow more engaging for your audience, be sure to add picture effects and transitions. It's important to use tools that offer various effects, so you have multiple options to choose from.
- Audio: When creating your slideshow, it’s also important that you use the right audio. The type of audio you use greatly depends on the mood you want to set and the themes of the slideshow. These audios can be cheerful, hopeful, moody, uplifting, and much more.
- Integrating videos: In addition to using just photos, you can add videos that serve as motion pictures, adding more liveliness to the slideshows and making them more fun and engaging.
Conclusion
Knowing how to create a slideshow on a Mac is one thing, but finding one that meets your needs each time takes conscious effort. For this reason, it is always best to try out the various methods of creating Mac slideshows to find out which one best suit your standards and needs.
Not sure where to start? You can begin by giving Filmora a go! The platform is beginner-friendly, easy to use, and extremely efficient, even for professionals. So, if you’re still trying to learn how to do slideshows on Mac, it’s definitely the best option for you. Download Filmora today to begin your journey!
